Job Management
Add Queue Users and Configure a Booking Page
Access your profile settings and open the Manage Queue Users module.
Step-by-step instructions
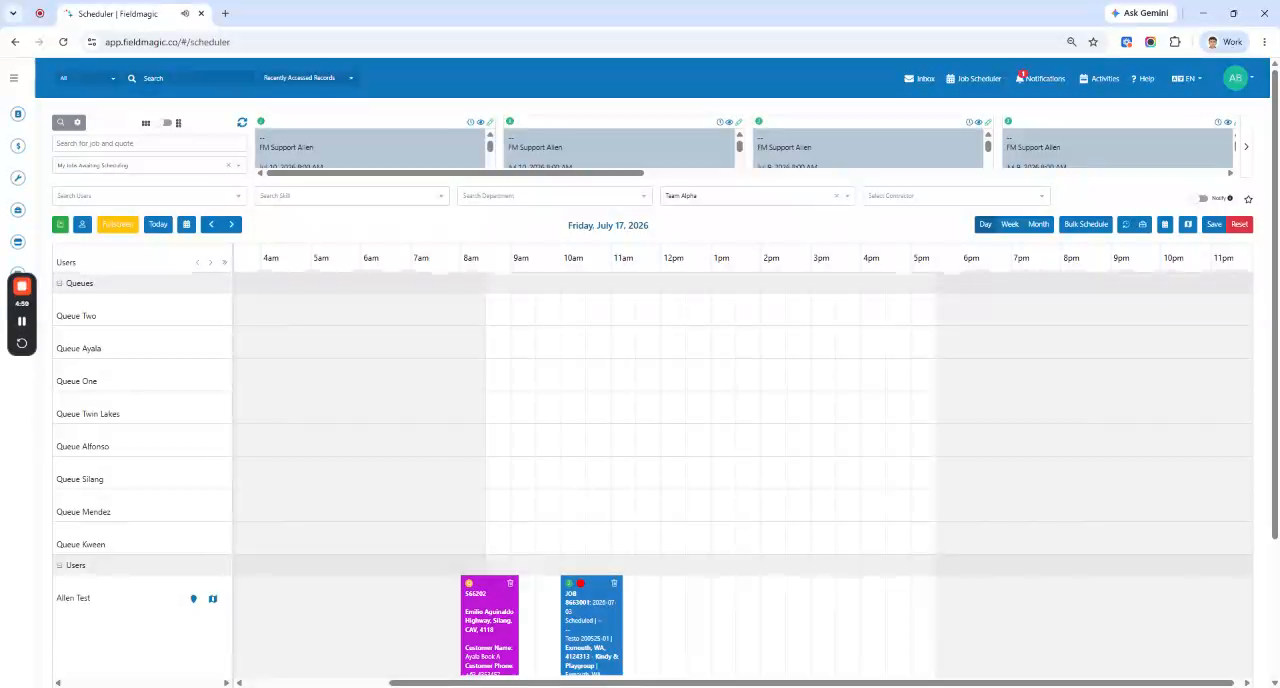 Step 1
Access your profile settings and open the Manage Queue Users module.
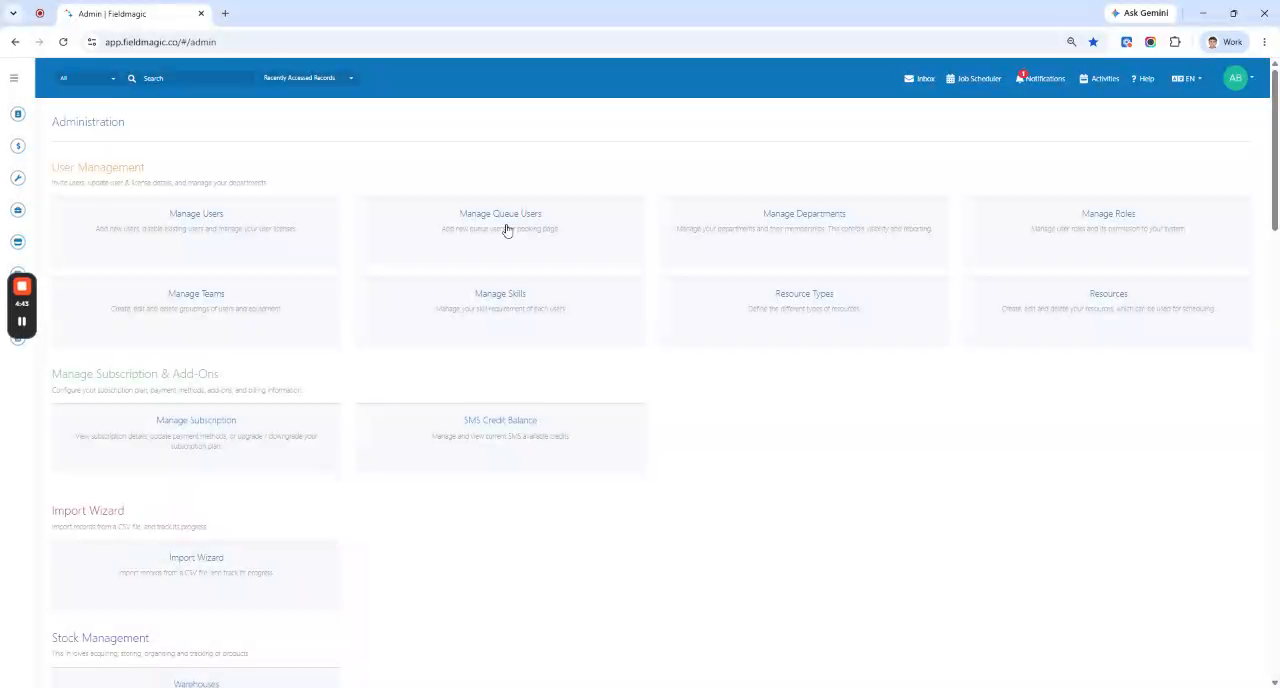 Step 2
Add a new Queue user by entering their name and department, then save the entry.
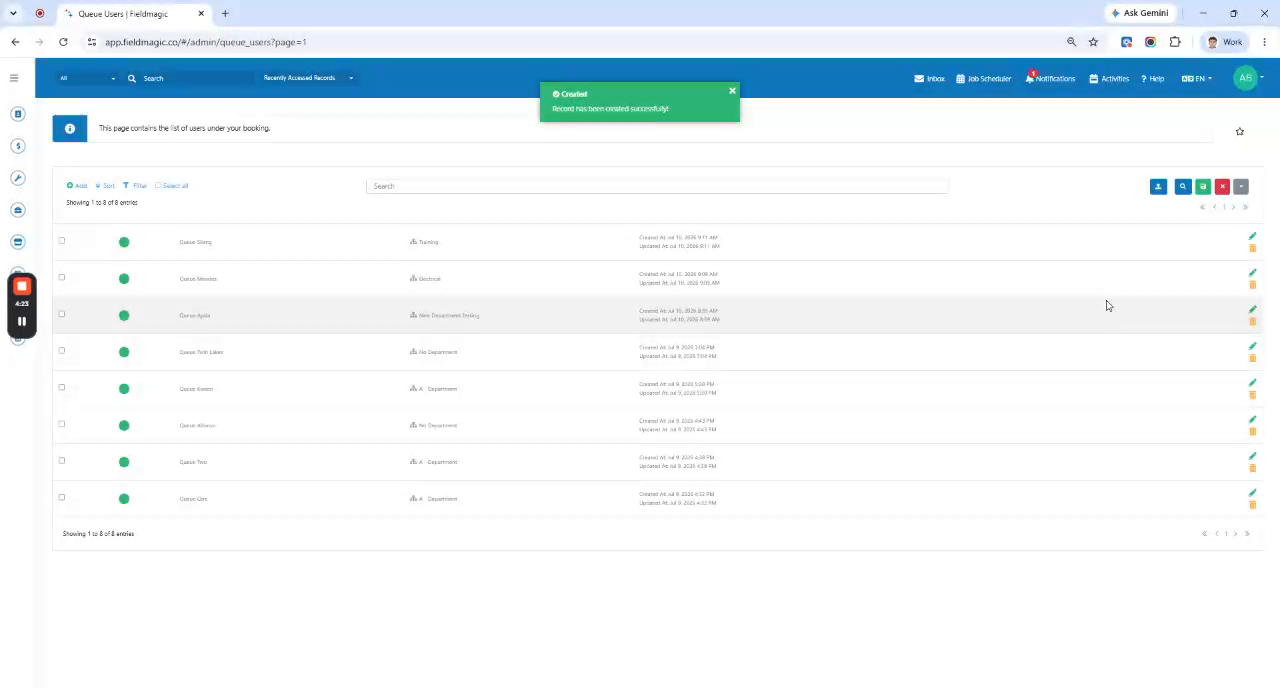 Step 3
Navigate to the Configure Booking Pages module and click Add to create a new booking page.
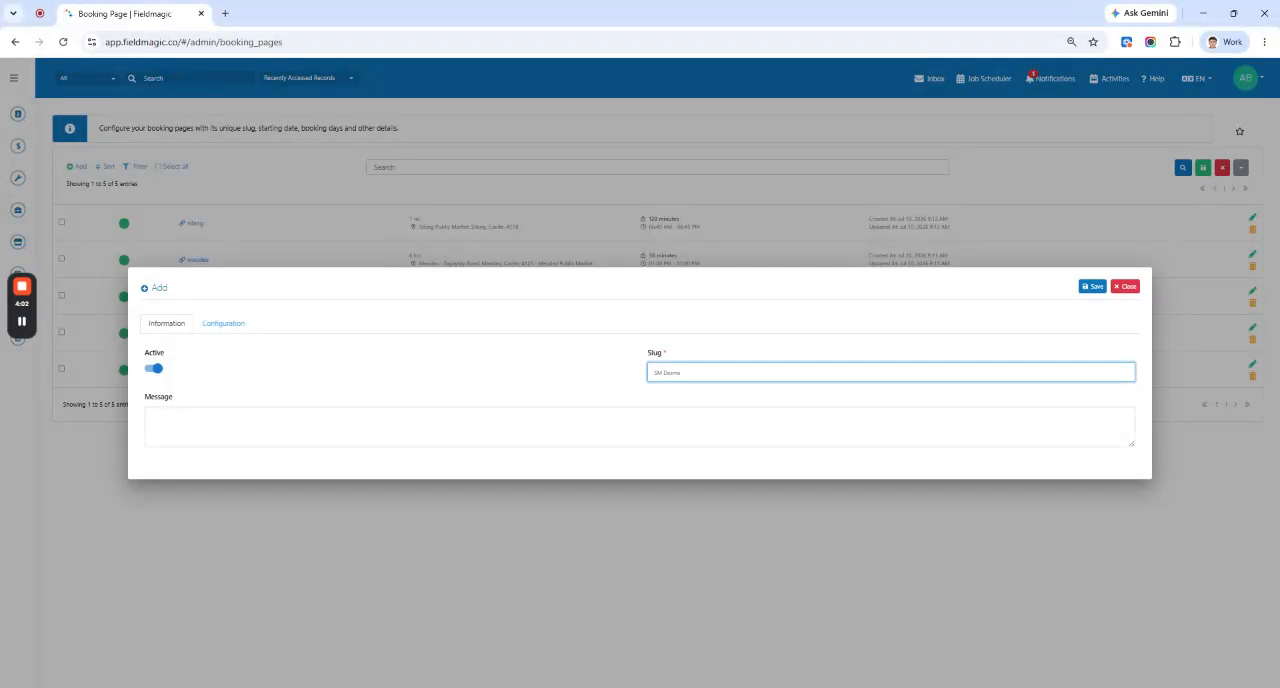 Step 4
Set a slug for the booking page and optionally add a message to display on the booking portal.
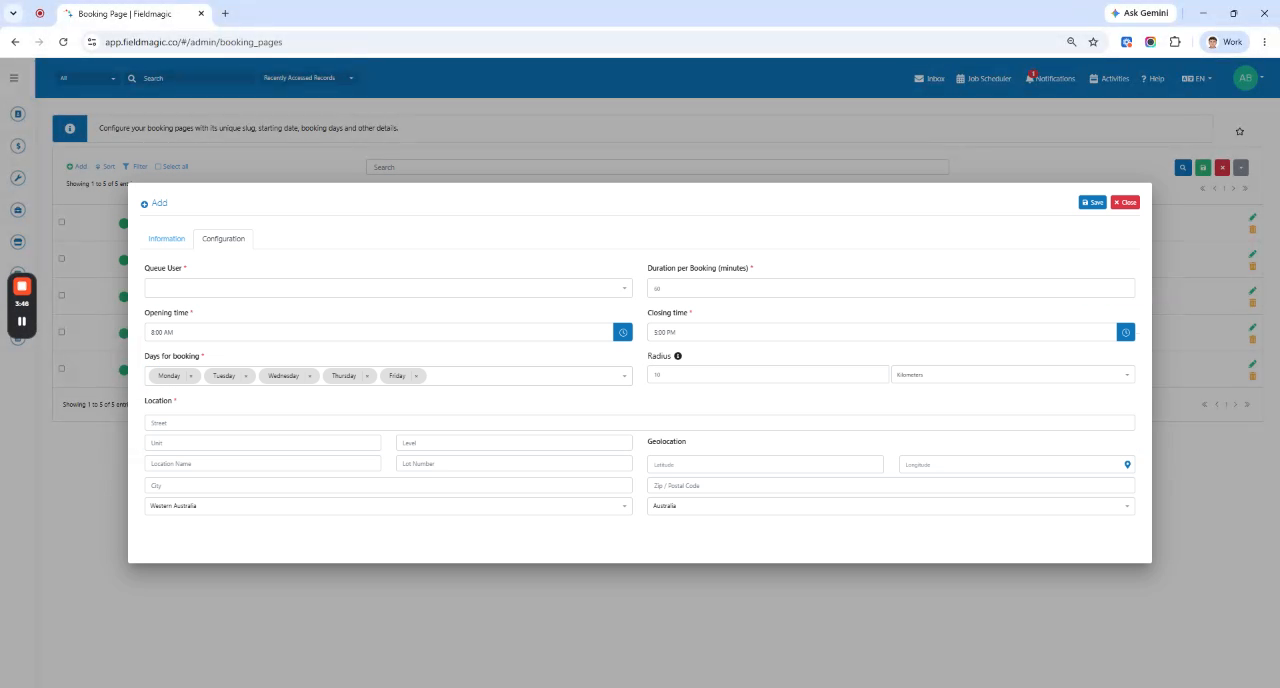 Step 5
Assign the Queue user to the booking page and configure the booking duration.
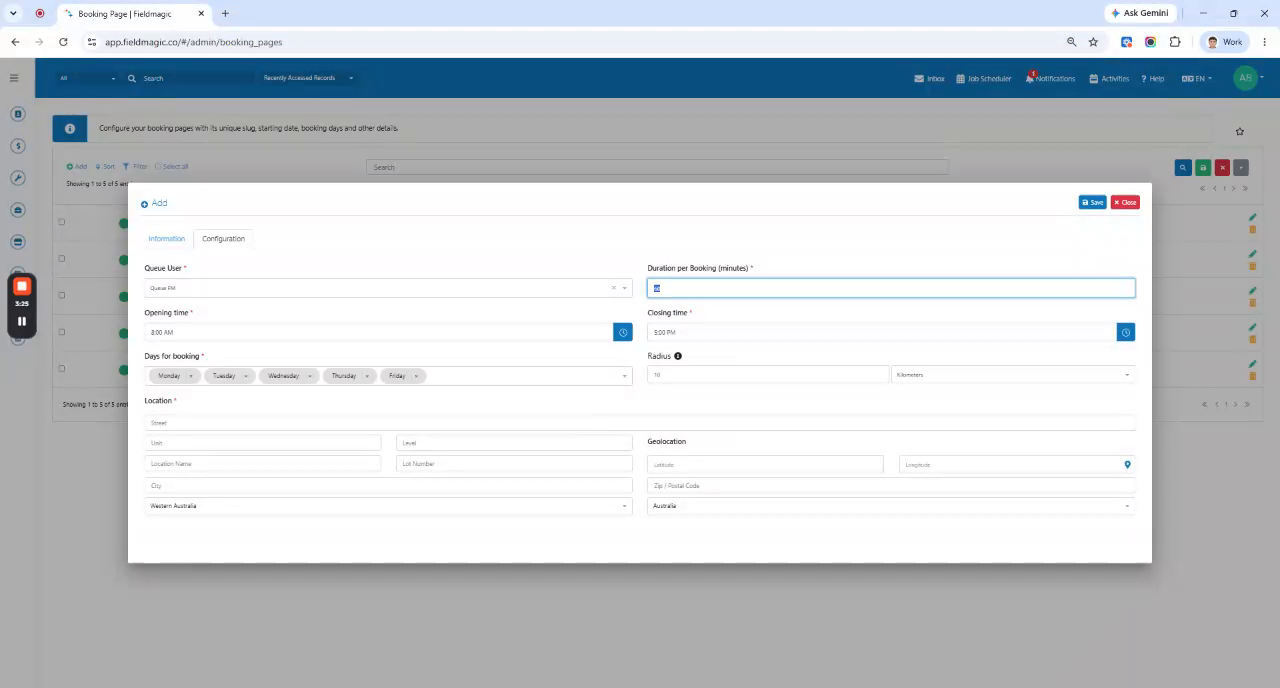 Step 6
Set the booking page's opening and closing times, available days, and service radius.
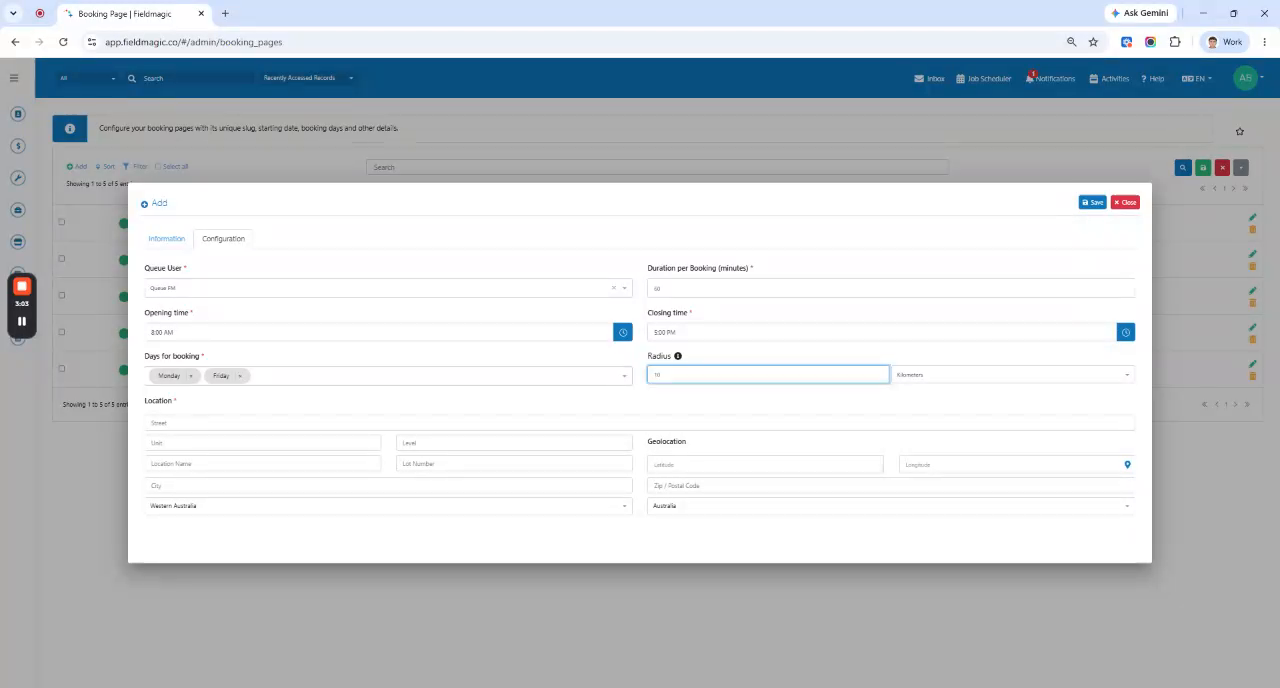 Step 7
Save the booking page and review the booking link and custom URL for sharing.
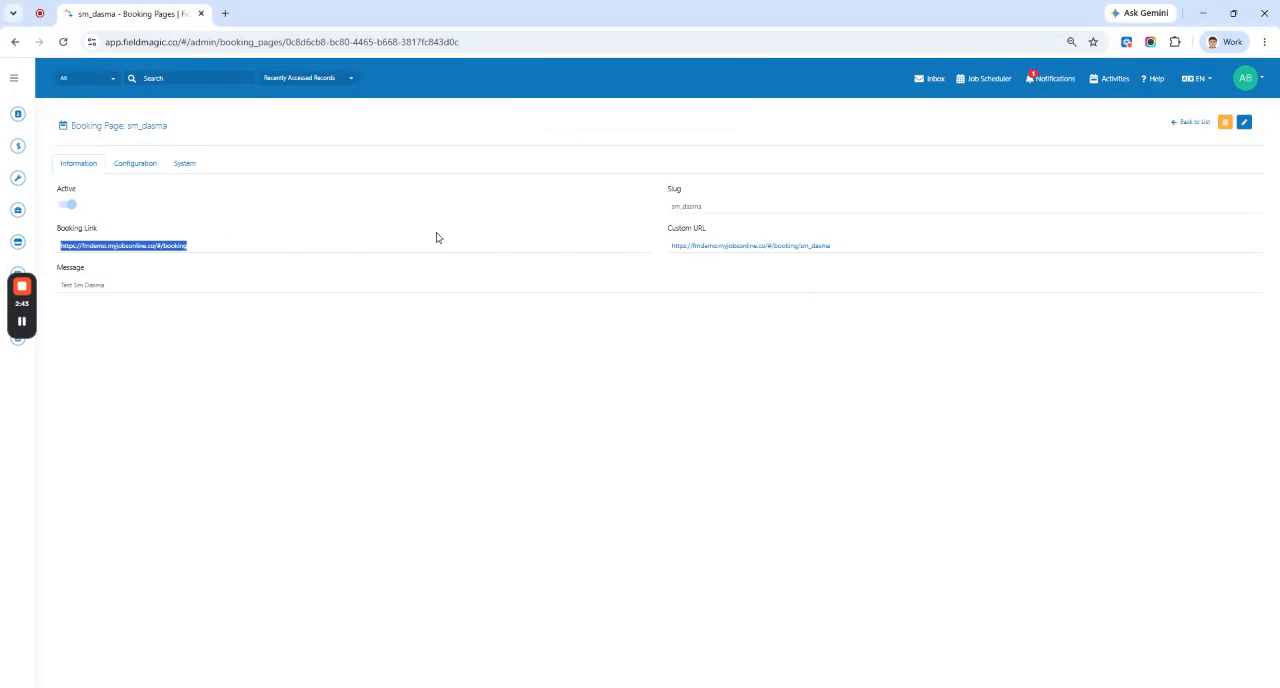 Step 8
Complete the setup to enable customers to book appointments and track them efficiently.