Job Management
Create a Customer Invoice
Learn how to create a customer invoice in FieldMagic.
Step-by-step instructions
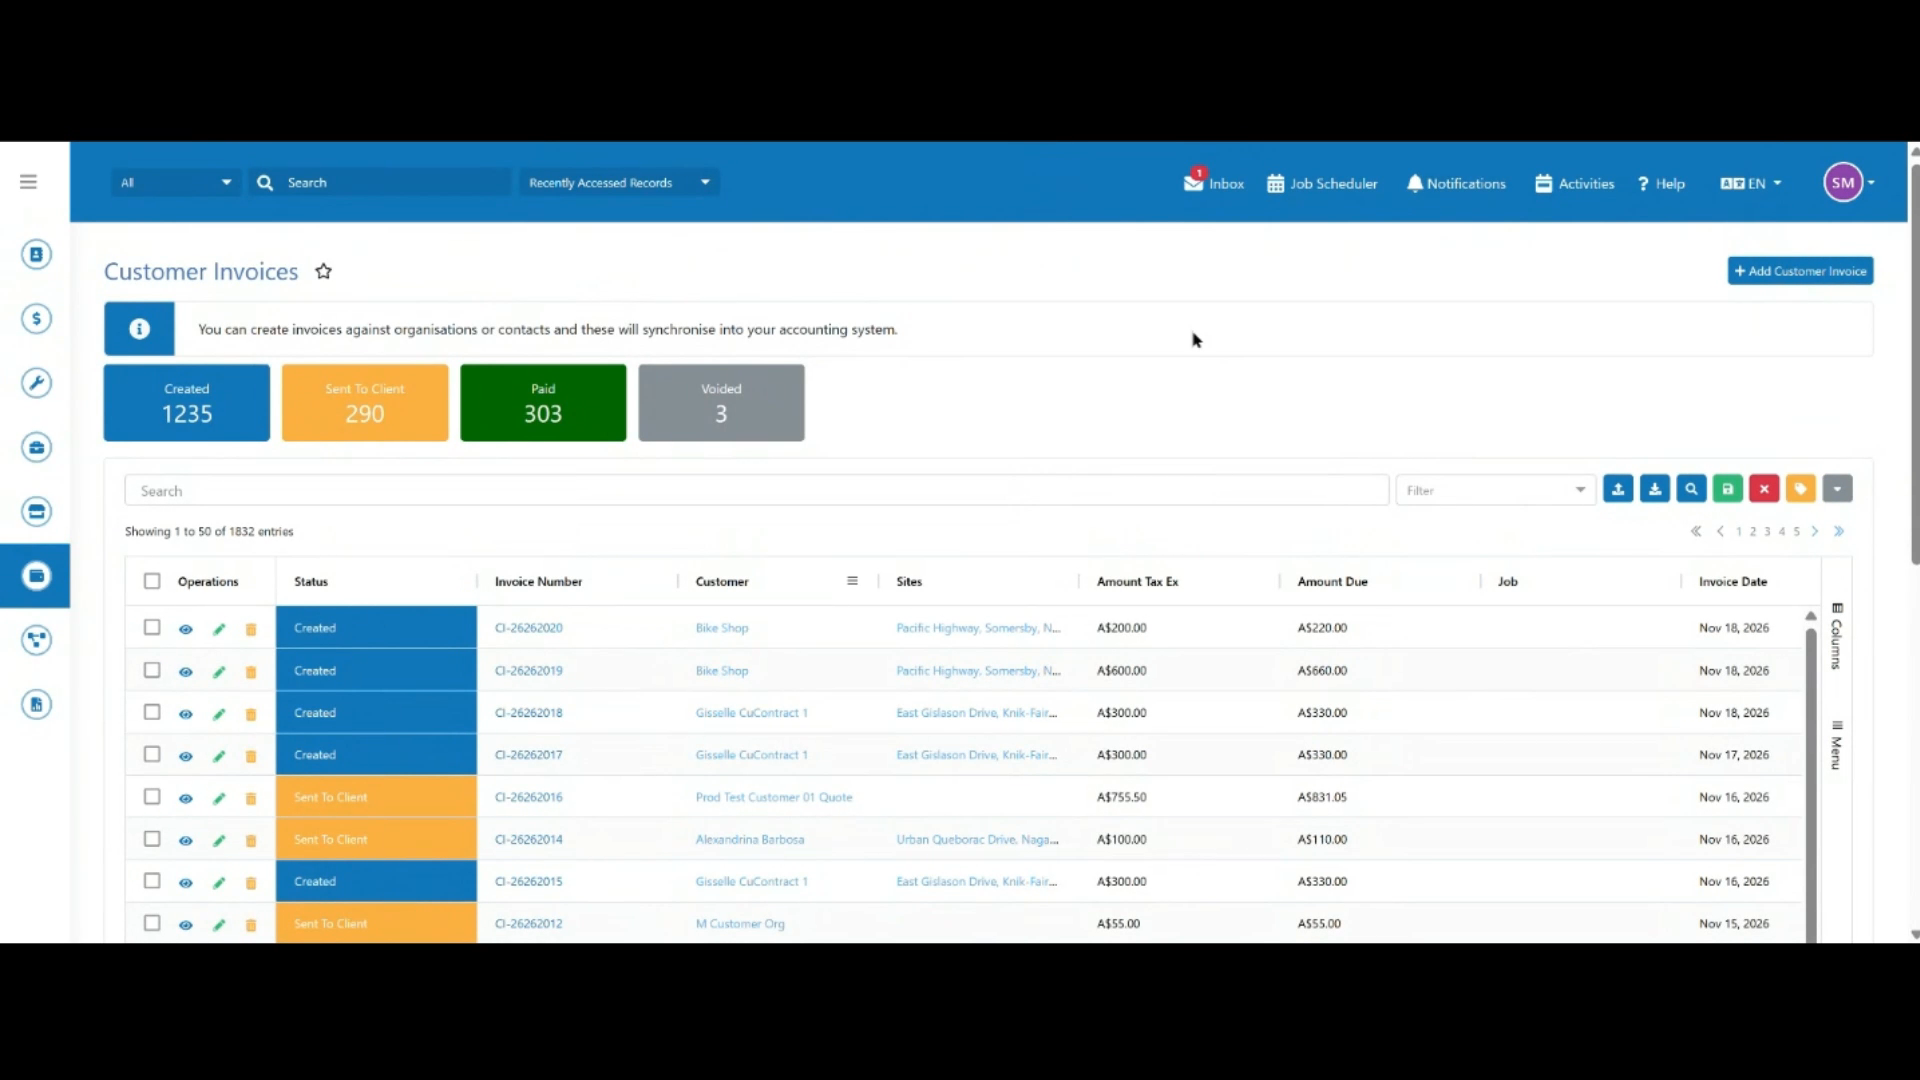 Step 1
Navigate to the Customer Invoice module.
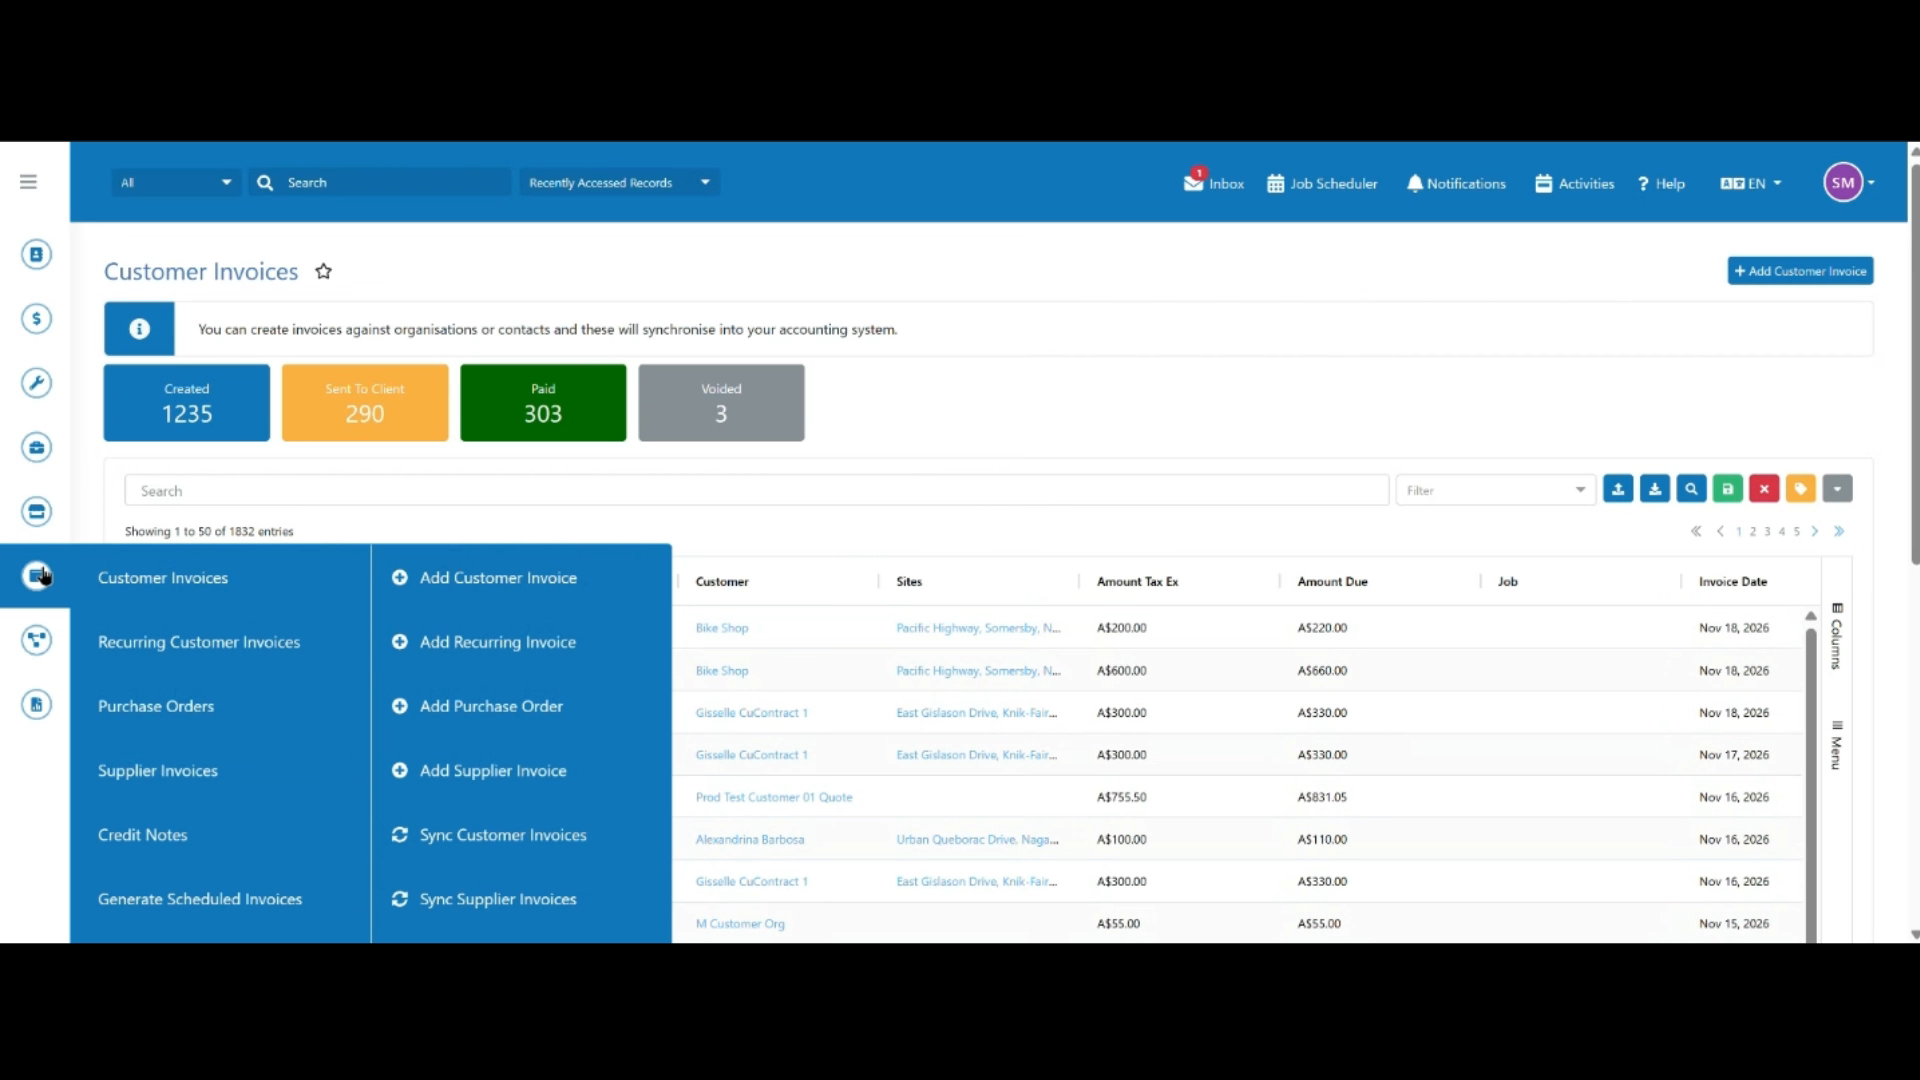 Step 2
Click Add Customer Invoice, then select the customer the invoice is for.
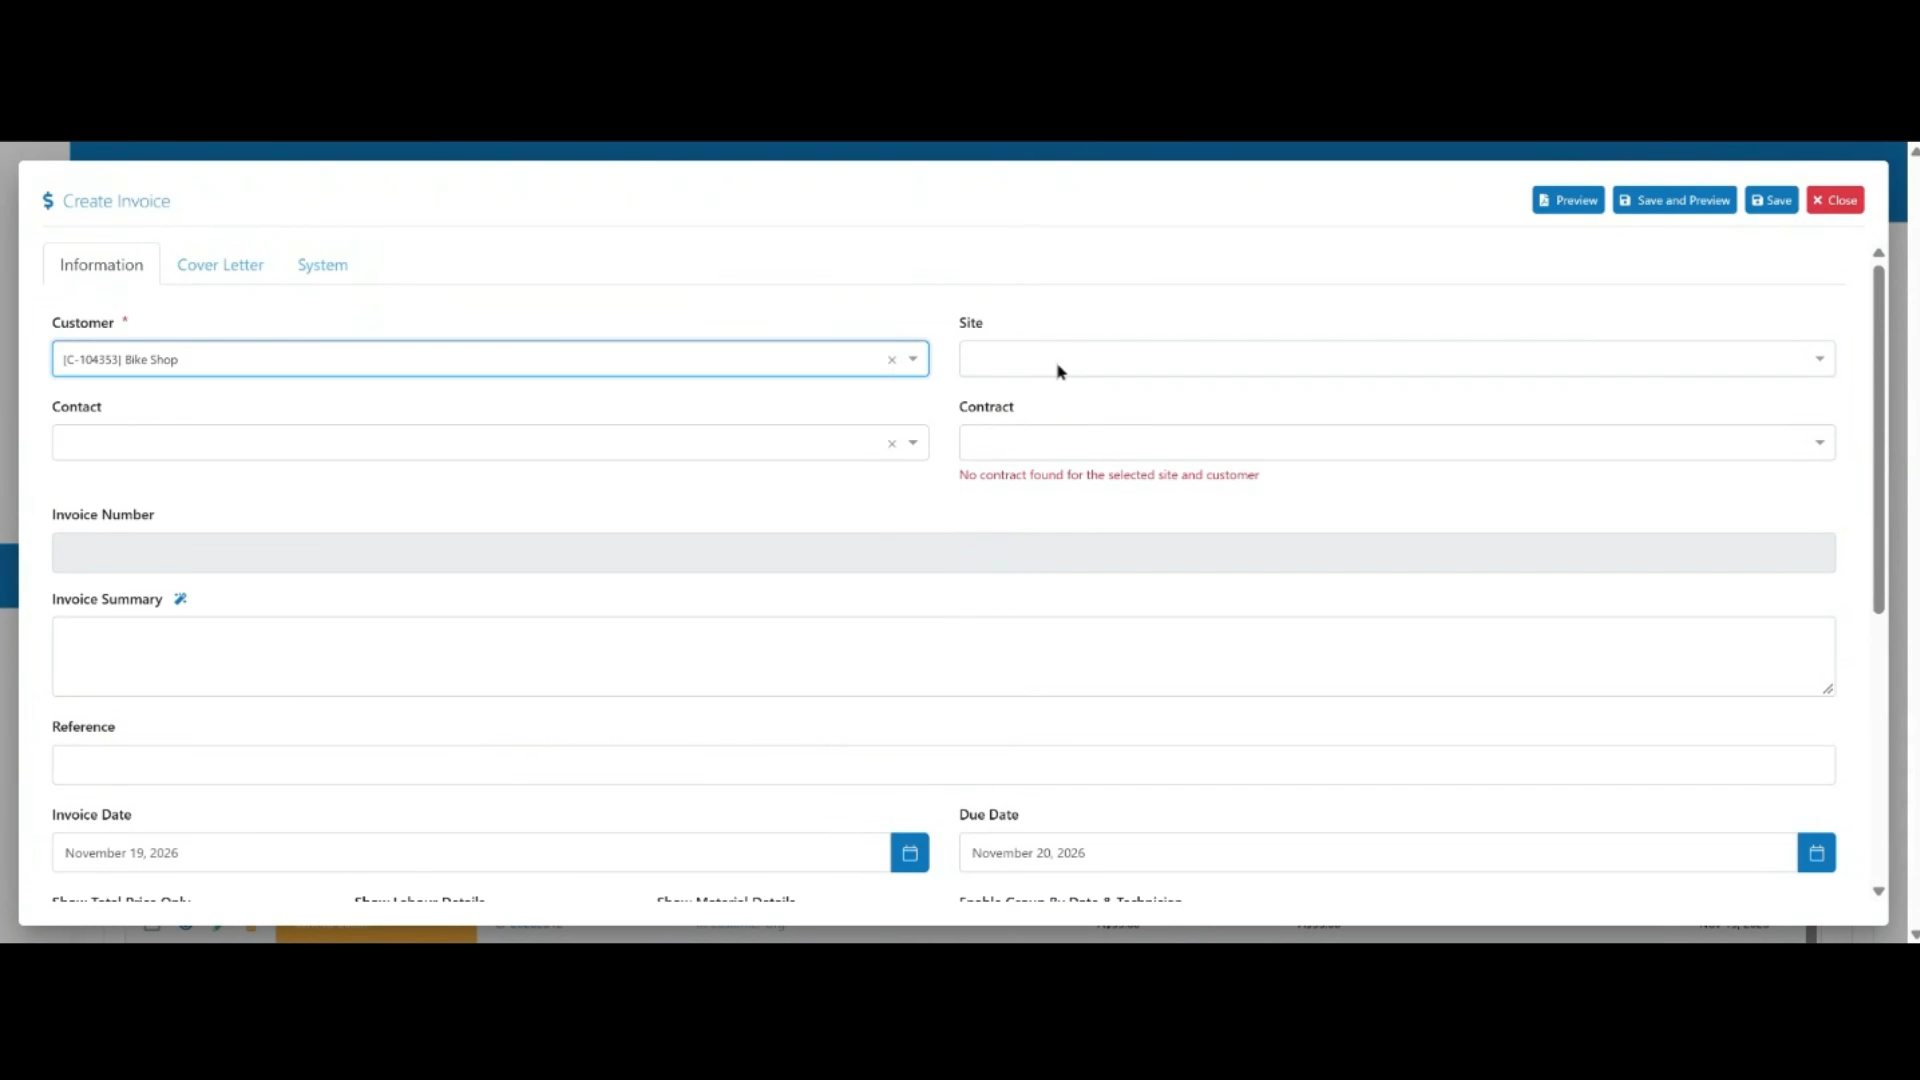 Step 3
Select the site and contact person for the invoice.
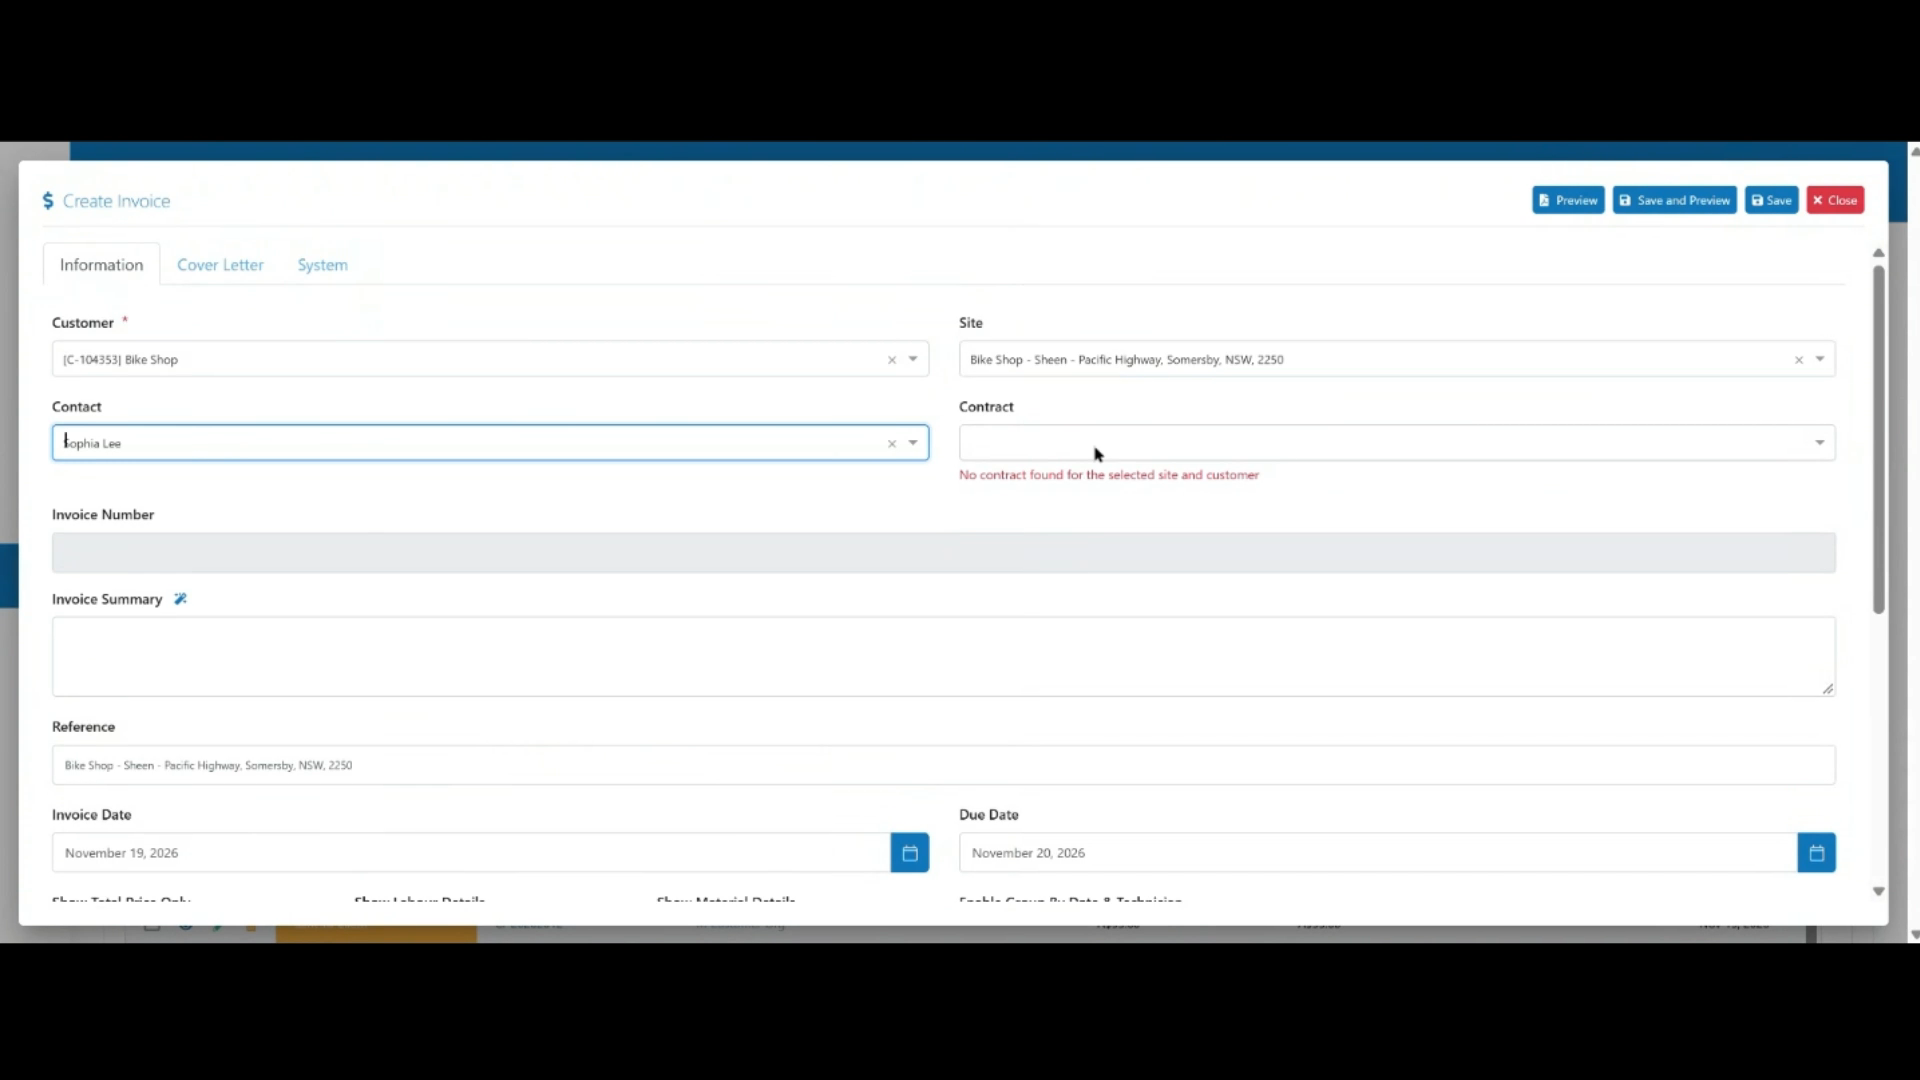 Step 4
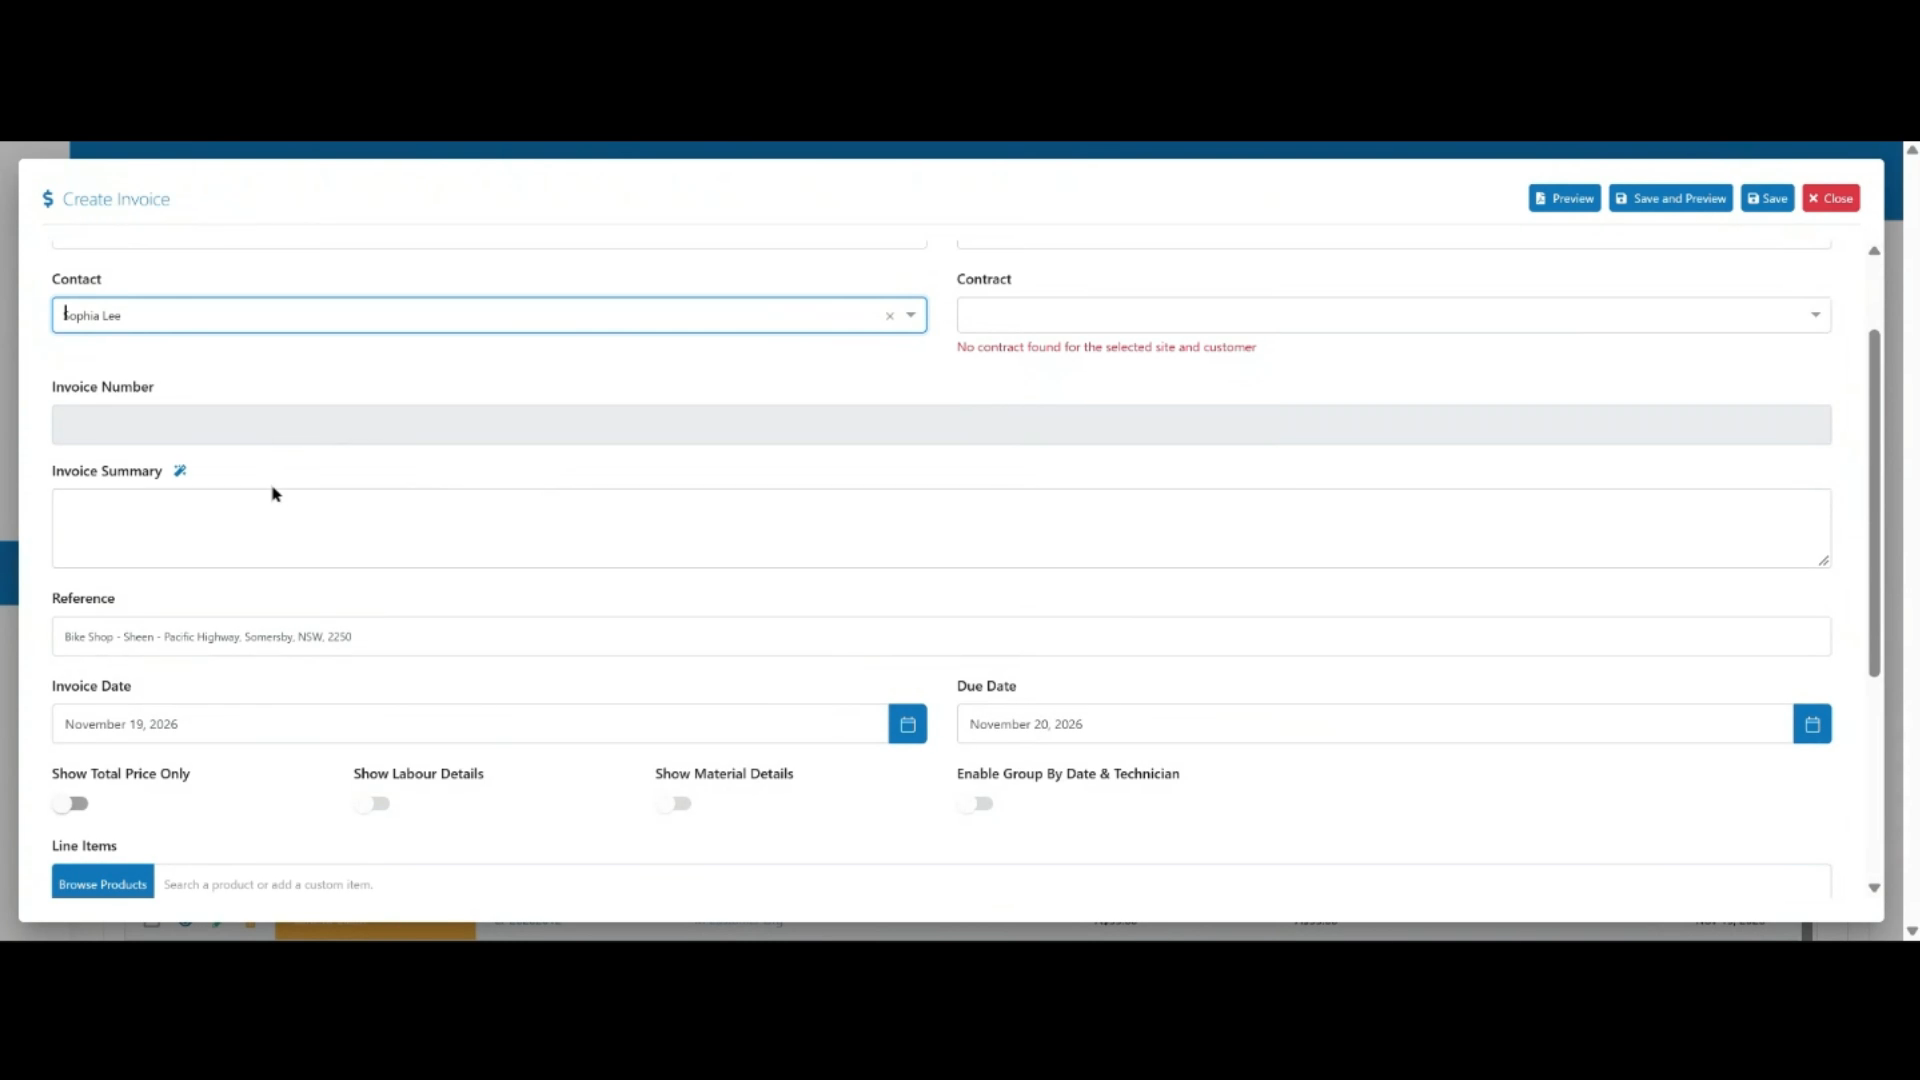
Optionally select a contract. The invoice number is generated automatically once the invoice is created.
 Step 5
Add an invoice summary, or use Refine with AI to generate one. The Reference field populates automatically.
 Step 6
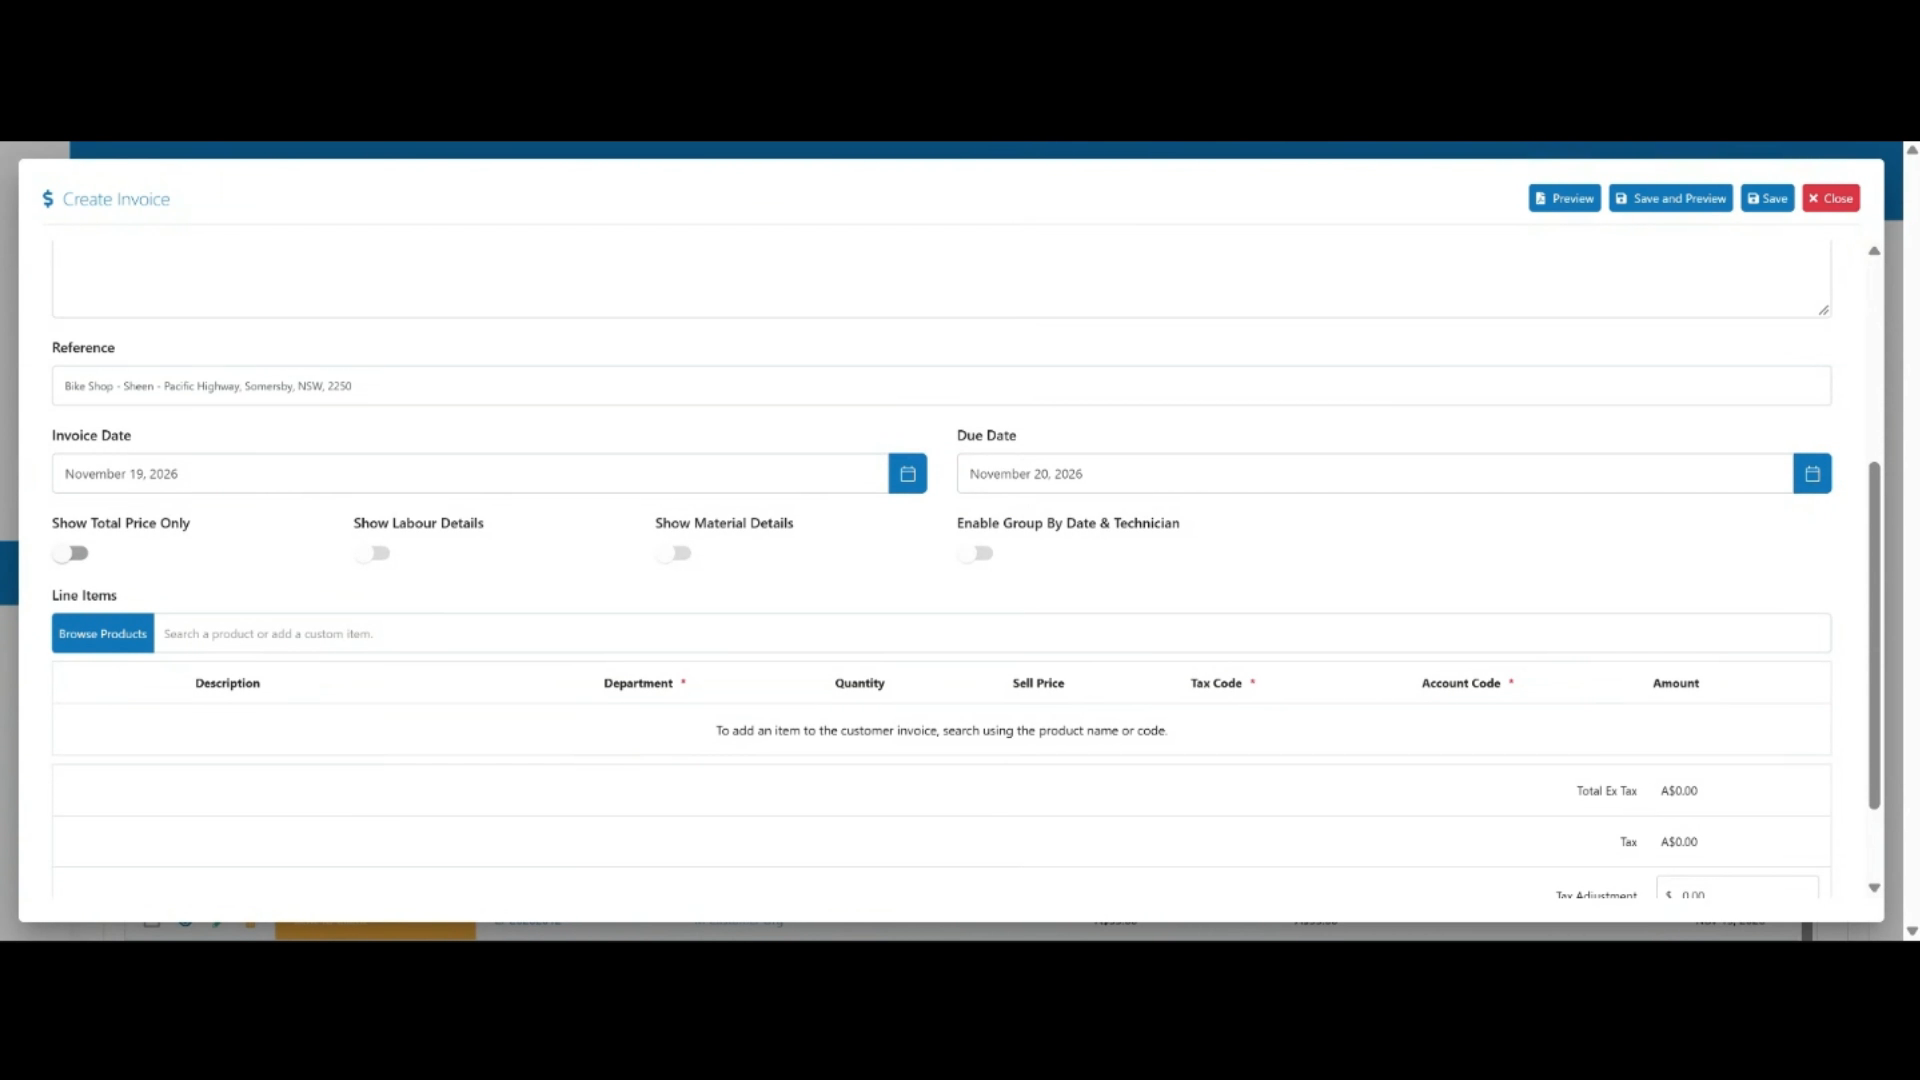
Select the invoice date and due date.
 Step 7
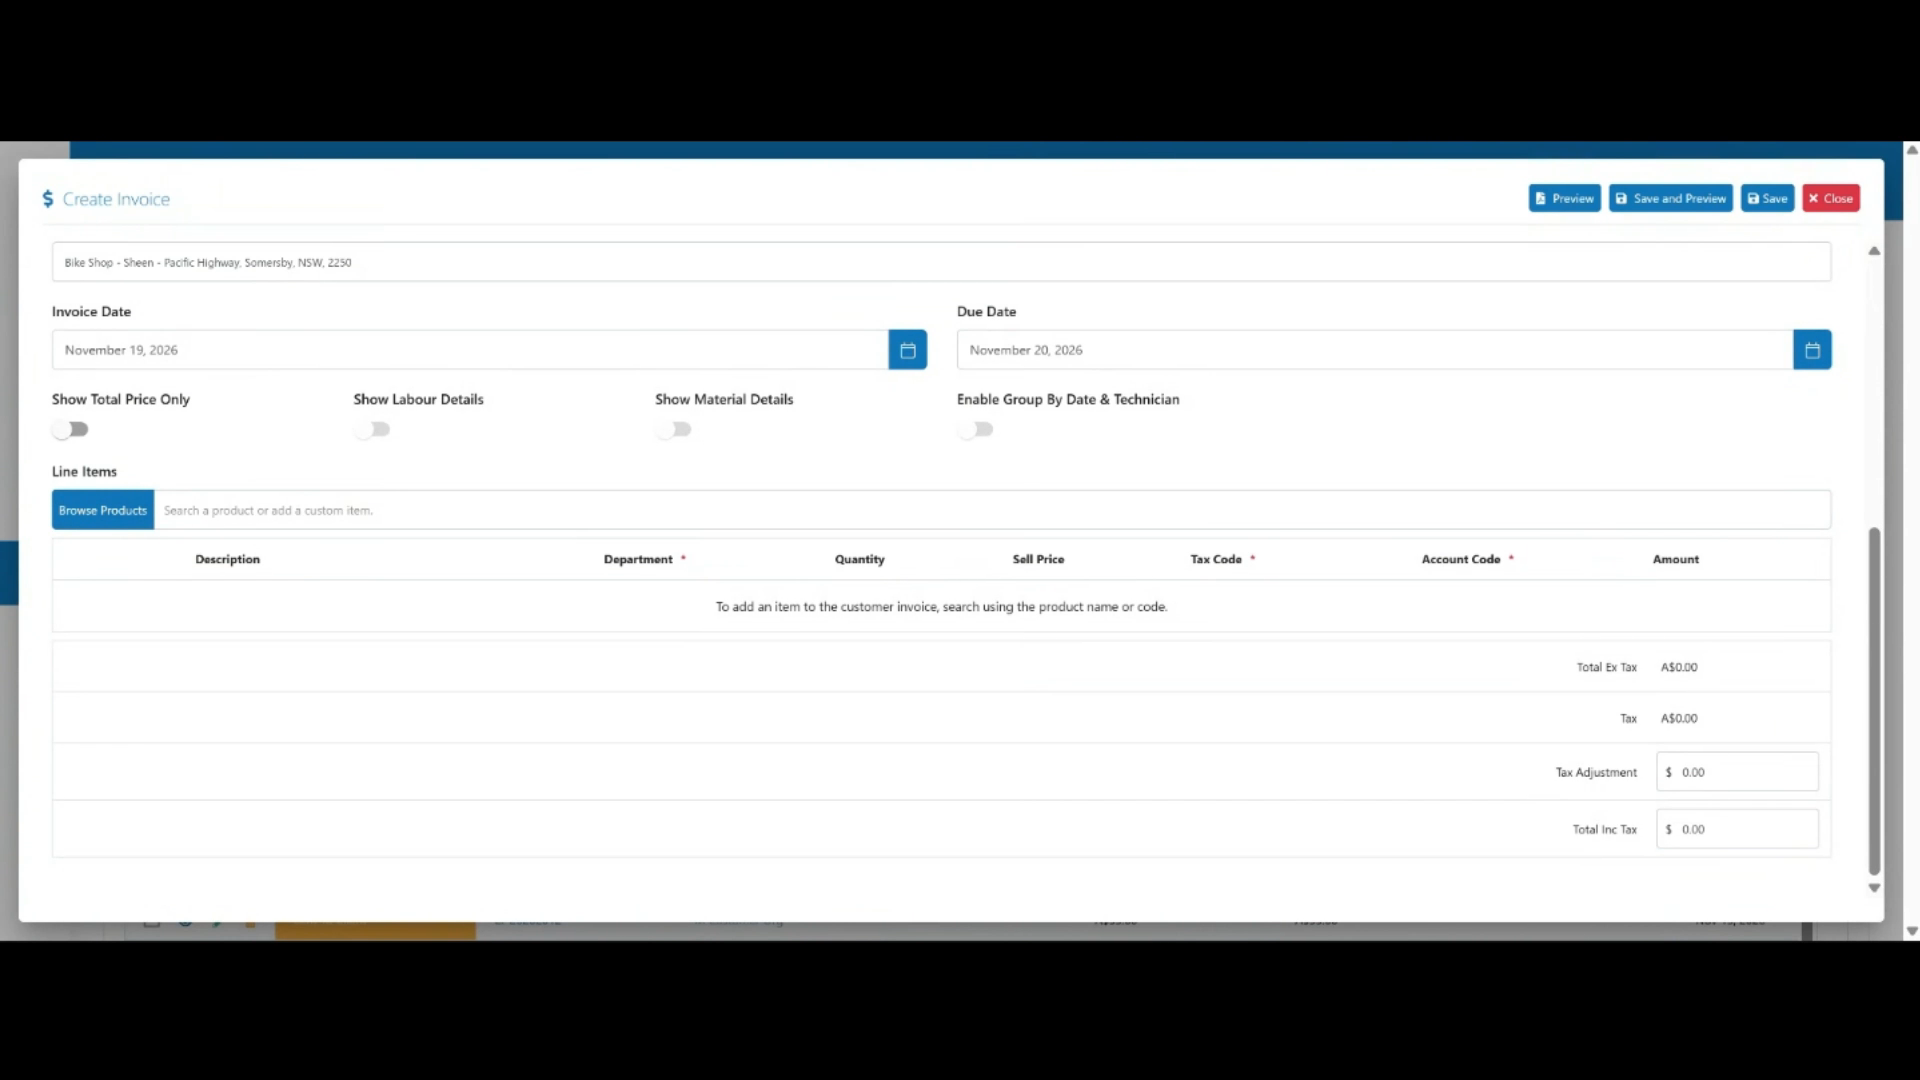
Use the display toggles to control what the invoice shows: total price only, labour and materials details, or line items grouped by date and technician.
 Step 8
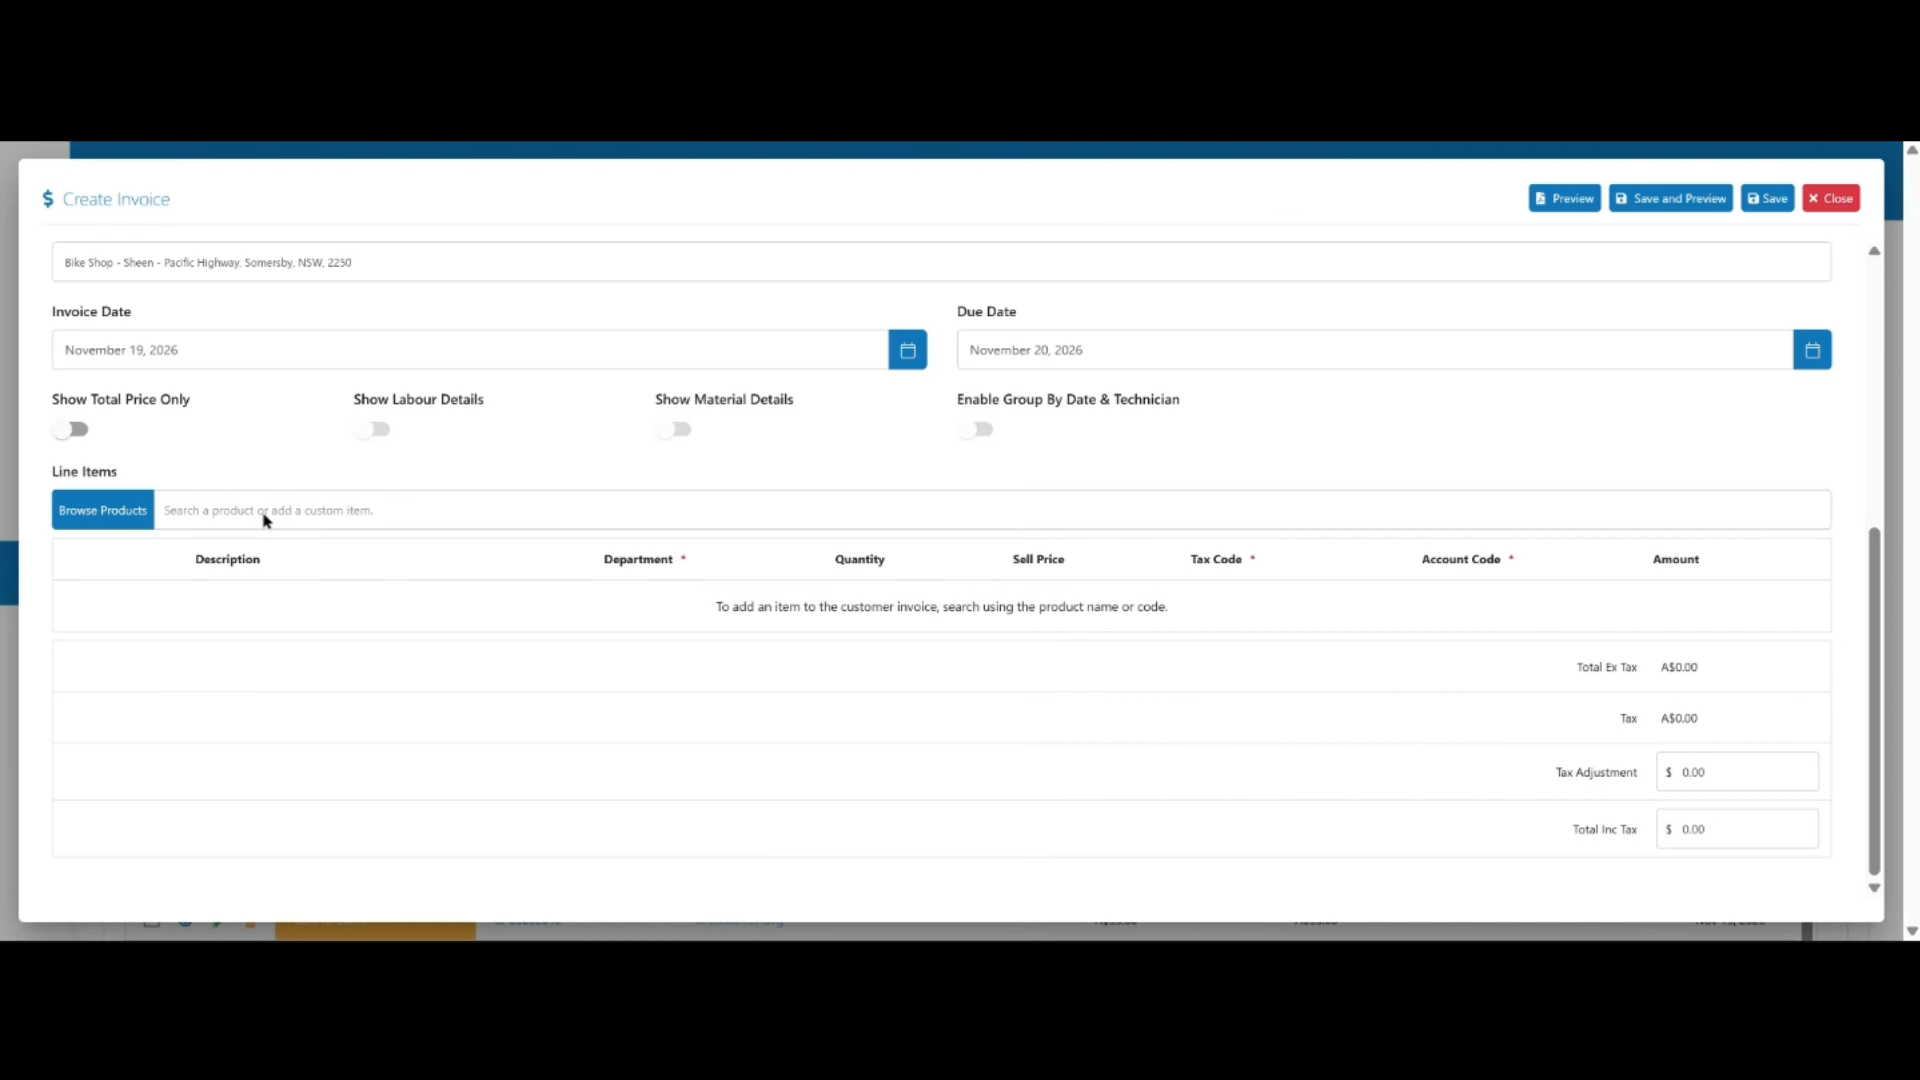
Add products, materials, and labour charges under Line Items, and include any extra notes in the Cover Letter section.
 Step 9
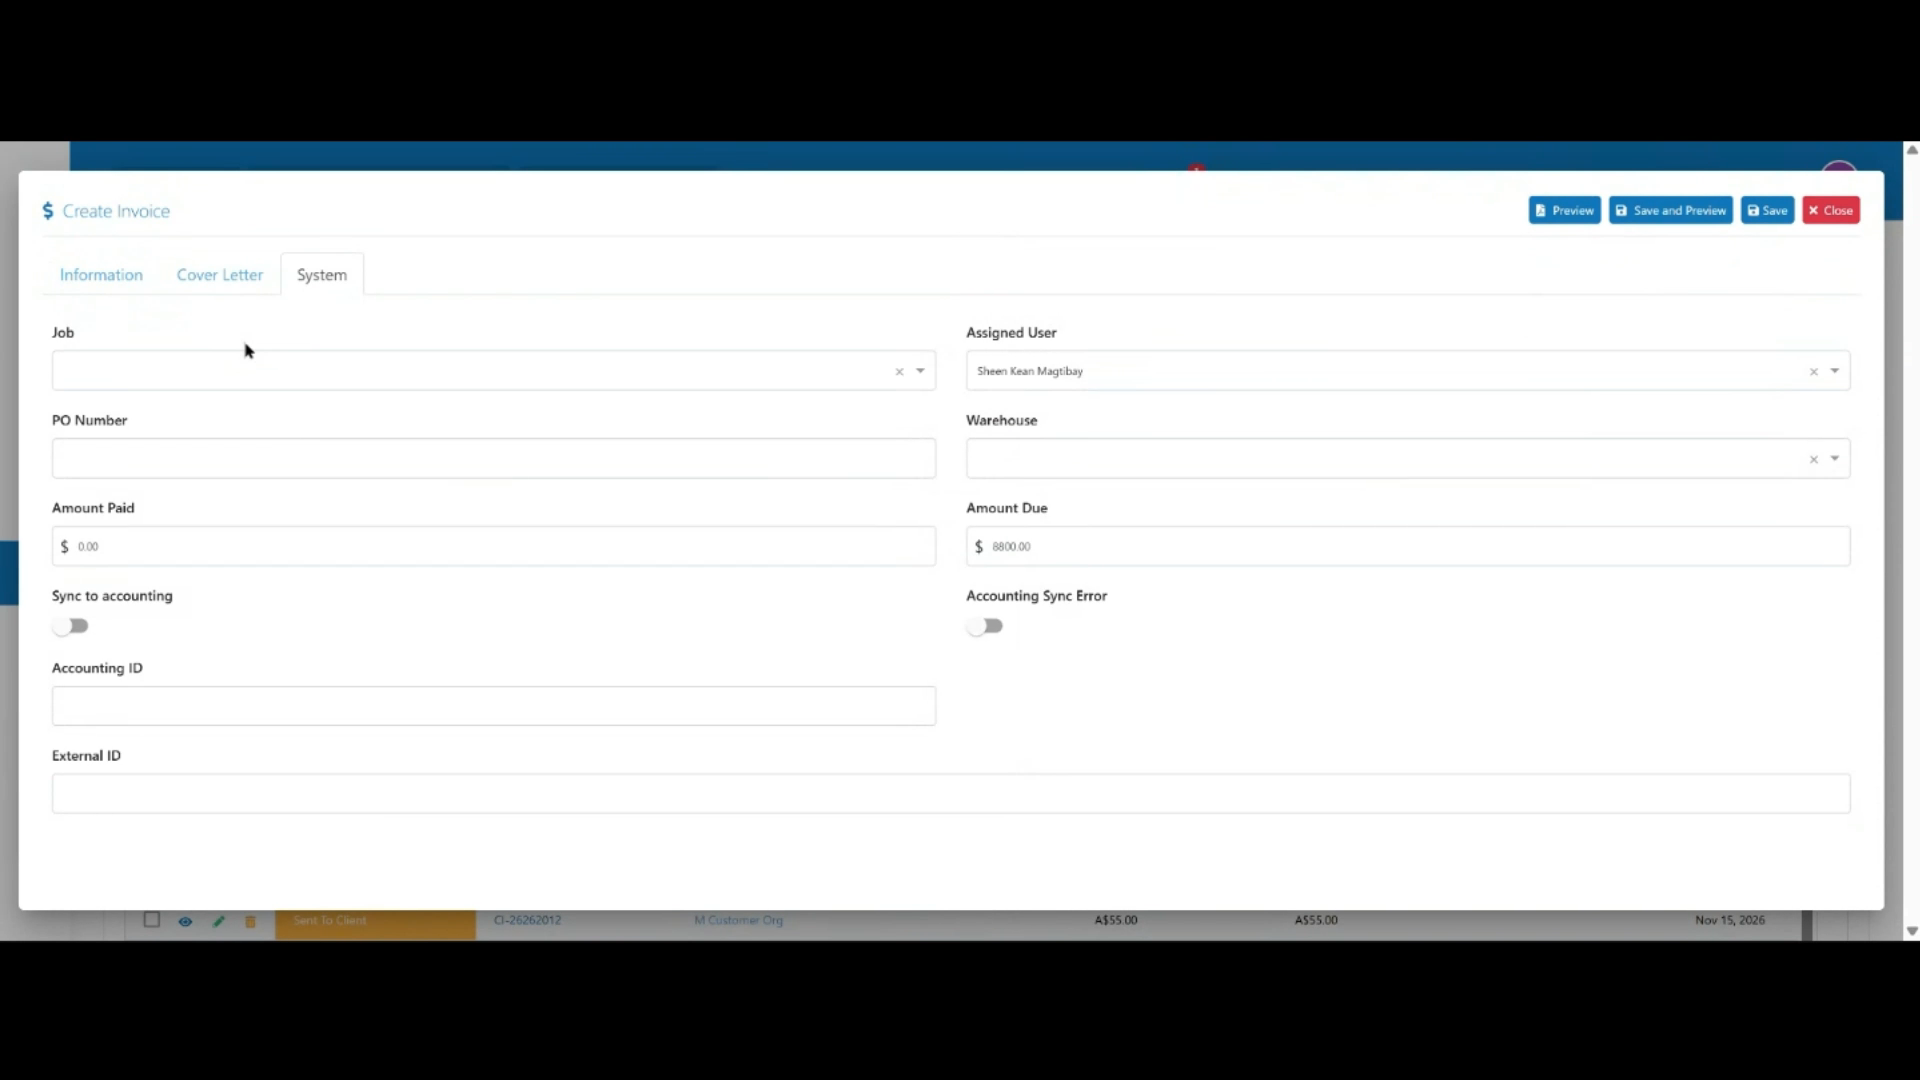
Link an existing job, assign a user, add a PO number, and select a warehouse.
 Step 10
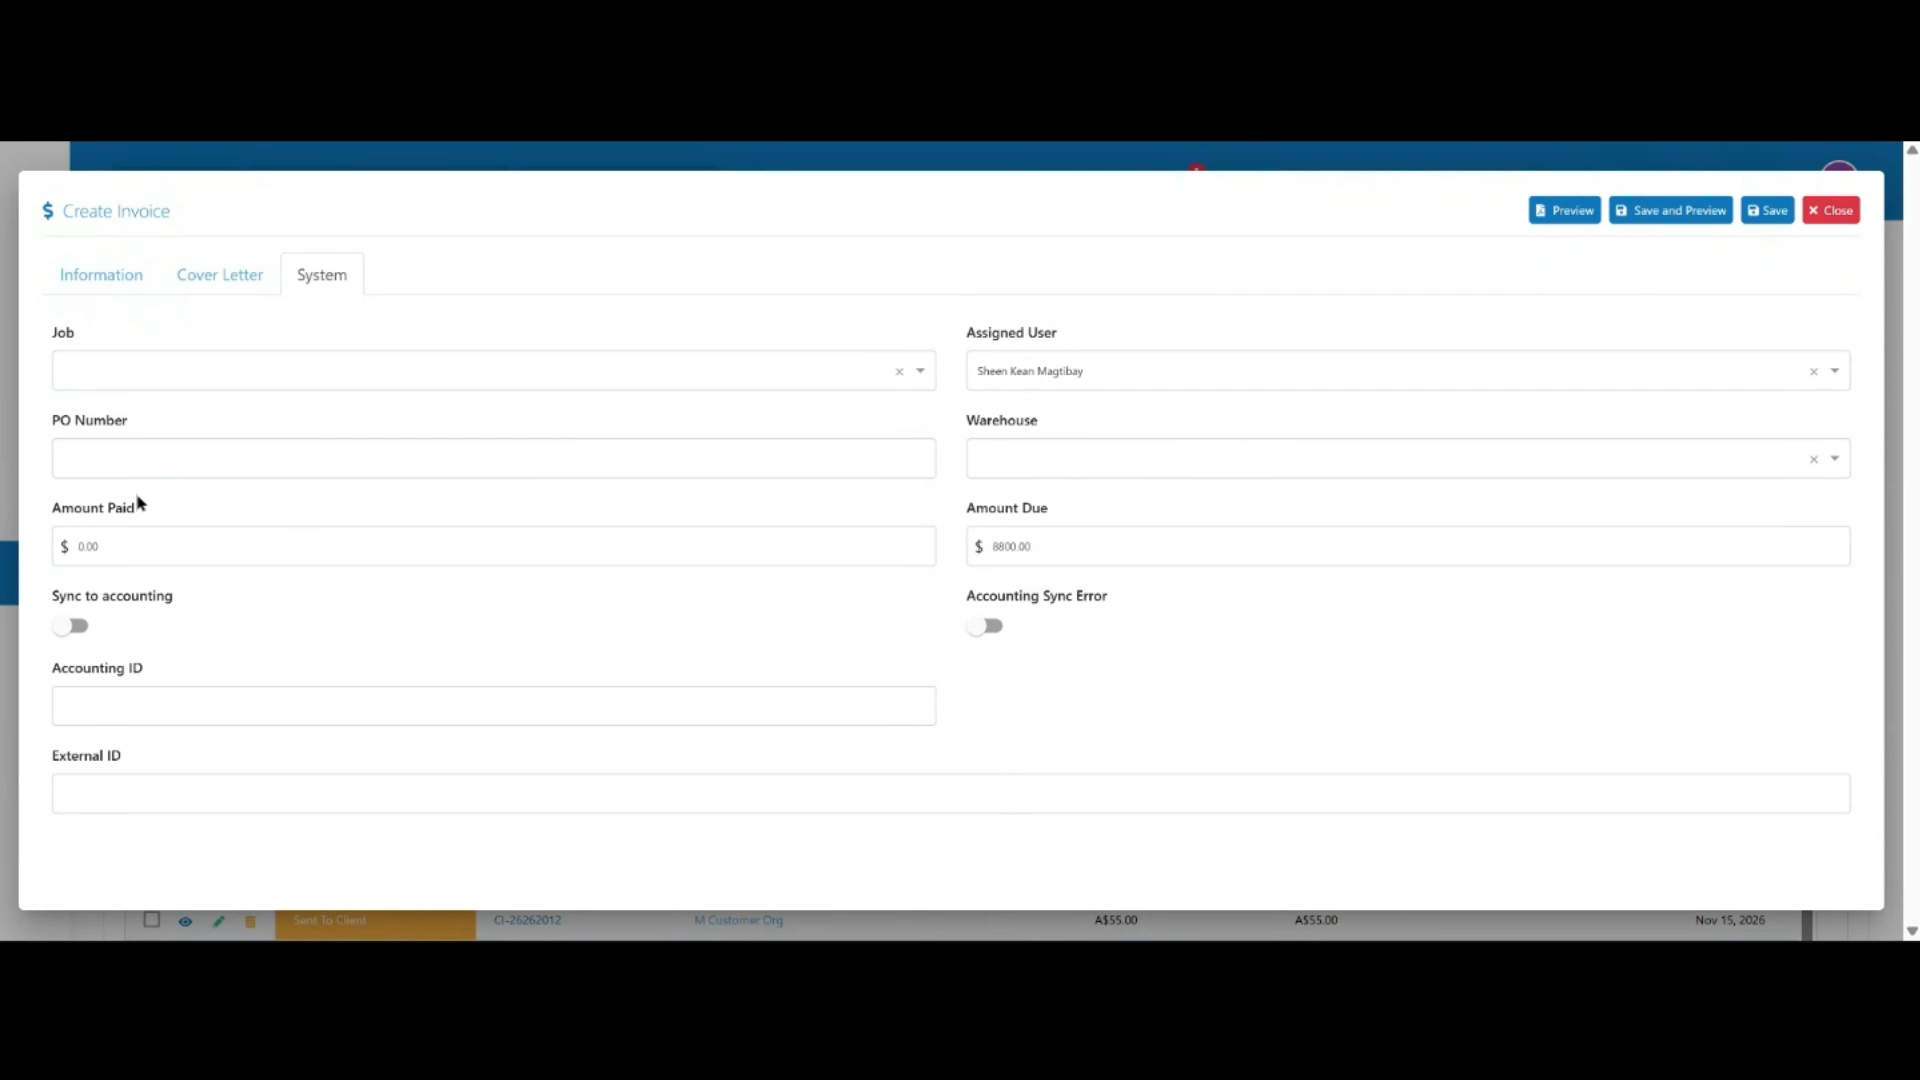
Track Amount Paid and Amount Due, and enable Sync to Accounting to keep the invoice synced with your accounting system.
 Step 11
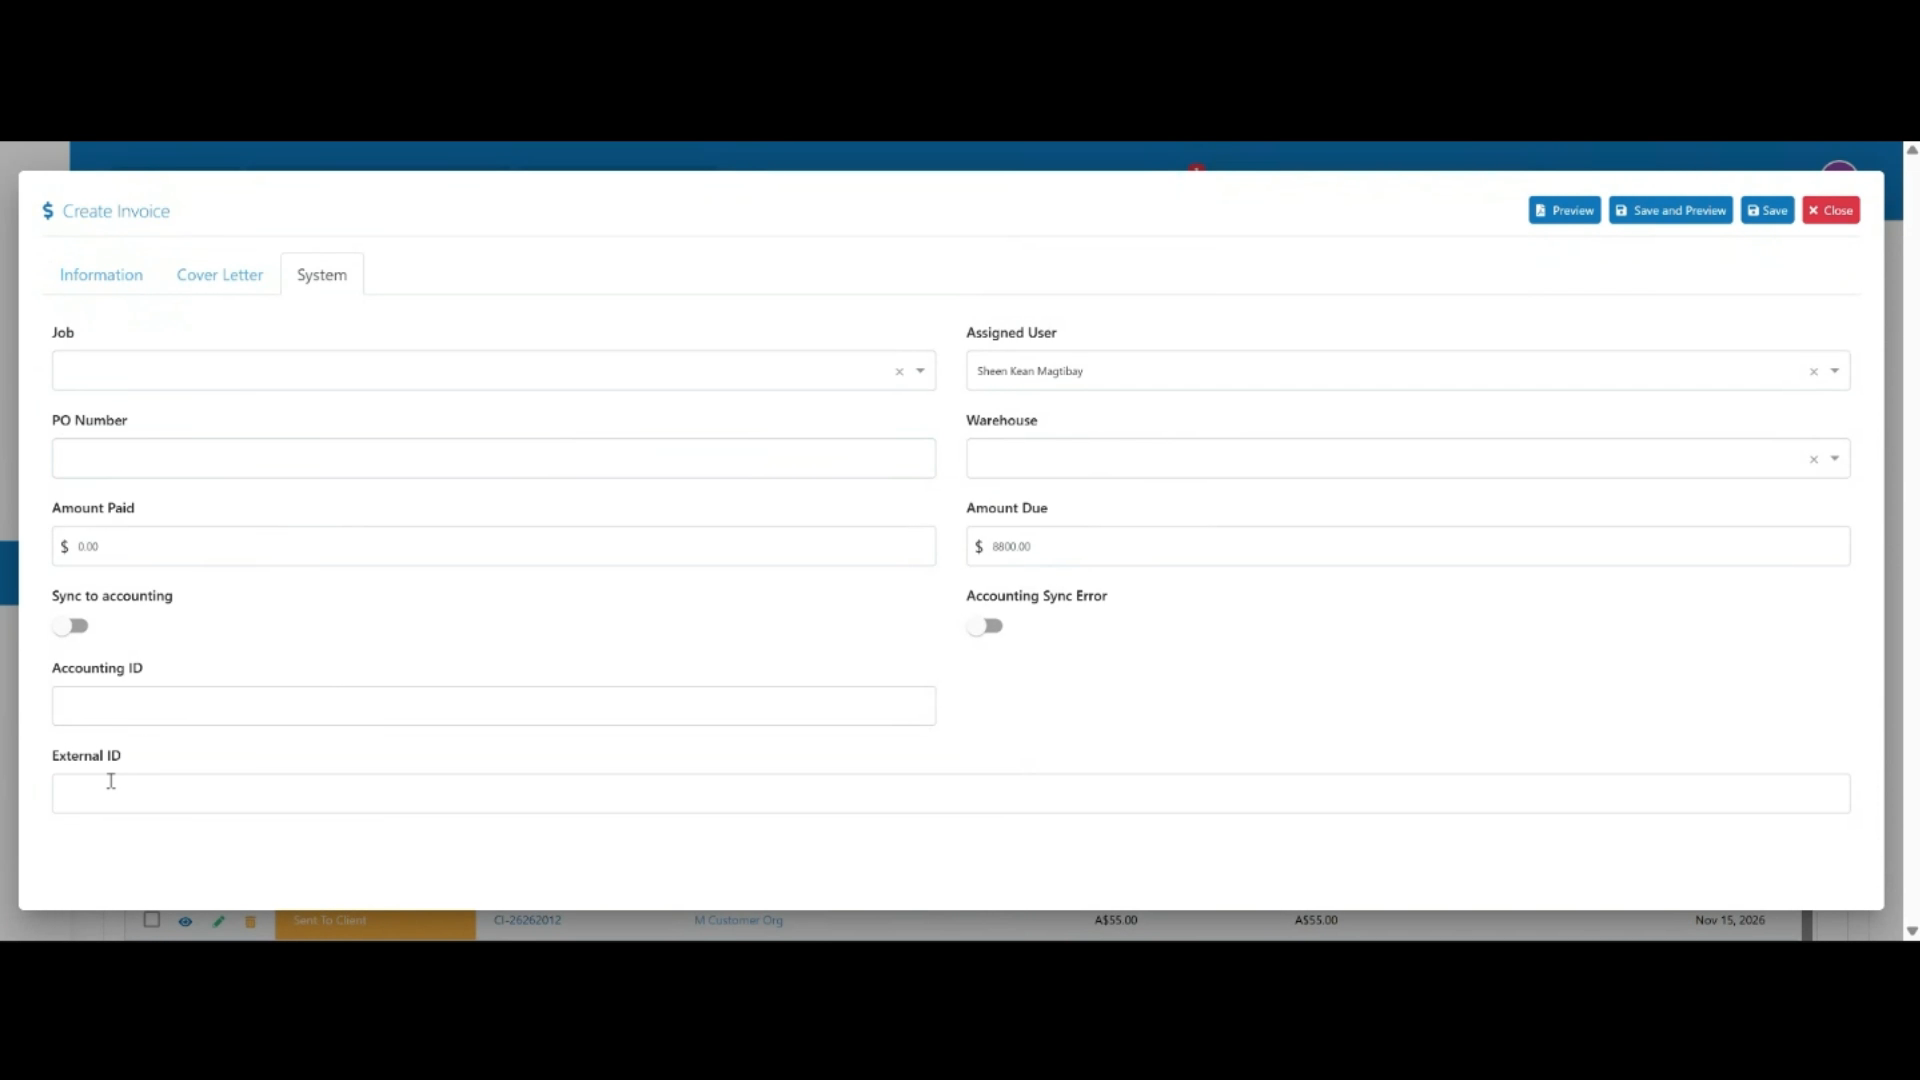
Use the External ID field to record a reference ID from a third-party system.
 Step 12
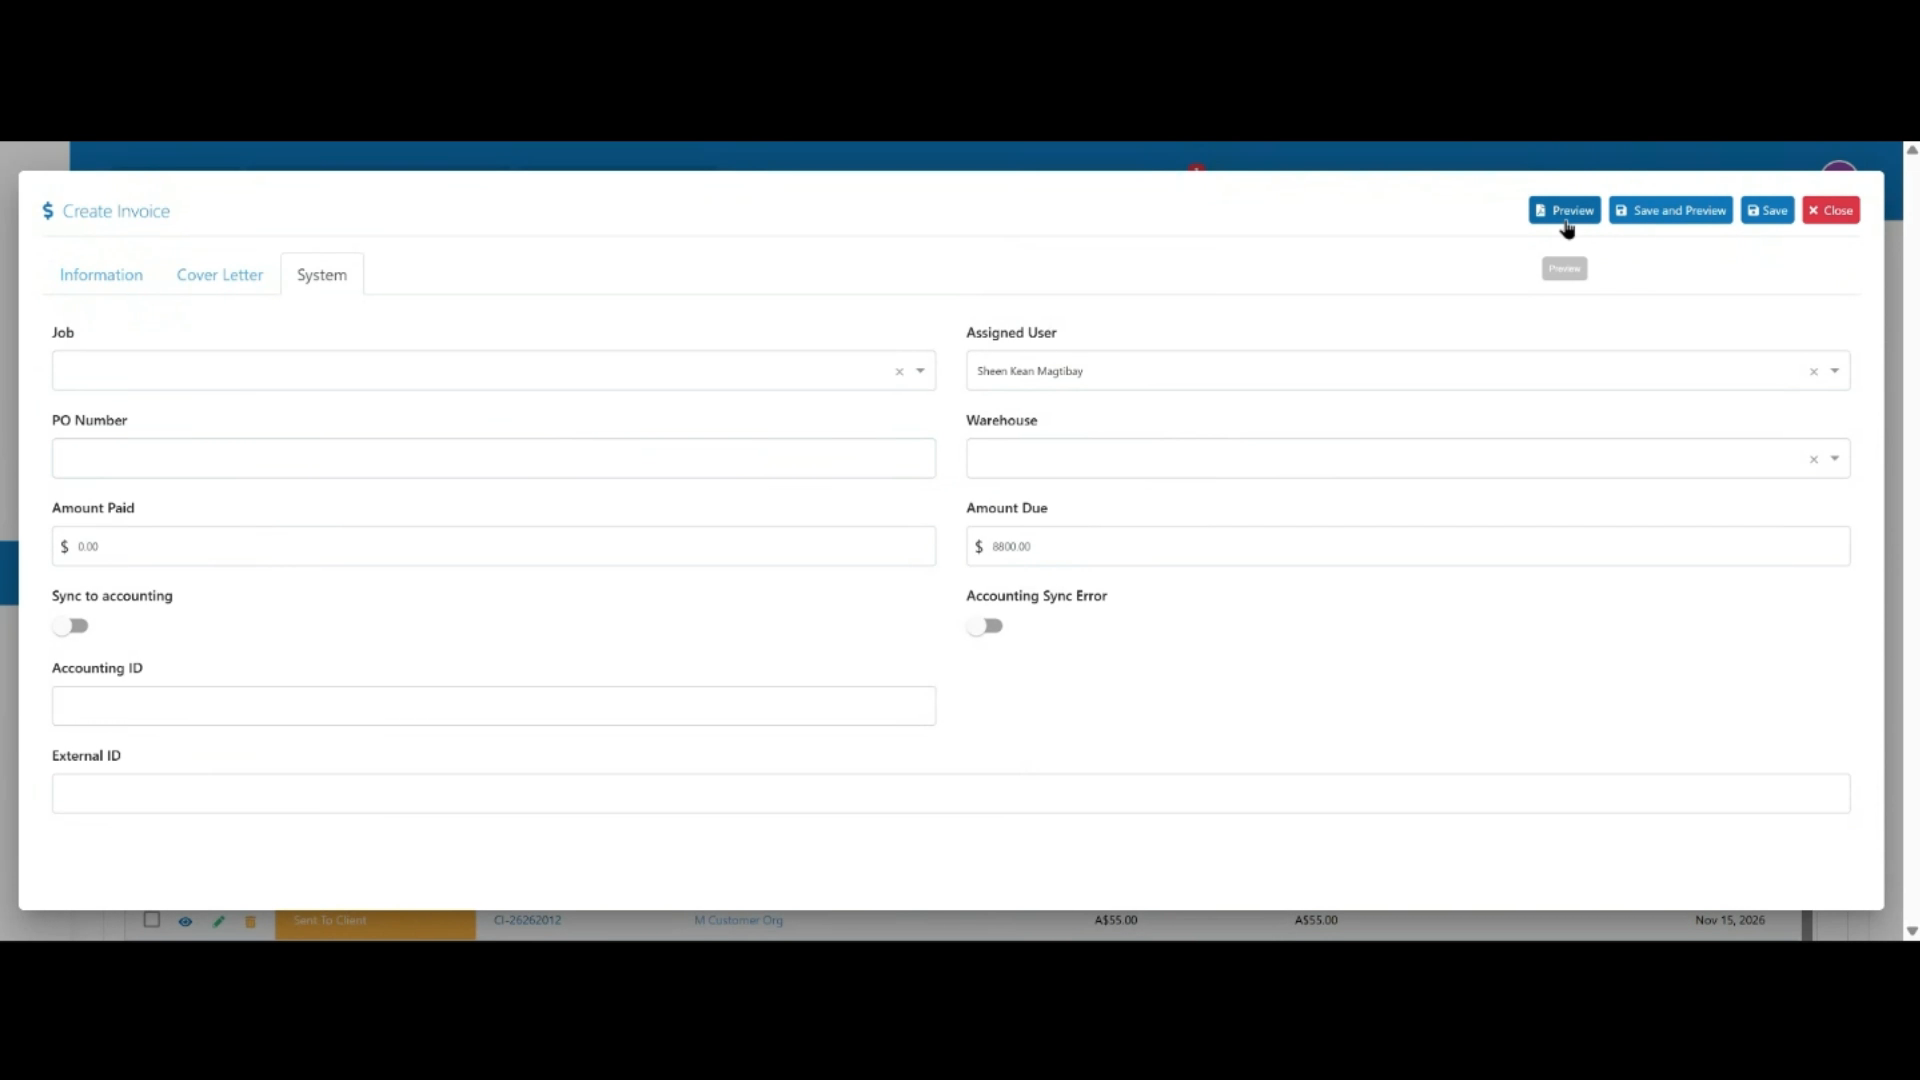
Click Preview to check how the invoice will look, then click Save and Preview to finish.