Asset Management
Customer and Site Linking in Manage Assets
Learn how Customer and Site linking works in Manage Assets when creating and updating assets.
Step-by-step instructions
 Step 1
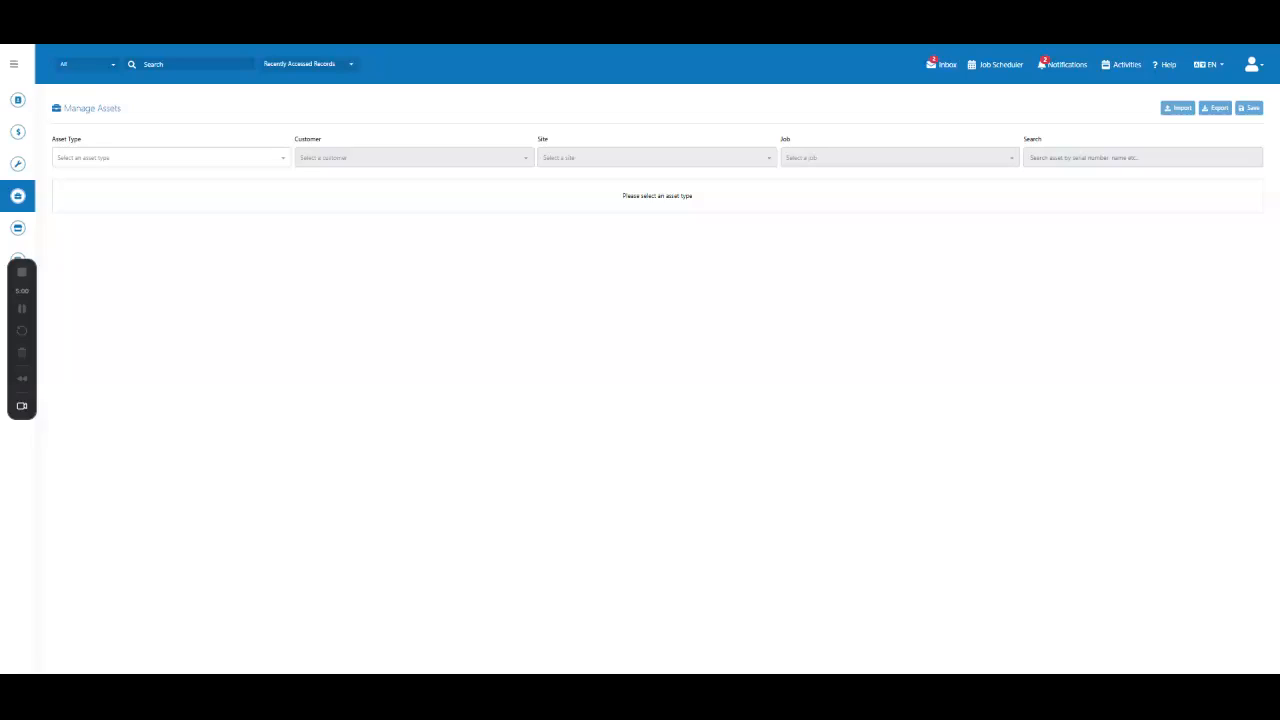
Learn how Customer and Site linking works in Manage Assets when creating and updating assets.
 Step 2
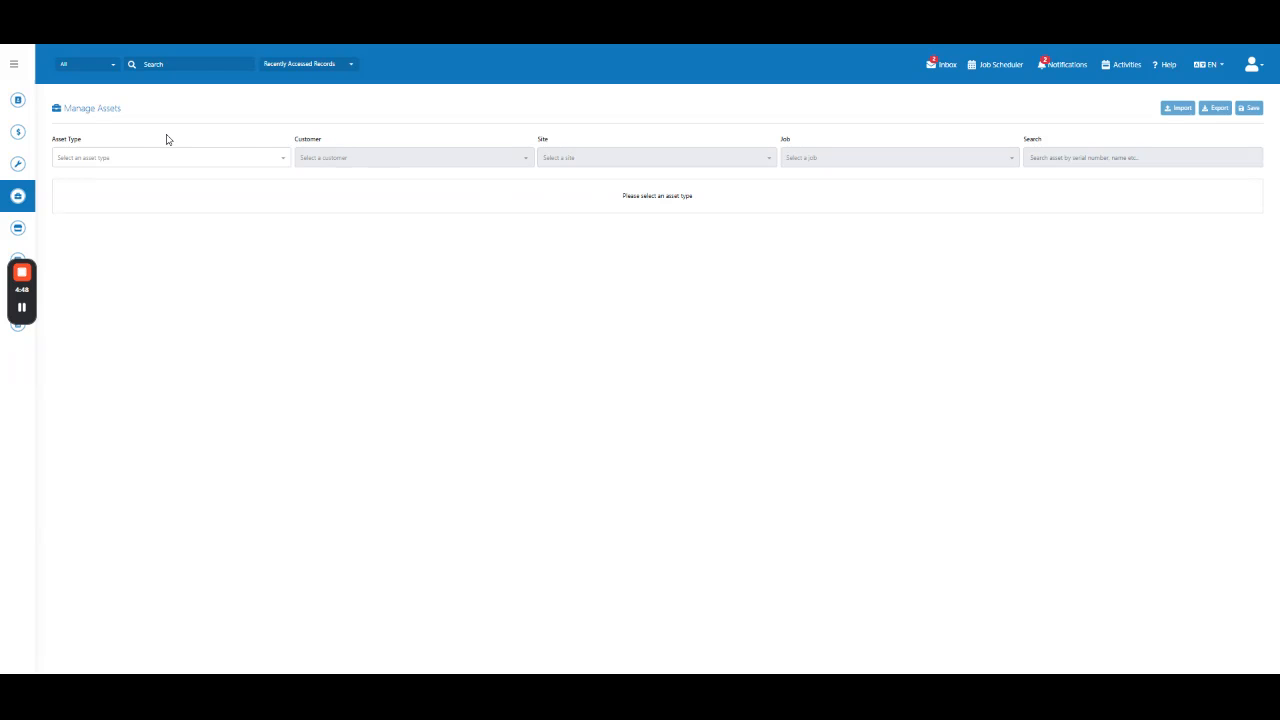
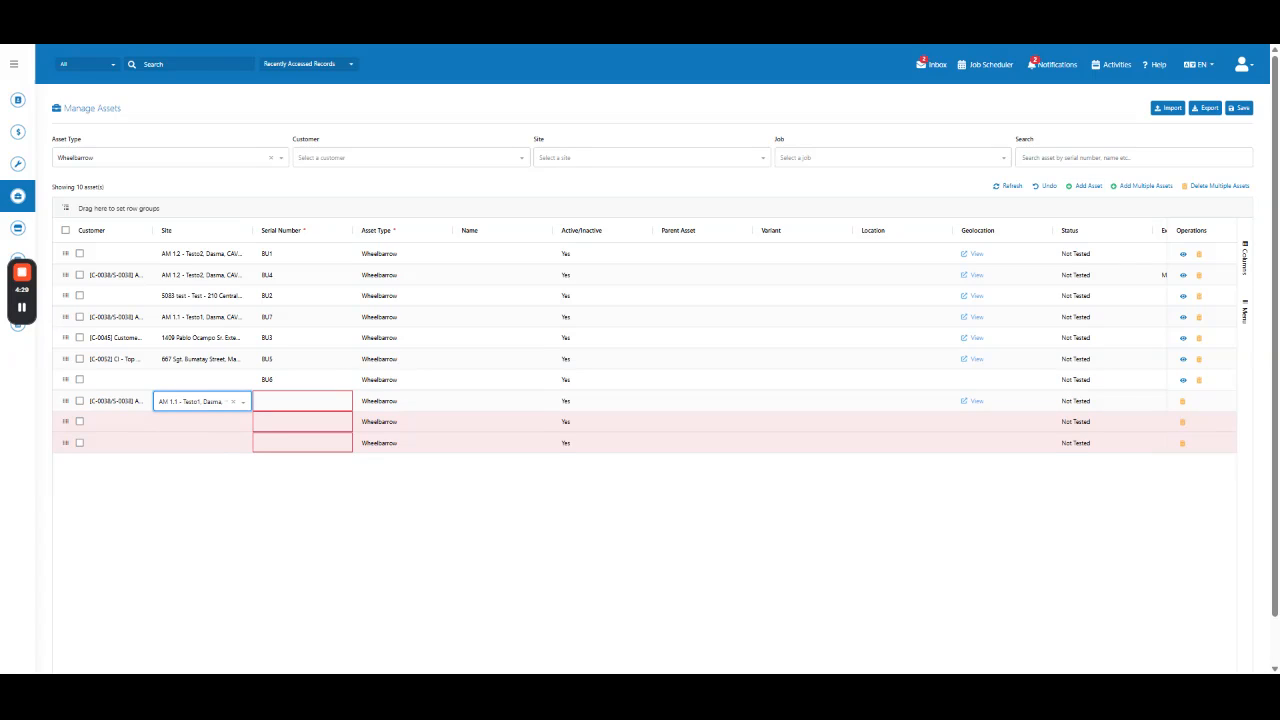
Navigate to Manage Assets, select an asset type, and click Add Asset. Select a site for the new asset.
 Step 3
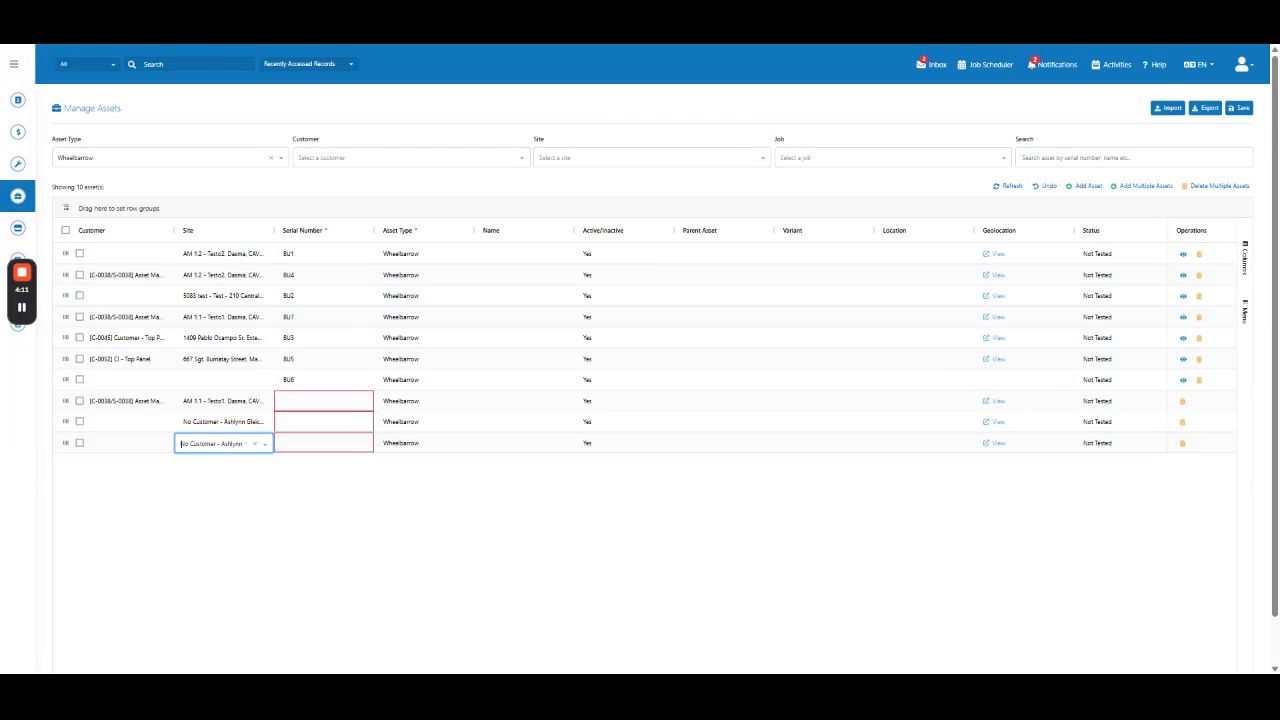
Note that if the selected site has an associated customer, it is automatically applied to the asset. If the site has no customer, choose any customer or leave the field blank.
 Step 4
Click Save to create the asset. When updating an existing asset, the same rules apply, and the customer from the site is automatically applied upon saving even if no customer was previously set.
 Step 5
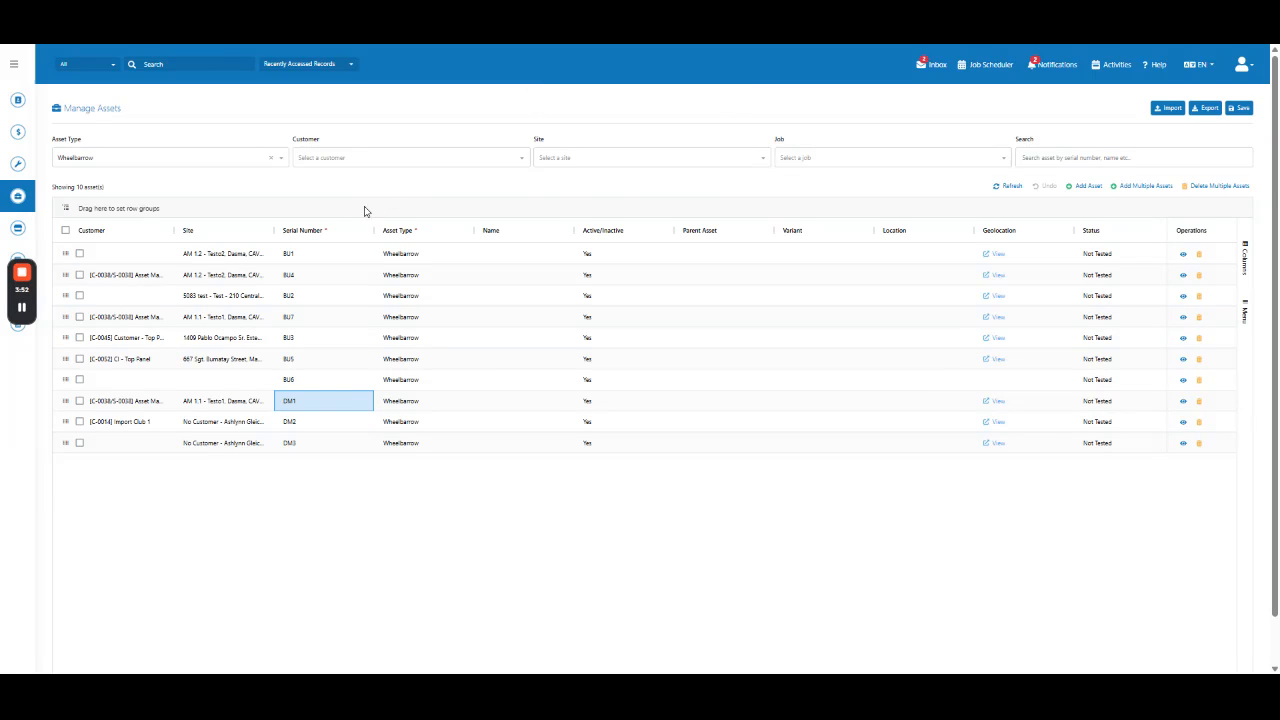
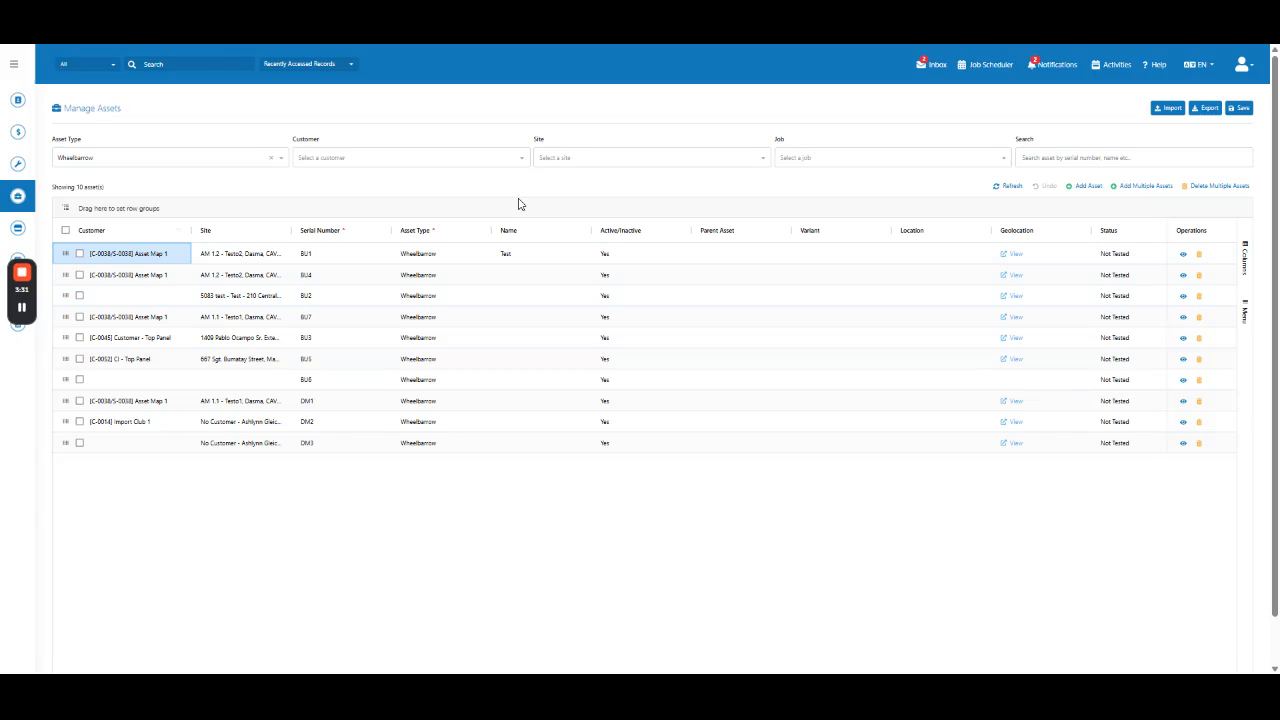
Click Refresh to update the asset list. Optionally, use the available filters to quickly locate specific records.
 Step 6
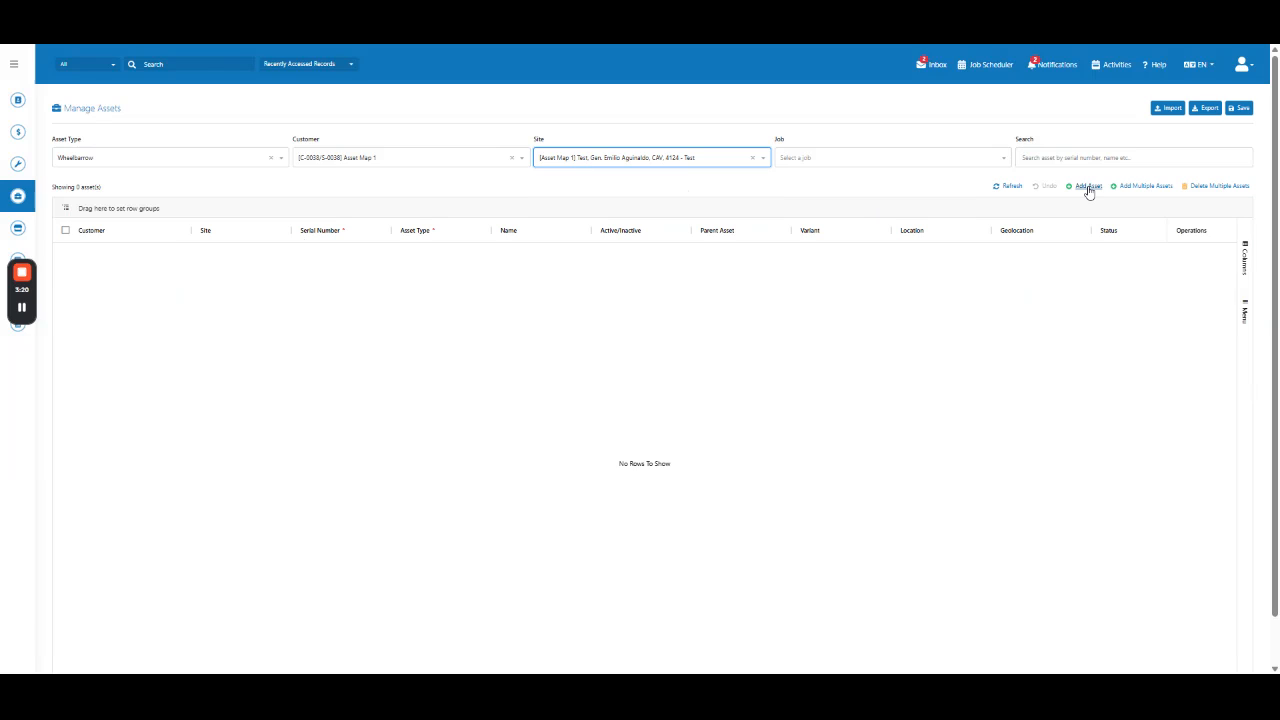
Filter the list by a specific Customer and Site, then click Add Asset.
 Step 7
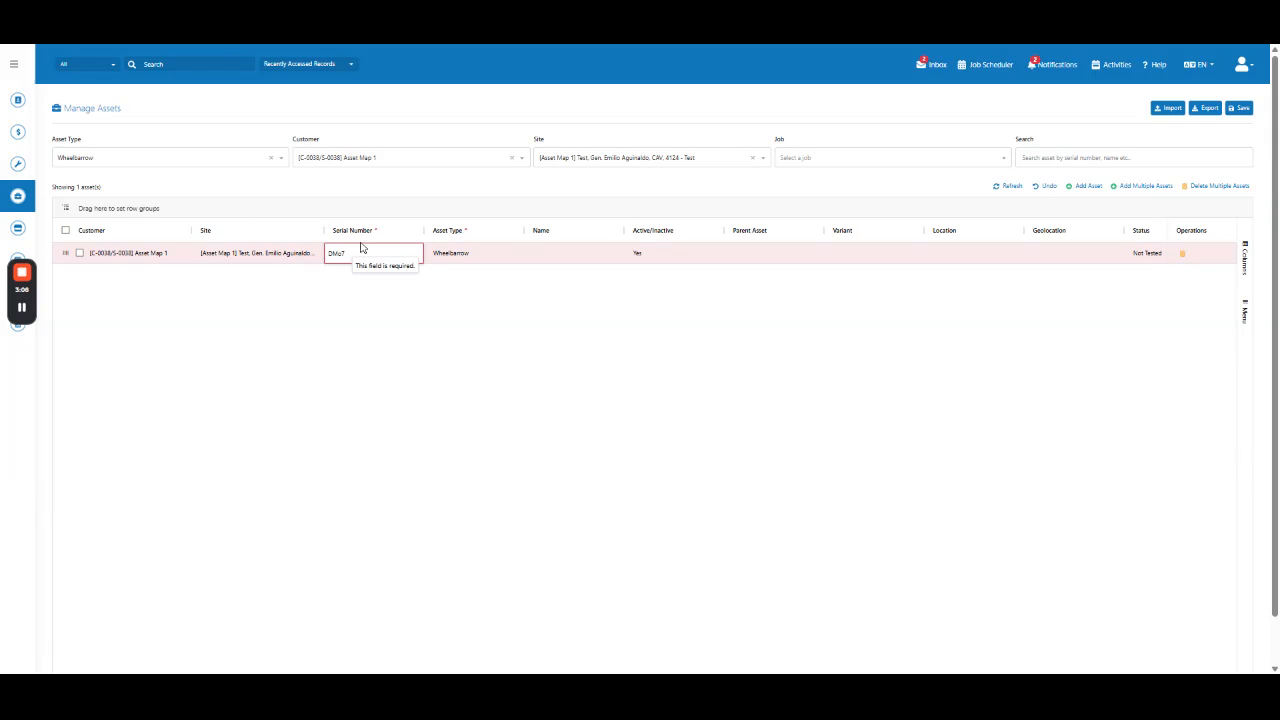
Verify that the selected customer and site have been automatically populated in the Customer and Site fields of the new asset.
 Step 8
Apply these Customer and Site linking rules whenever creating and updating assets in Manage Assets.