Job Scheduling
Customizing Job Statuses by Job Type
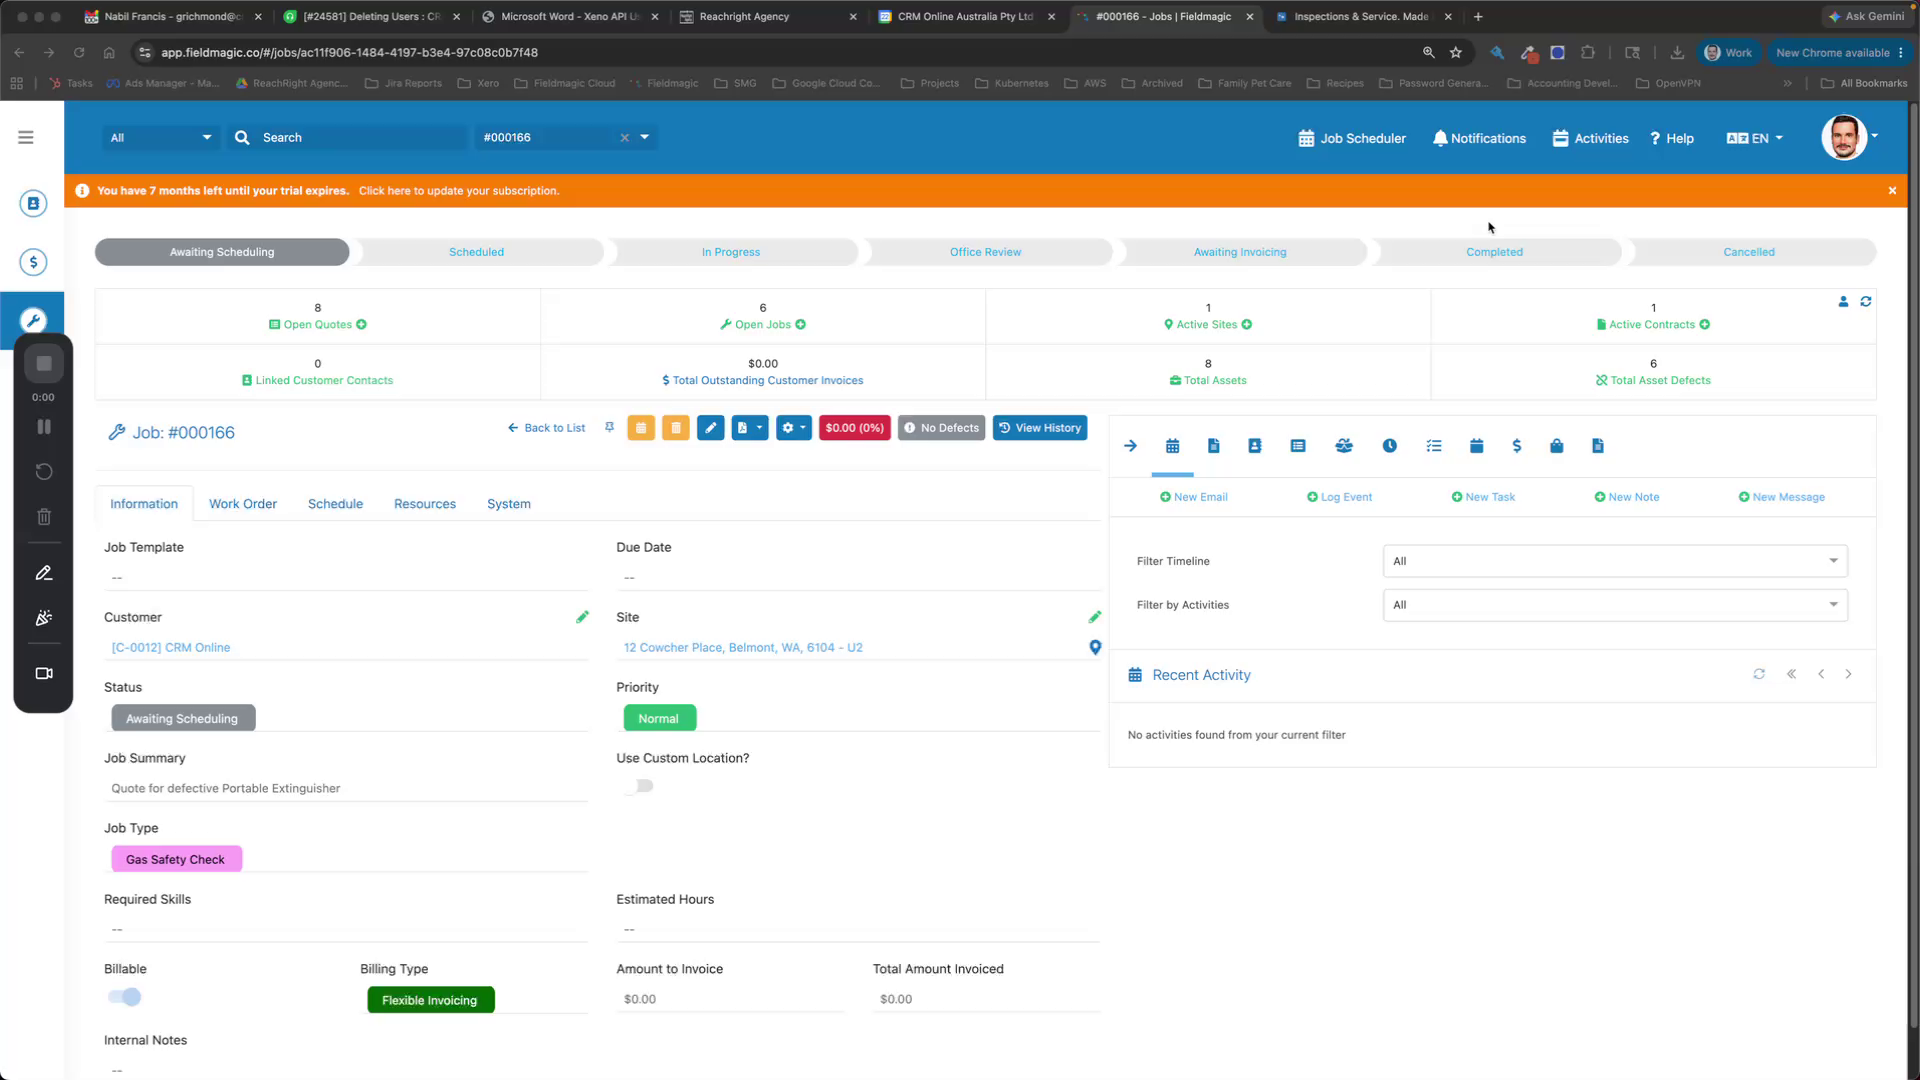
This guide shows how to customize job statuses and sub-statuses for each job type in FieldMagic.
Step-by-step instructions
 Step 1
This guide shows how to customize job statuses and sub-statuses for each job type in FieldMagic.
 Step 2
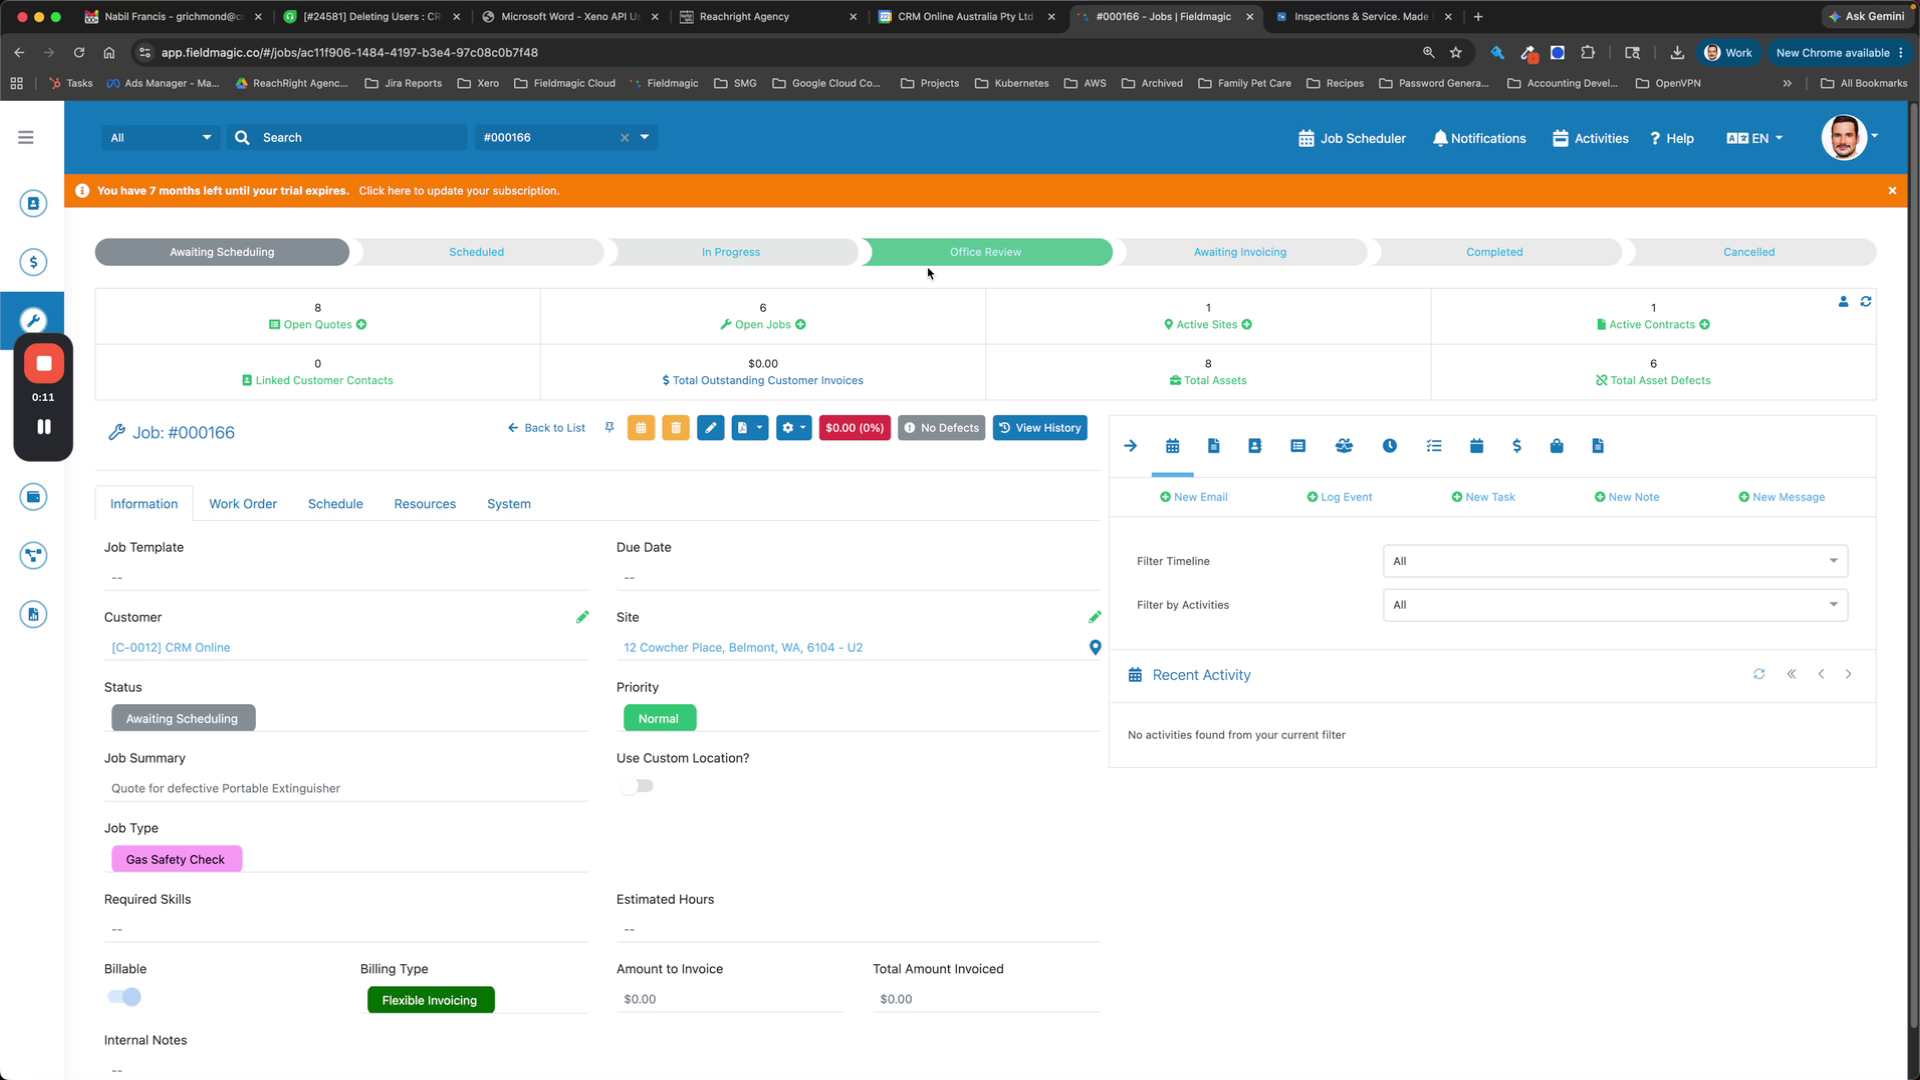
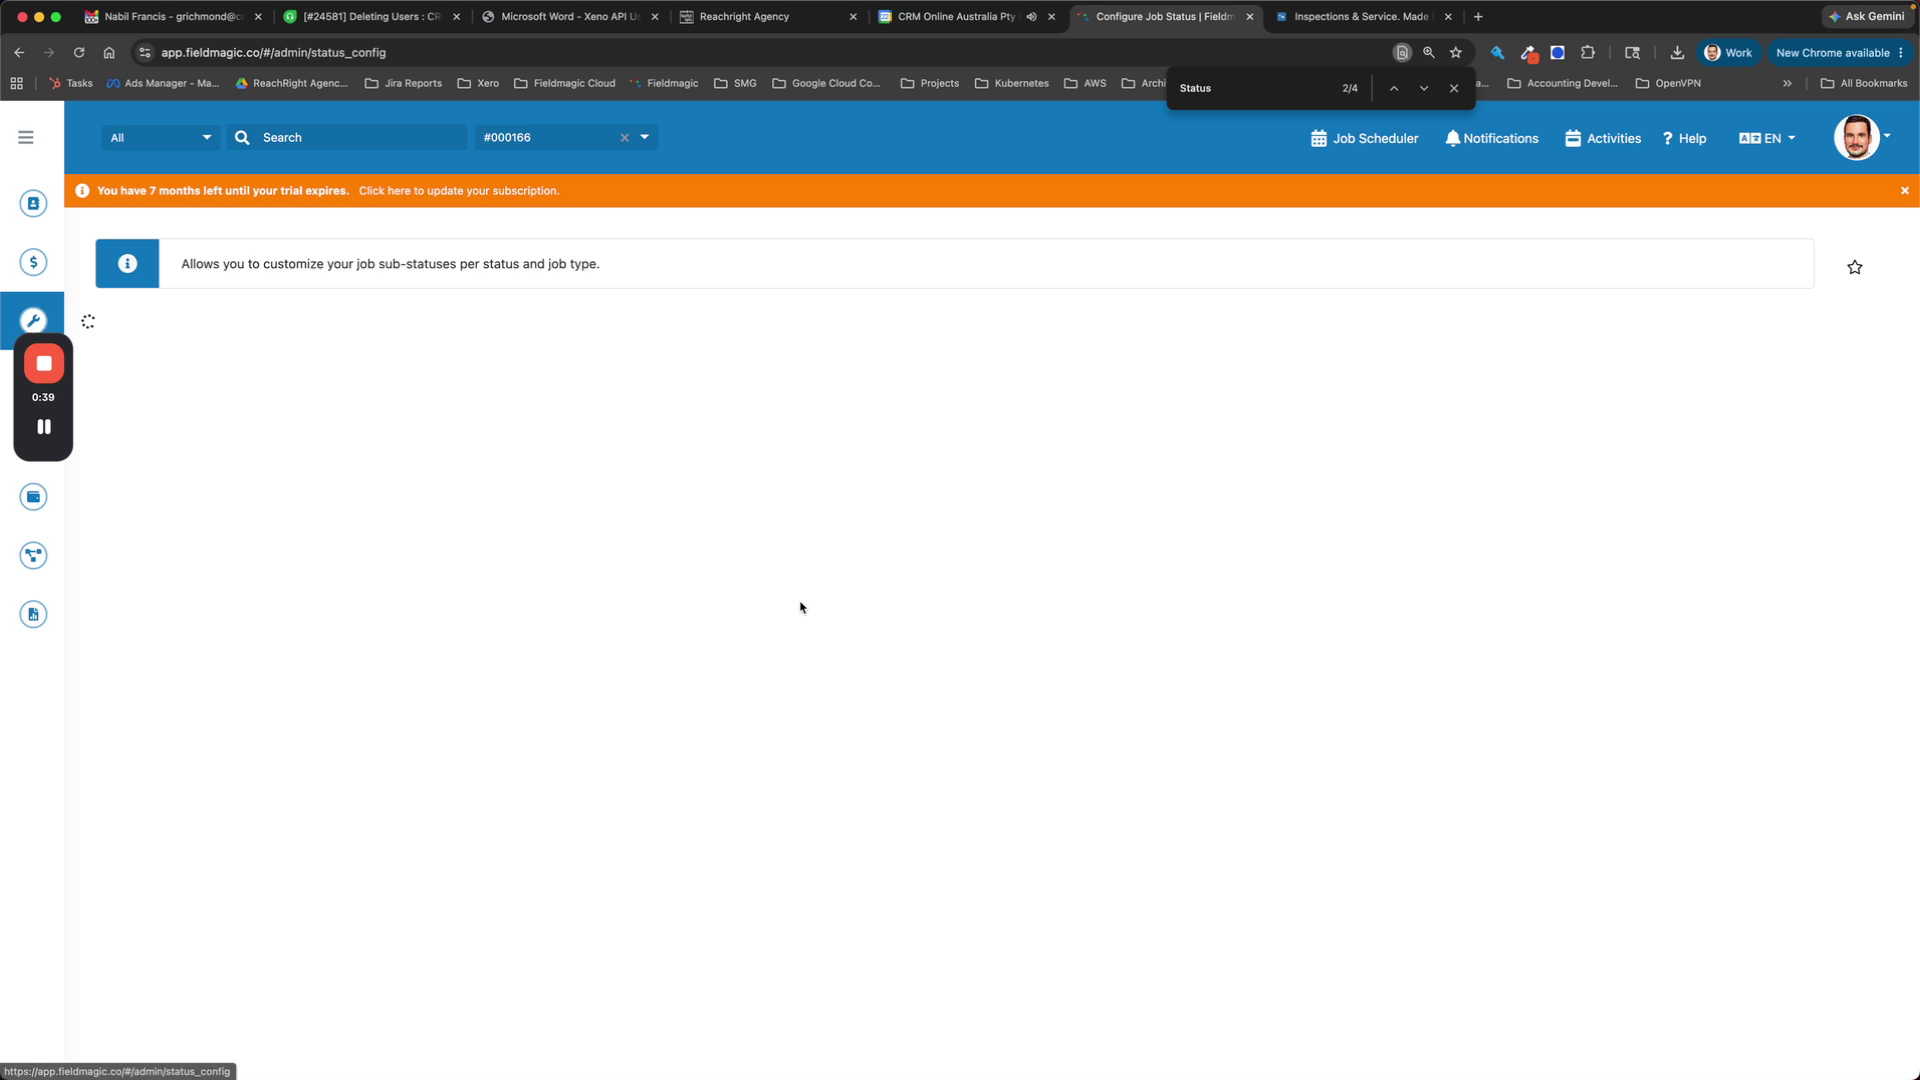
Navigate to Settings and select Configure Job Status.
 Step 3
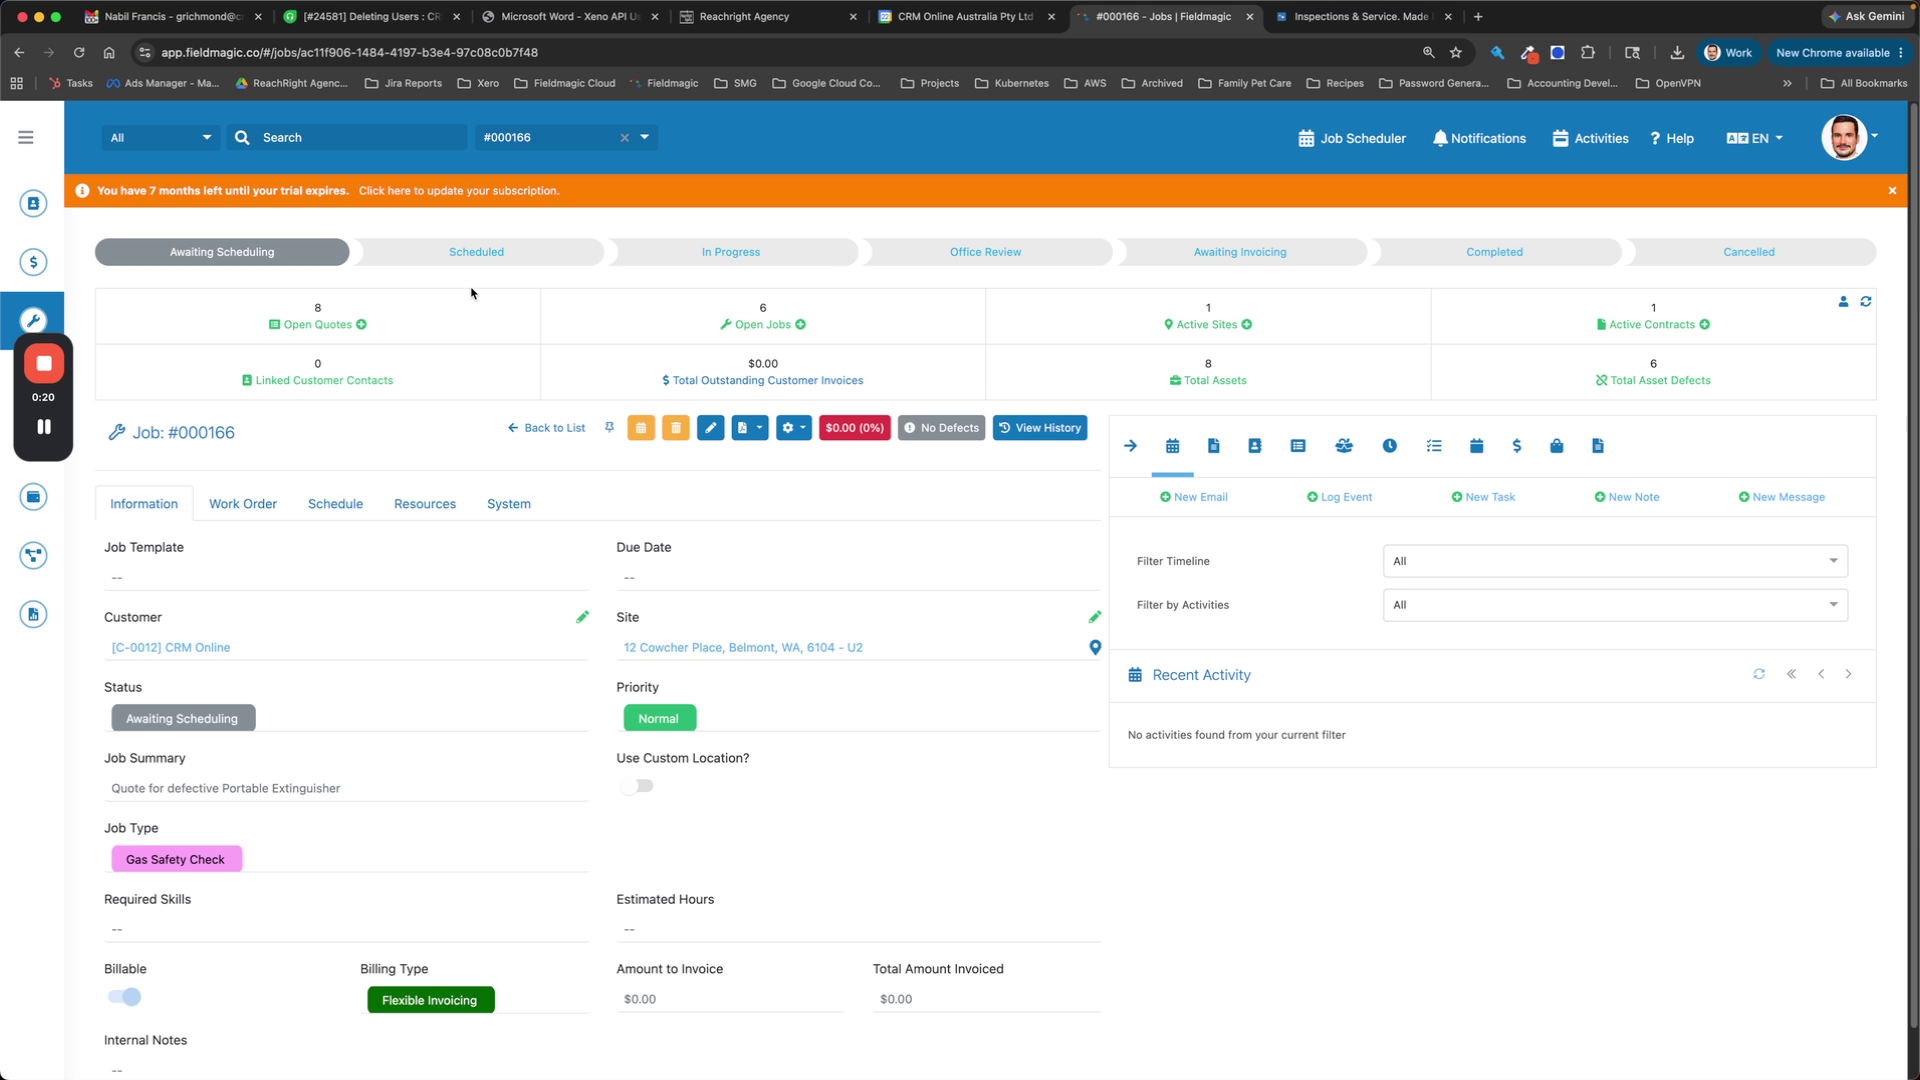
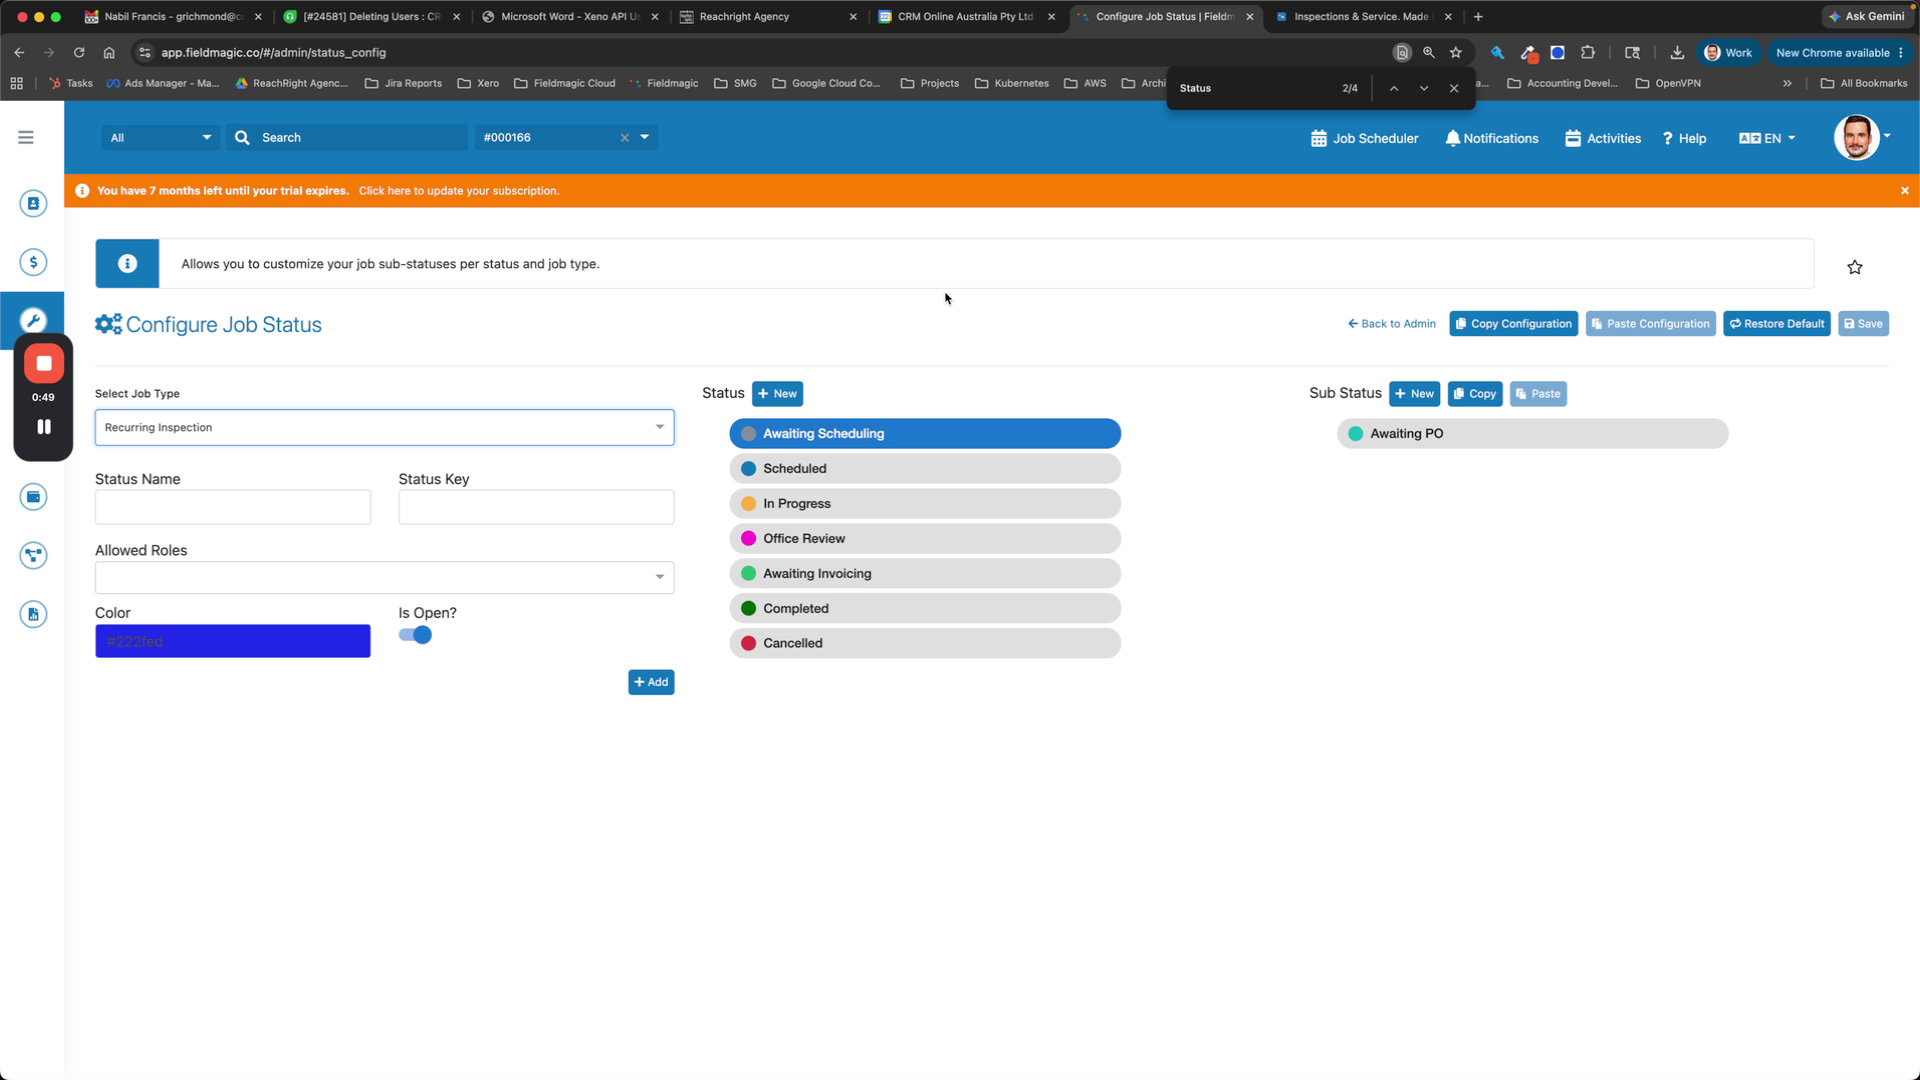
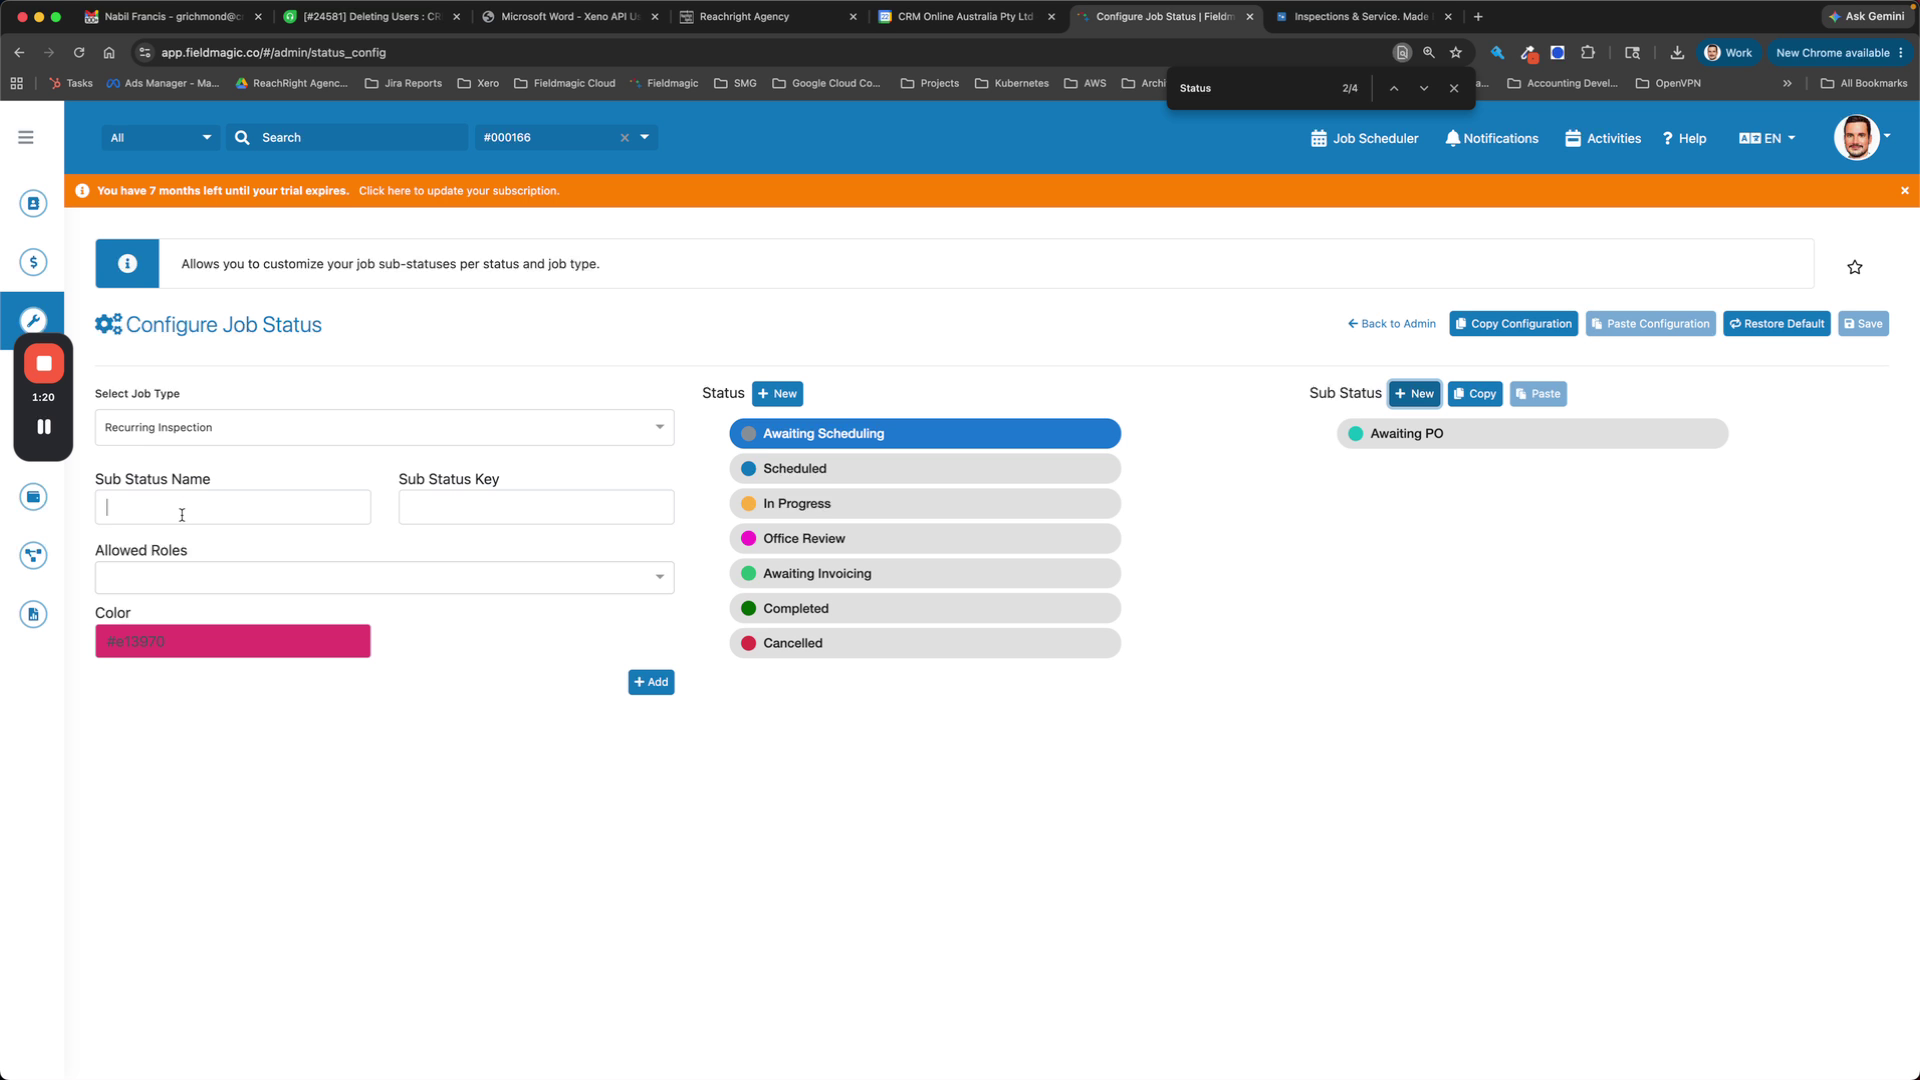
For each job type, select the main statuses to display across the top and define the sub-statuses for that type.
 Step 4
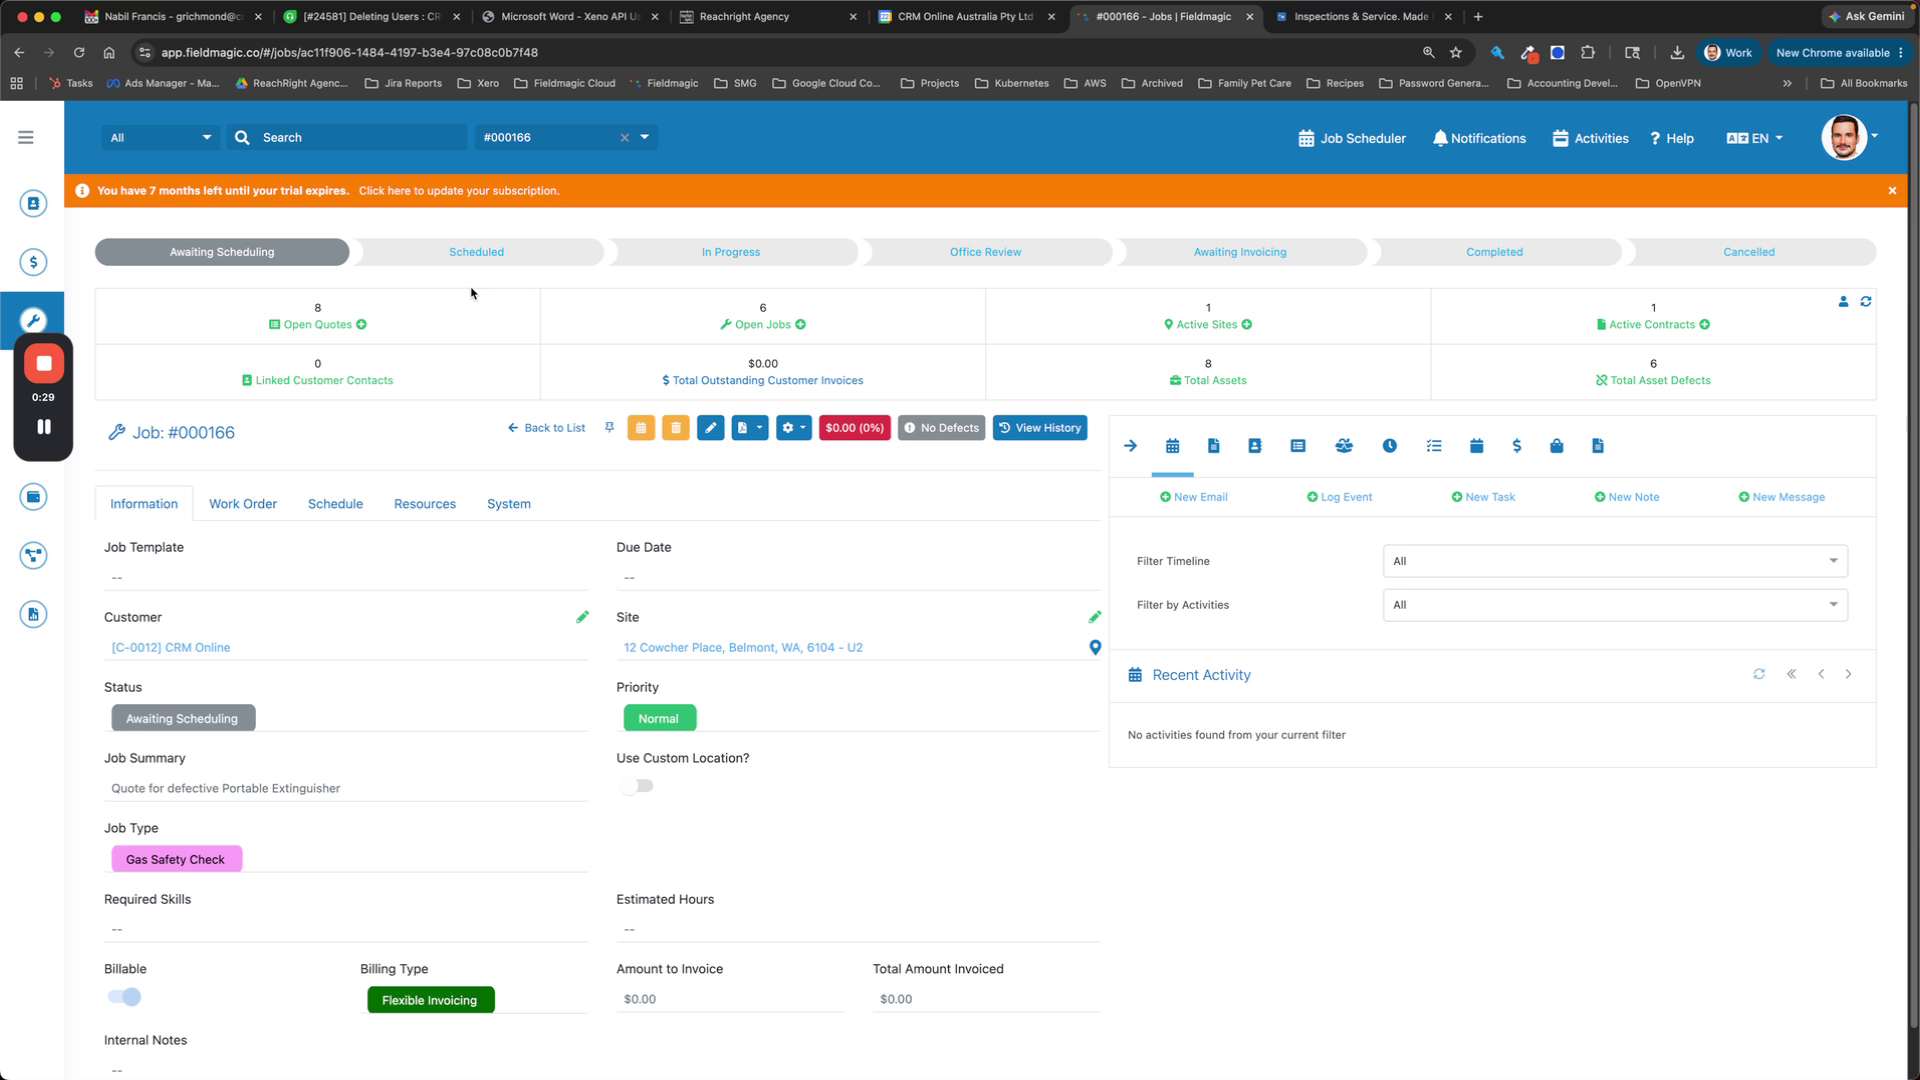
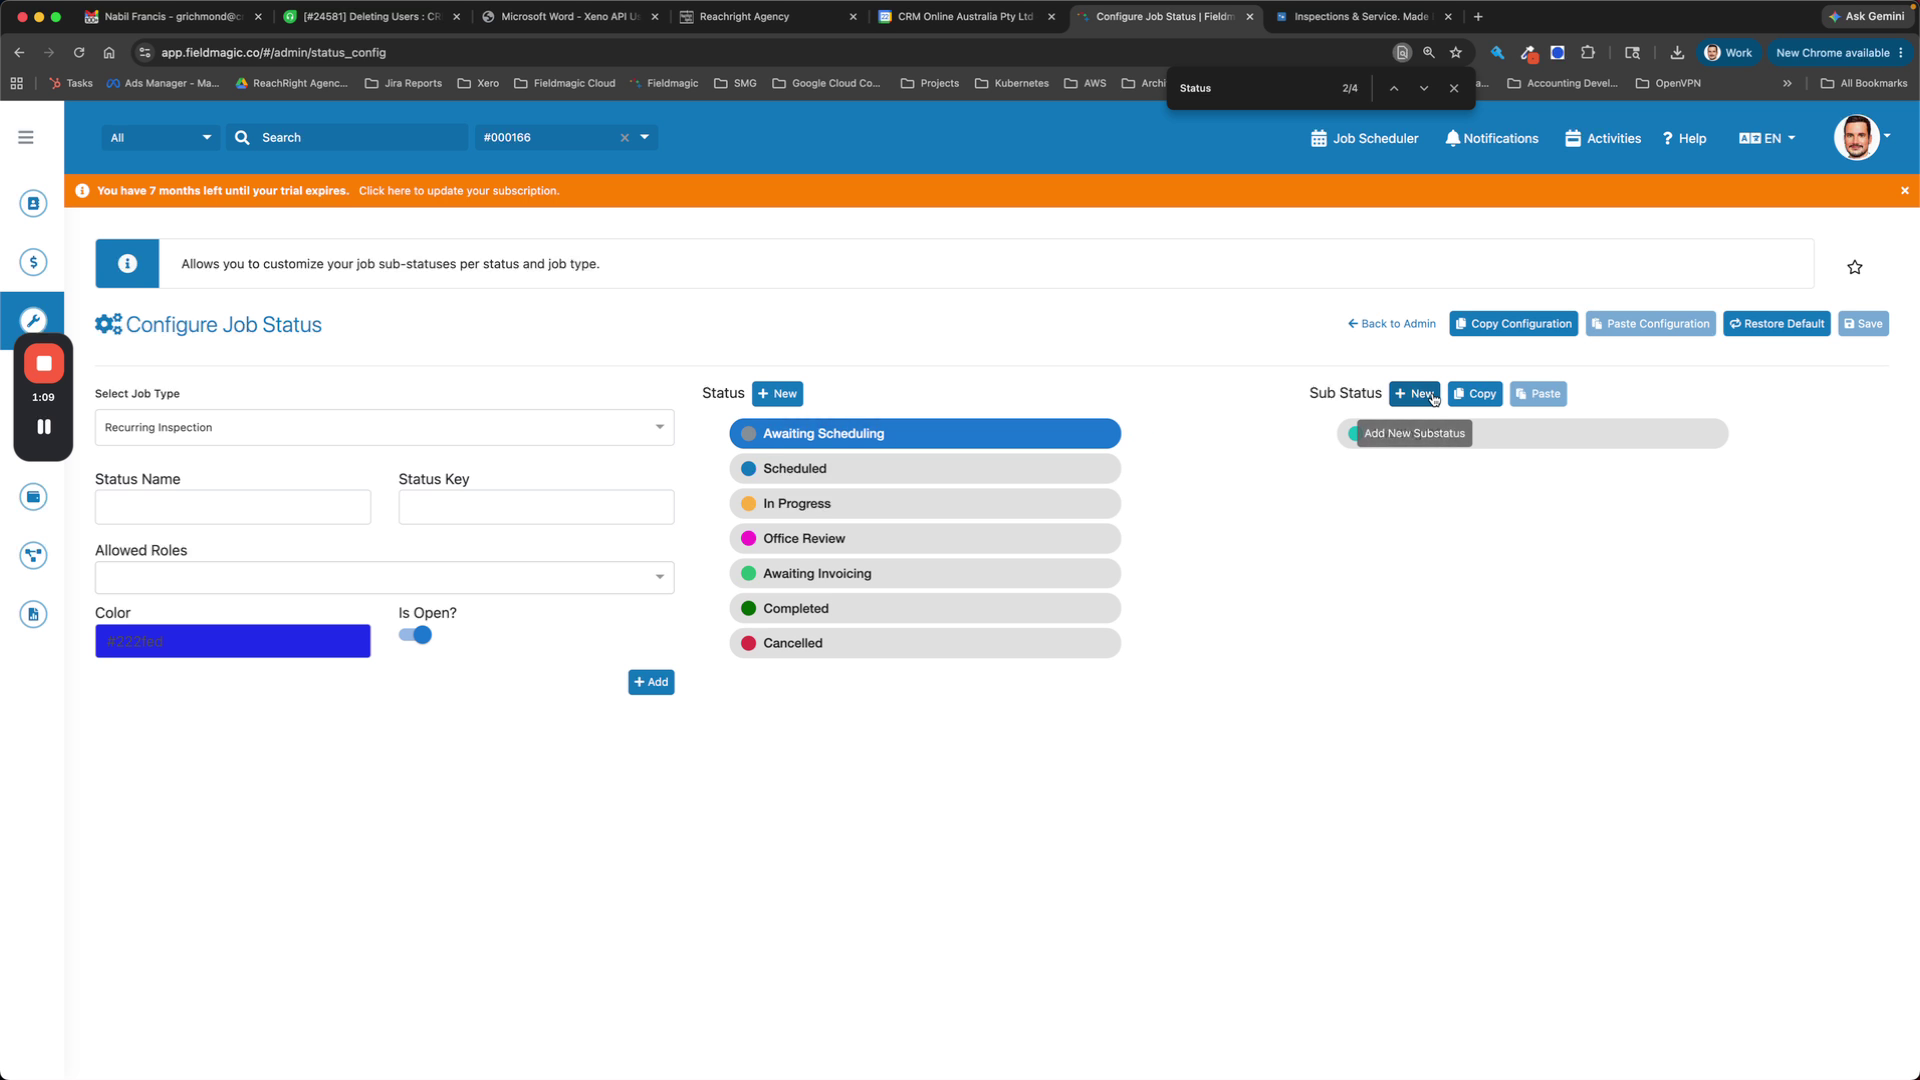
Add new sub-statuses using the Add Sub-status button; you can also edit existing main statuses if needed.
 Step 5
When adding statuses, prefer adding over removing because only a limited number of main statuses fit across the top, whereas sub-statuses can be added without limit.
 Step 6
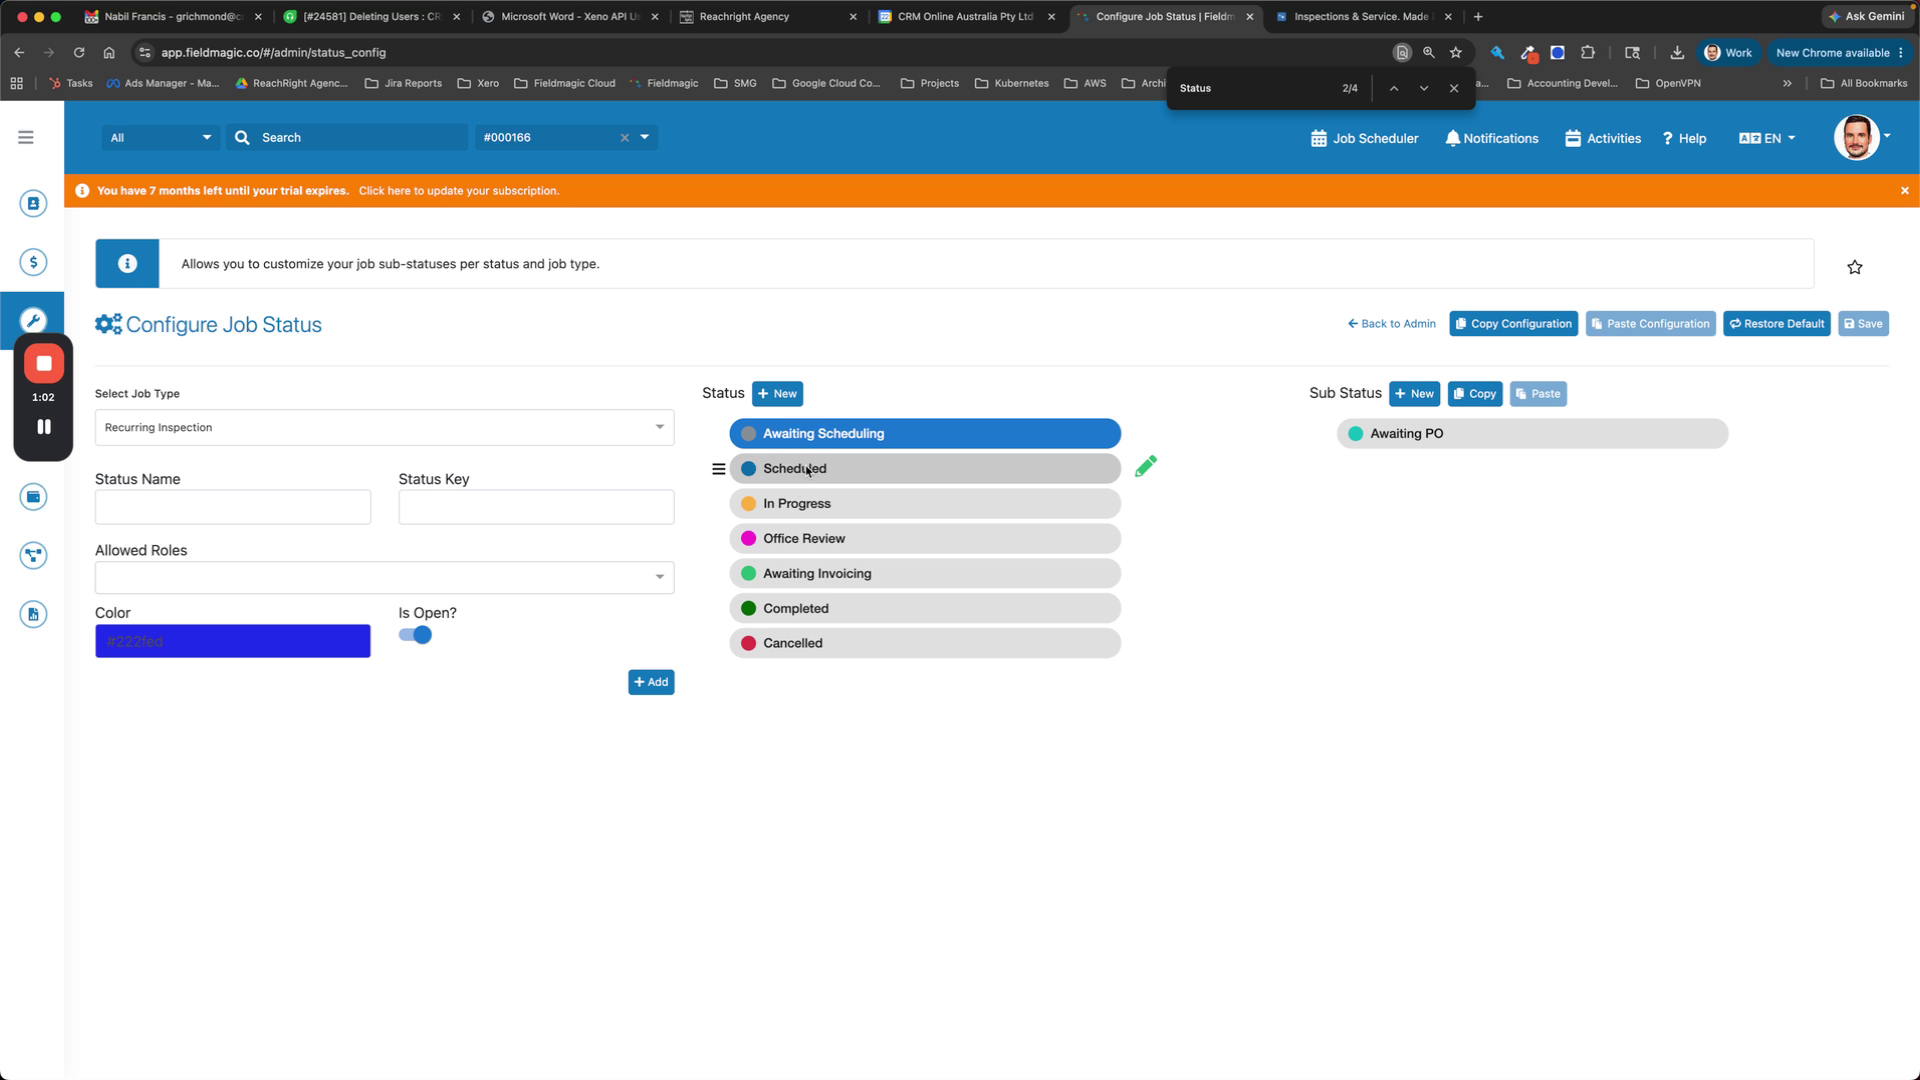
Enter custom values such as Awaiting Scheduling, Awaiting PO, Awaiting Approval, or Client Approval.
 Step 7
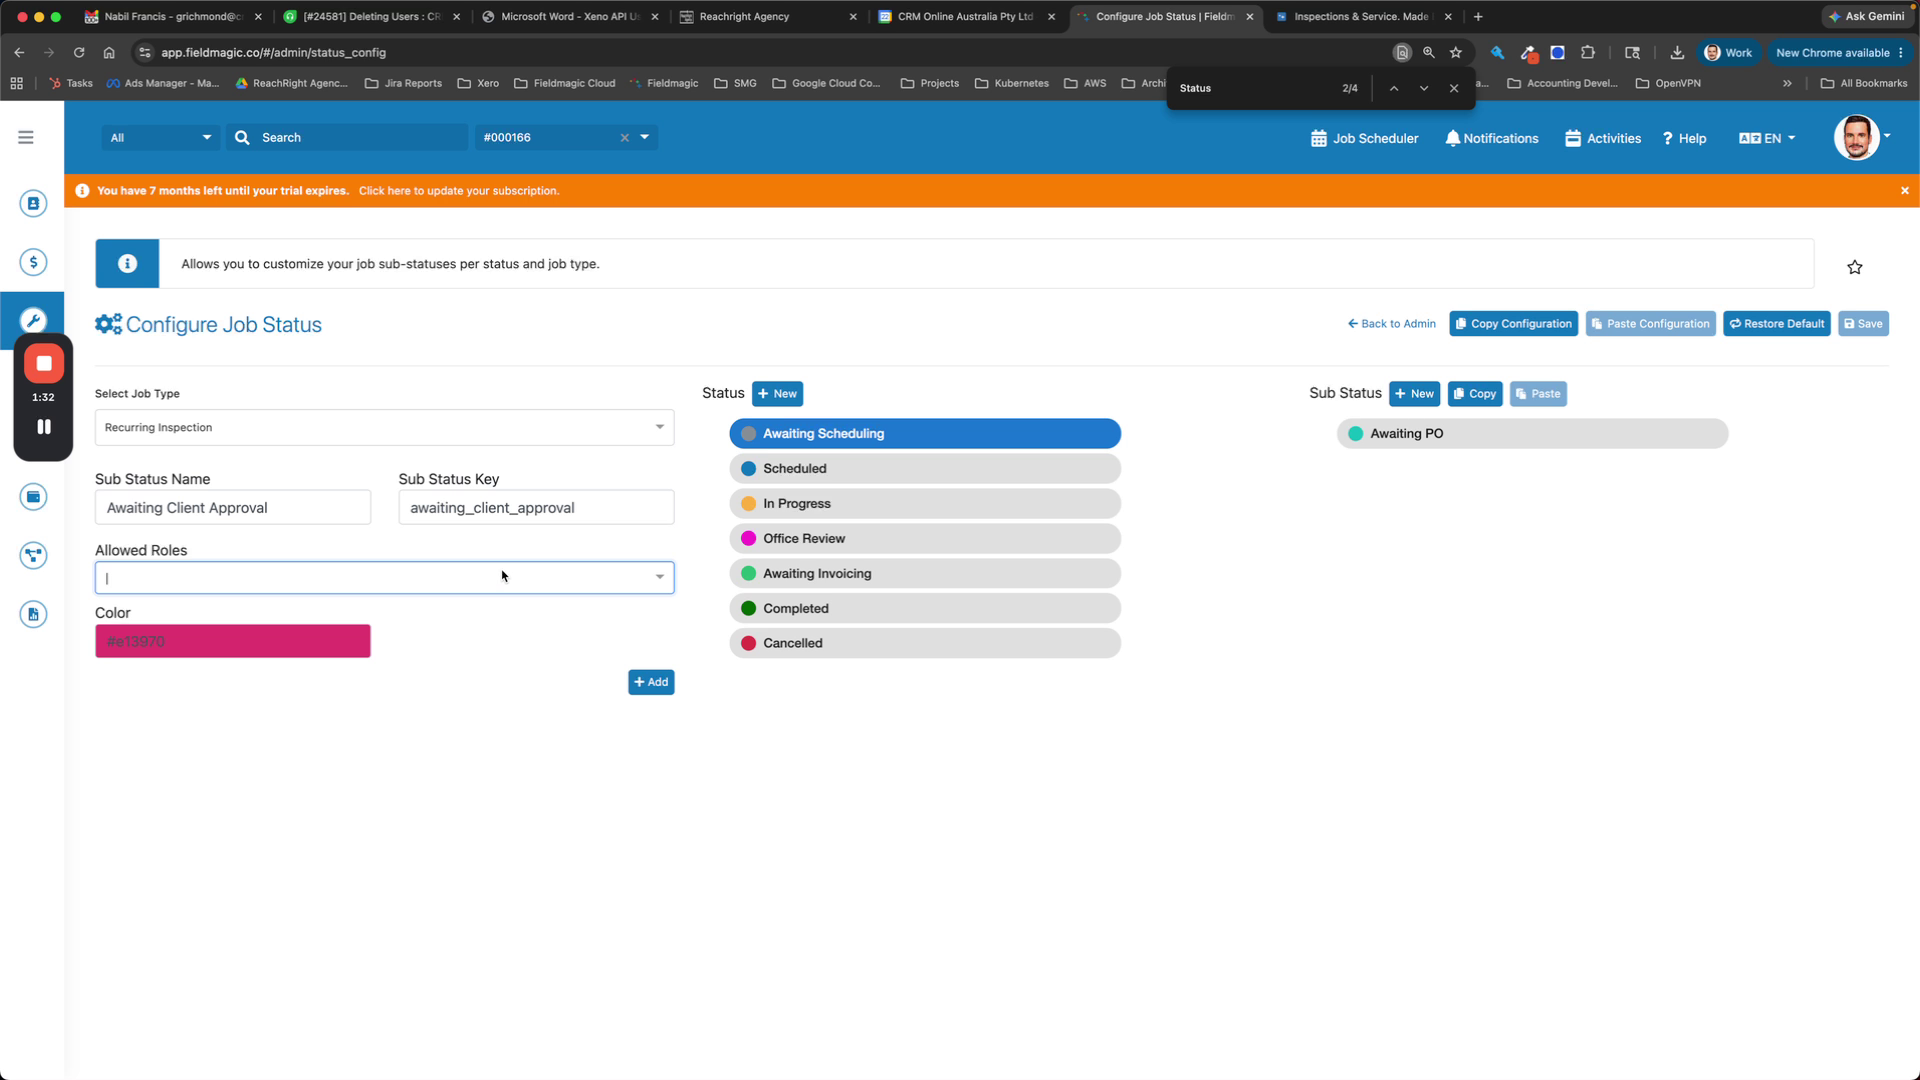
FieldMagic automatically assigns a colour to each status; you can adjust the colour if required.
 Step 8
For each sub-status, click the role field and select which user roles are allowed to set that status.
 Step 9
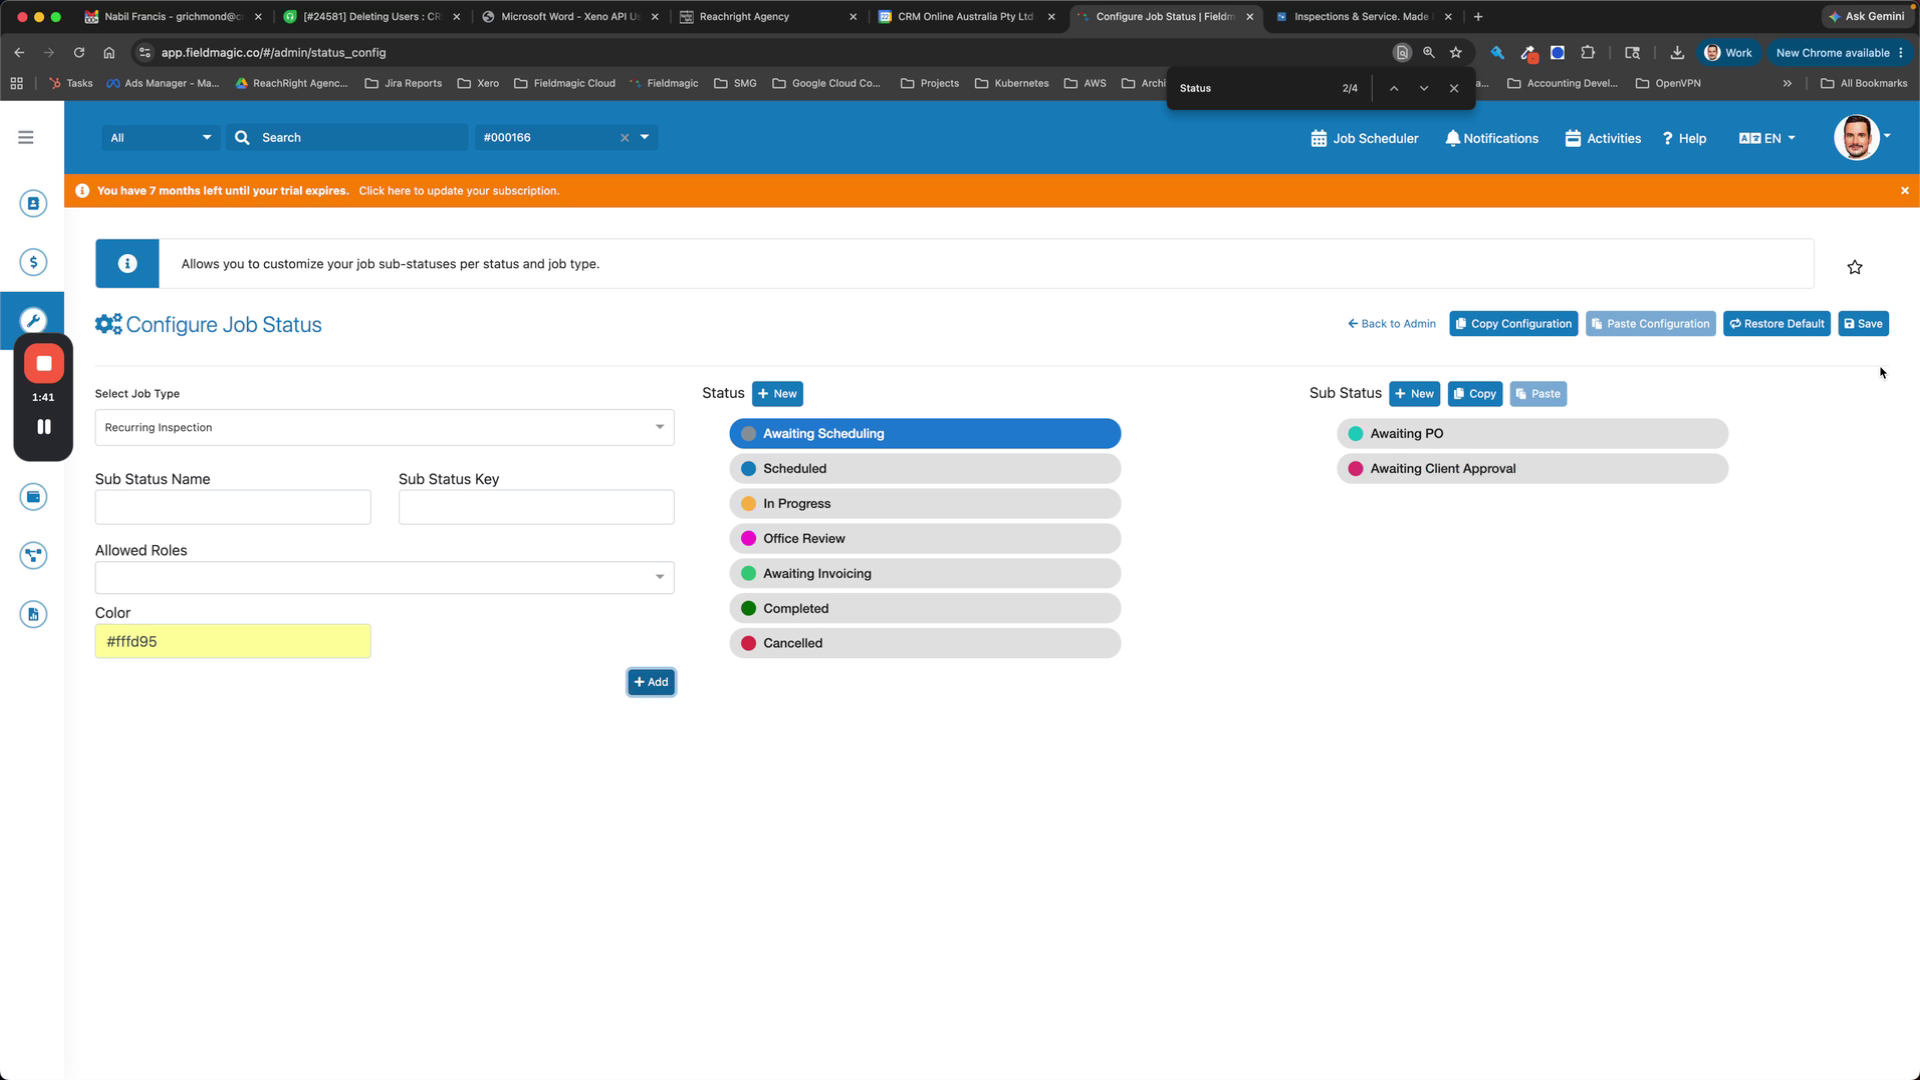
Click Save to store the configuration.
 Step 10
To apply the same configuration to another job type, click Copy, select the target job type, and click Paste.
 Step 11
Repeat the copy‑paste process for additional job types as needed.