Document Templates
How to Create Tables in HTML Templates
To create a table in an HTML template, open the code version of the editor and remove any default report codes. Click the fourth icon in the toolbar to add a new table.
Step-by-step instructions
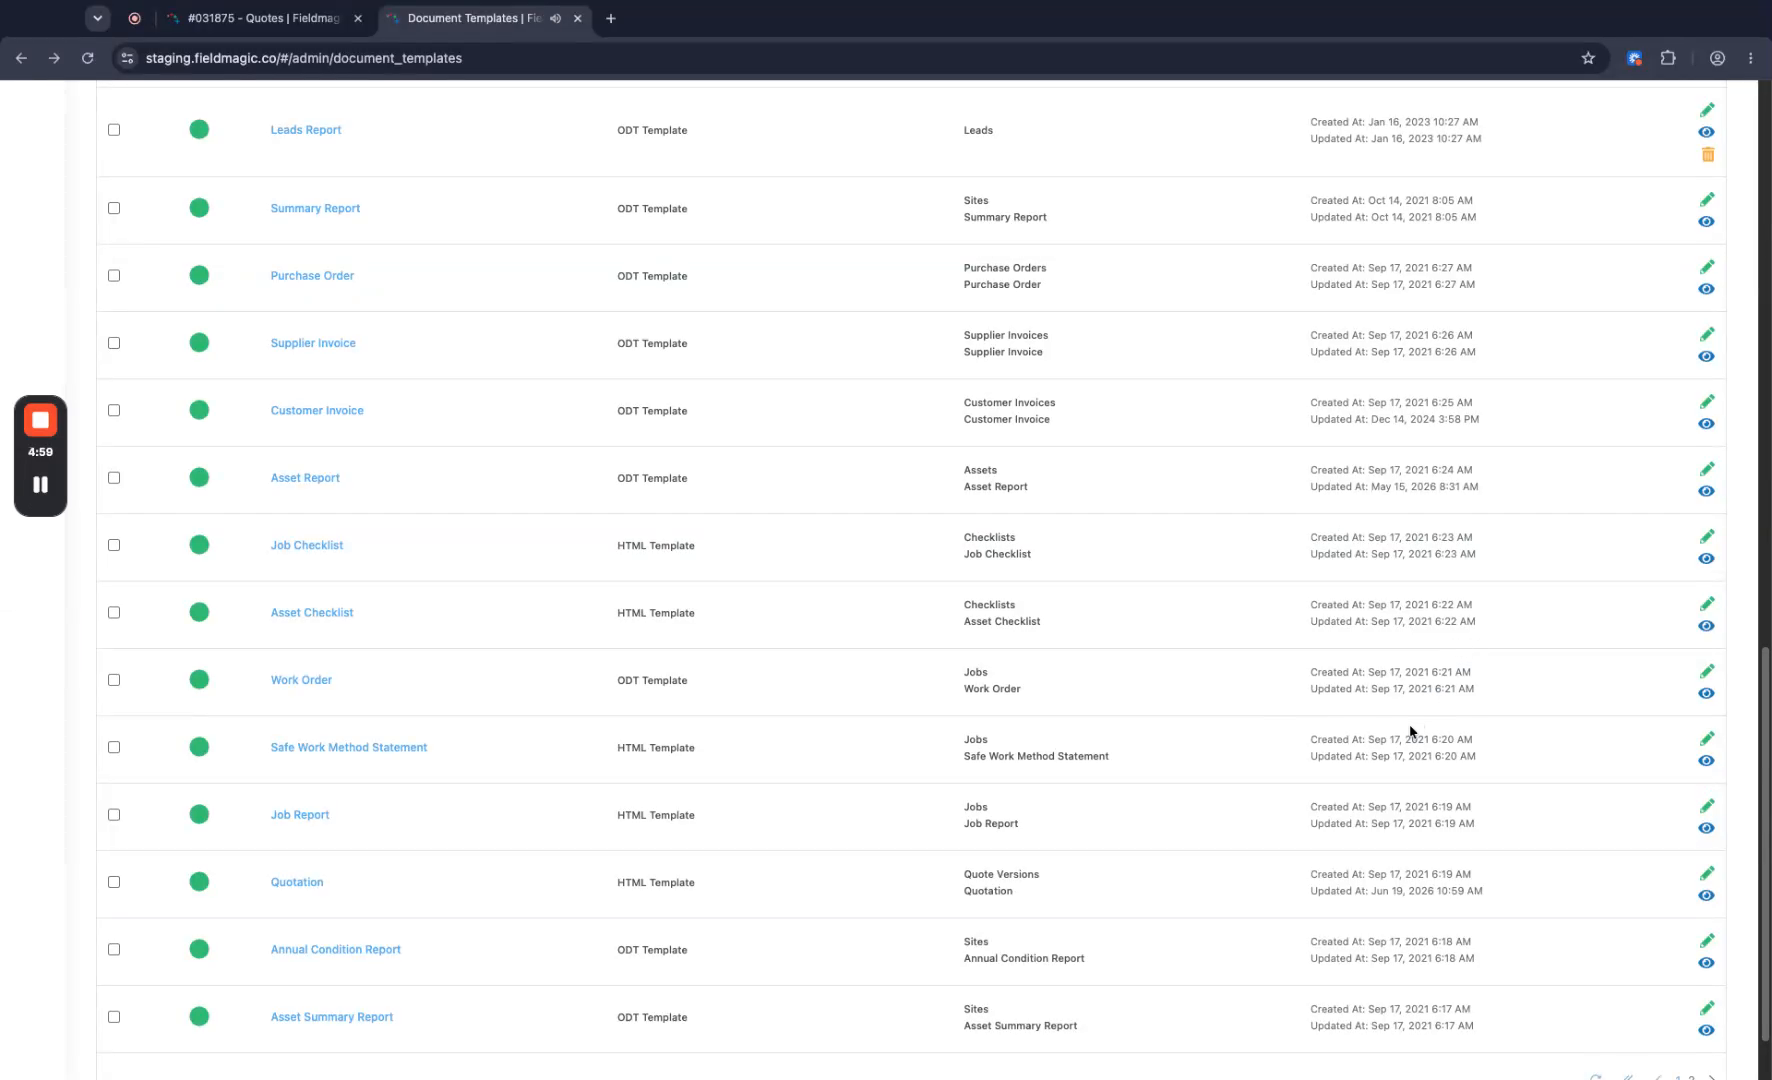 Step 1
To create a table in an HTML template, open the code version of the editor and remove any default report codes. Click the fourth icon in the toolbar to add a new table.
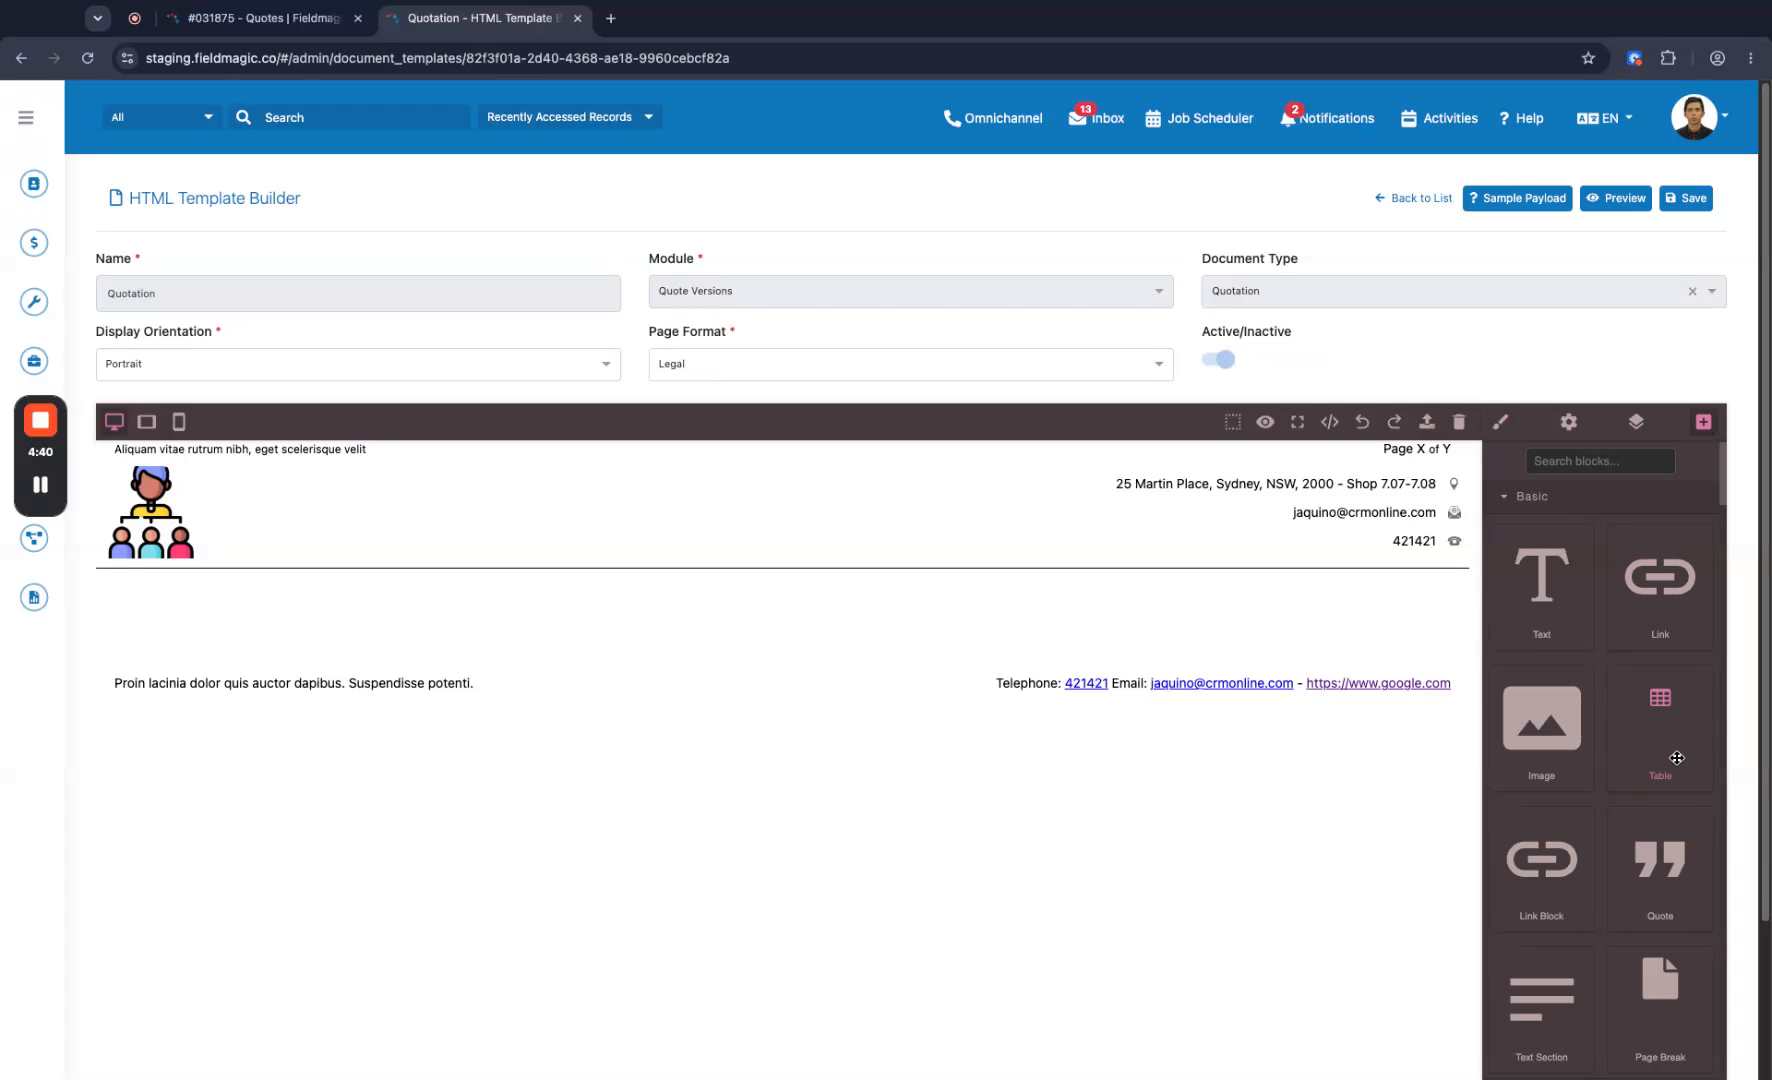 Step 2
Drag and drop the table into your template, then open the table properties. Set the width dimension to 100 and change the unit to percent so it spans the entire horizontal space.
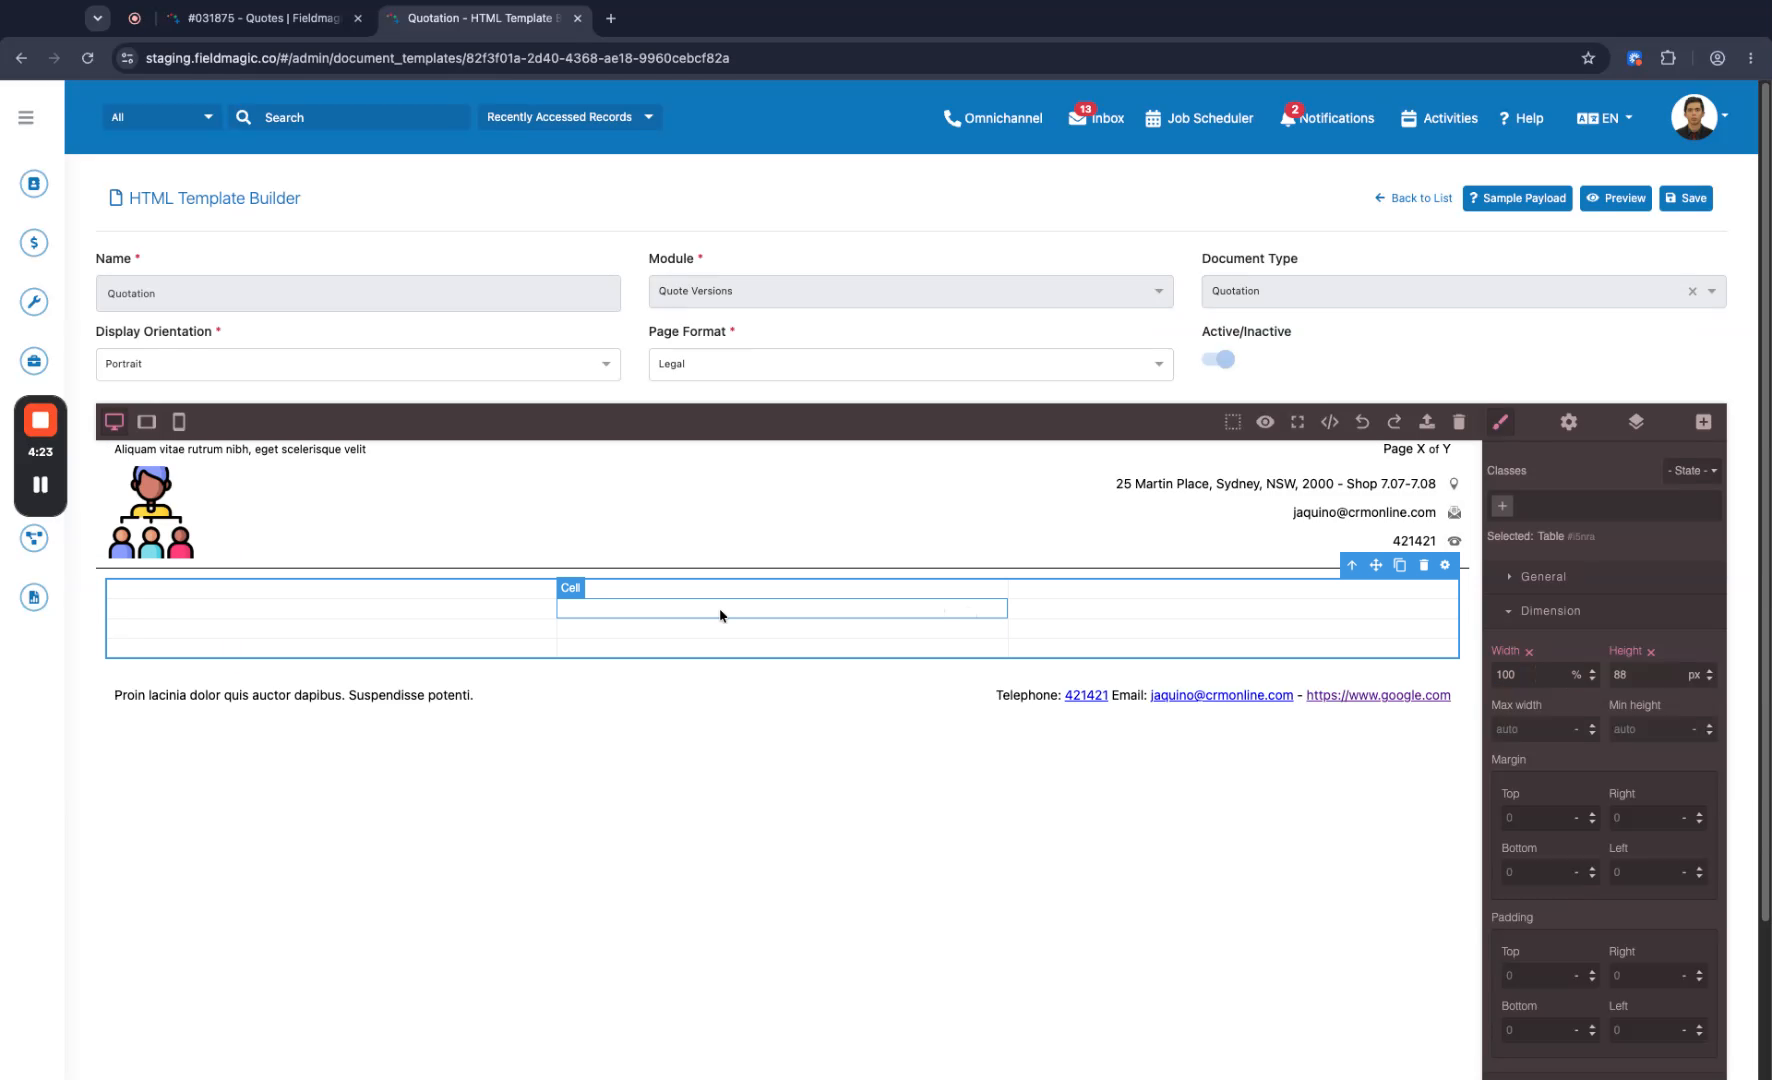 Step 3
In the table properties, set the text alignment to center.
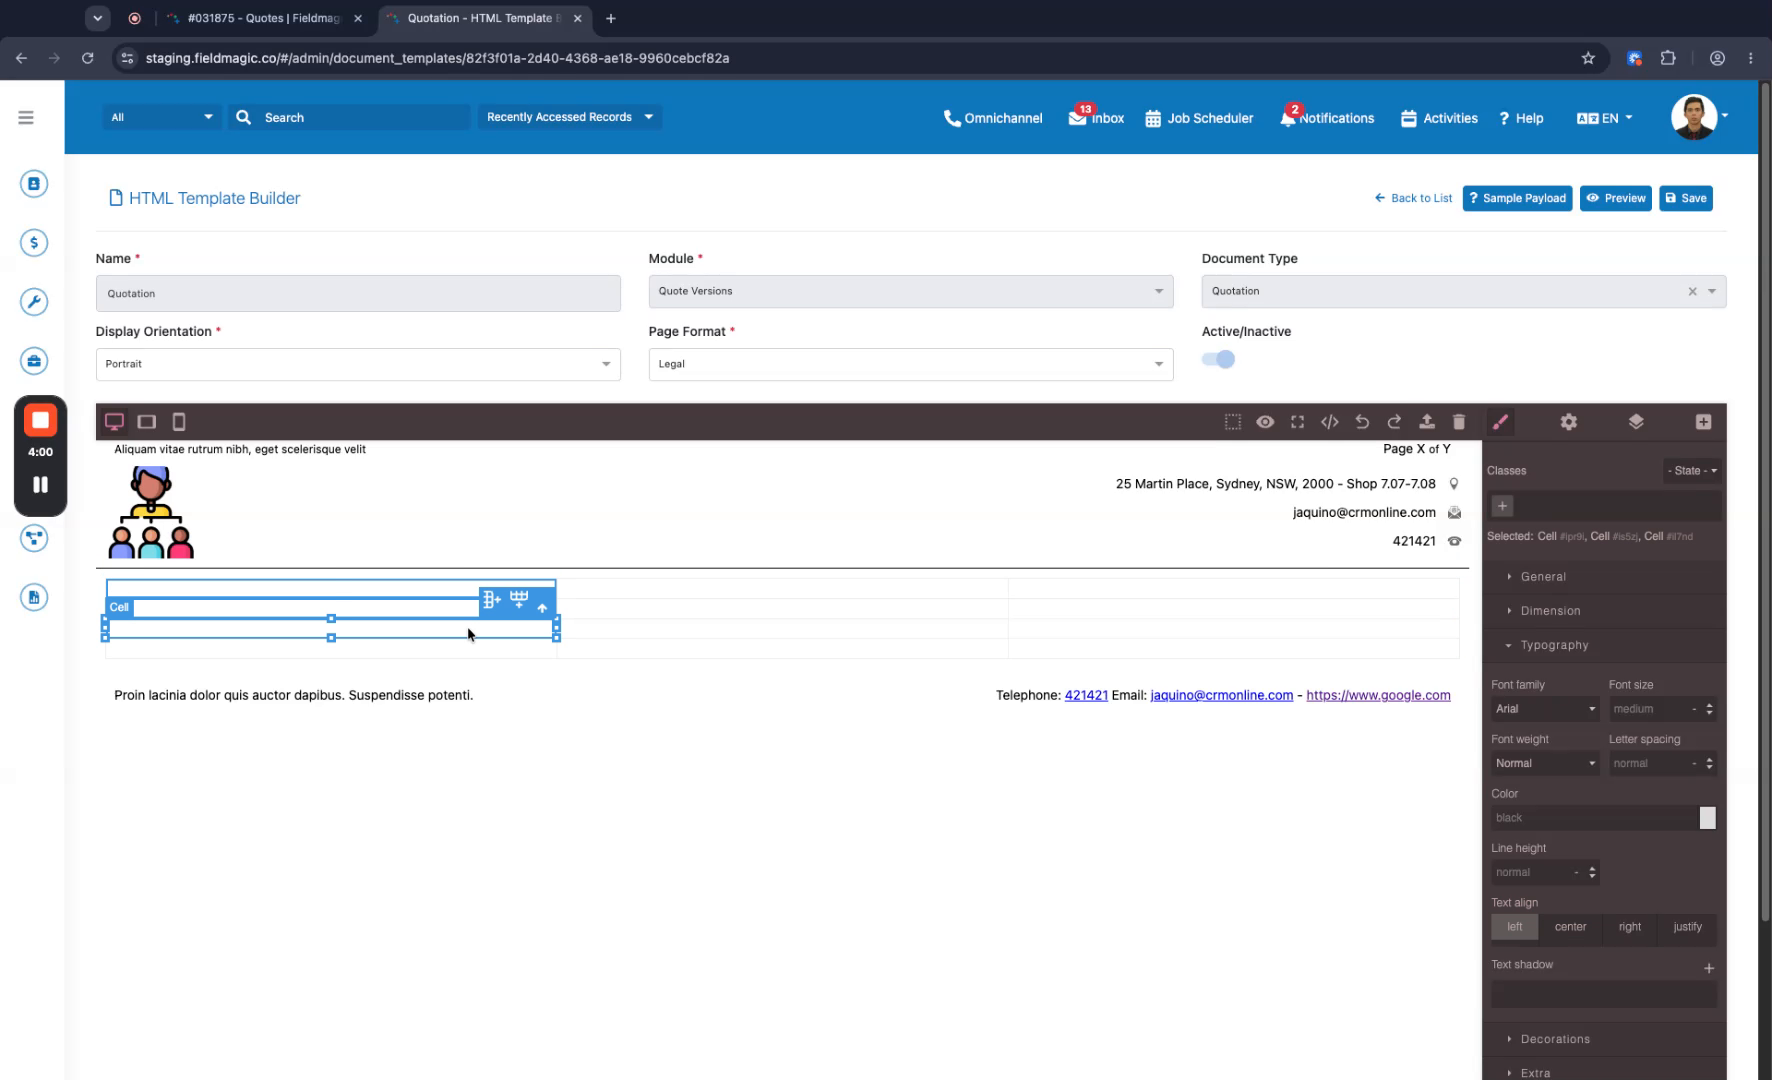 Step 4
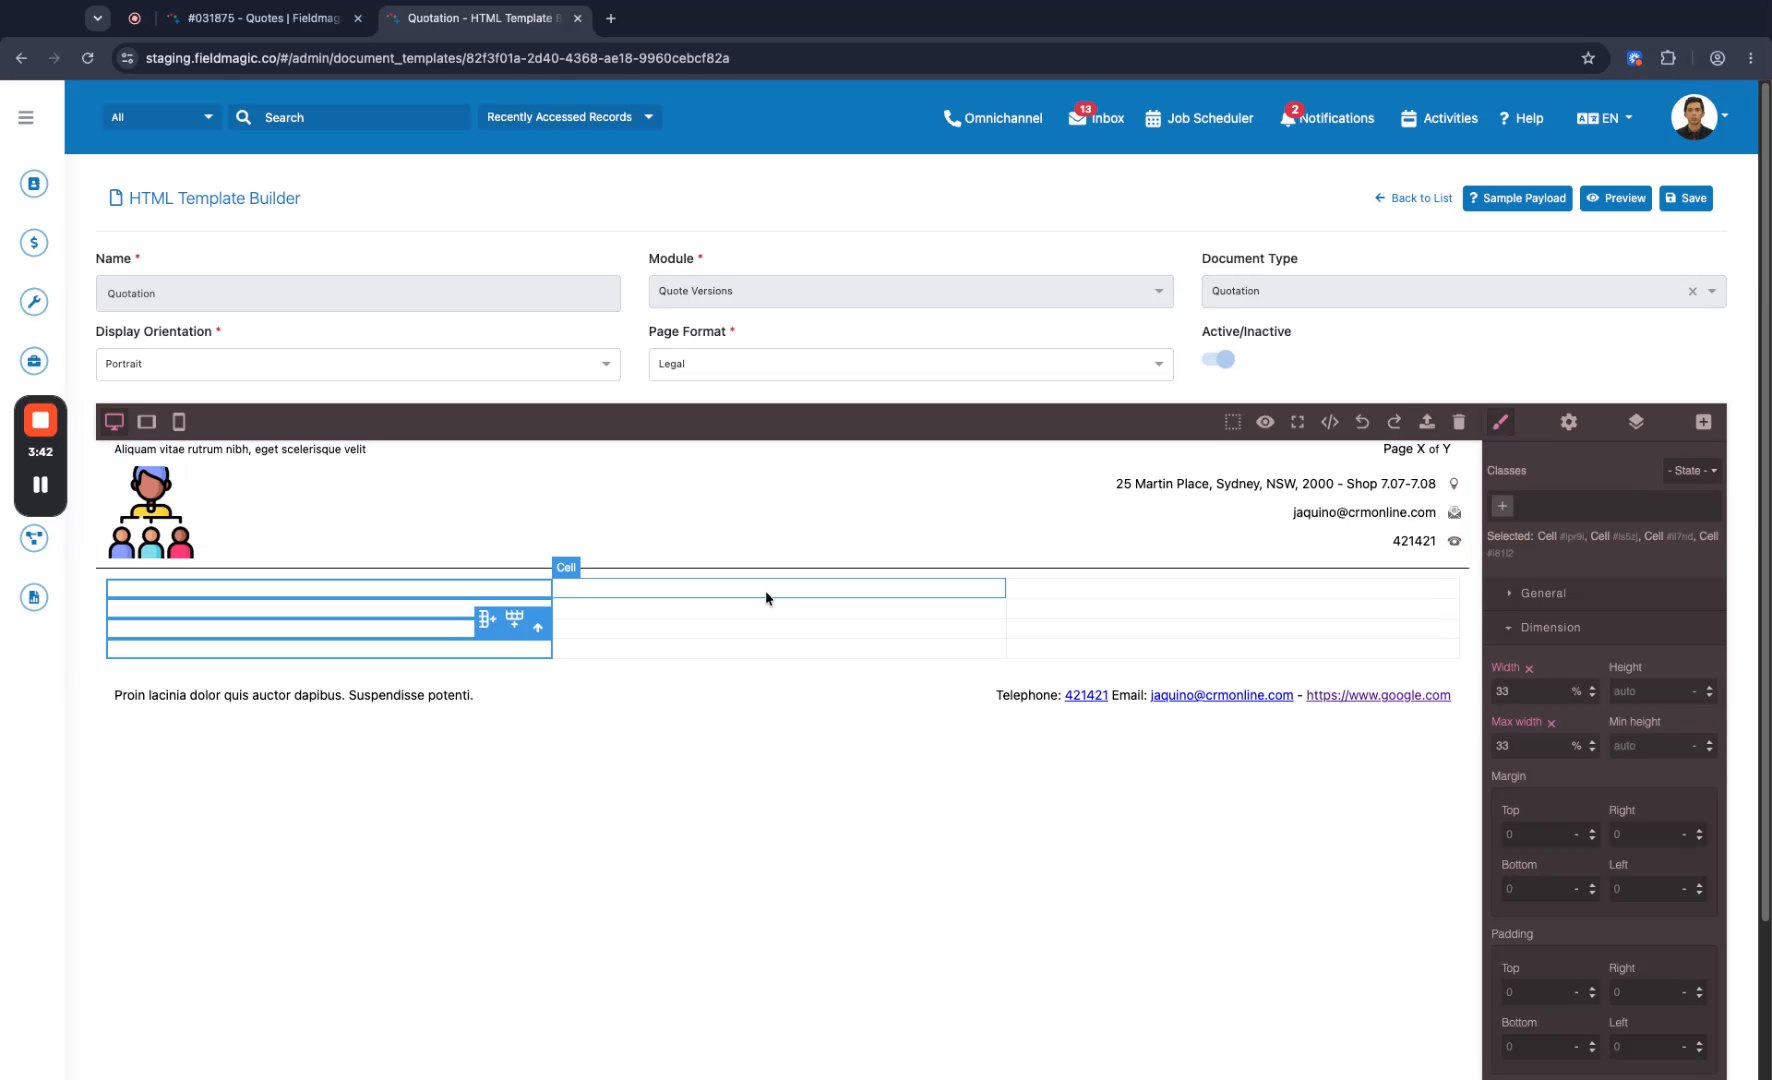
To prevent column resizing, hold Shift and click each cell to select them all. Set both the width and max-width dimensions to 33 percent.
 Step 5
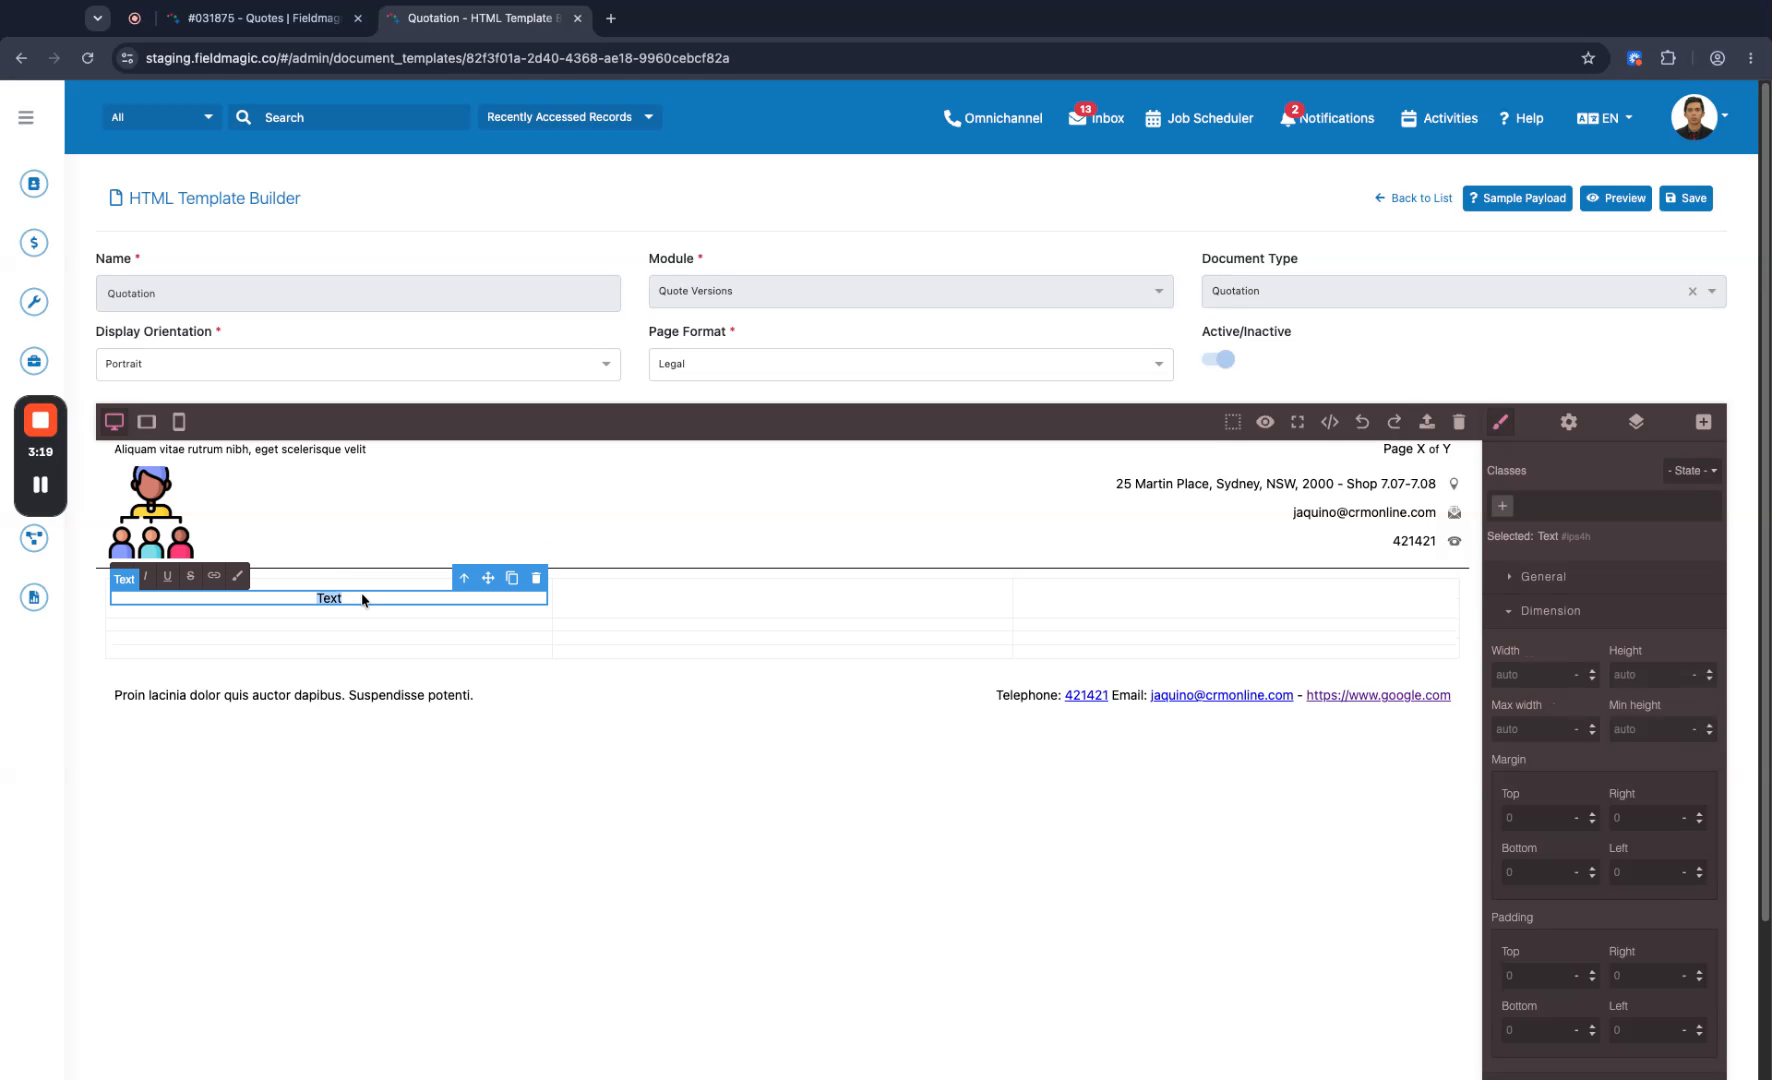
Select the second column and set its width to 34 percent, then set the third column's width to 33 percent. Double-click inside a cell to add a text box.
 Step 6
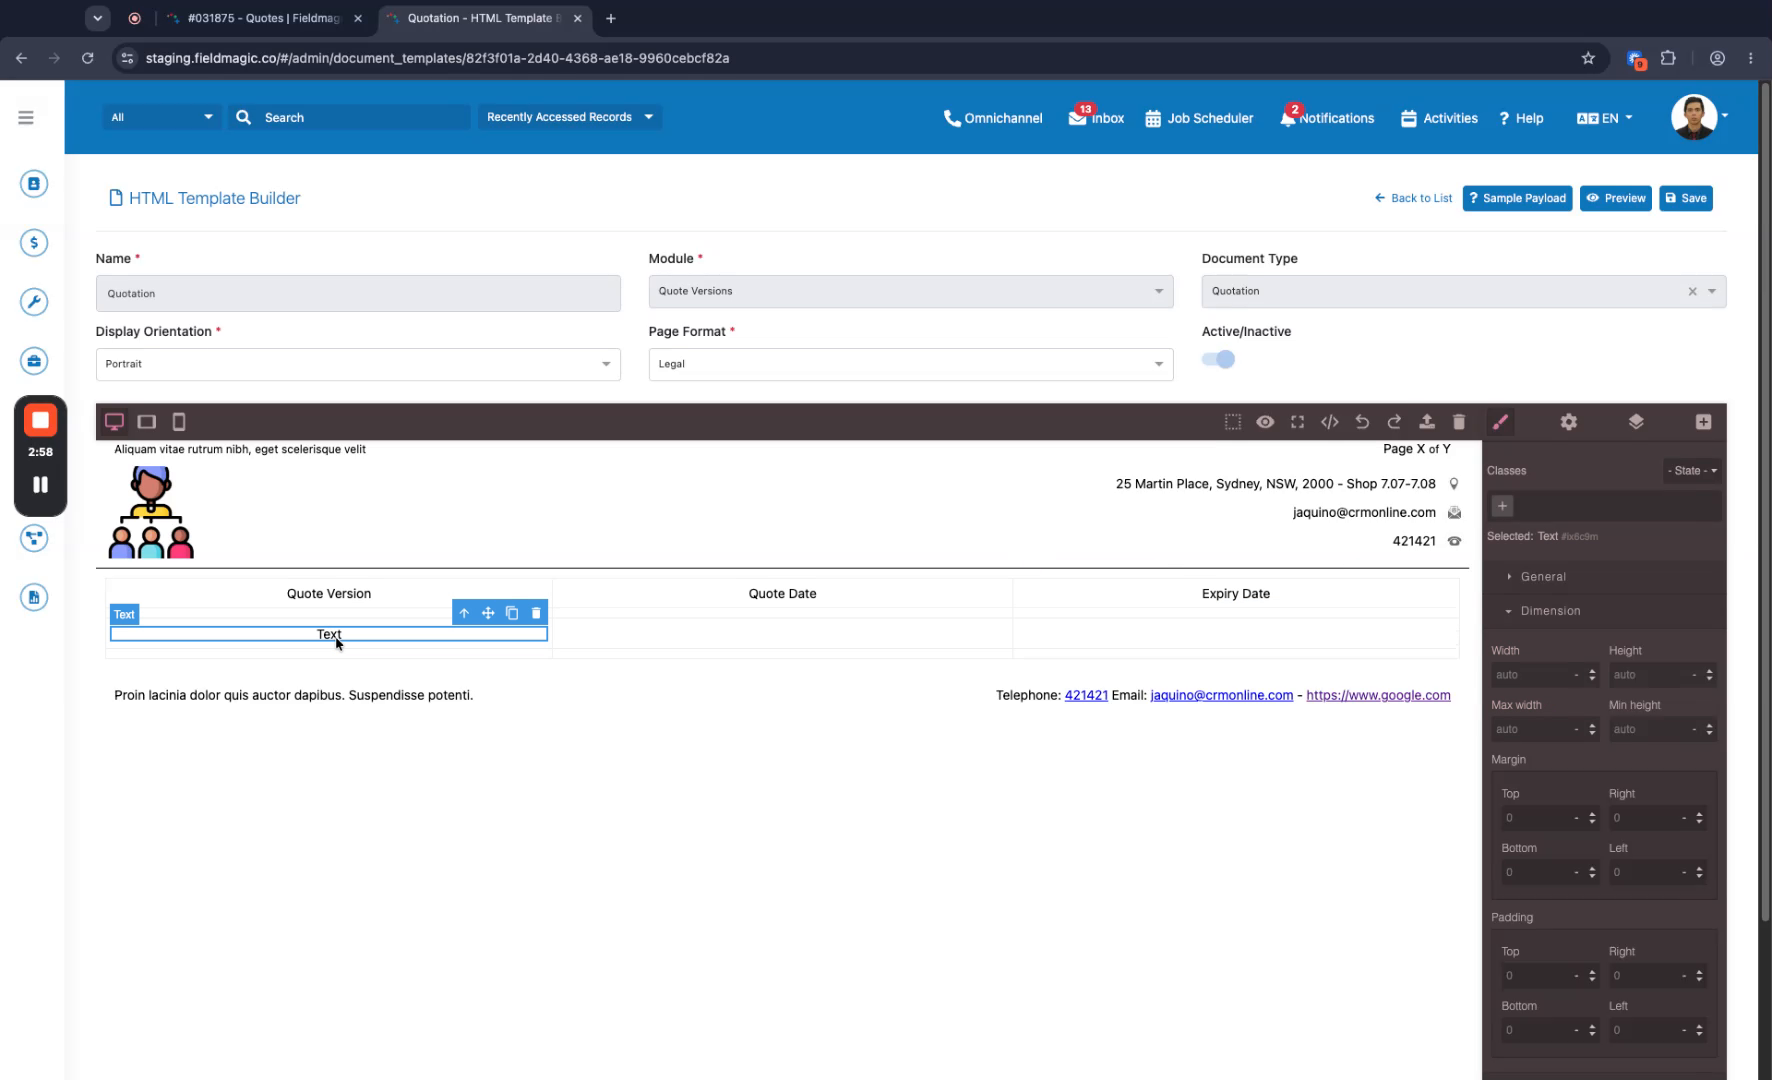
Type your column headers into the text boxes, such as Quote Version, Quote Date, and Expiry Date.
 Step 7
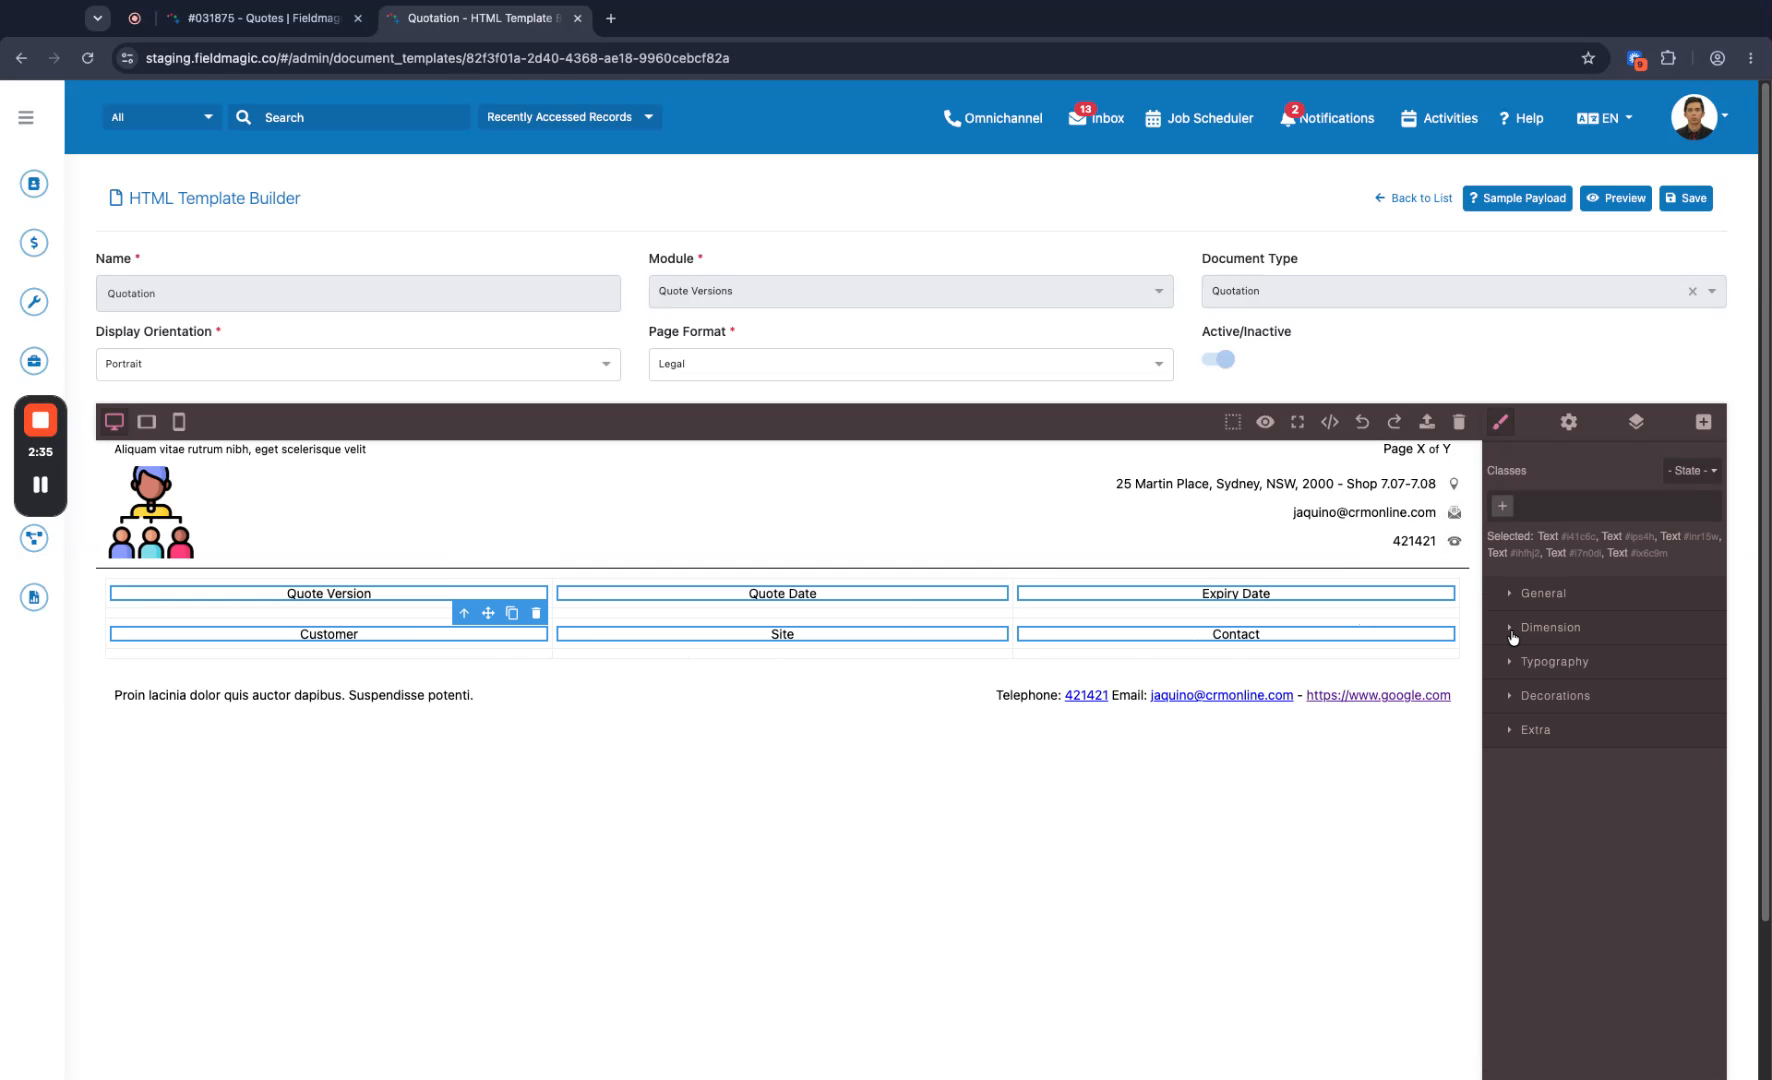
Add a second row of text boxes for Customer, Site, and Contact. Hold Shift and click each text box to select them all for formatting.
 Step 8
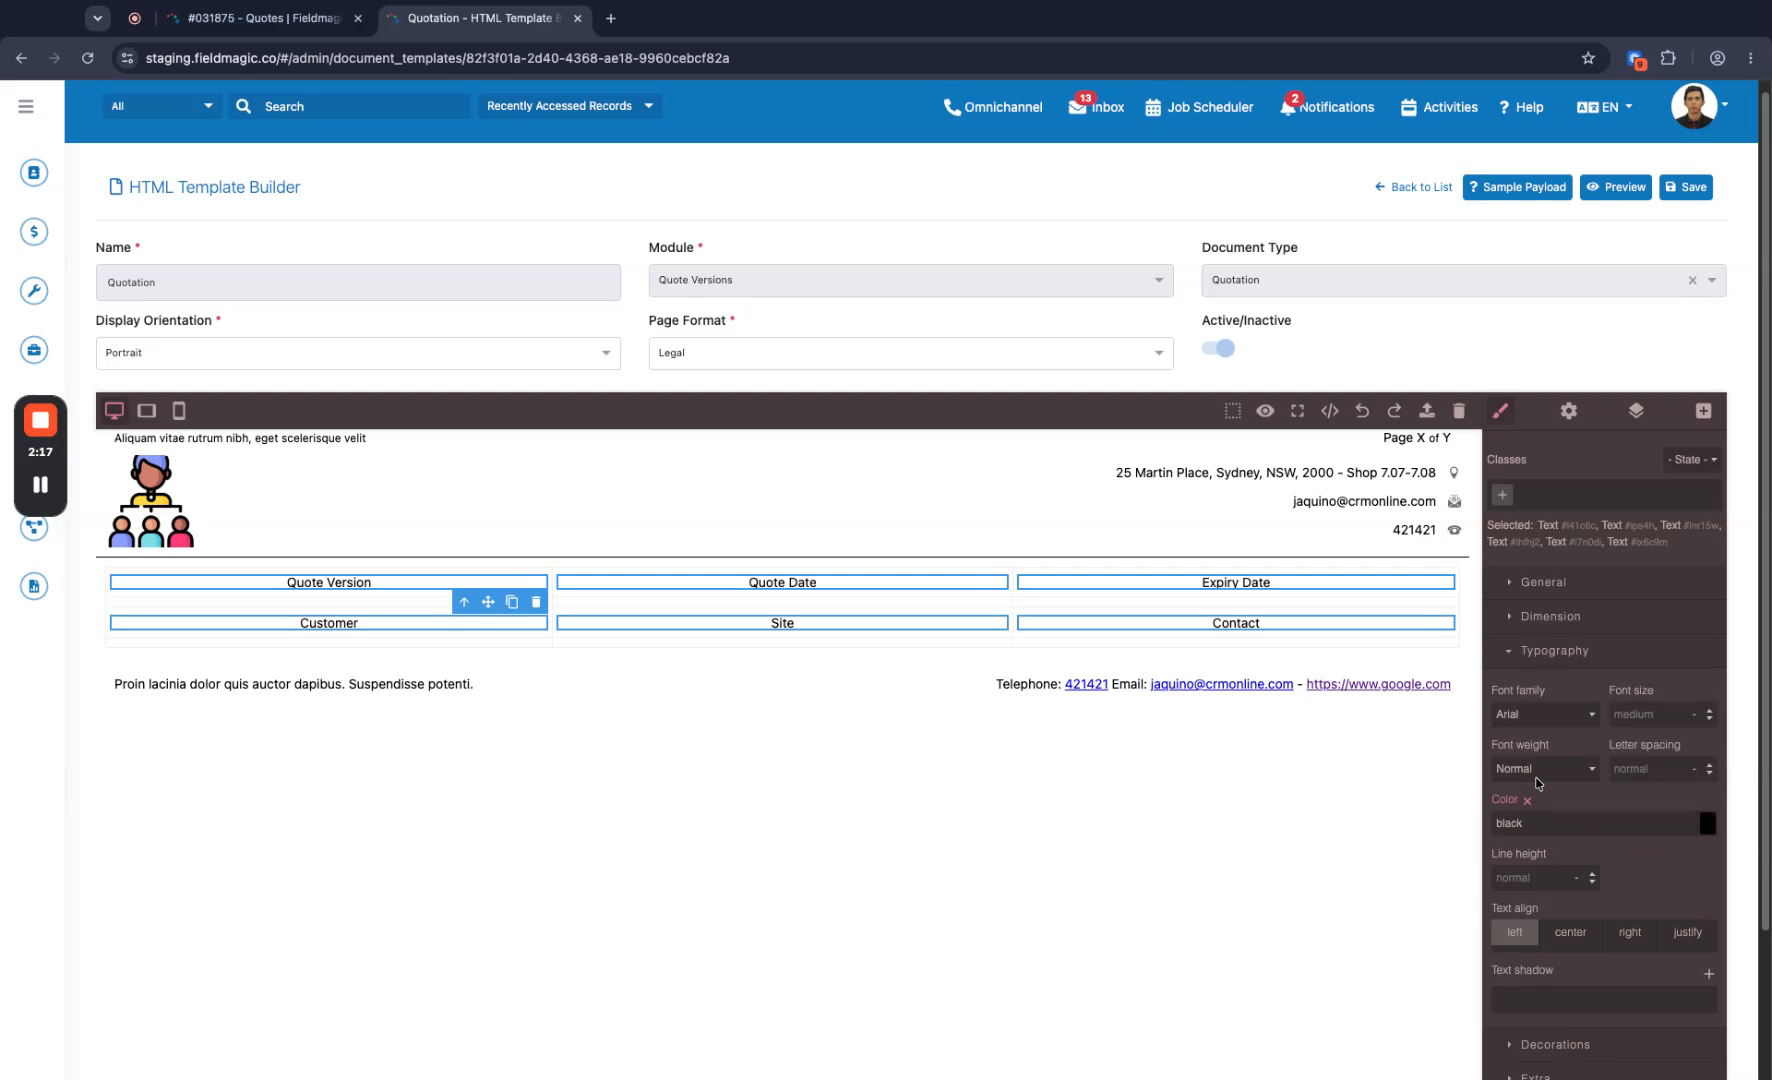
Navigate to the Typography settings and change the text color to white.
 Step 9
Change the font weight to bold. Next, add the corresponding data variables to a new row, starting with the code version number.
 Step 10
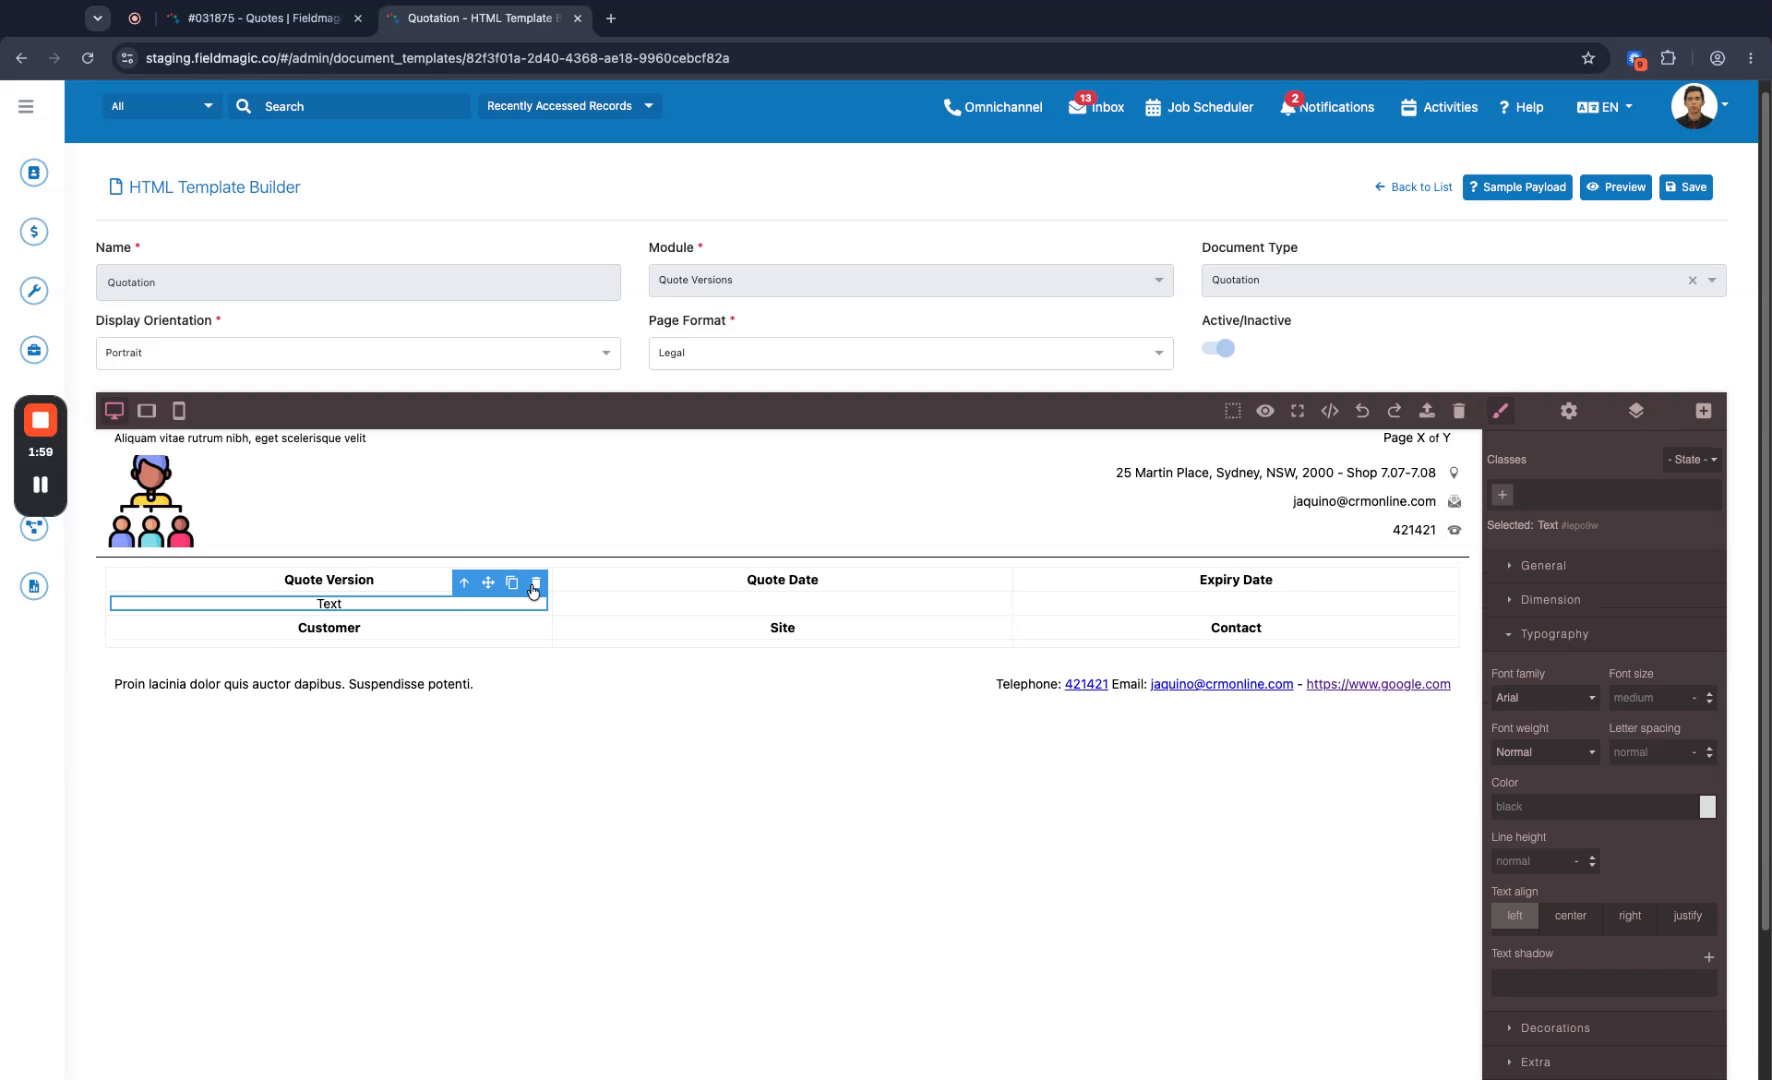
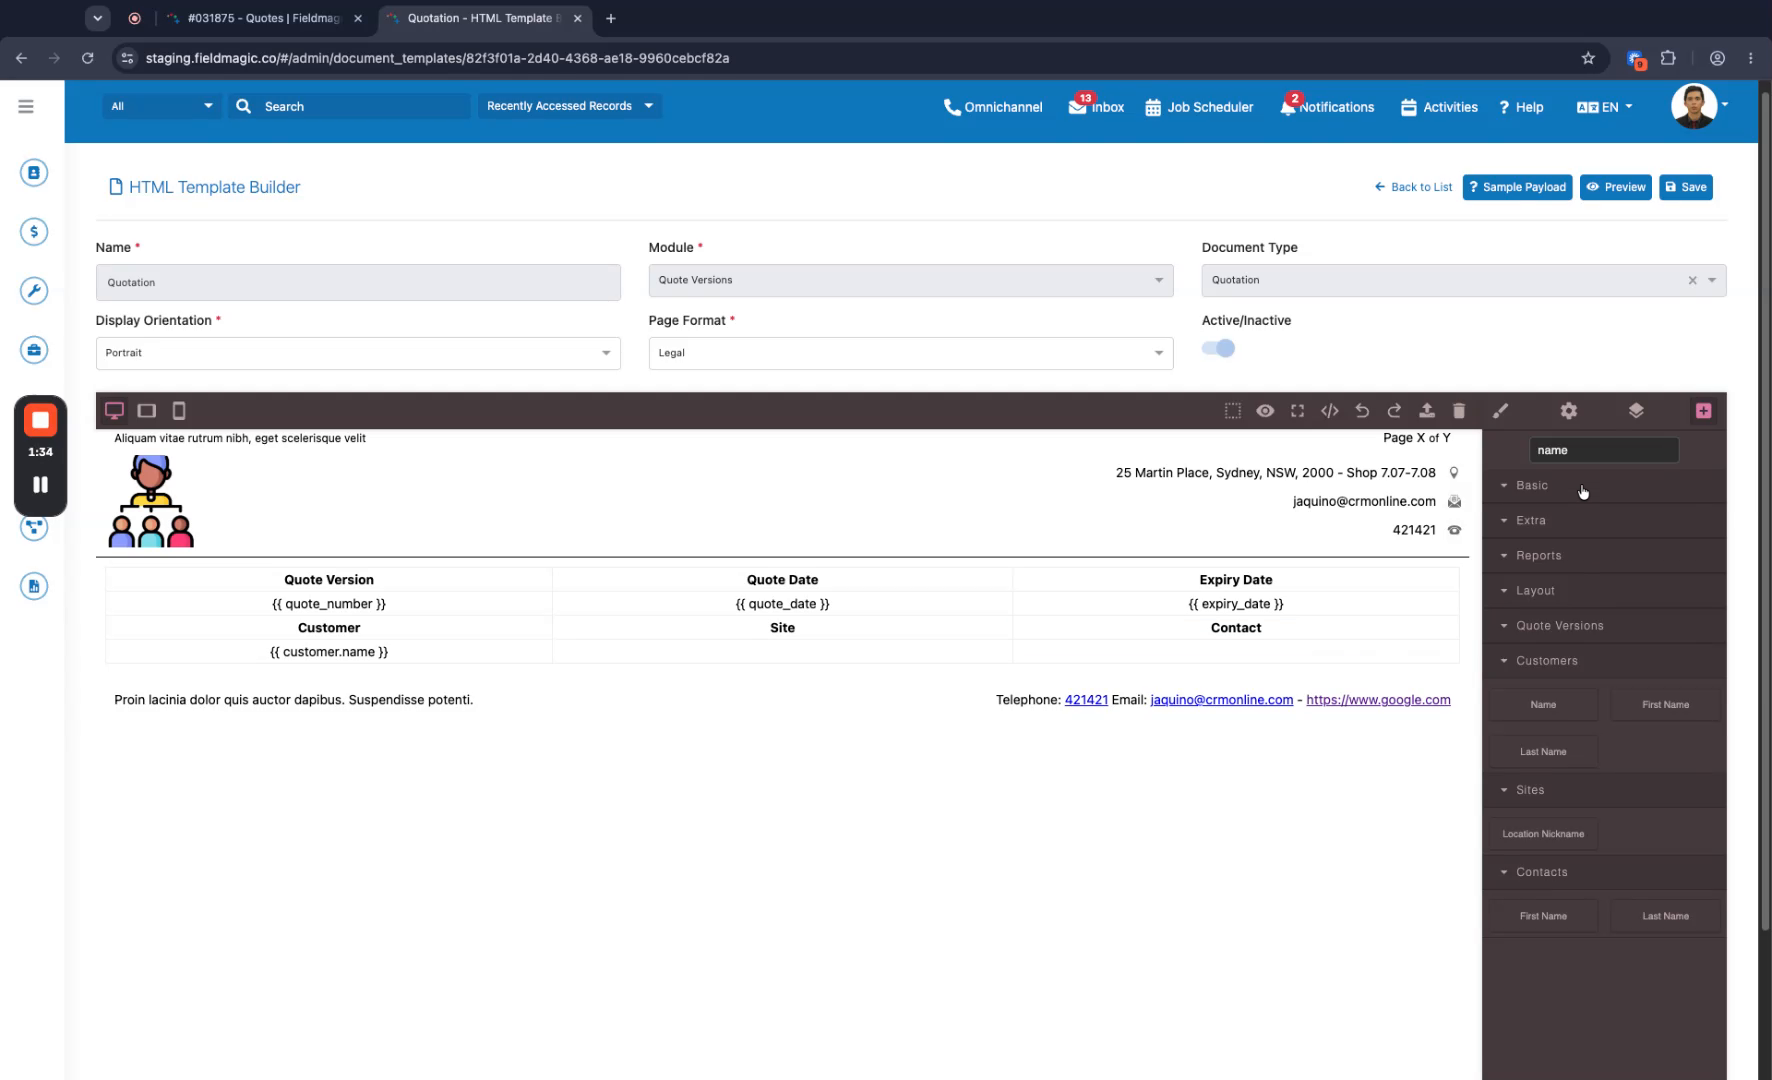
Select any placeholder text and click the trash icon to delete it. Insert the variables for code version number, date, expiry date, customer name, and site address.
 Step 11
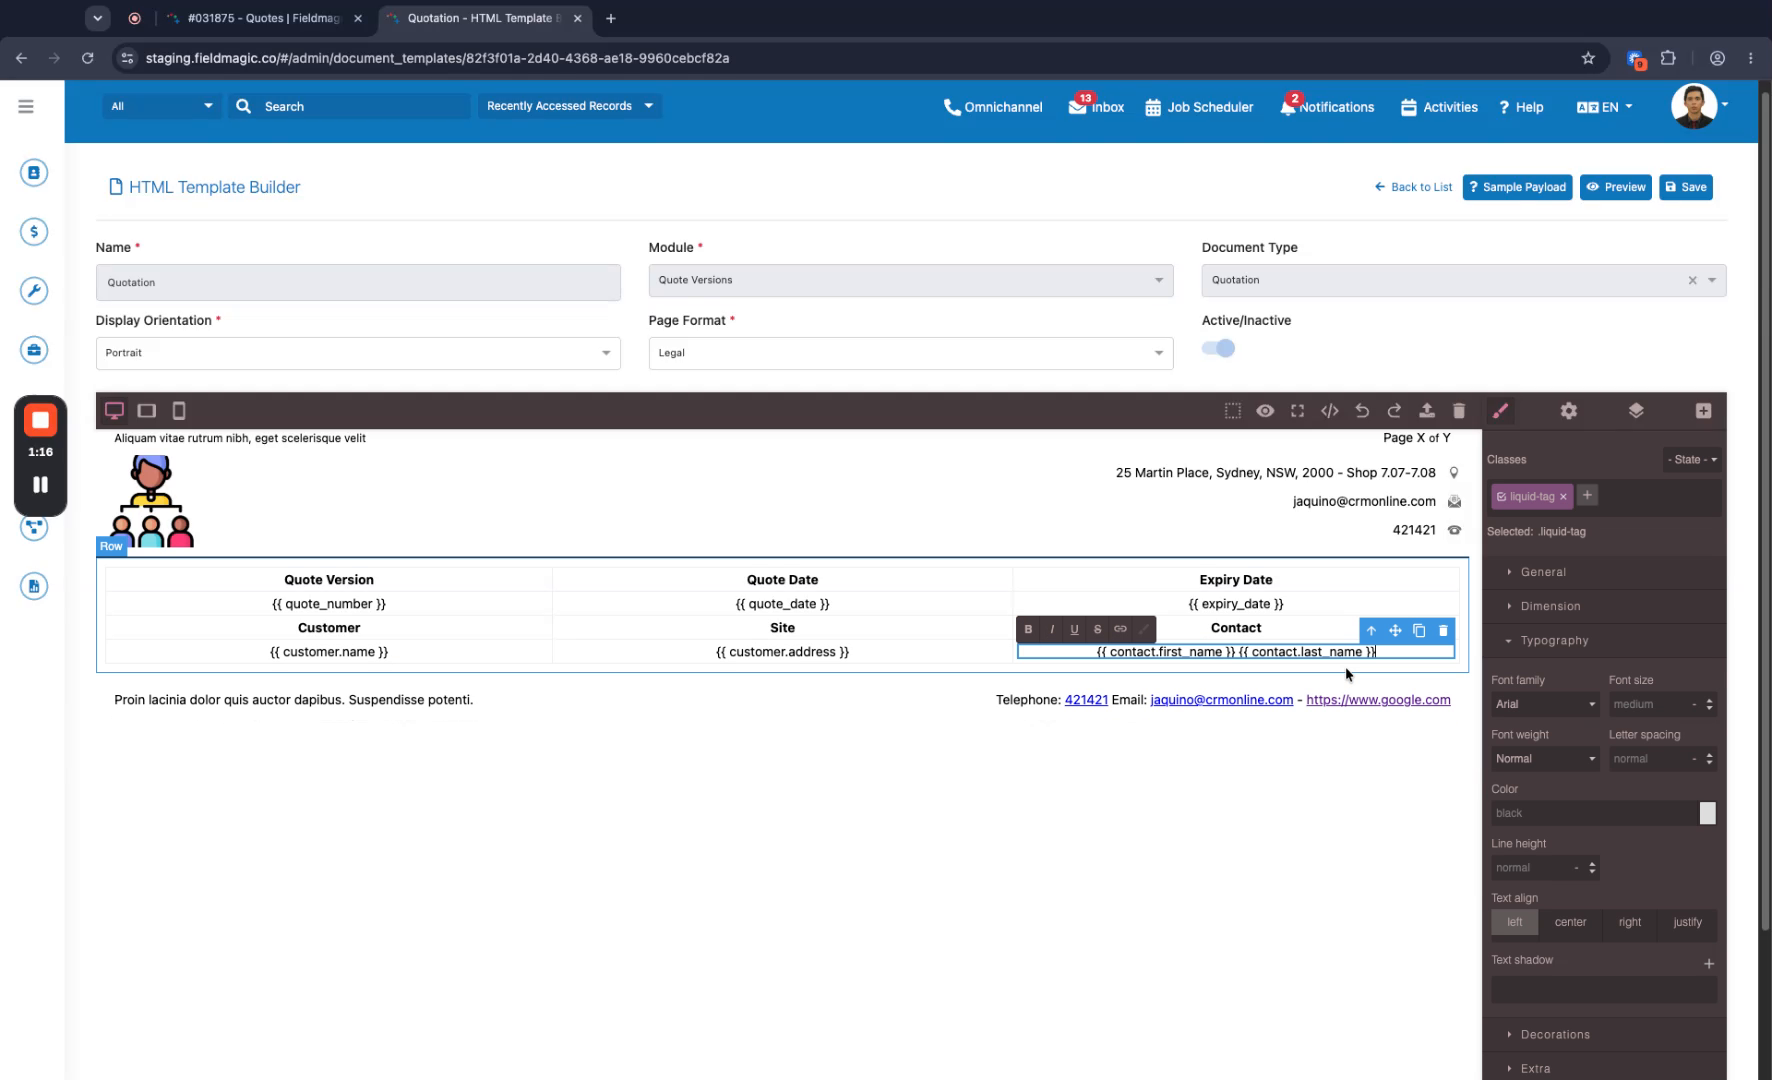
For the contact column, insert the first name and last name variables. If the text wraps to multiple lines, delete and adjust the text box to keep it on a single line.
 Step 12
Shift-click the table cells to select them, ensuring you select the cell and not the text inside. Change the background color in the decorations settings, save your template, and click Preview to view the generated document.