Administration
How to Customize Fields and Form Layouts in Fieldmagic
FieldMagic allows you to customize fields and form layouts for select modules including Leads, Customers, Sites, Contacts, Quotes, Jobs, Assets, and more.
Step-by-step instructions
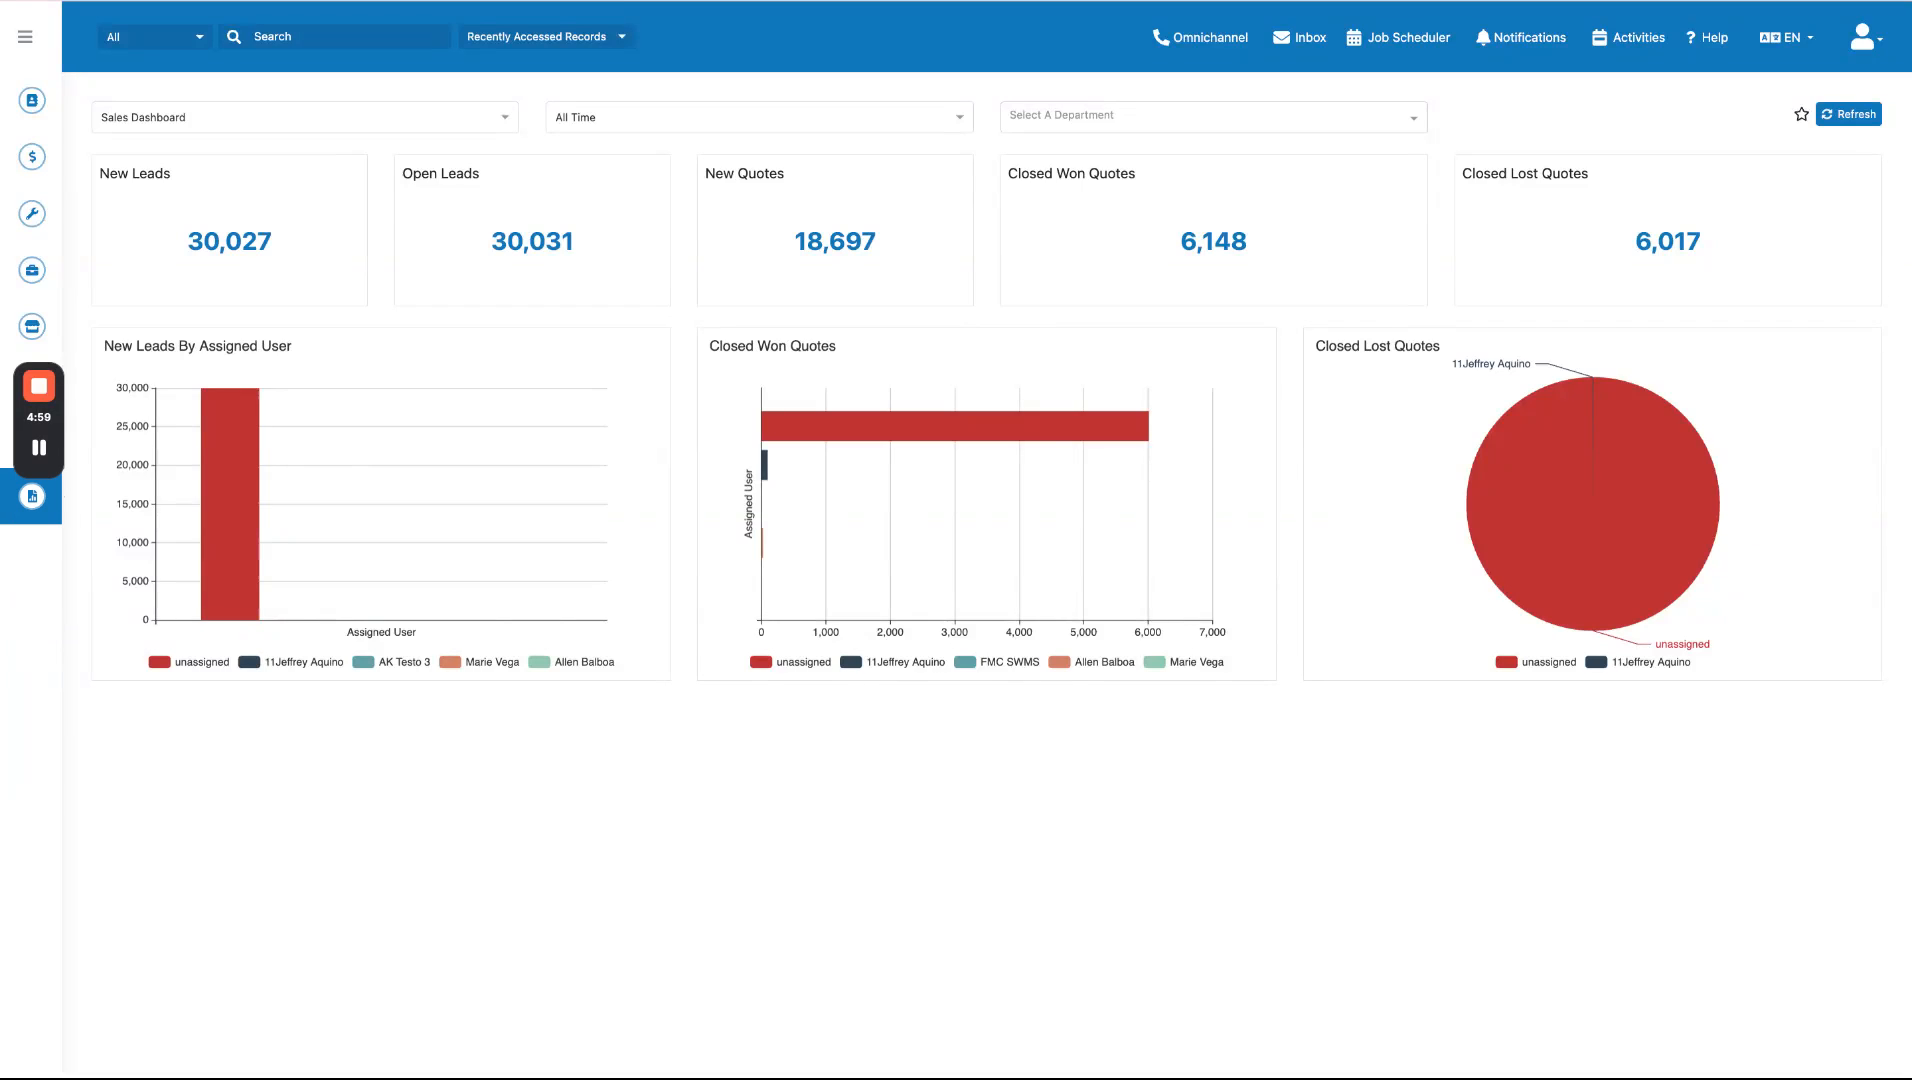 Step 1
FieldMagic allows you to customize fields and form layouts for select modules including Leads, Customers, Sites, Contacts, Quotes, Jobs, Assets, and more.
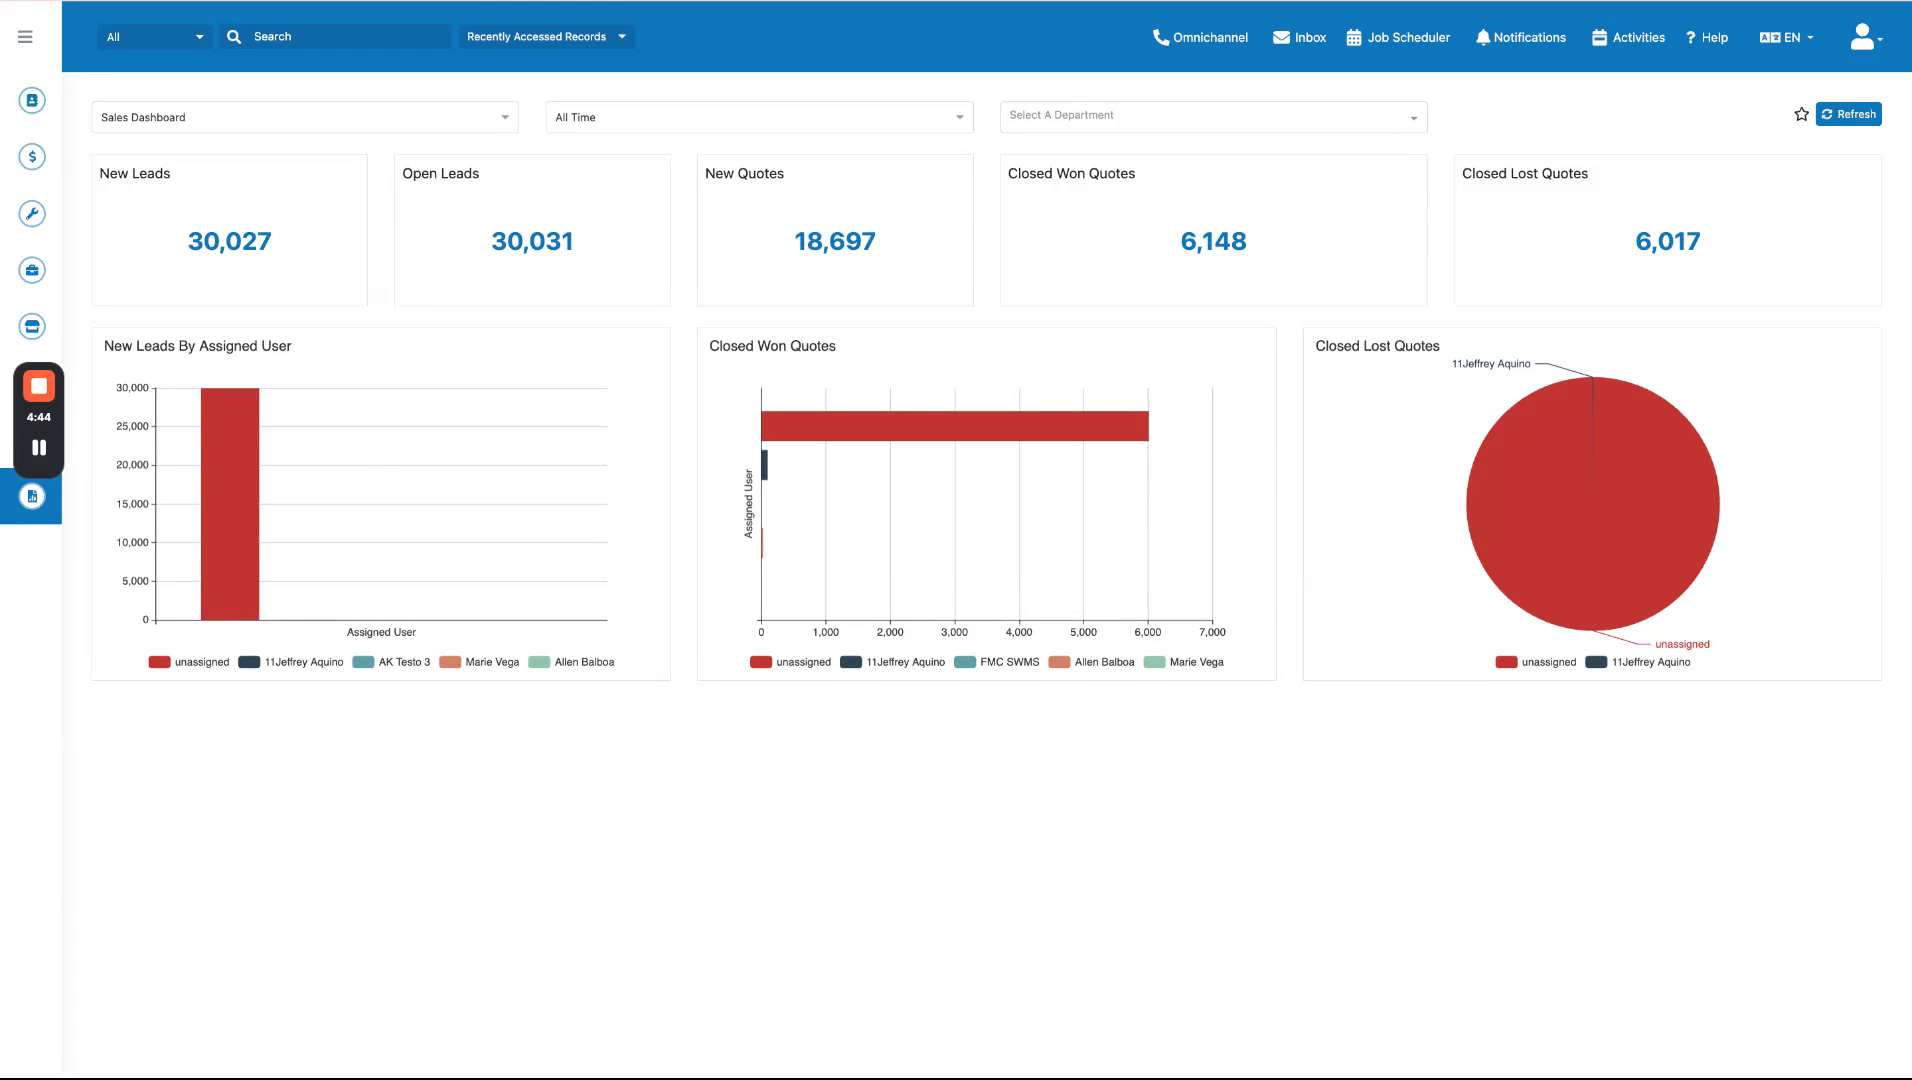 Step 2
Navigate to Admin Settings by clicking the settings icon in the top left, then locate and click Studio to access the customization area.
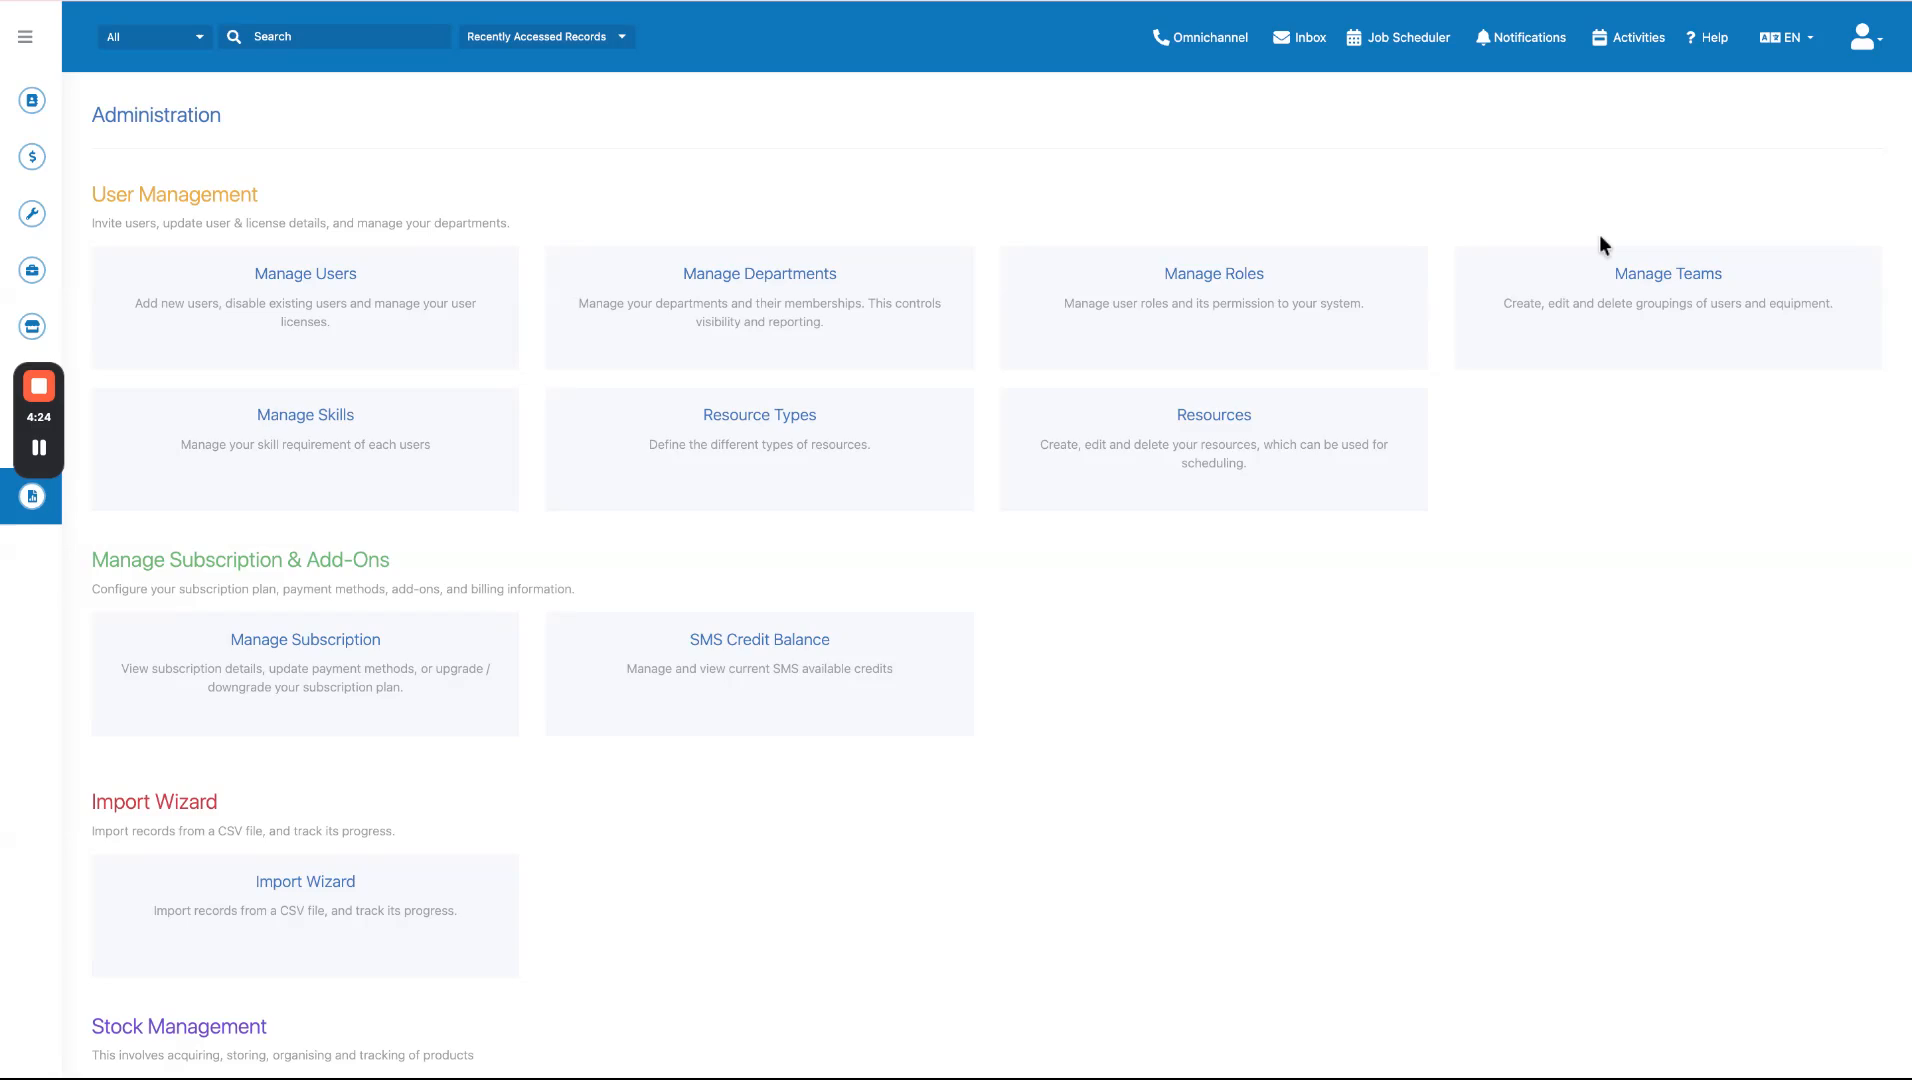 Step 3
On the Studio page, select the module you want to customize, such as Jobs, to open its configuration options.
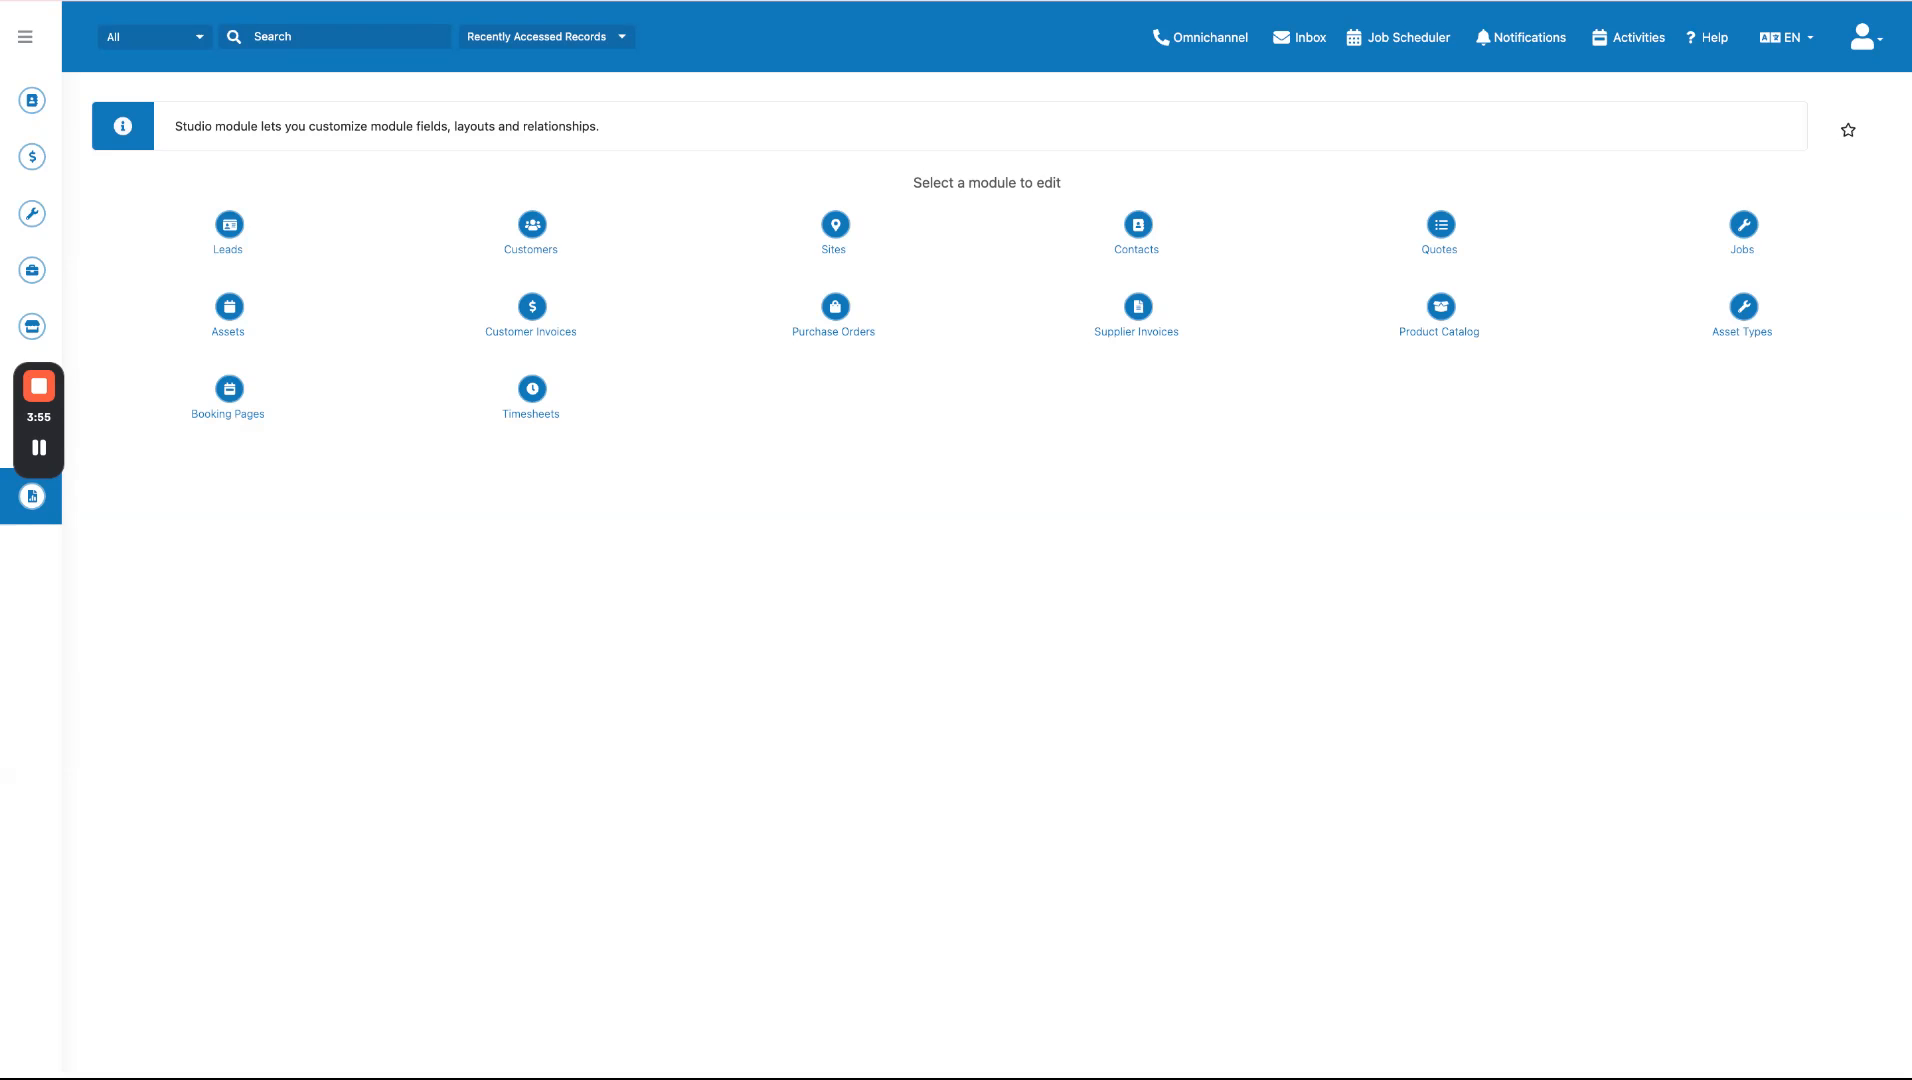 Step 4
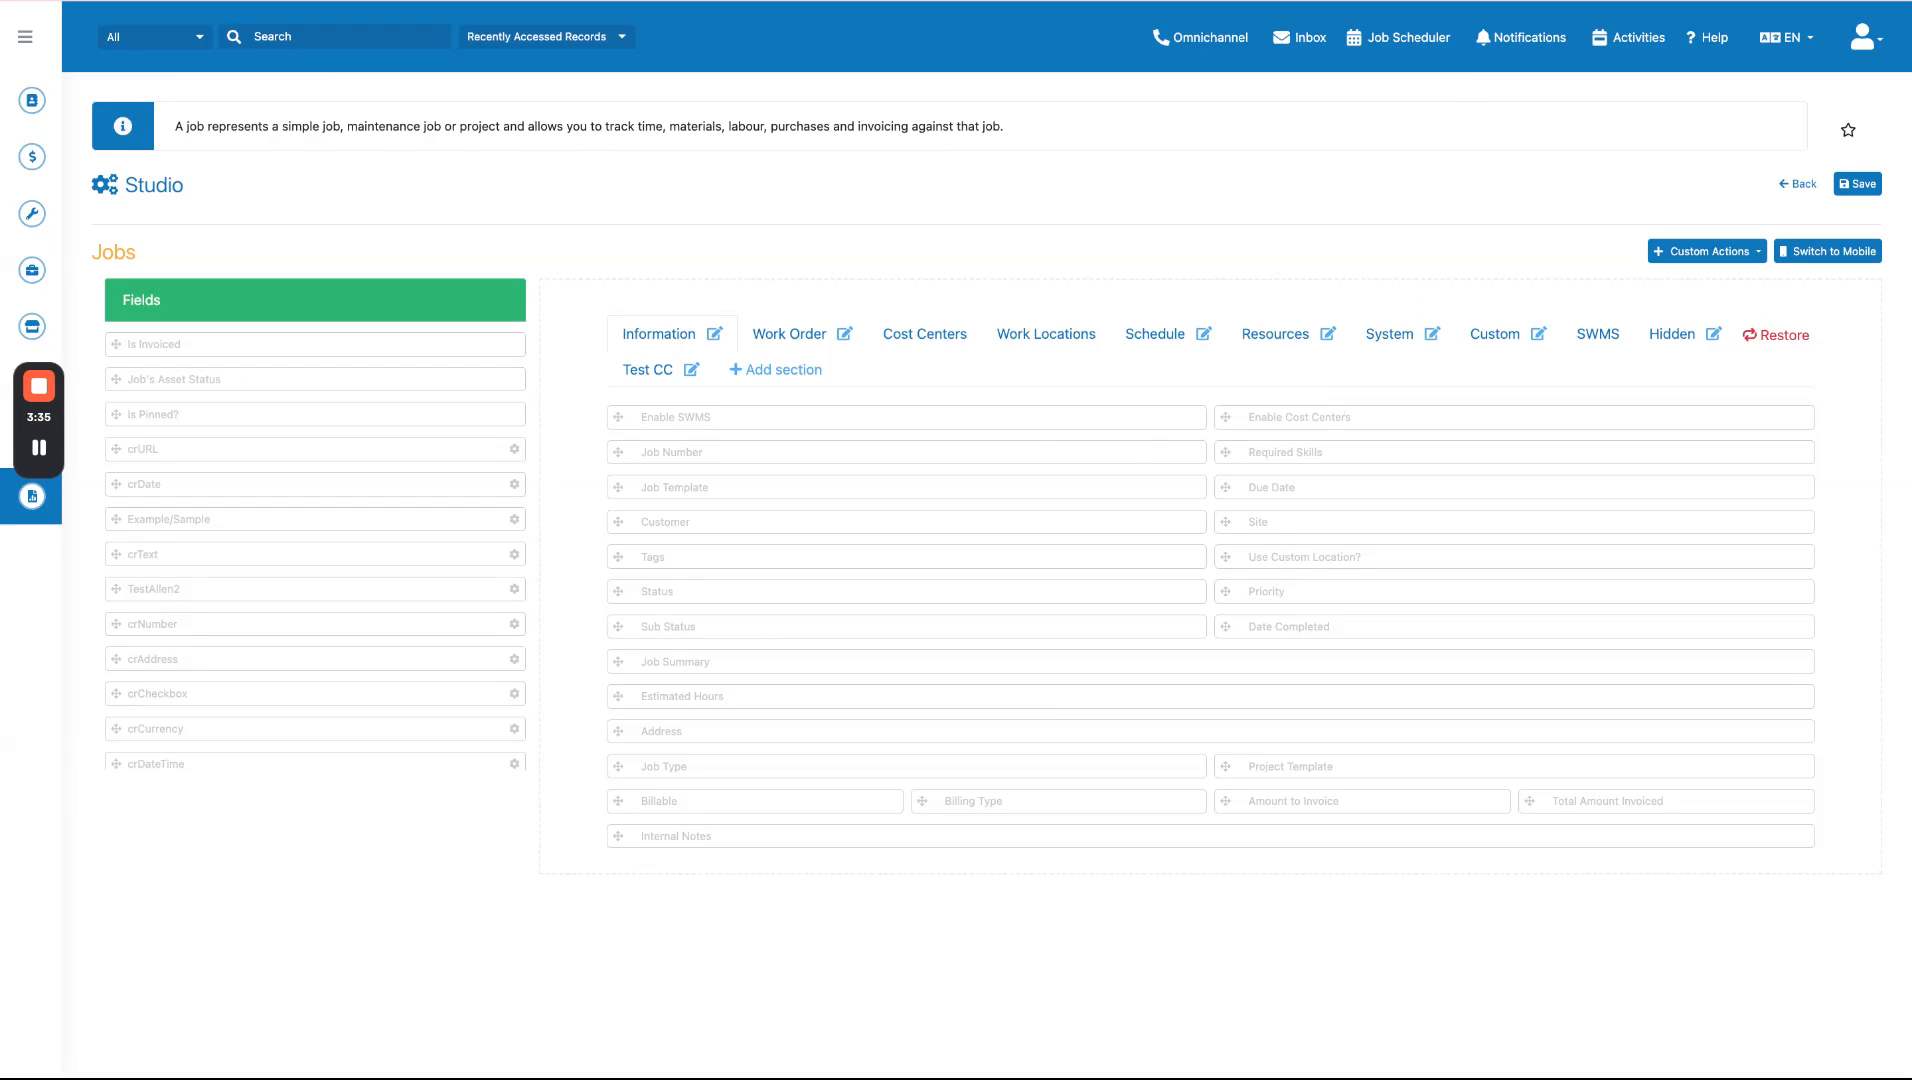
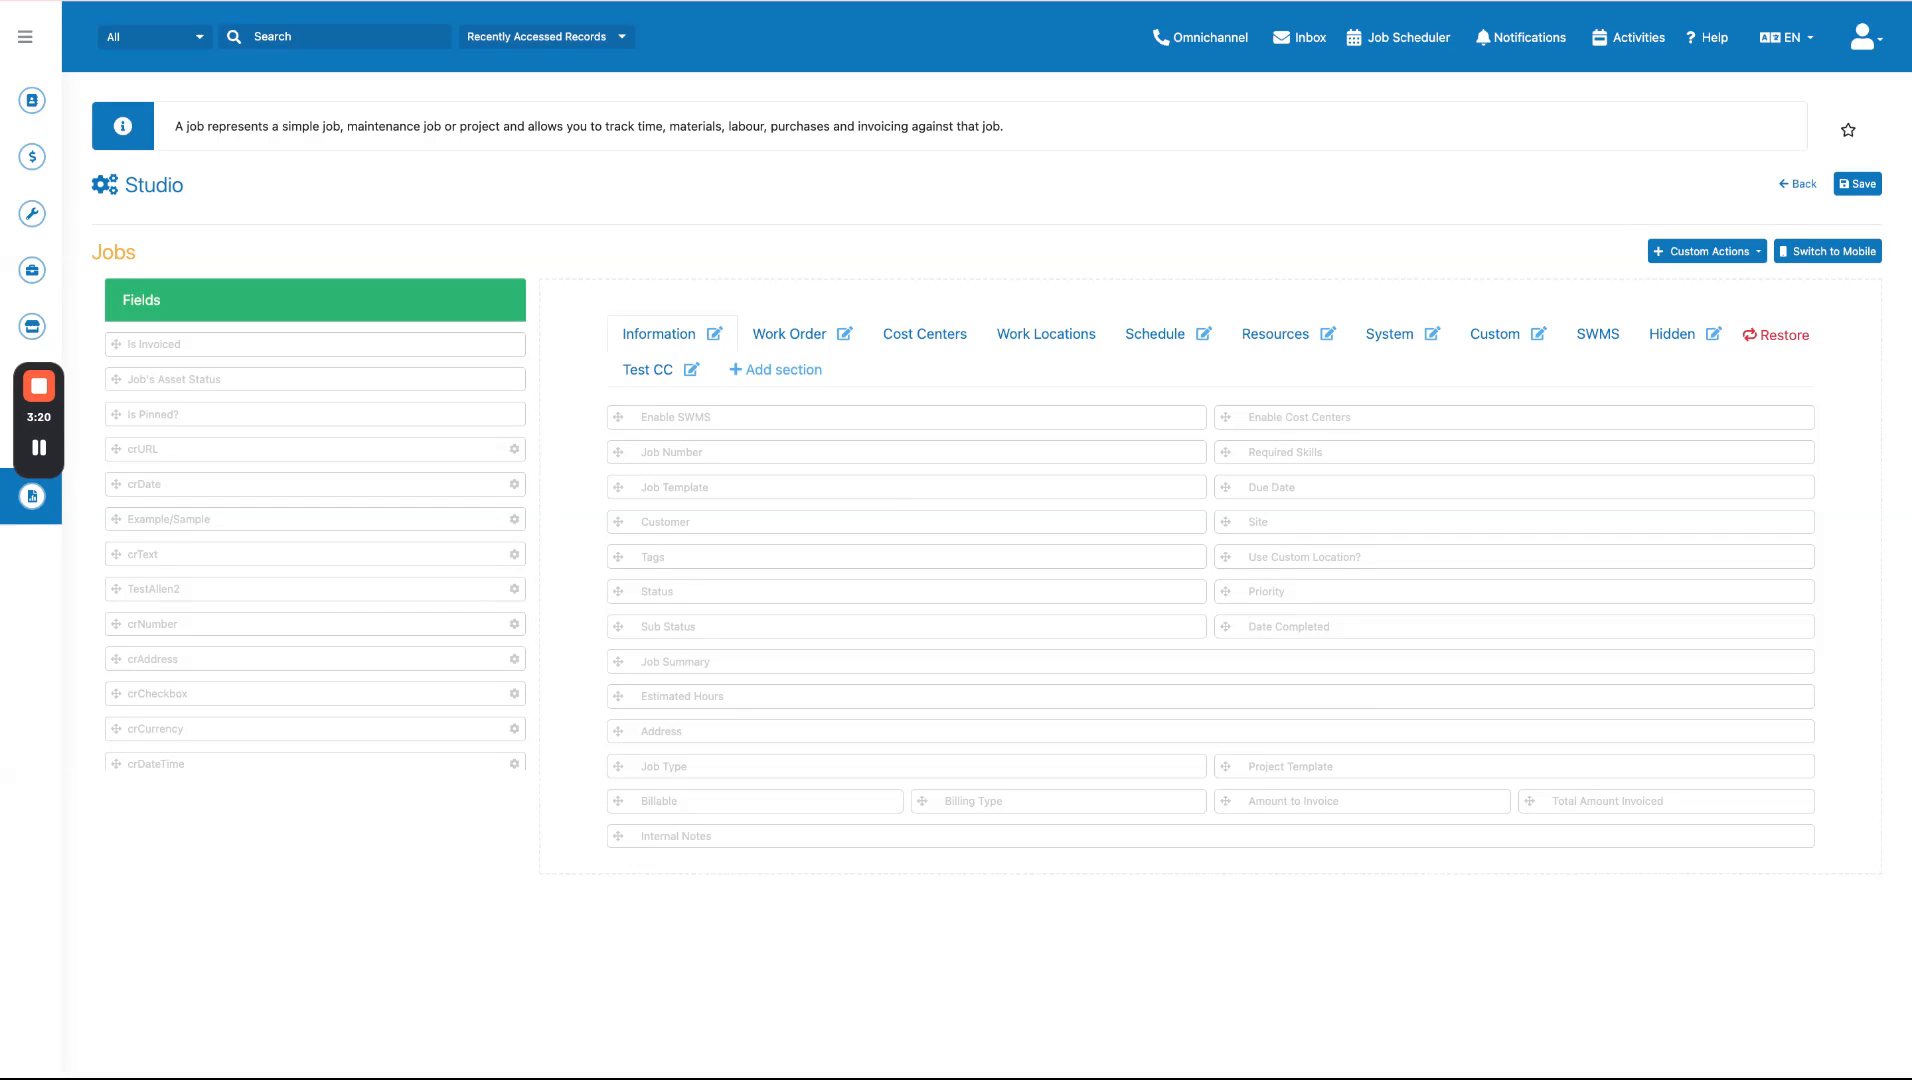
In the Jobs module, you will see two panels: the left panel displays available fields, and the right panel shows your current form layout organized into tabs.
 Step 5
Available fields are those that exist in the system but are not currently visible on your form, such as Labor, Labor Costs, Materials Costs, and Tags.
 Step 6
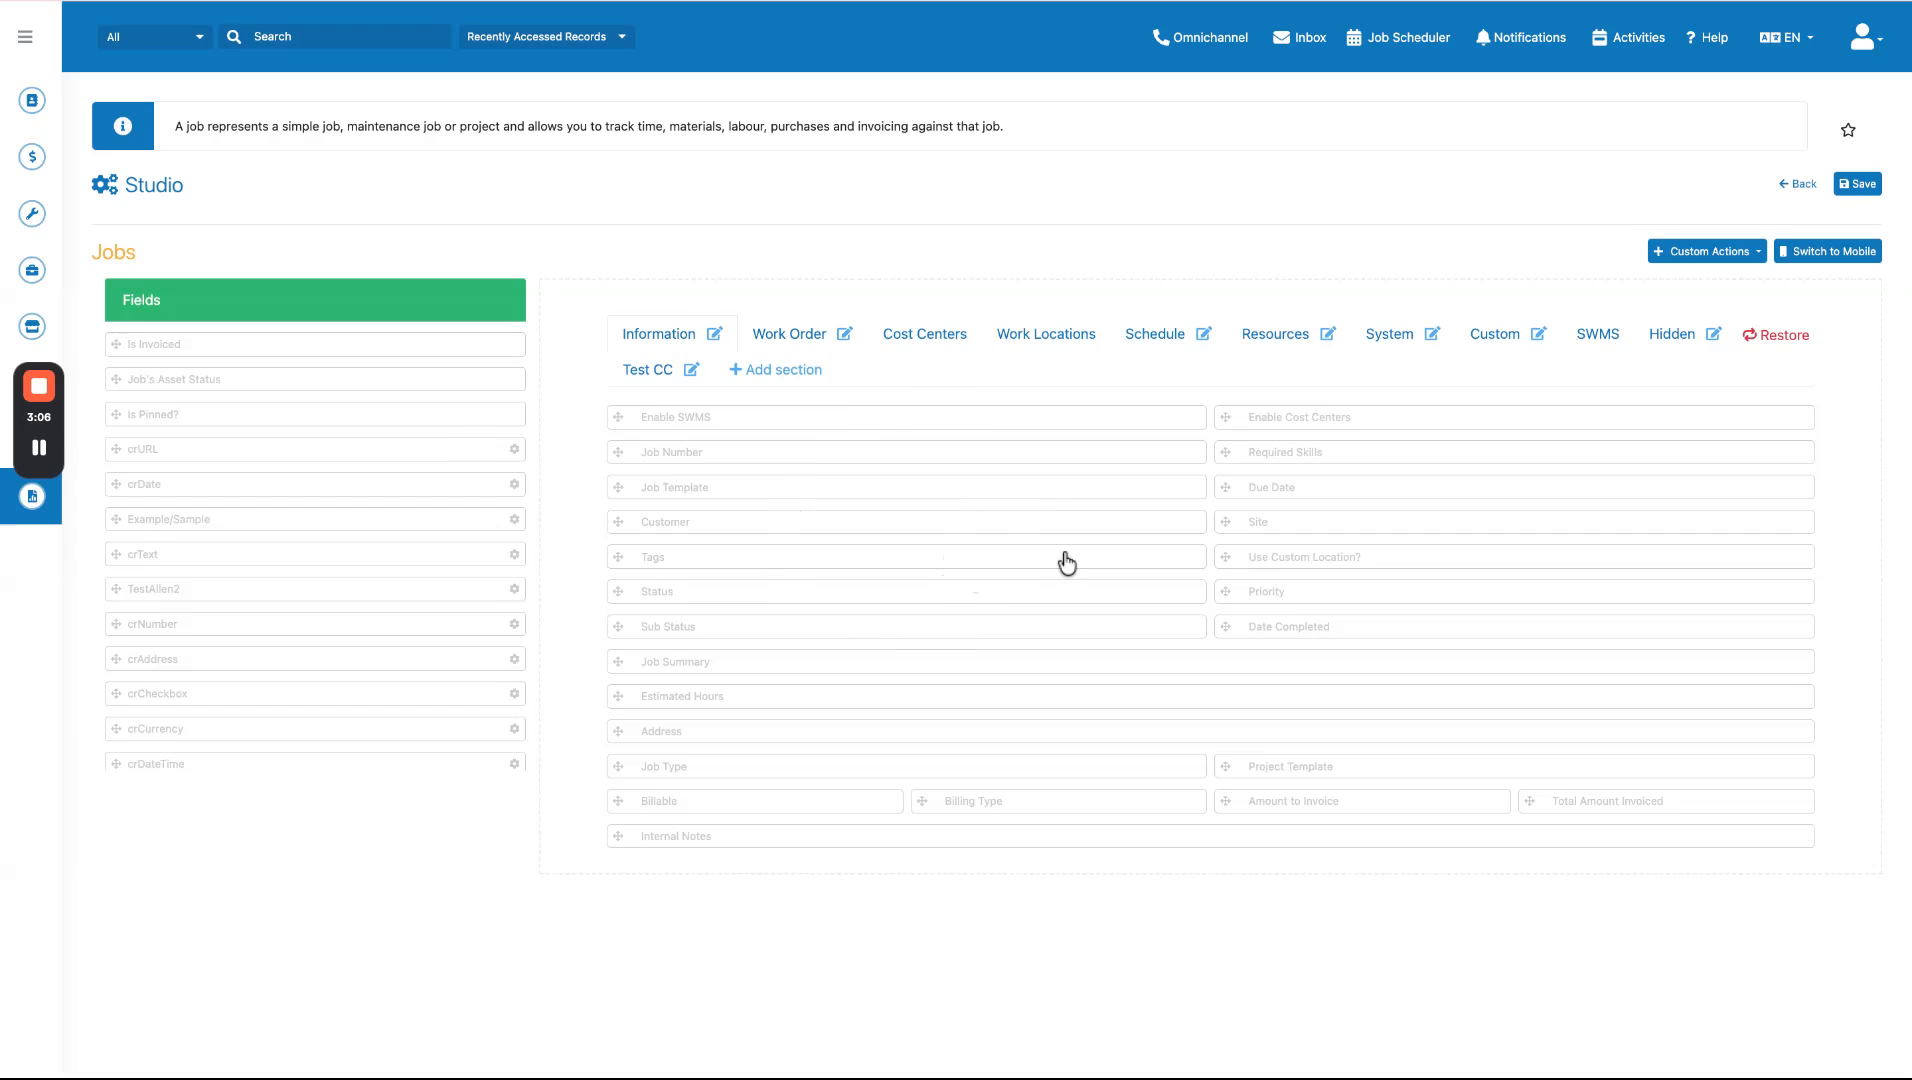
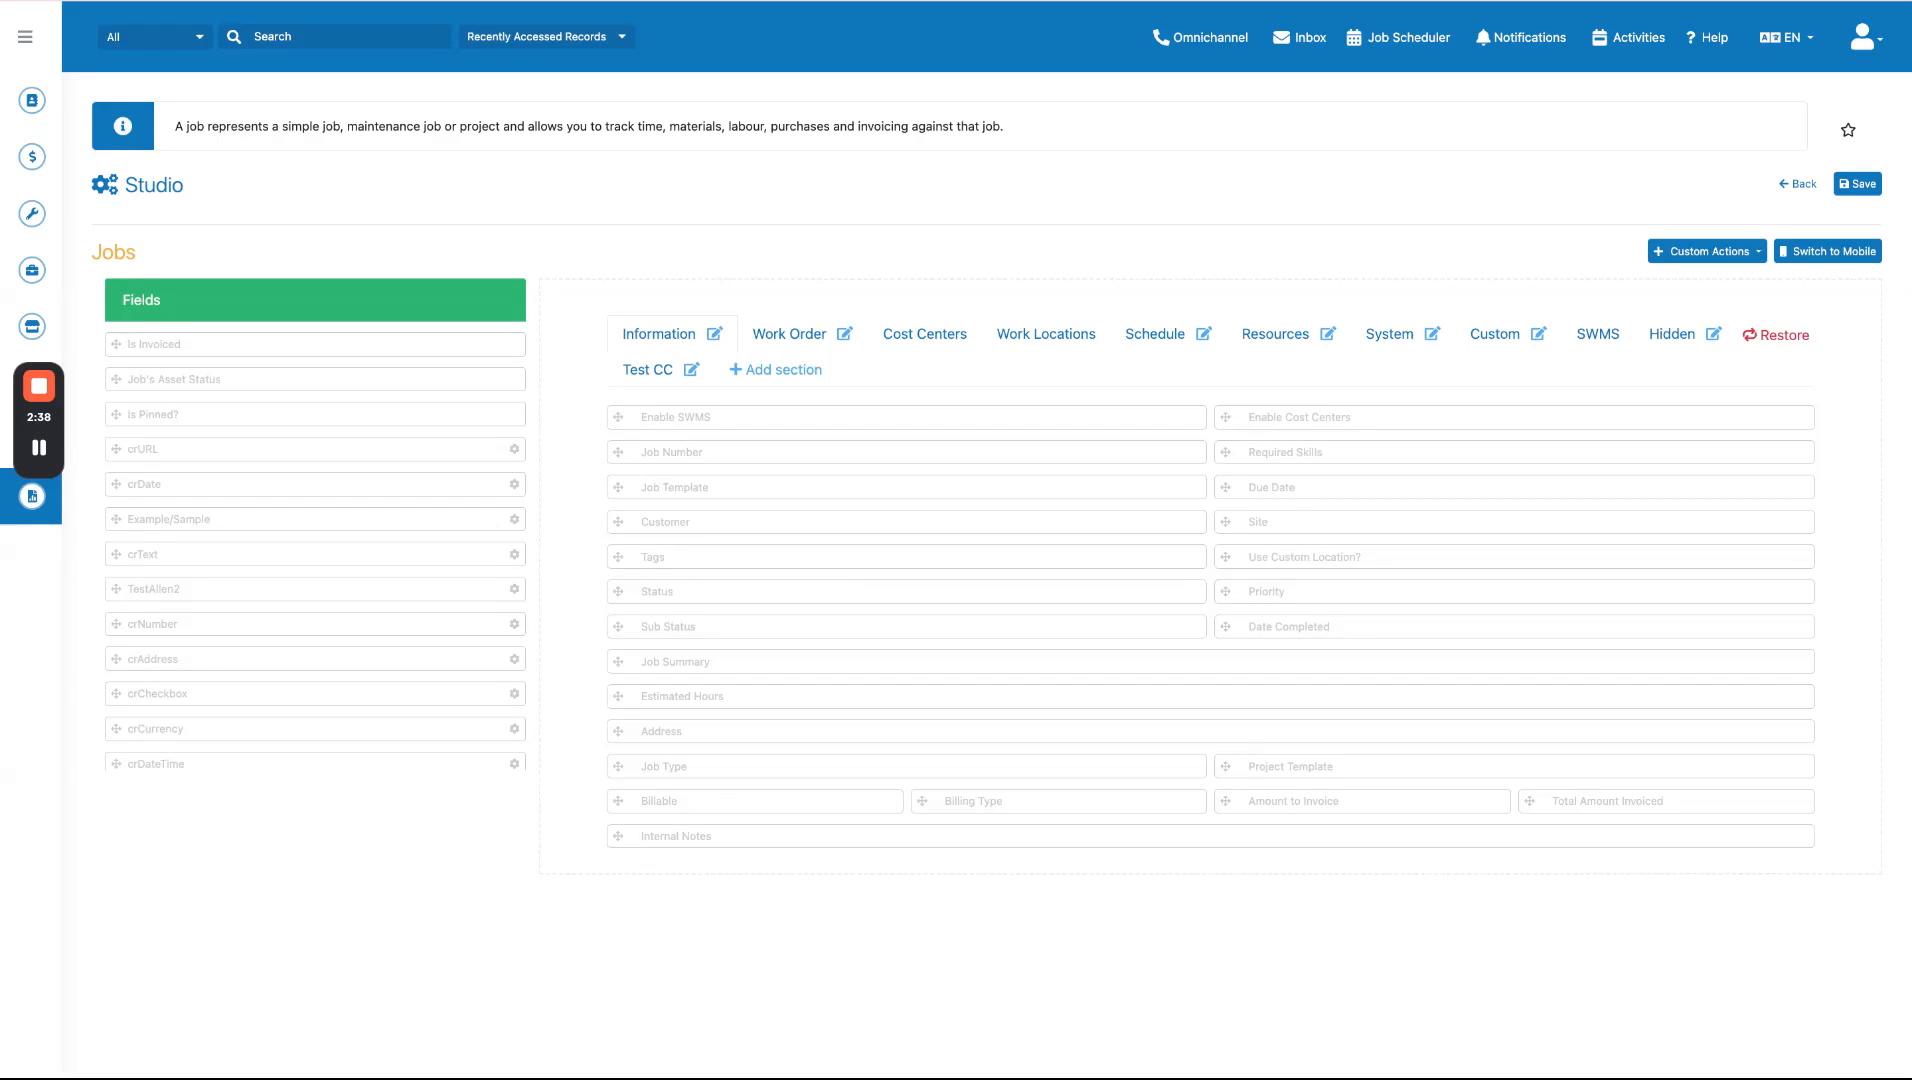
The form layout is organized into tabs including Information, Work Order, Cost Centers, Work Locations, Schedule, Resources, SWMS, and Custom.
 Step 7
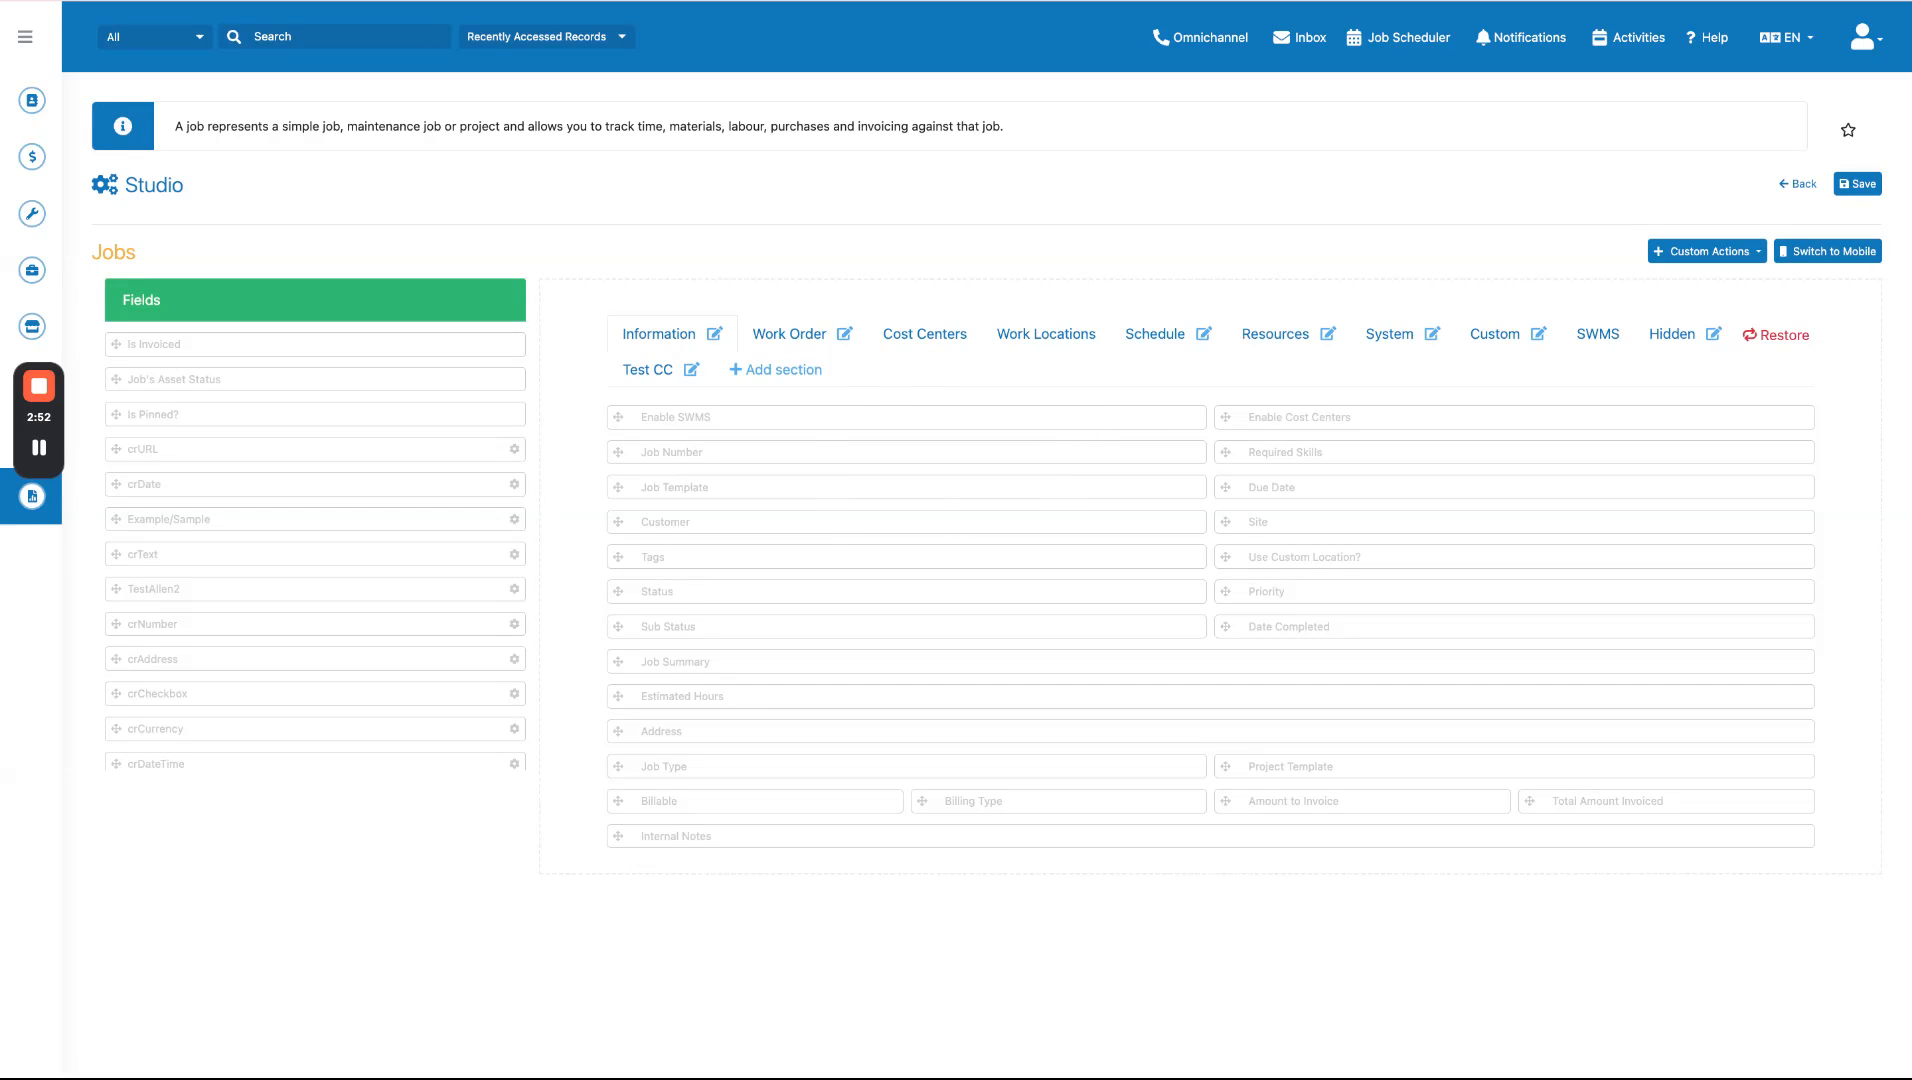
To add a field to your form, click and hold the field in the left panel, then drag and drop it into the desired position on the right panel within any existing tab.
 Step 8
For example, drag a field into the Information tab to make it visible at the top of the job record.
 Step 9
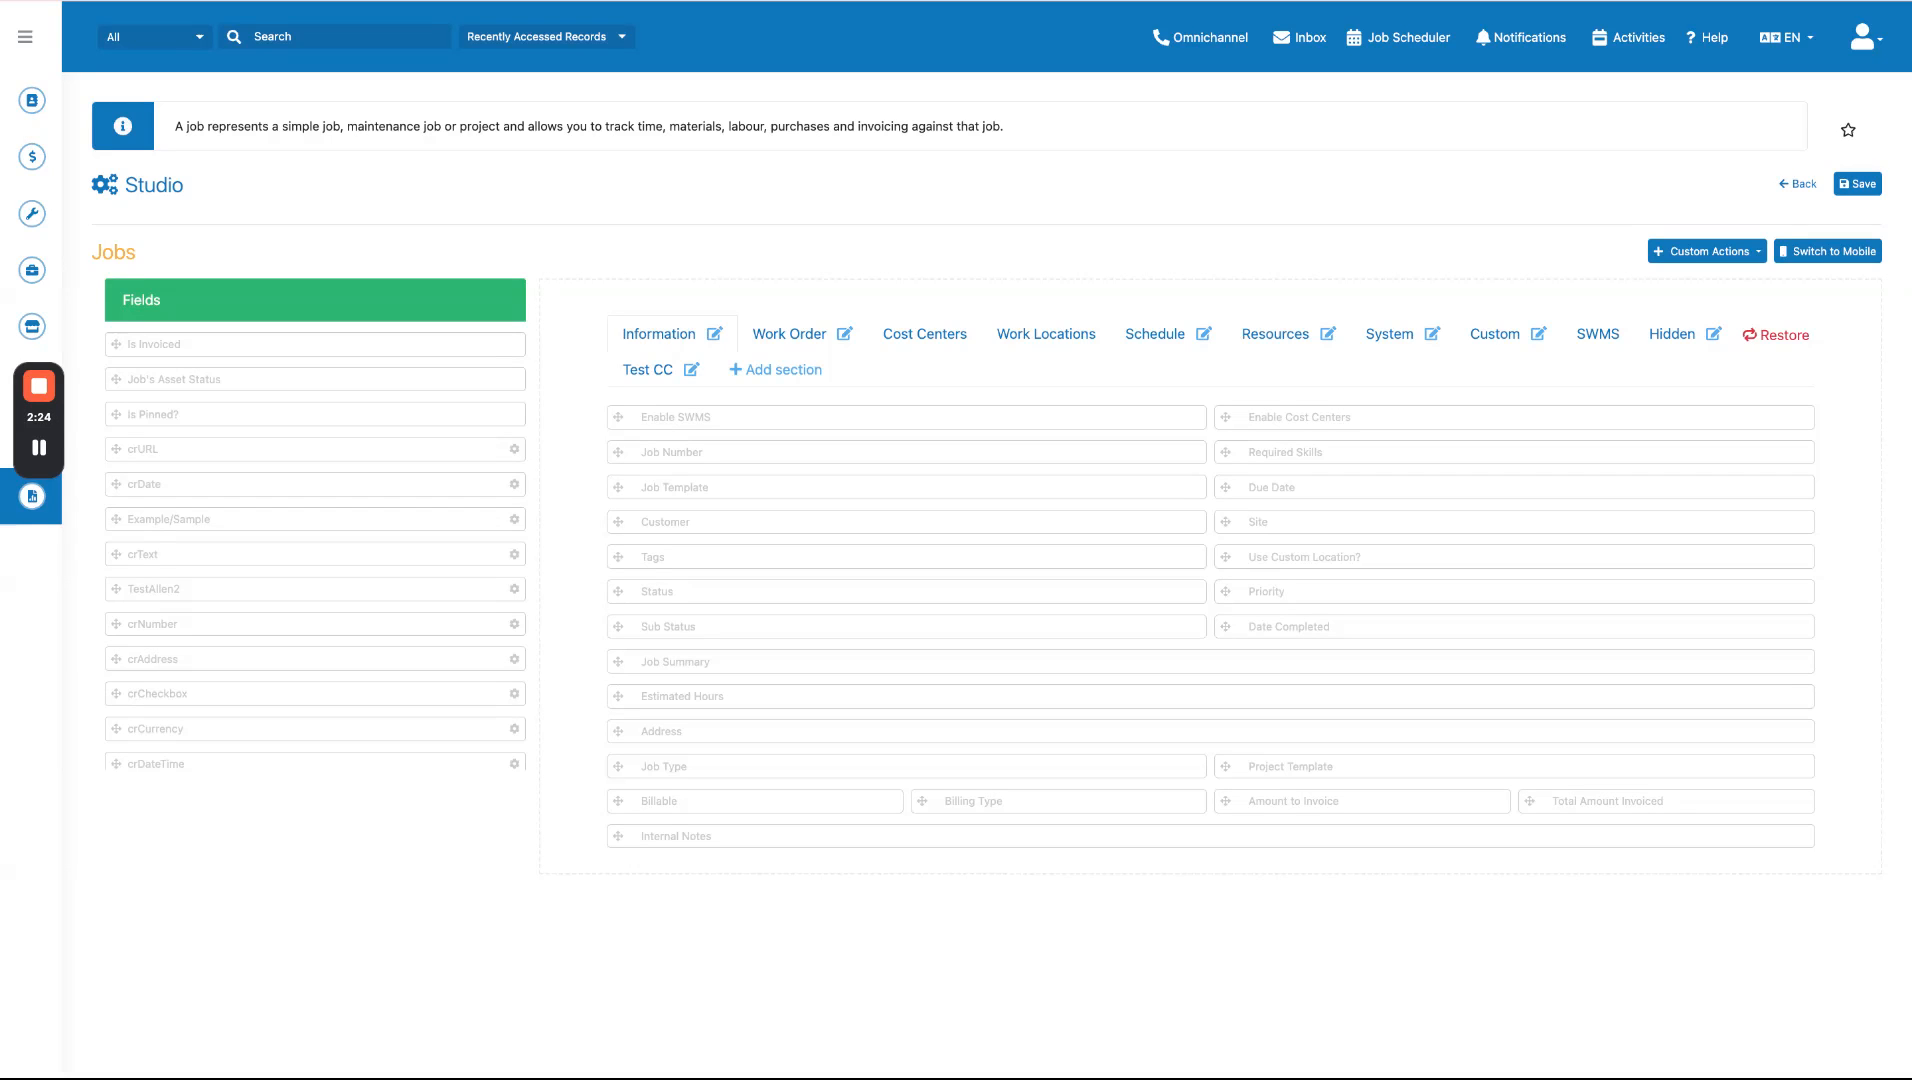
To create a new grouping of fields, click Add Section and name your new section.
 Step 10
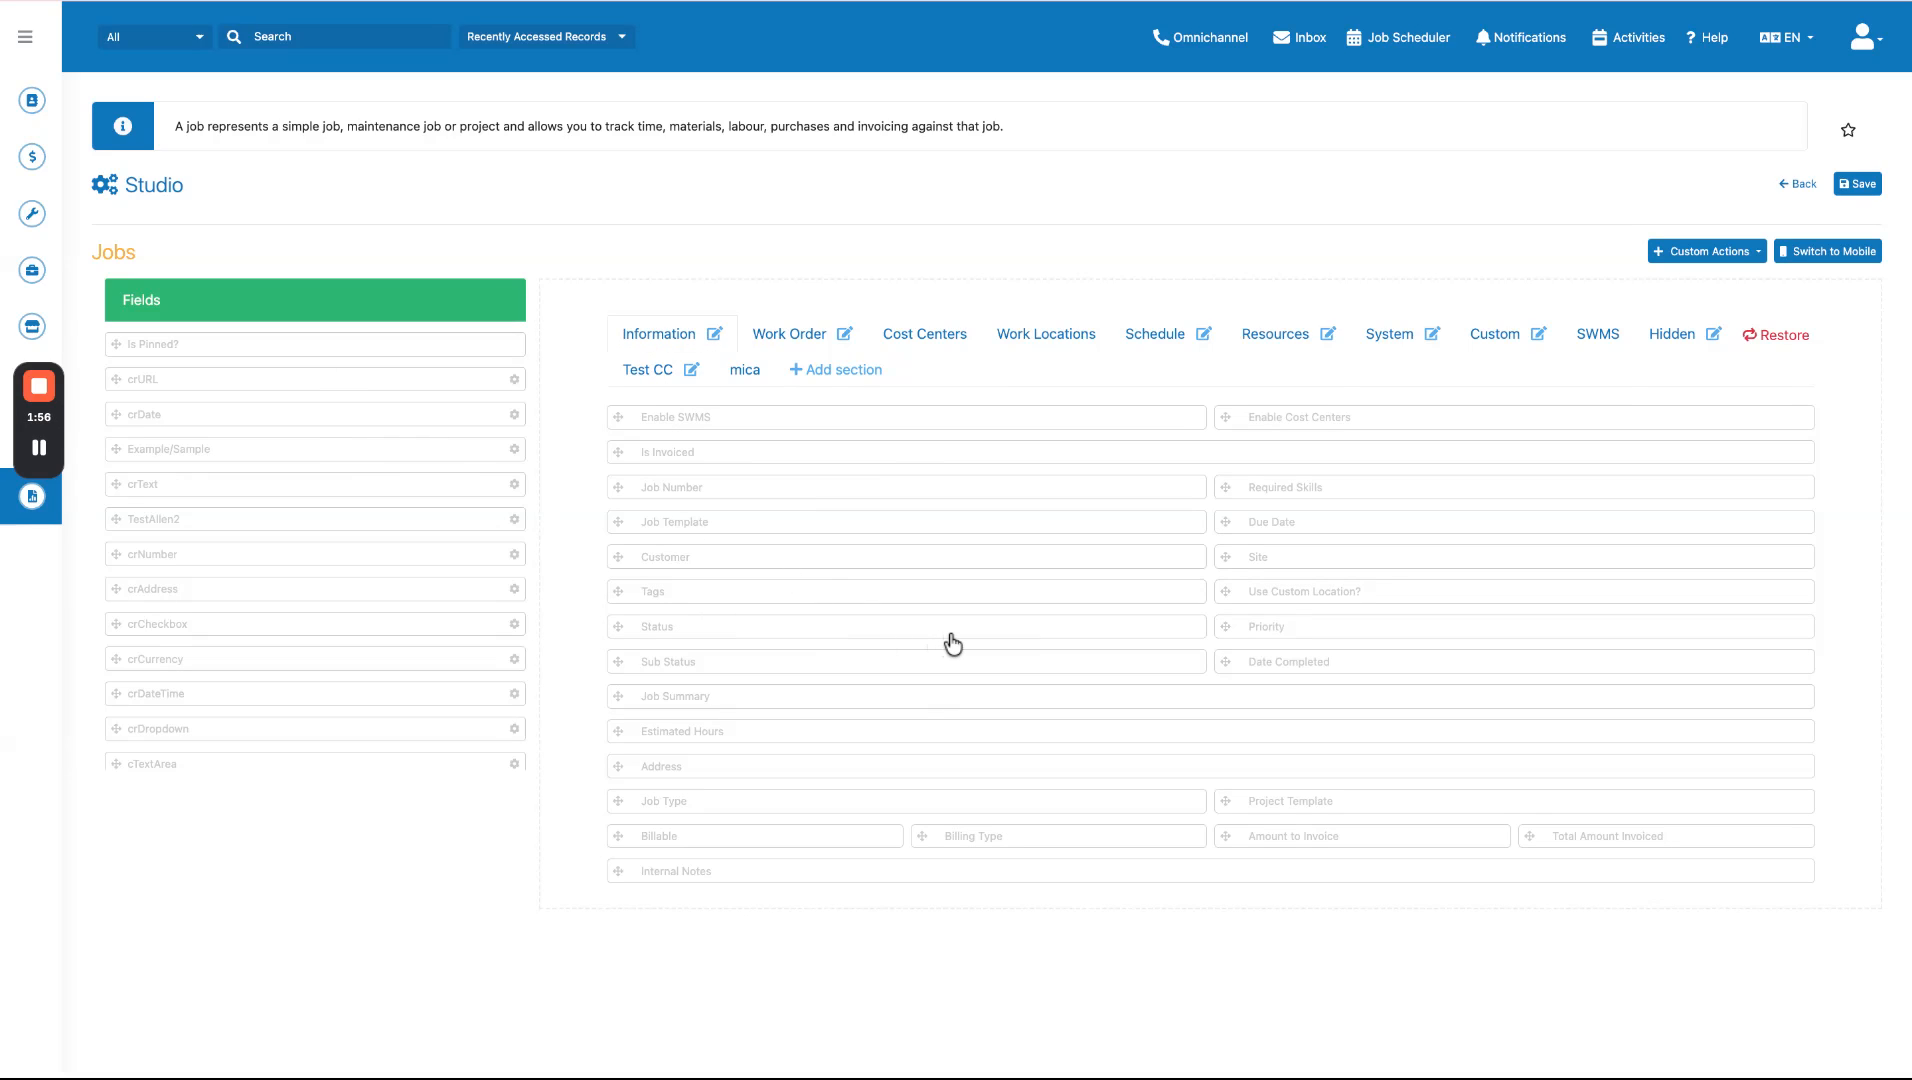
To rearrange fields already in your form, drag them to new positions by moving them up, down, or across columns.
 Step 11
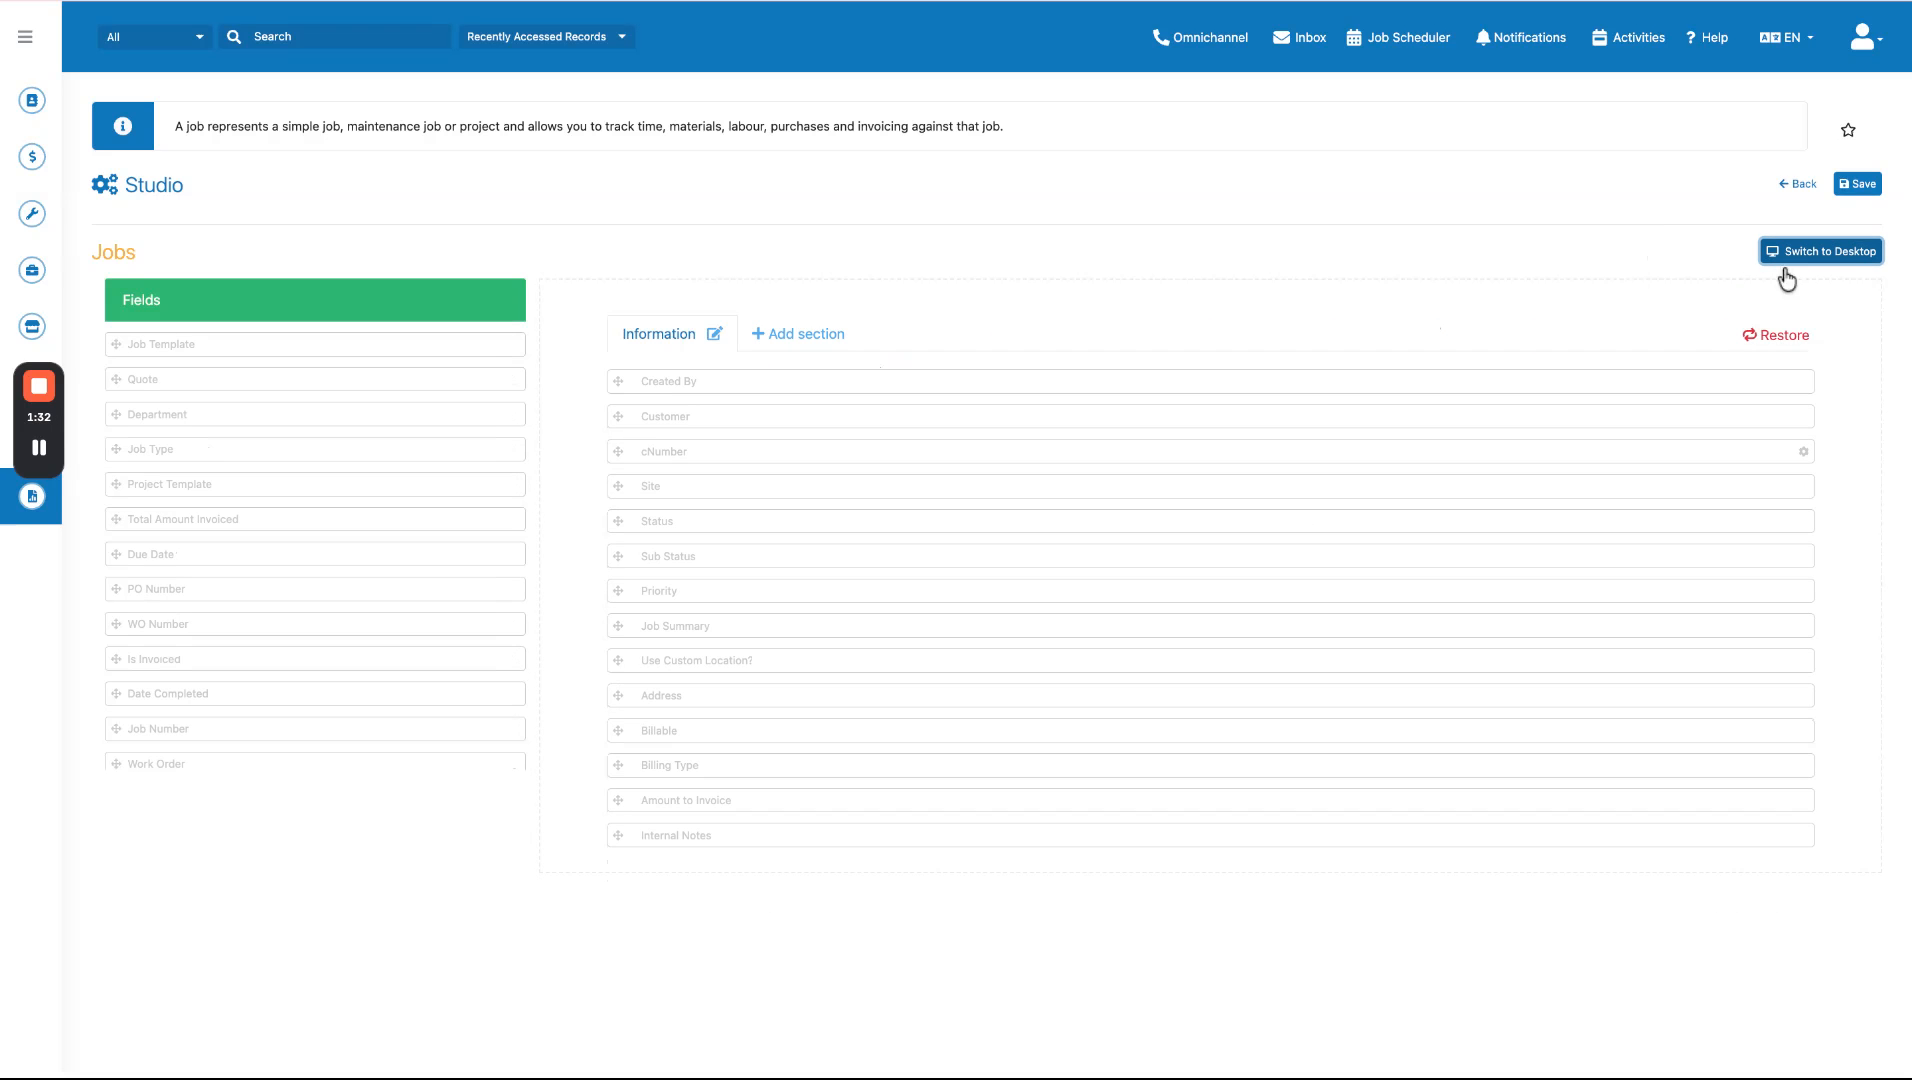
If your team uses the FieldMagic mobile app, click Switch to Mobile to customize the layout for mobile view.
 Step 12
When you are satisfied with your changes, click Save in the top right corner to apply all customizations to your form.