Job Scheduling
How to Optimize Route in Scheduler
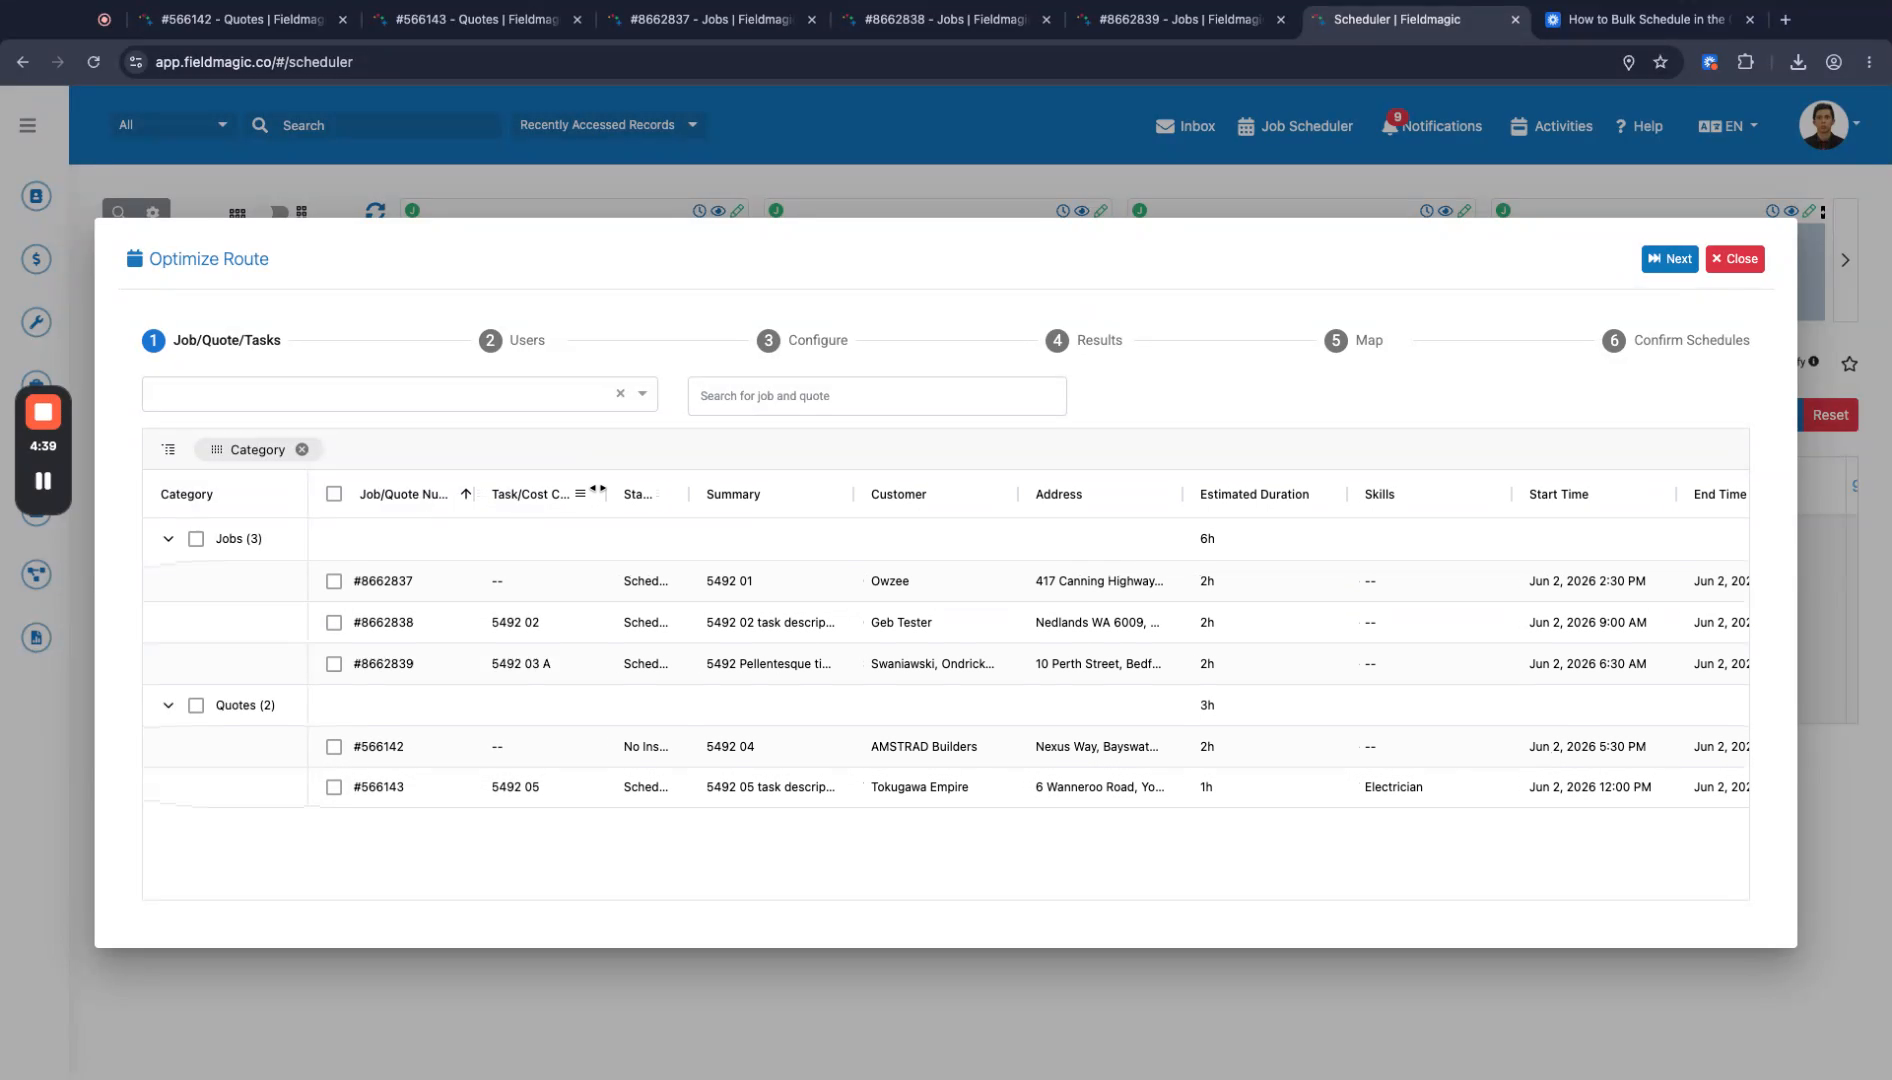
Understand that if a schedule item has no task or customer associated with it, it represents the job itself.
Step-by-step instructions
 Step 1
Understand that if a schedule item has no task or customer associated with it, it represents the job itself.
 Step 2
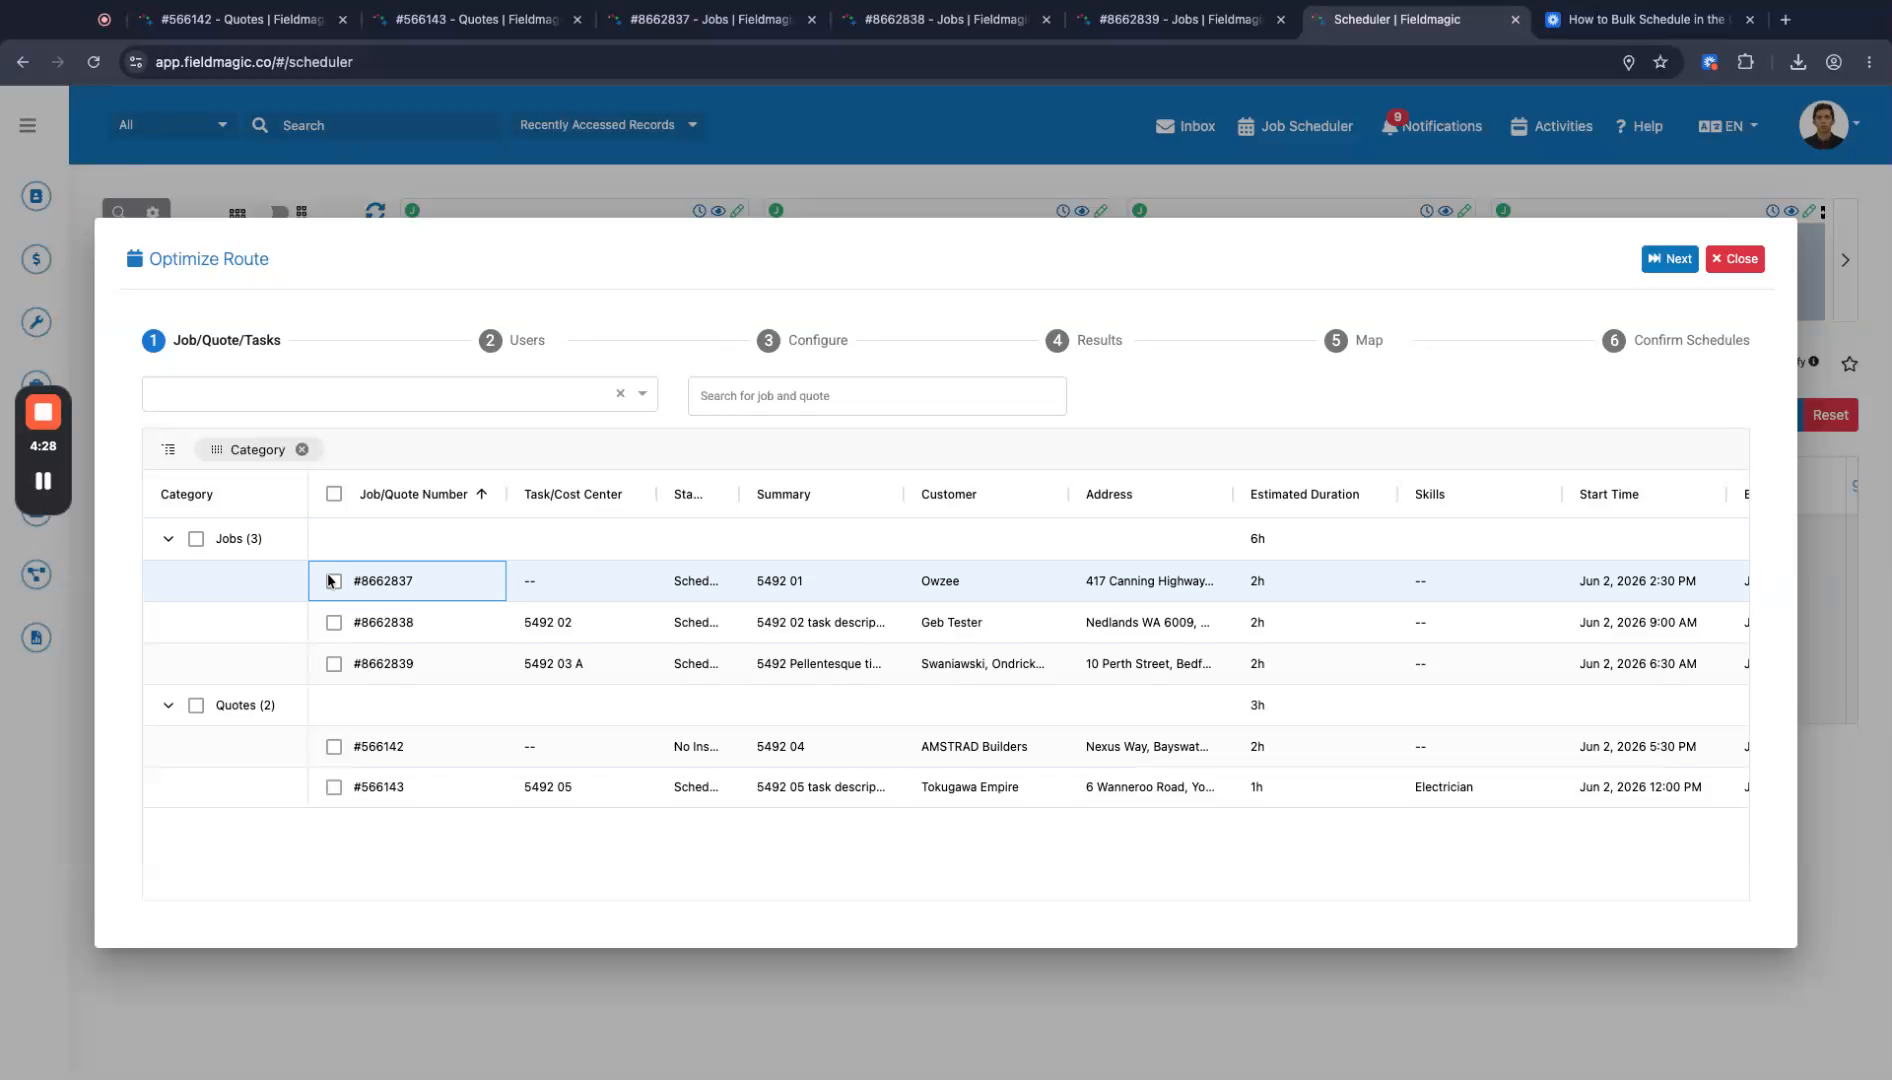
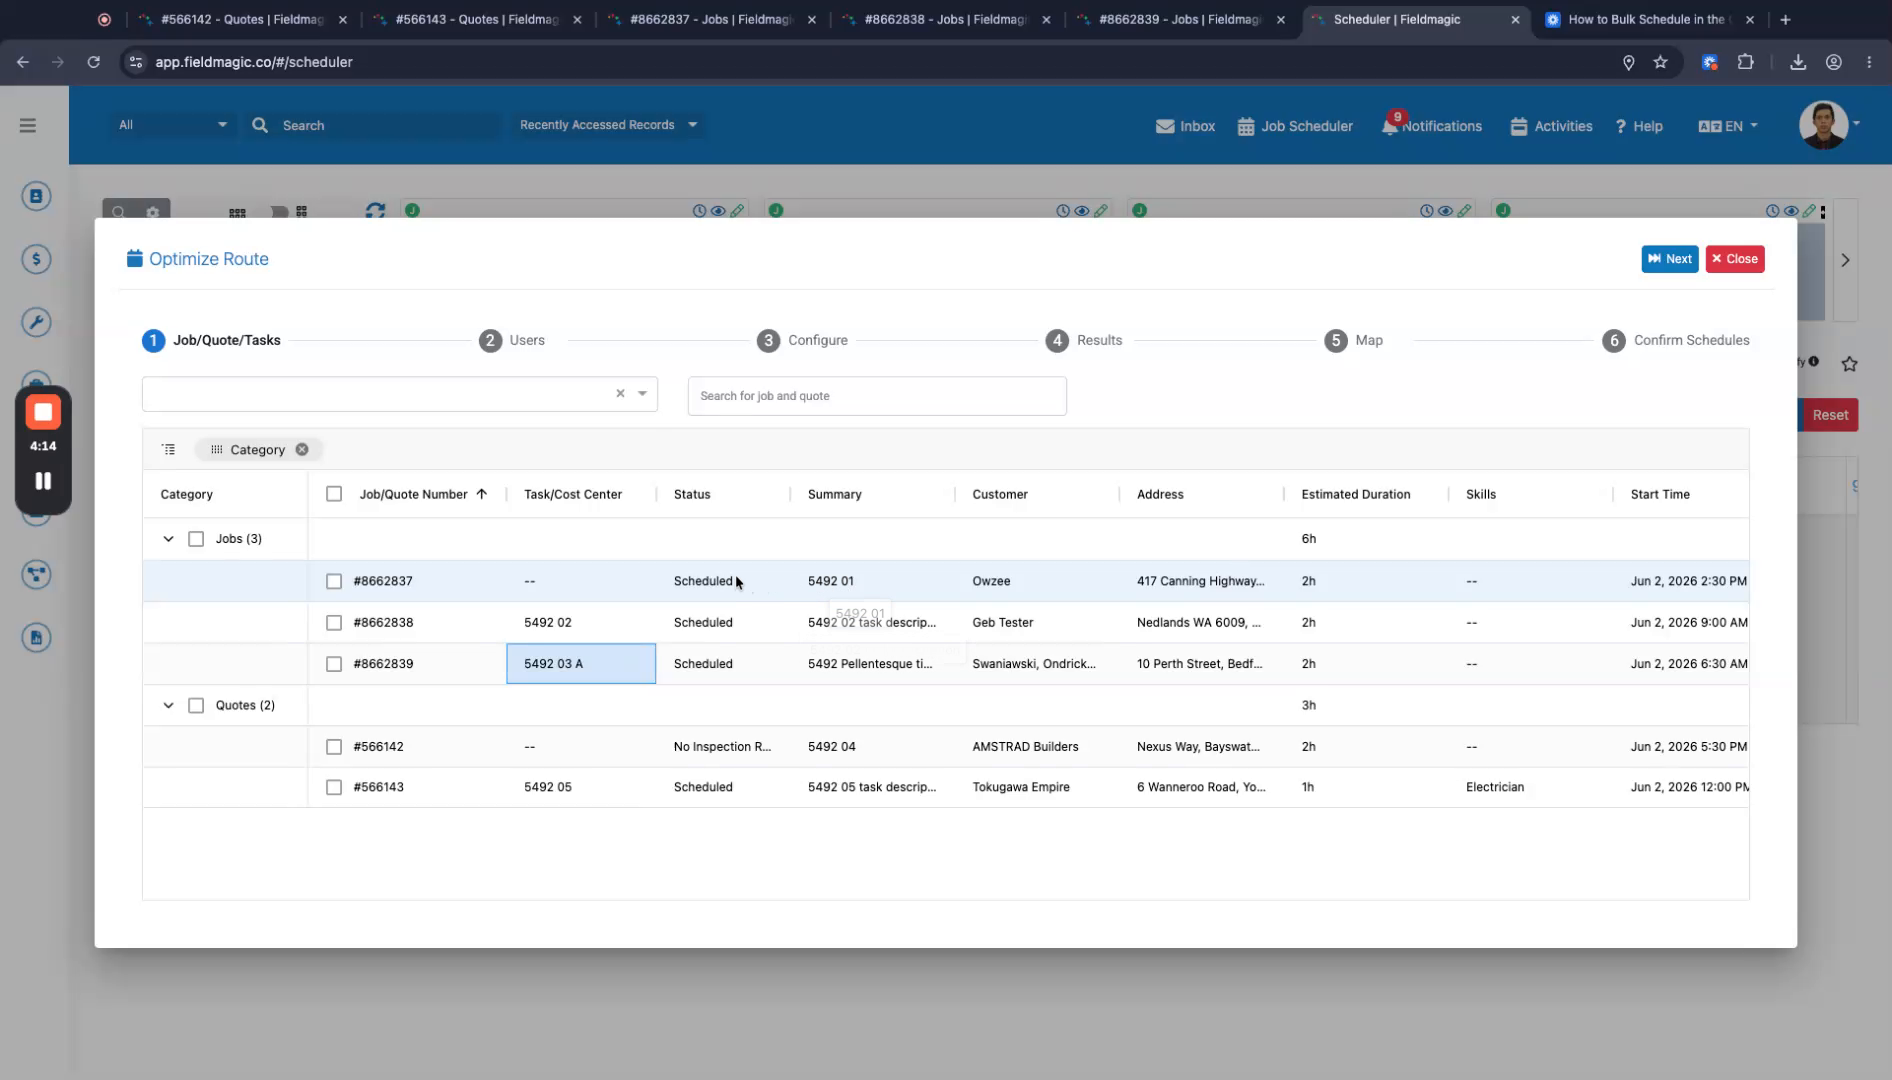
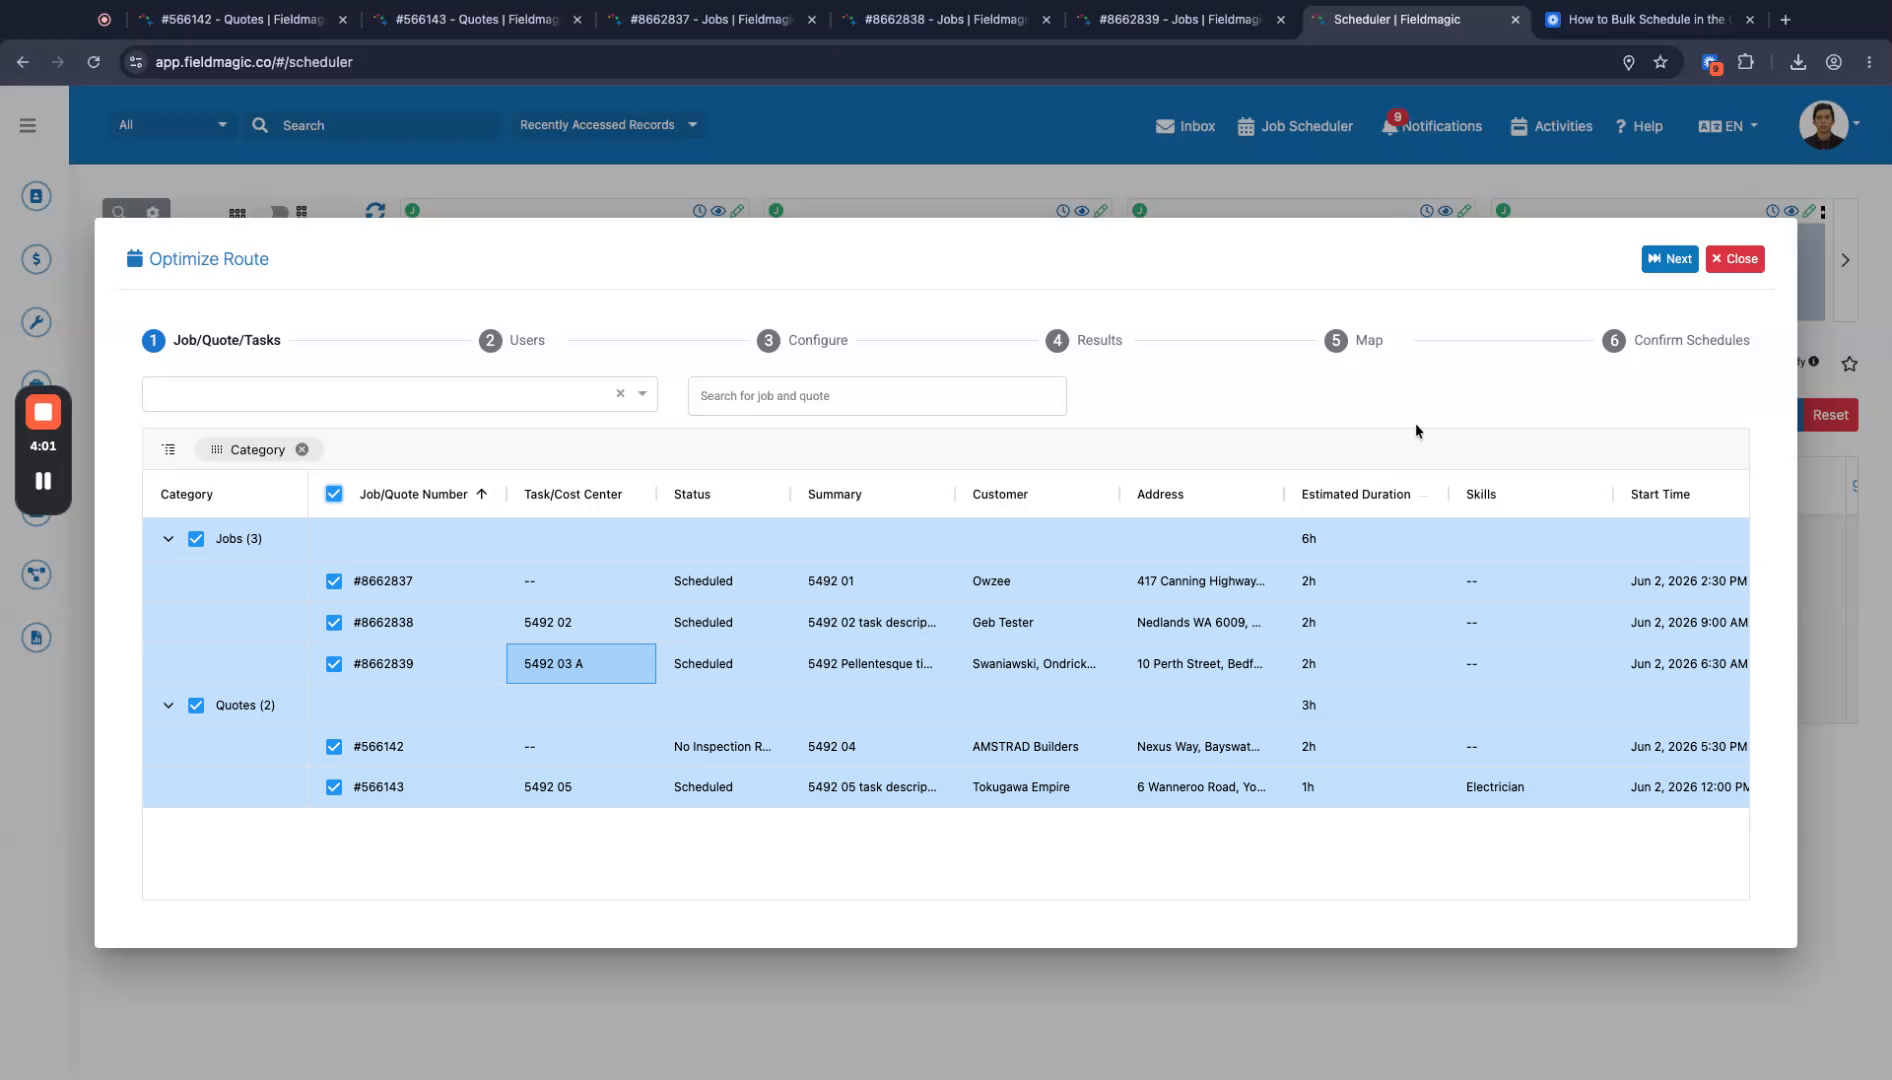
Select the items you want to optimize in the Scheduler view.
 Step 3
Click Next to proceed to the technician selection screen.
 Step 4
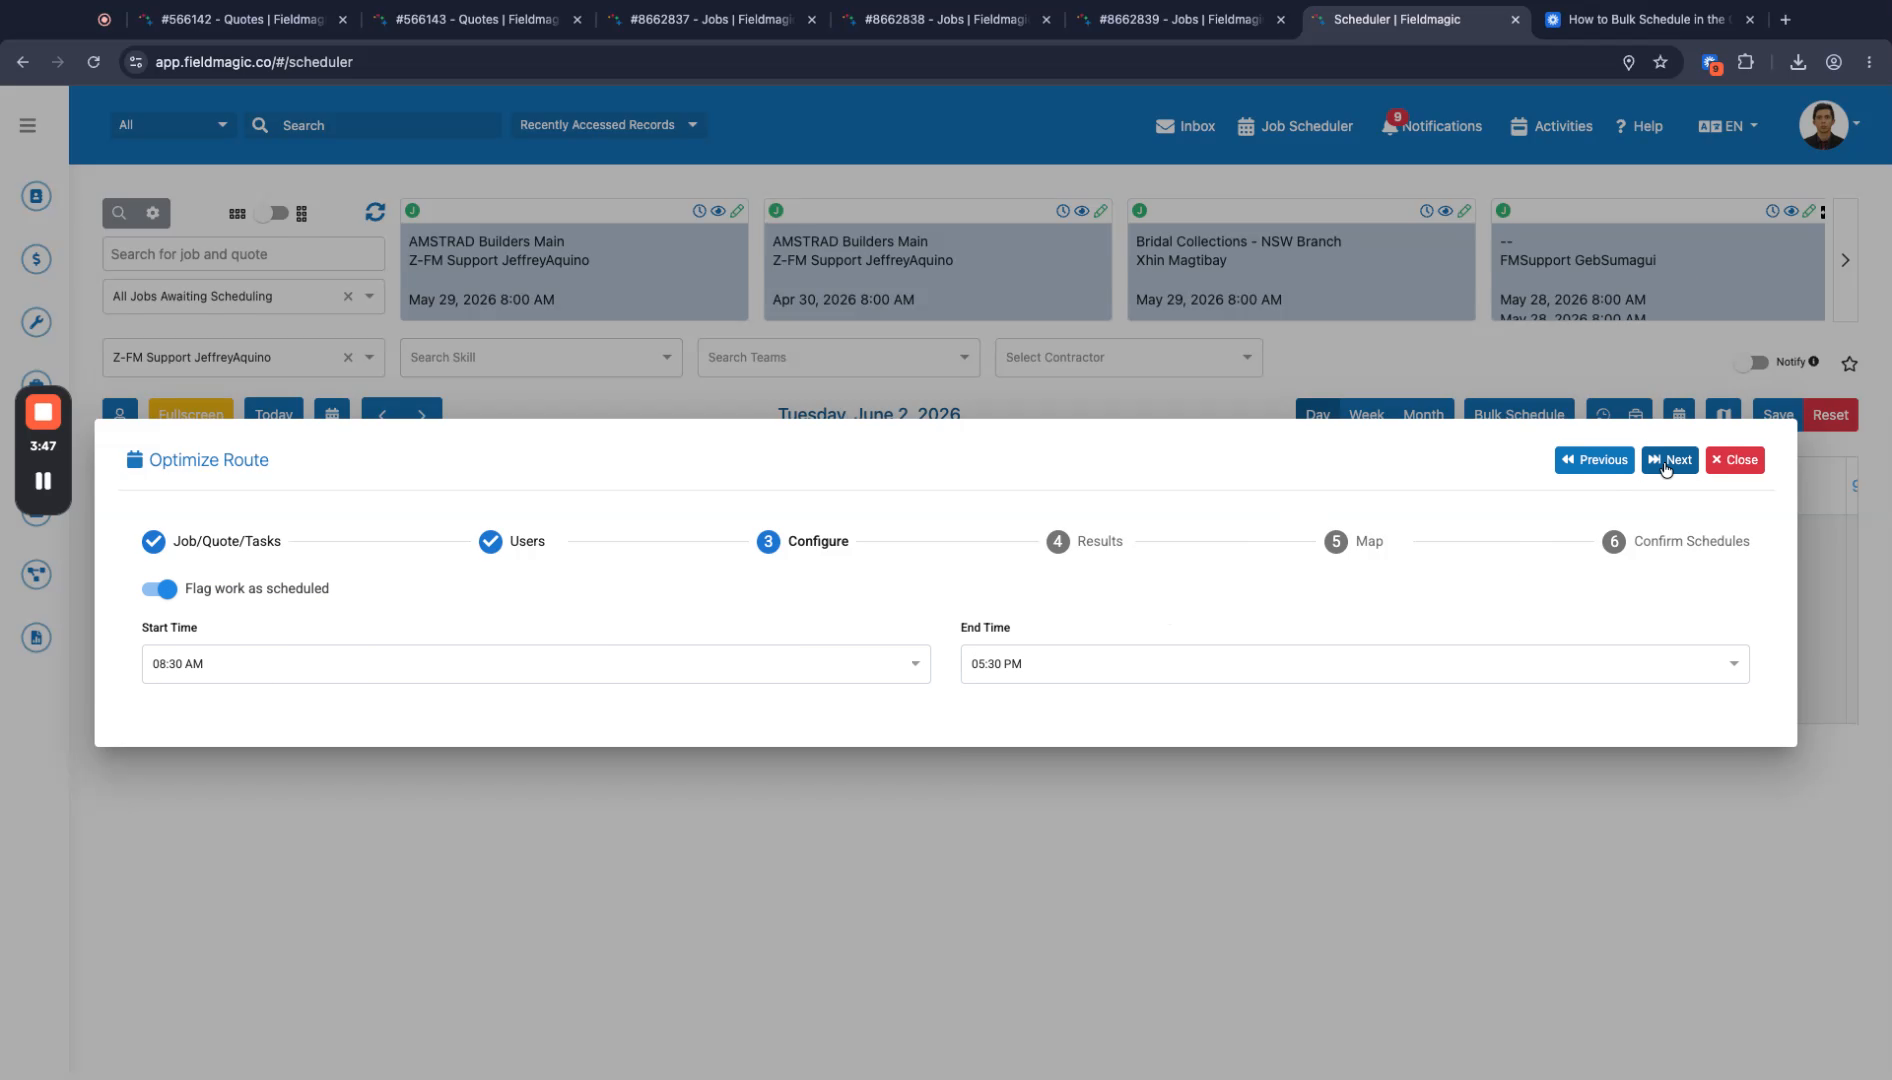
Select the technician and set the end time for the optimization.
 Step 5
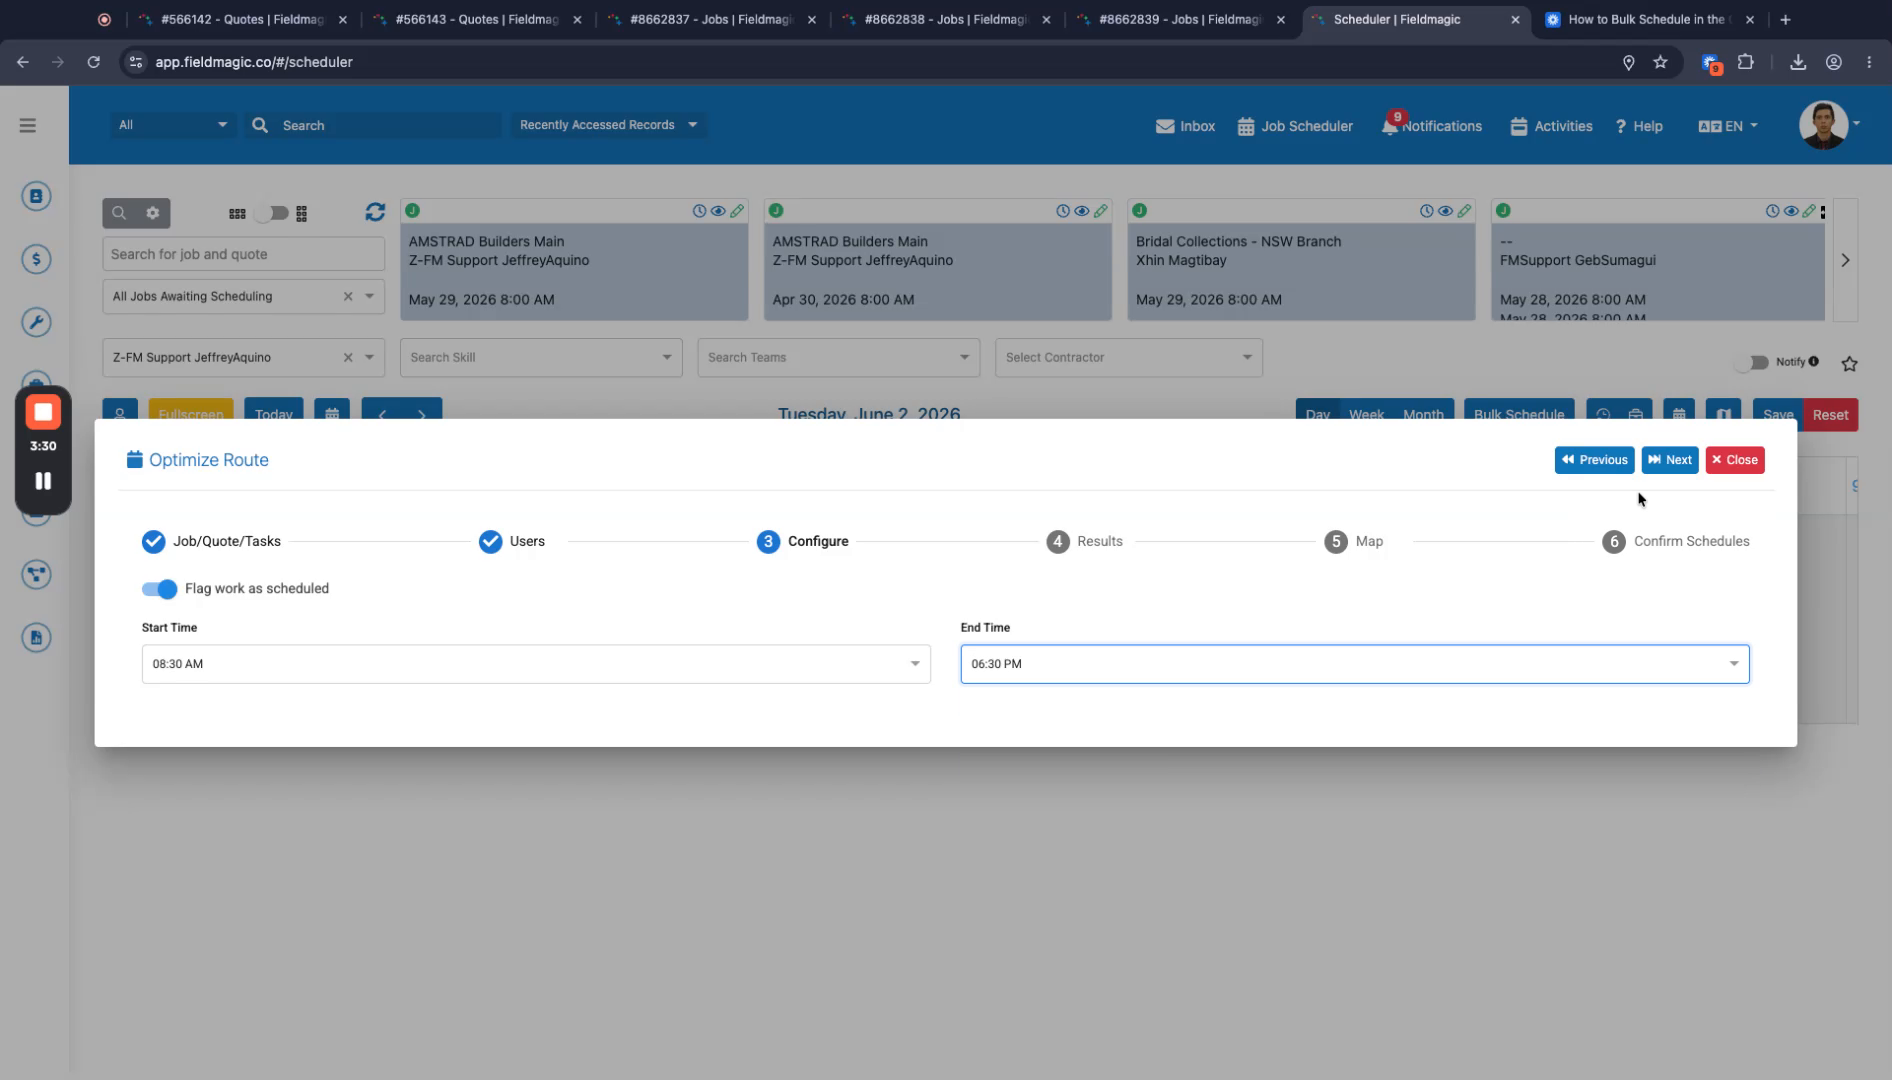
Adjust the available hours as needed by adding or removing time, then click Next.
 Step 6
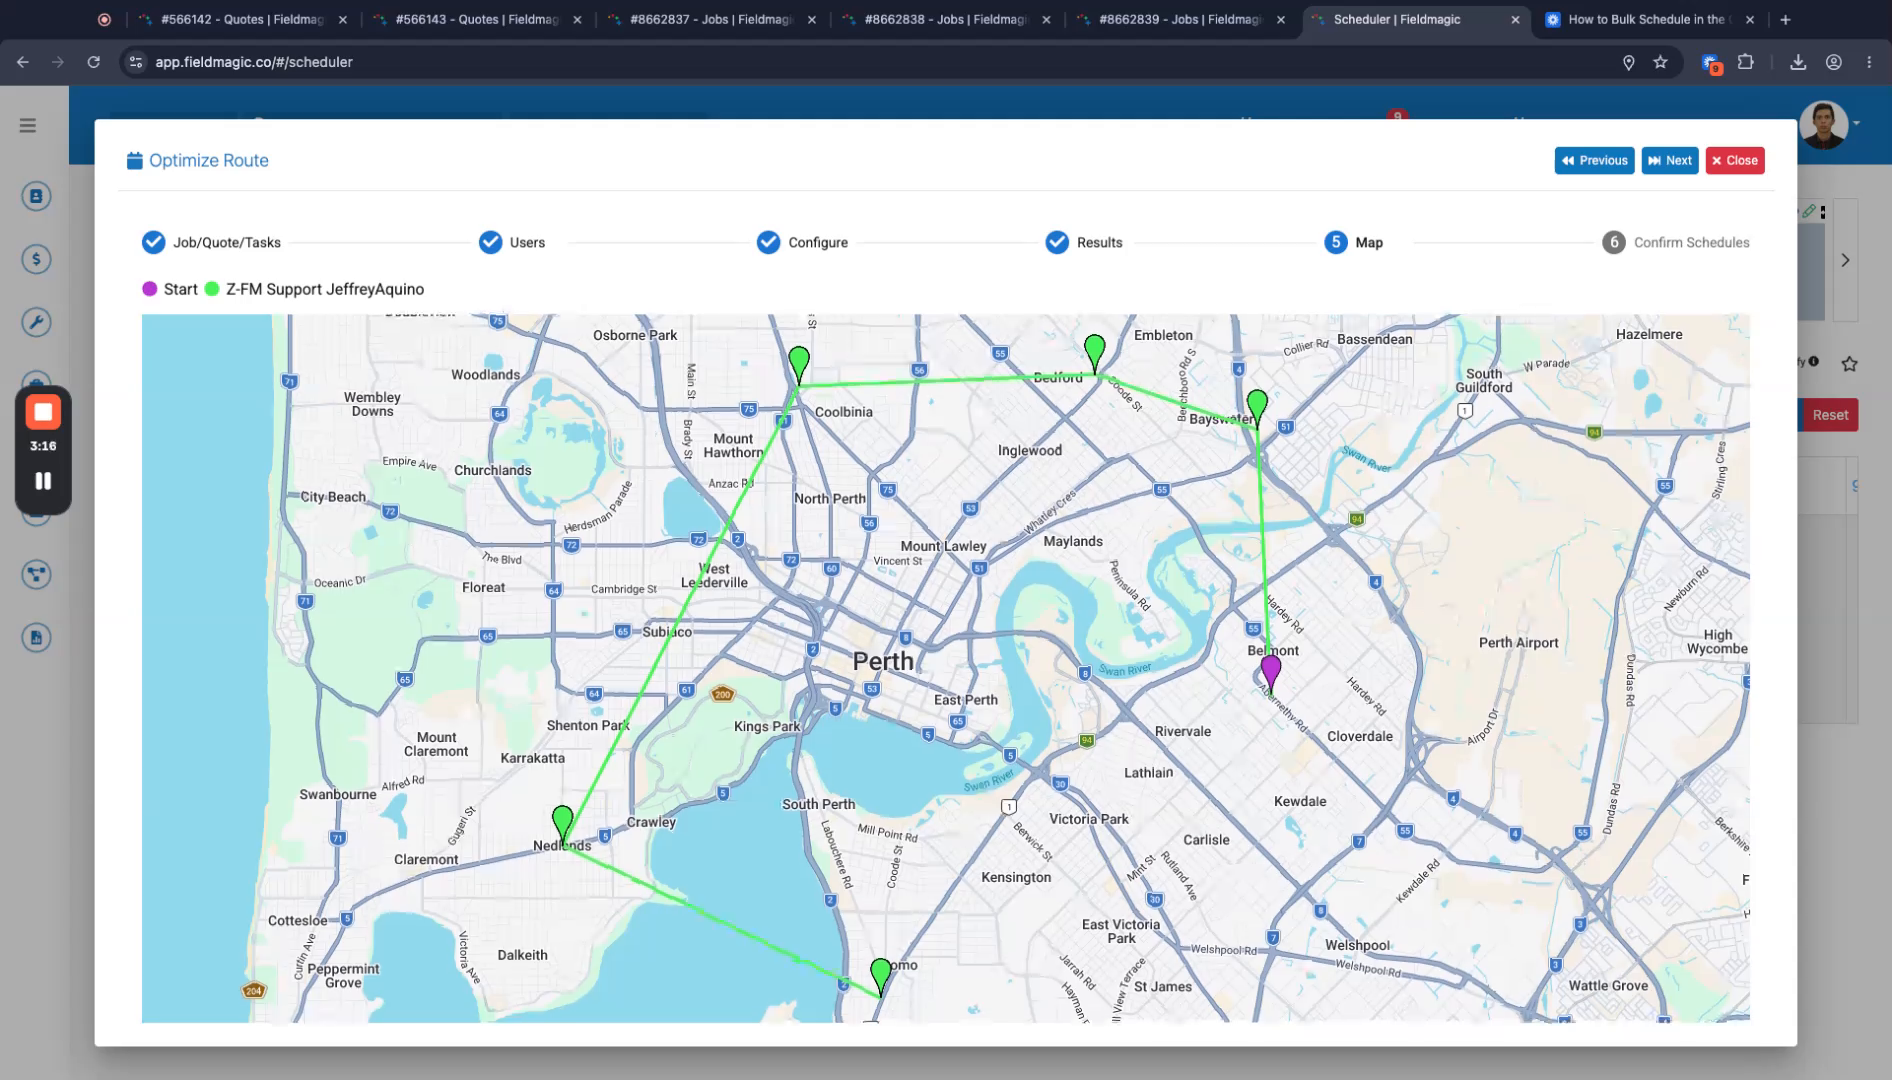
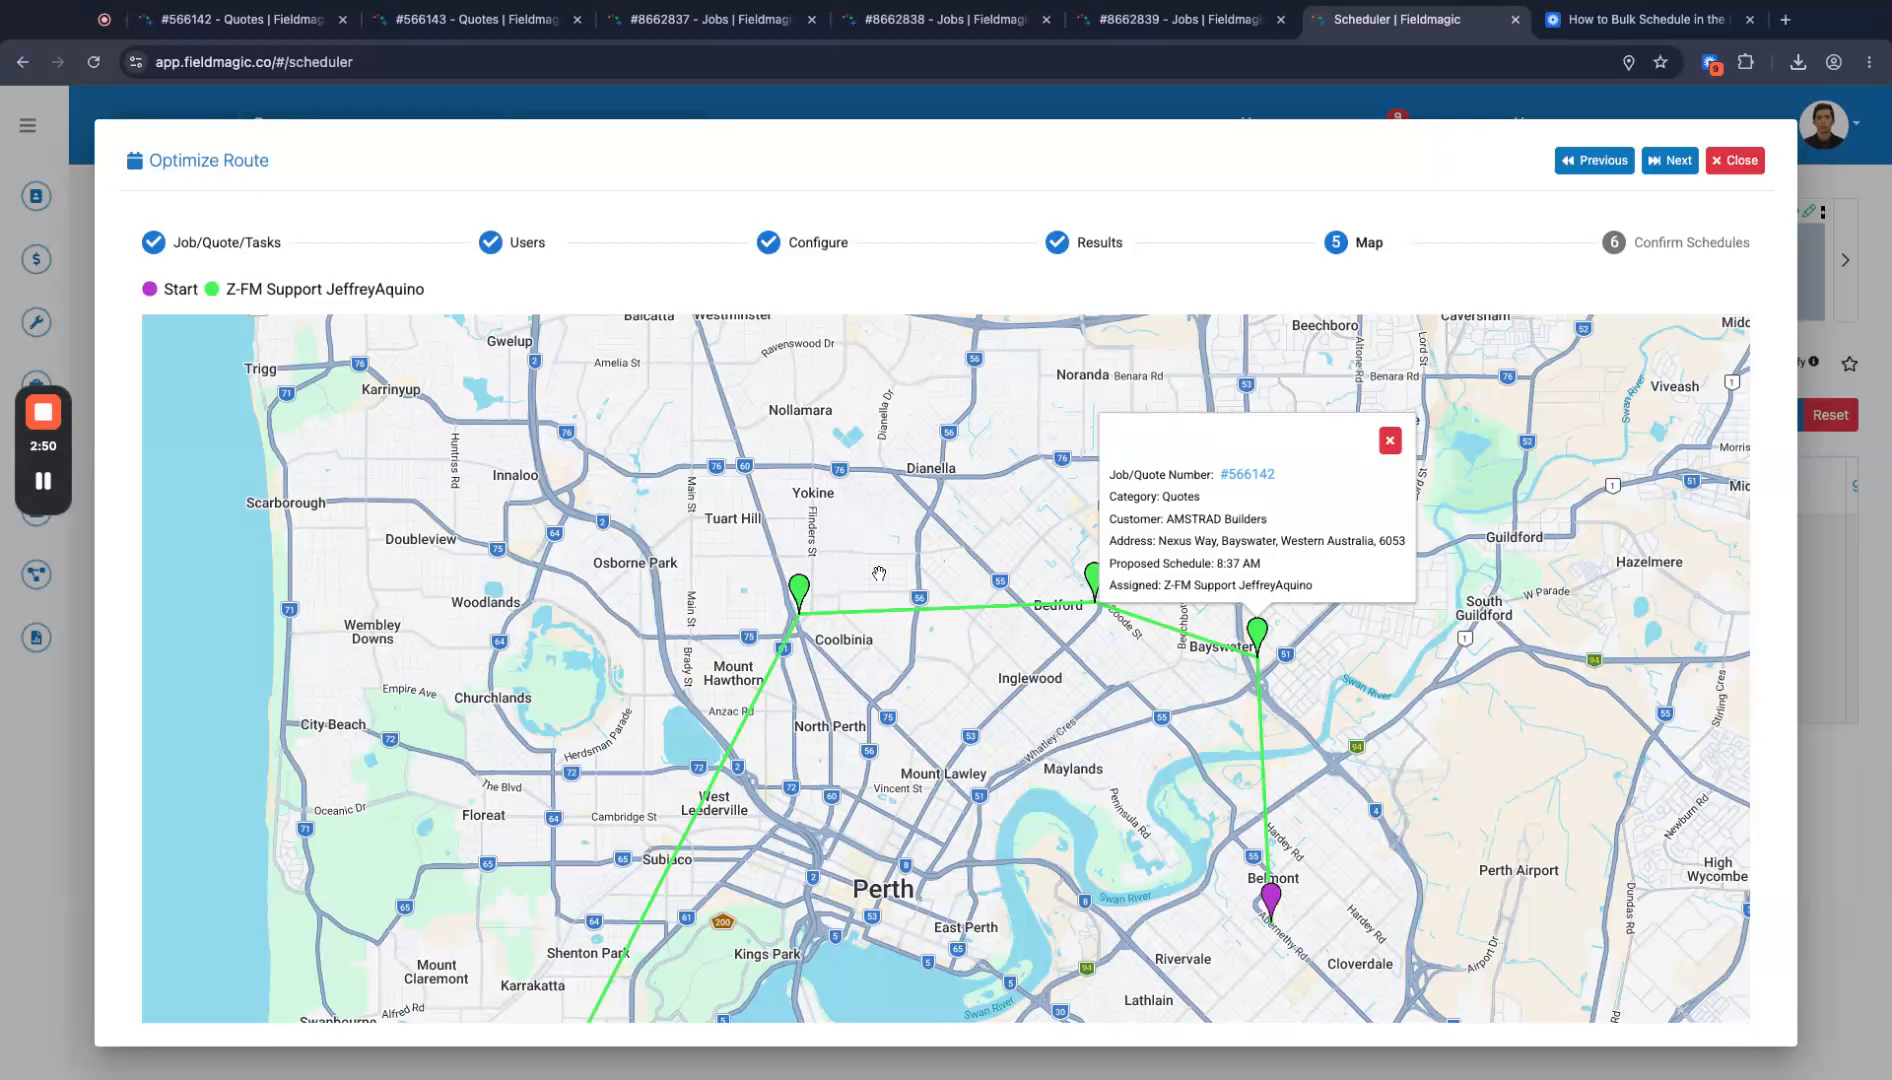
Review the optimized route displayed on the map in the Scheduler interface.
 Step 7
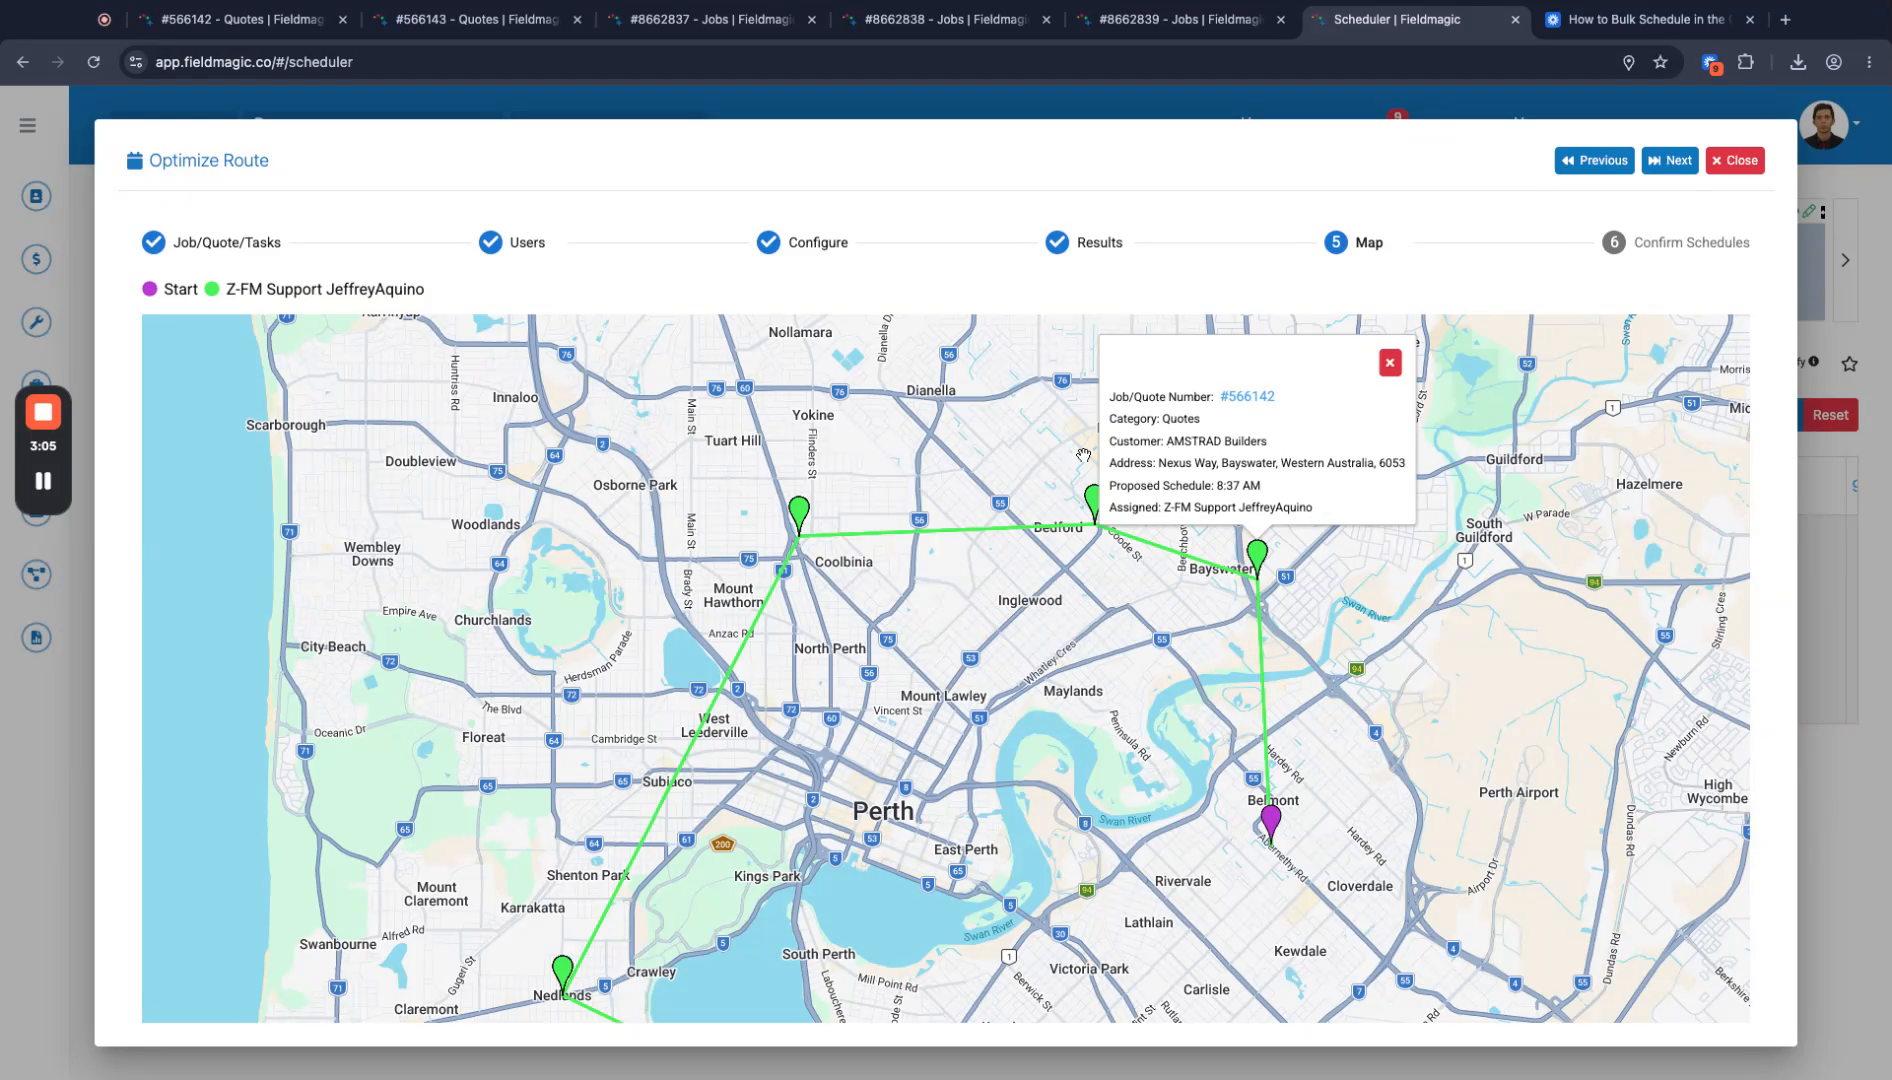
Verify the route order, including the technician's starting location and company location.
 Step 8
Check each schedule item in the list: tasks and project tasks display their names, while standalone jobs do not show additional text.
 Step 9
Click Next to select all schedules and confirm the optimization to complete the process.