Cost Centers
Role Management in Cost Centers Explained
Access role management within cost centres to define roles for your project template.
Step-by-step instructions
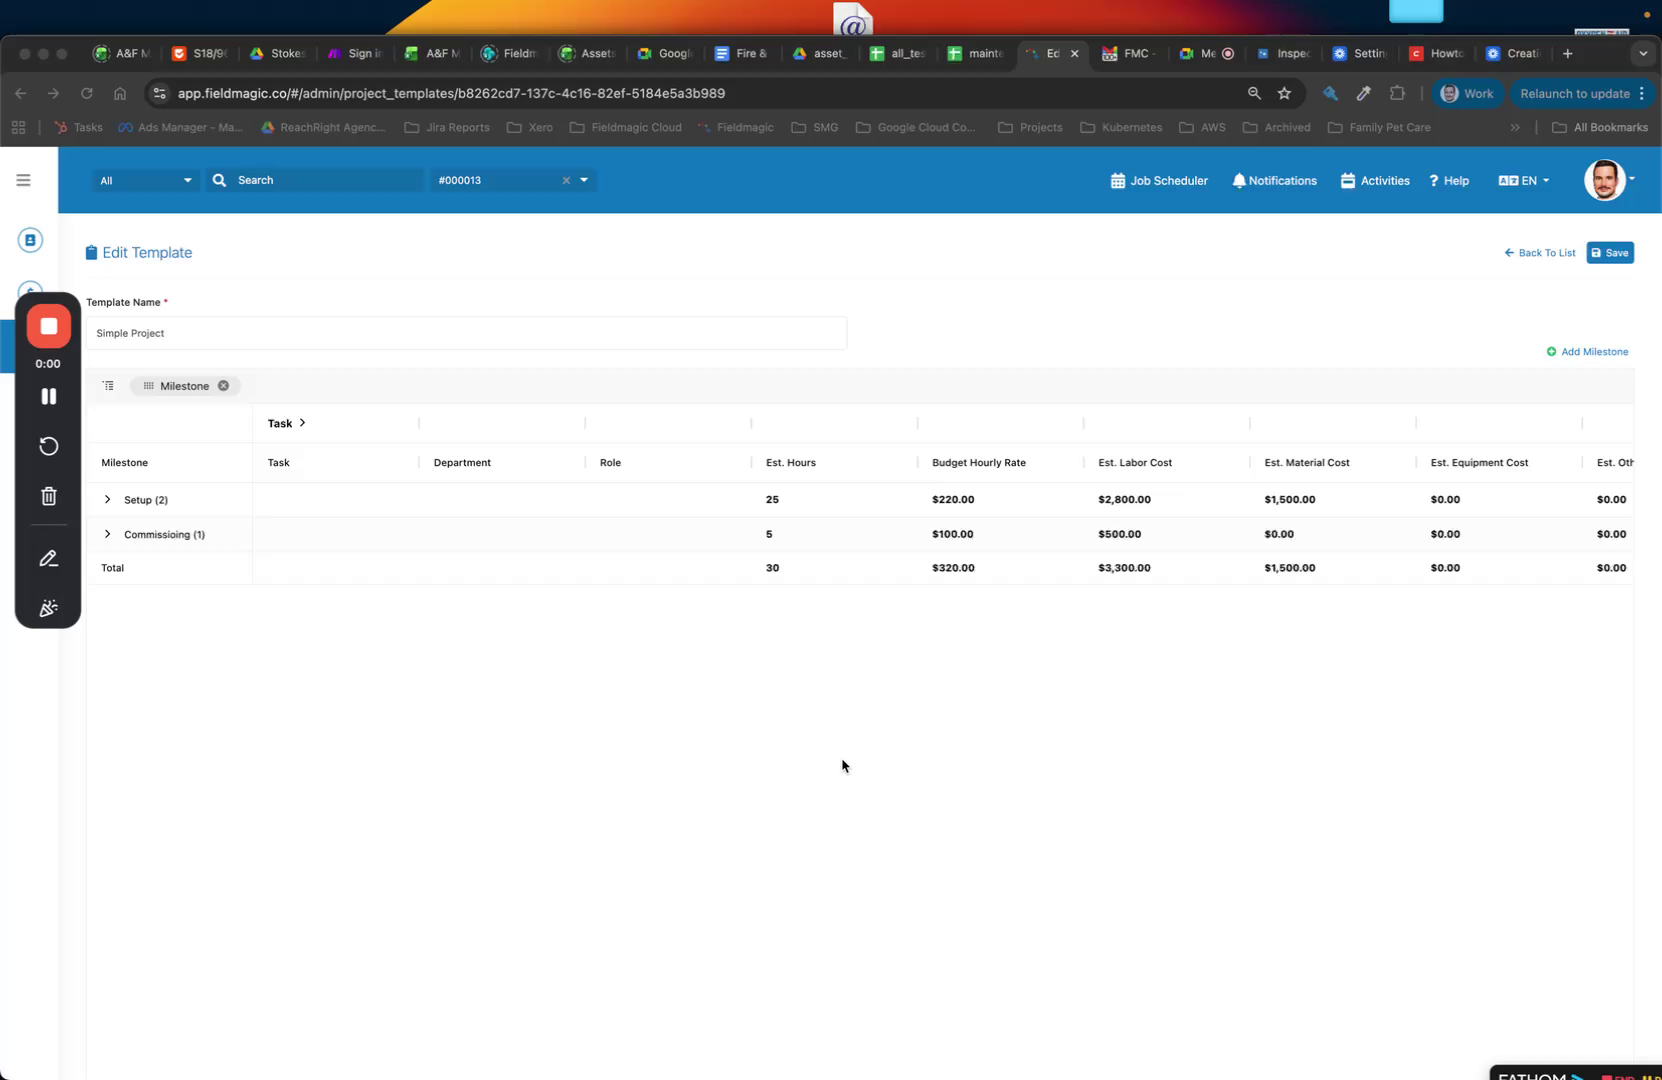 Step 1
Access role management within cost centres to define roles for your project template.
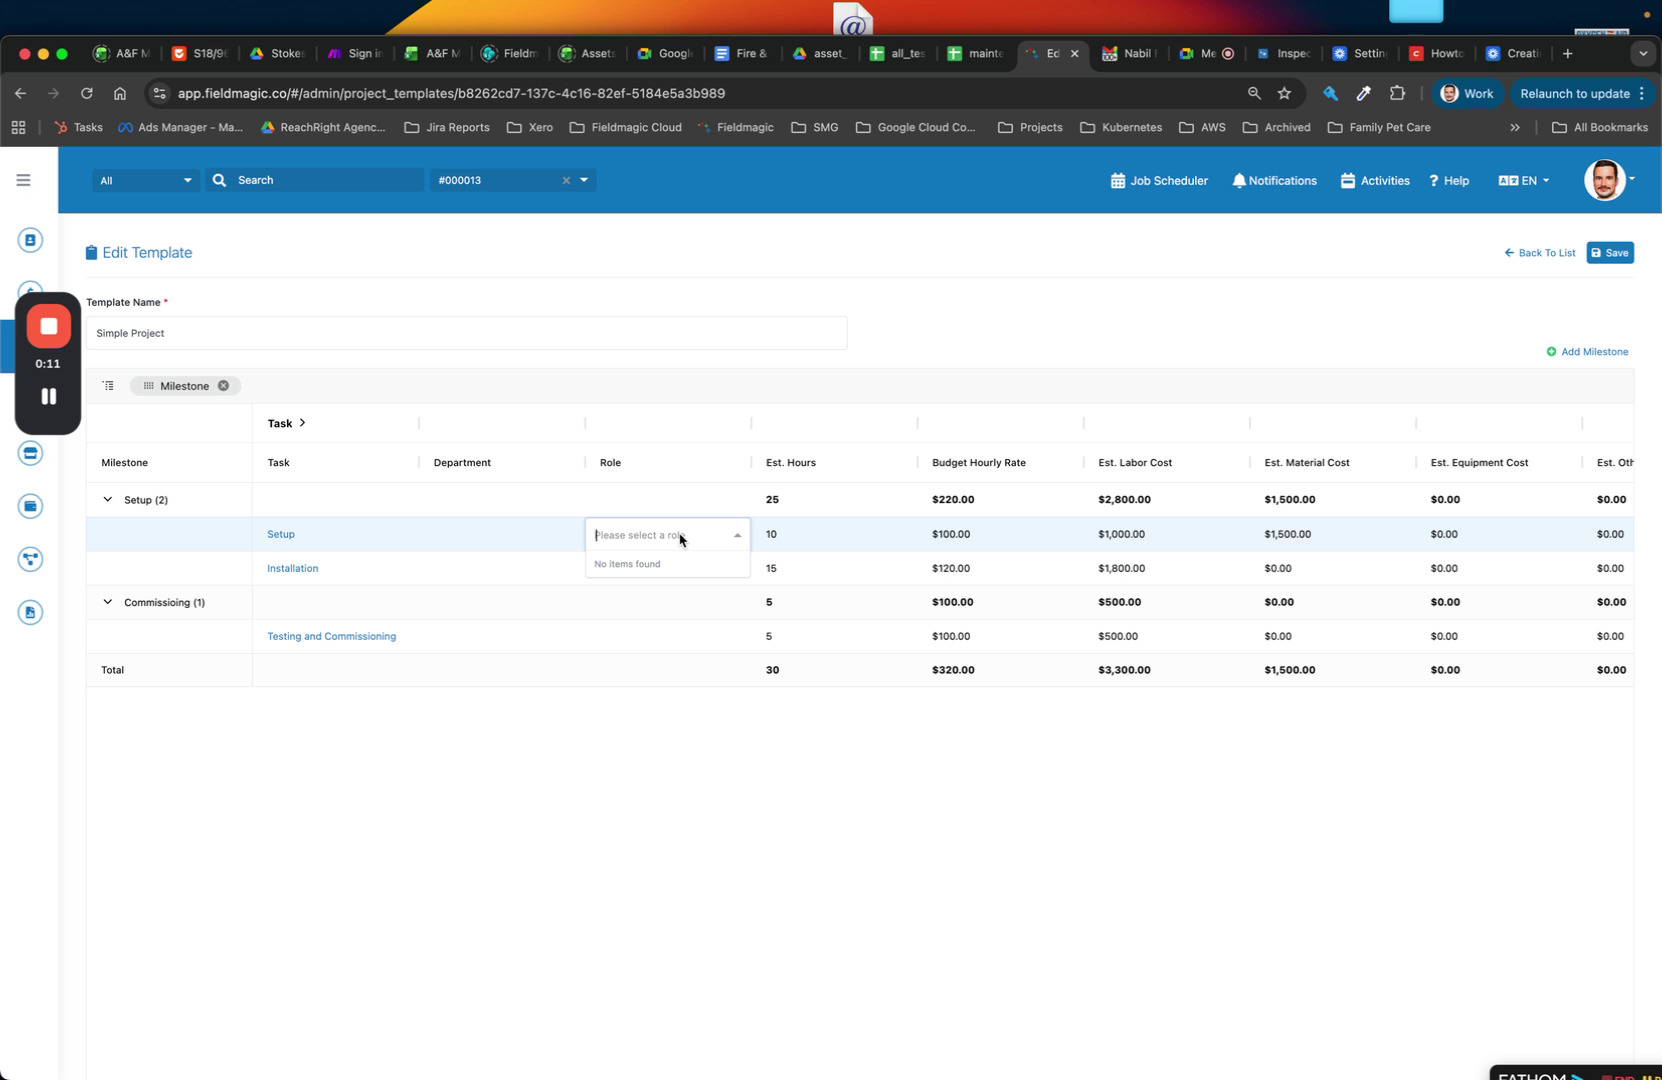 Step 2
In the project template, enter a role name such as 'Installer' to create your first role.
 Step 3
Add additional roles by entering another role name and saving the configuration.
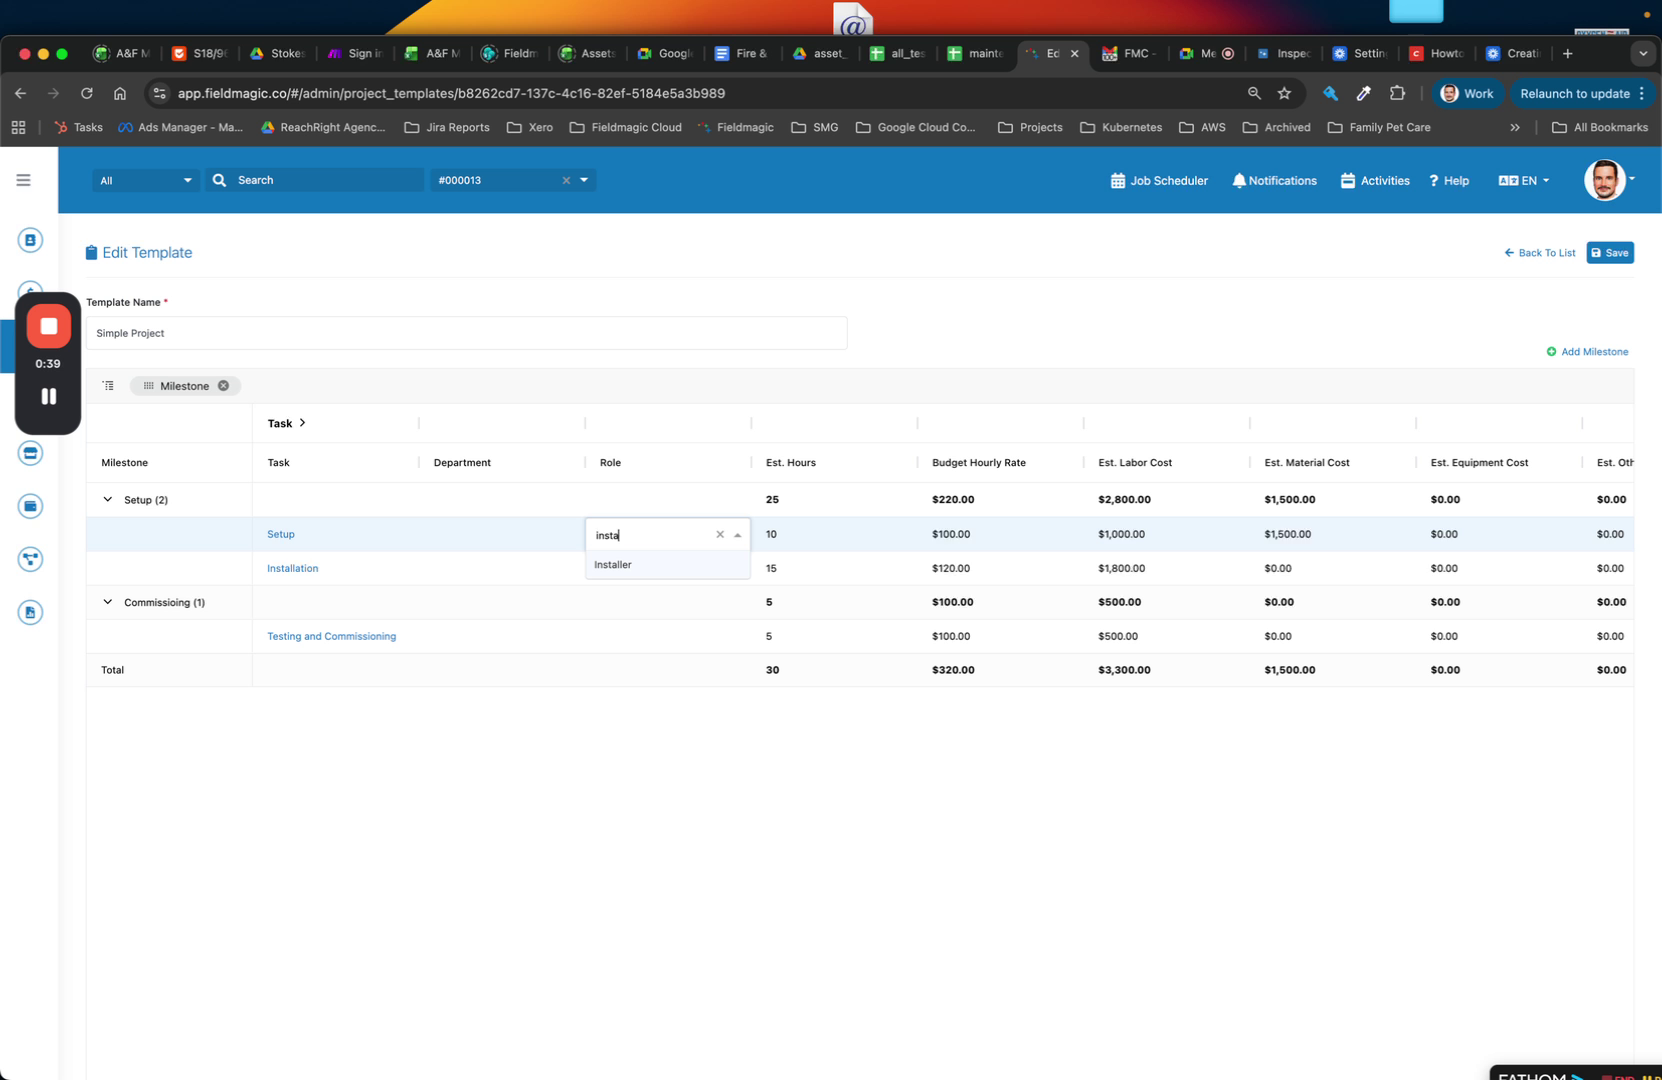 Step 4
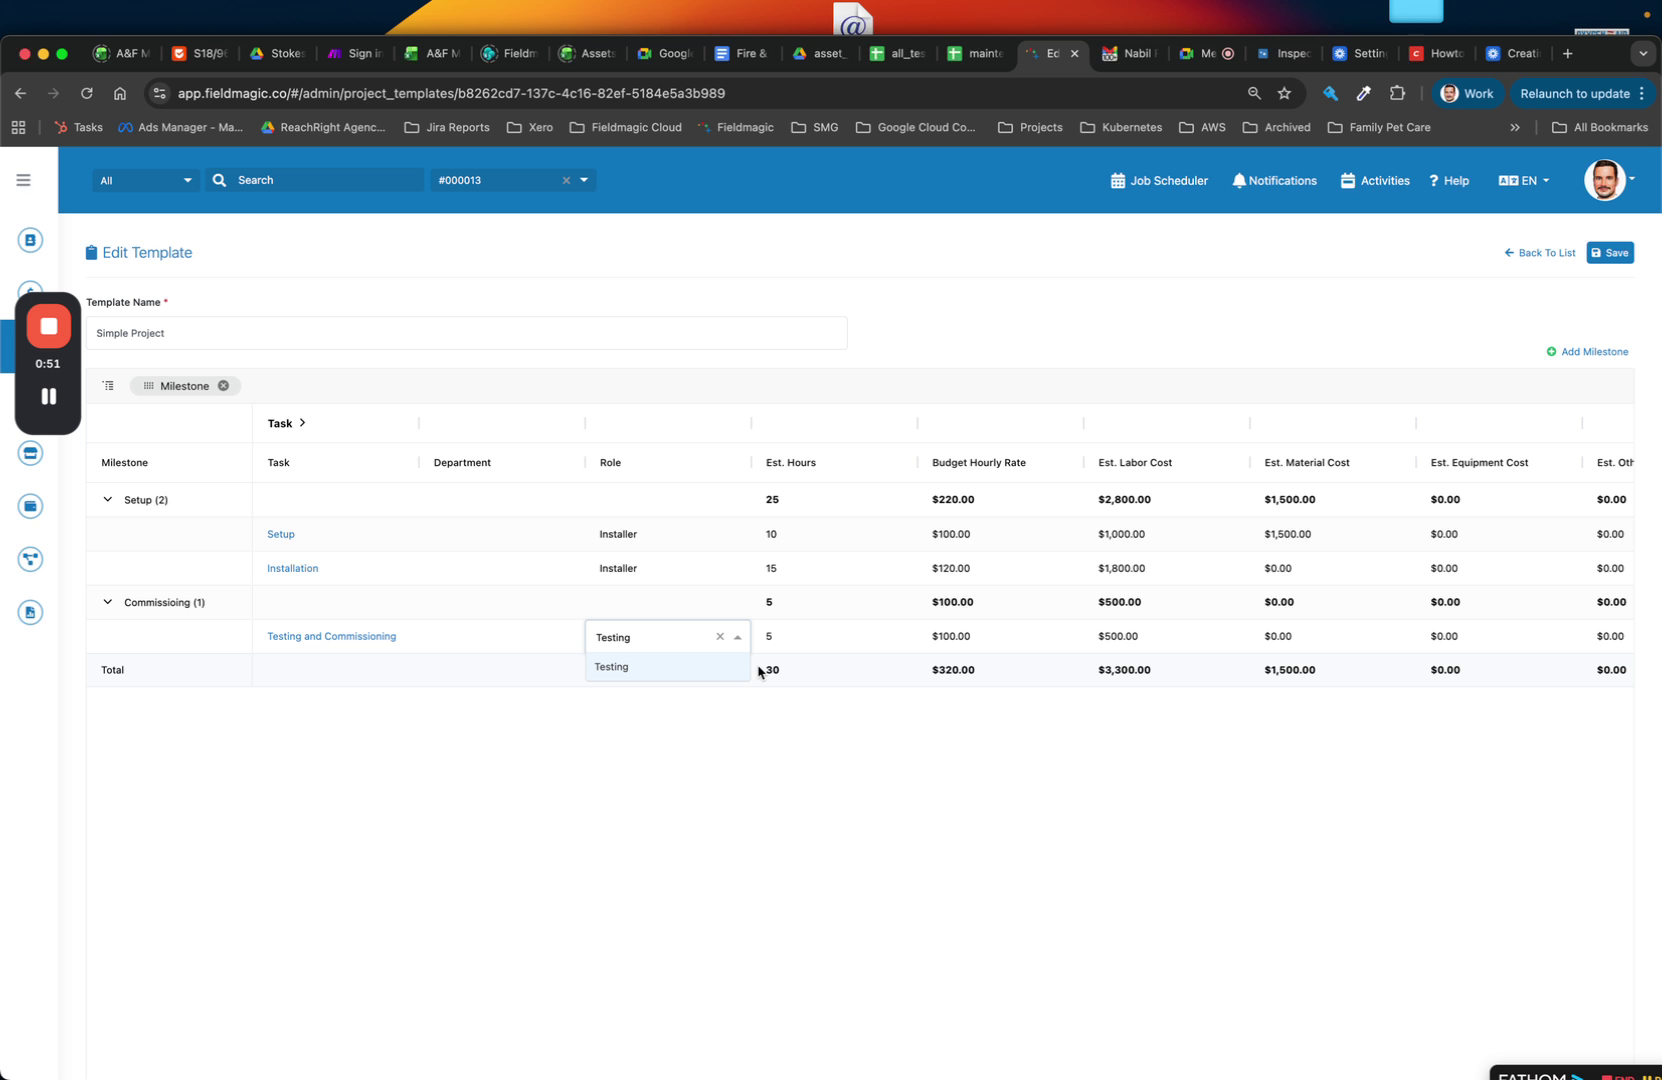
Create a new role named 'Testing' in the project template.
 Step 5
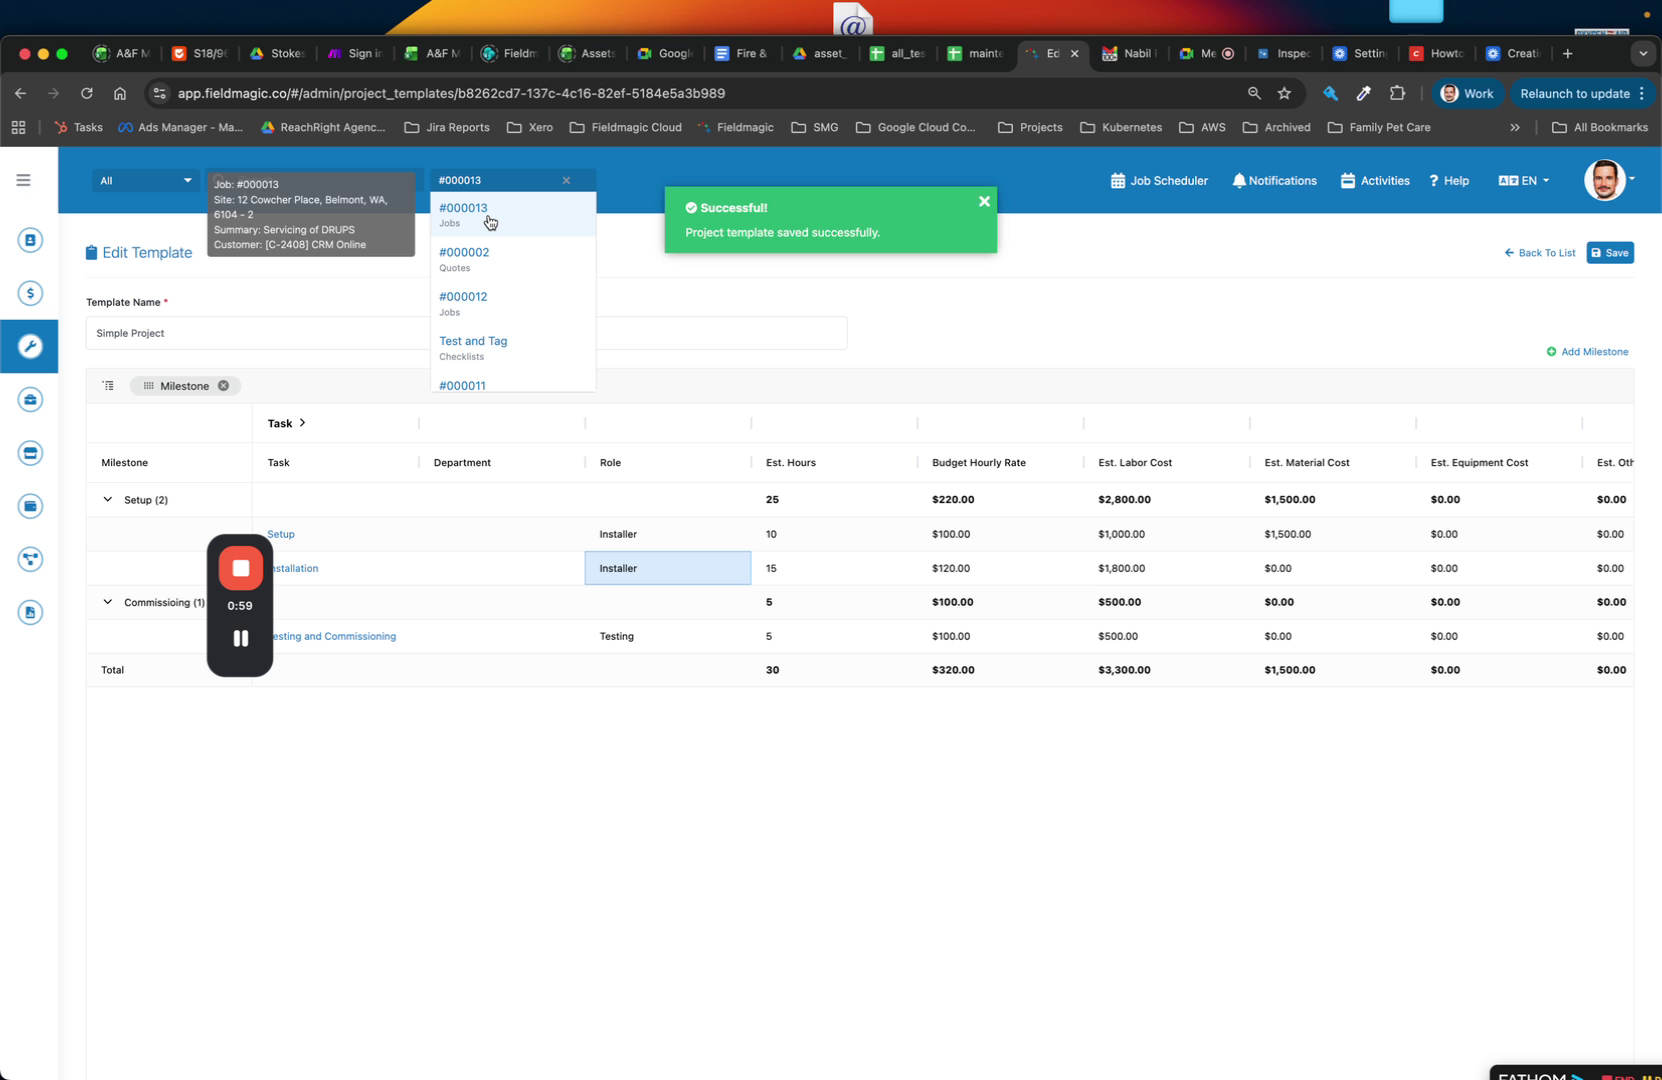
Expand the roles section to view all defined roles within the project template.
 Step 6
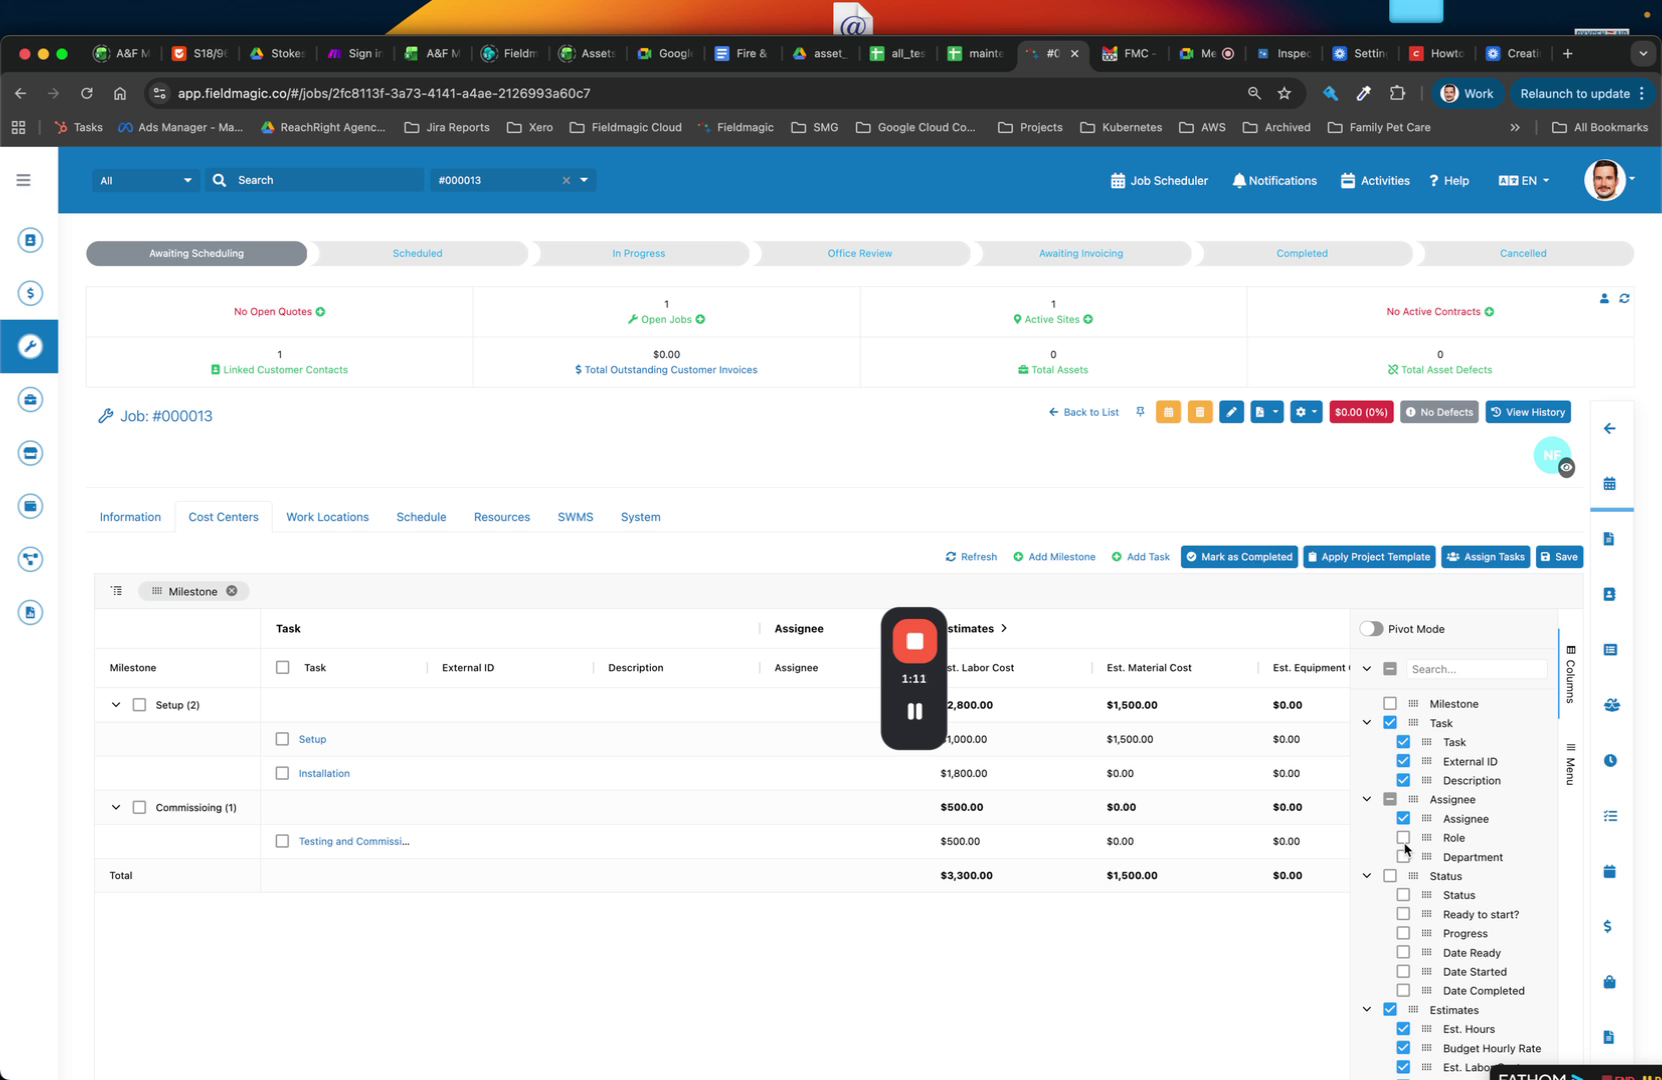
Apply the project template to a cost centre to load the defined roles.
 Step 7
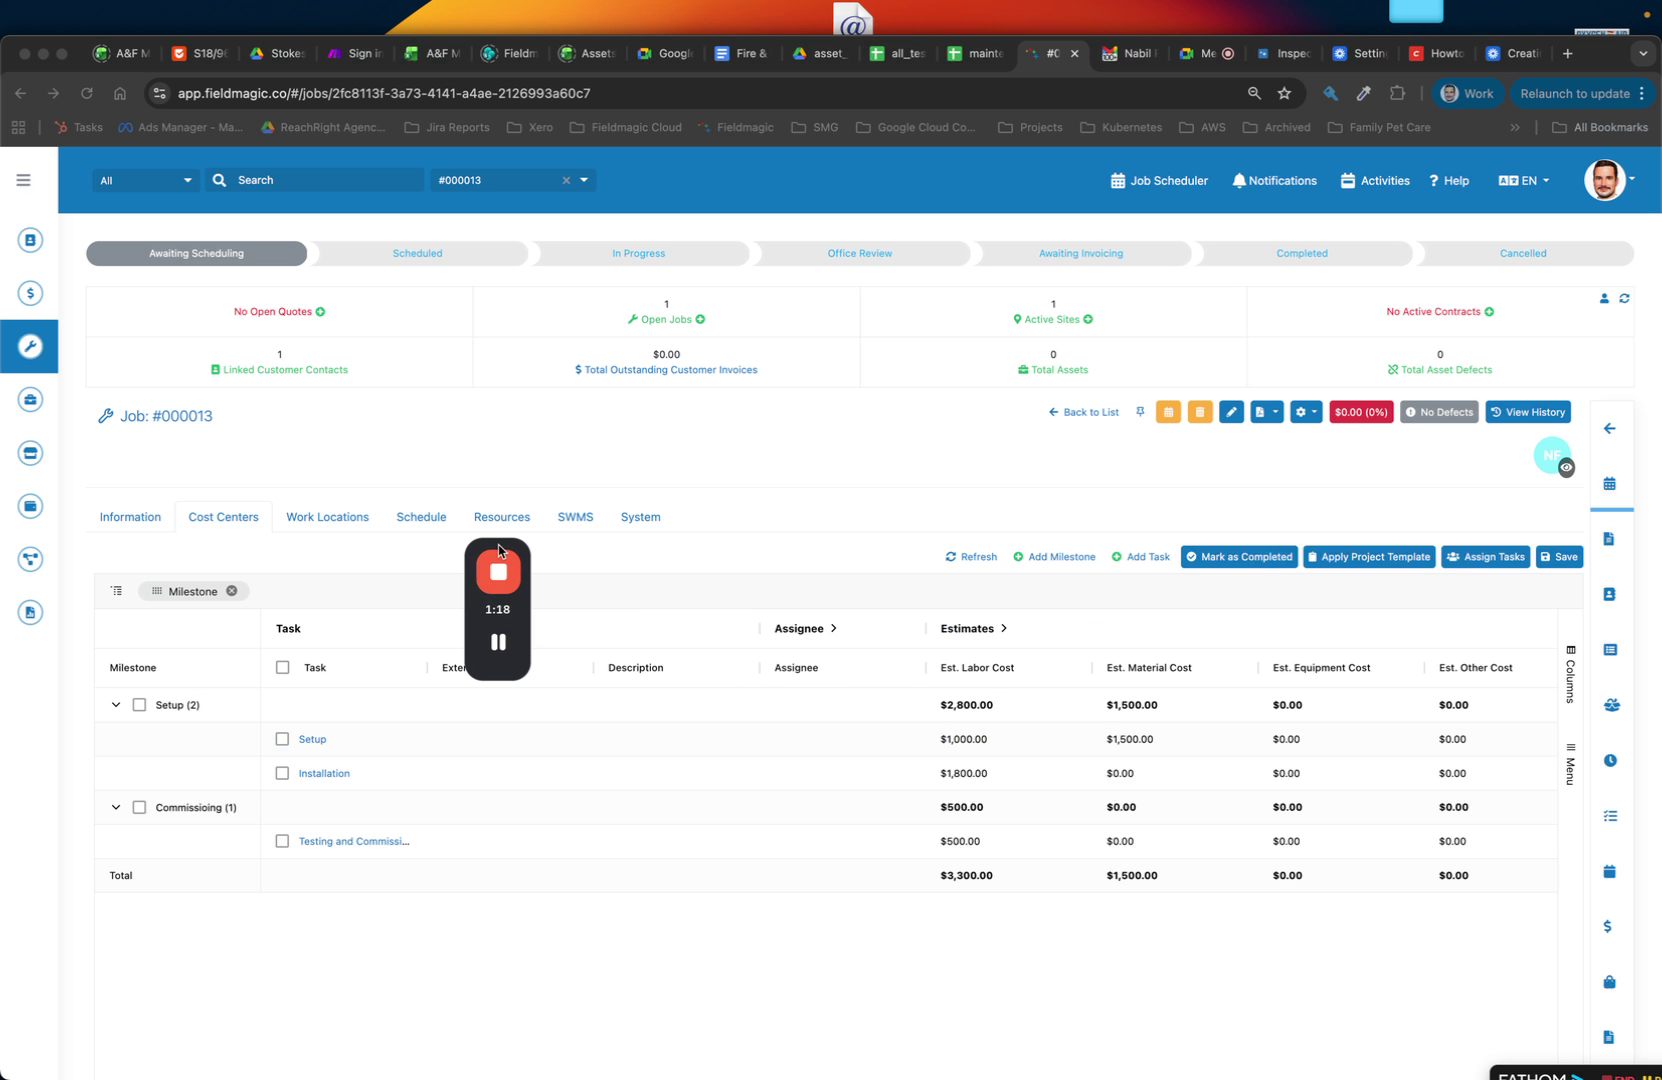
Assign each role to a specific team member by selecting the appropriate role and person.
 Step 8
Select 'Installer' and assign it to one individual, then assign the 'Tester' role to another person.
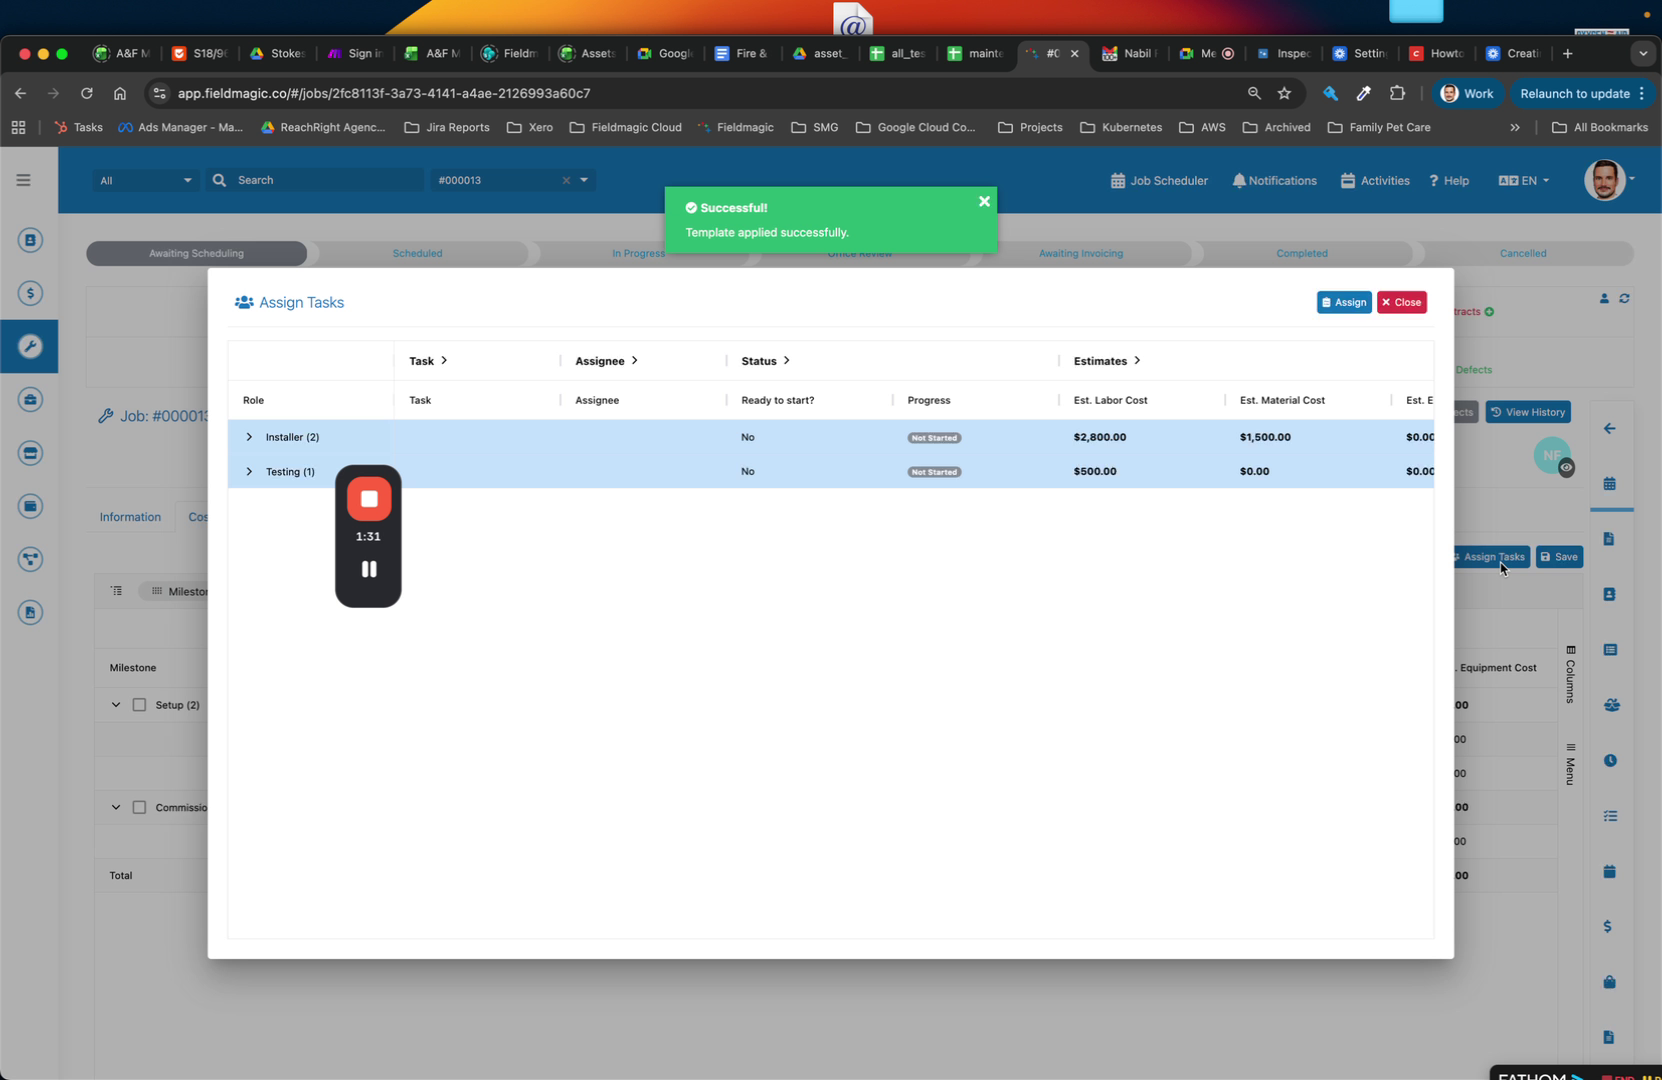 Step 9
Use the role assignments to identify who is responsible for each task when scheduling work.
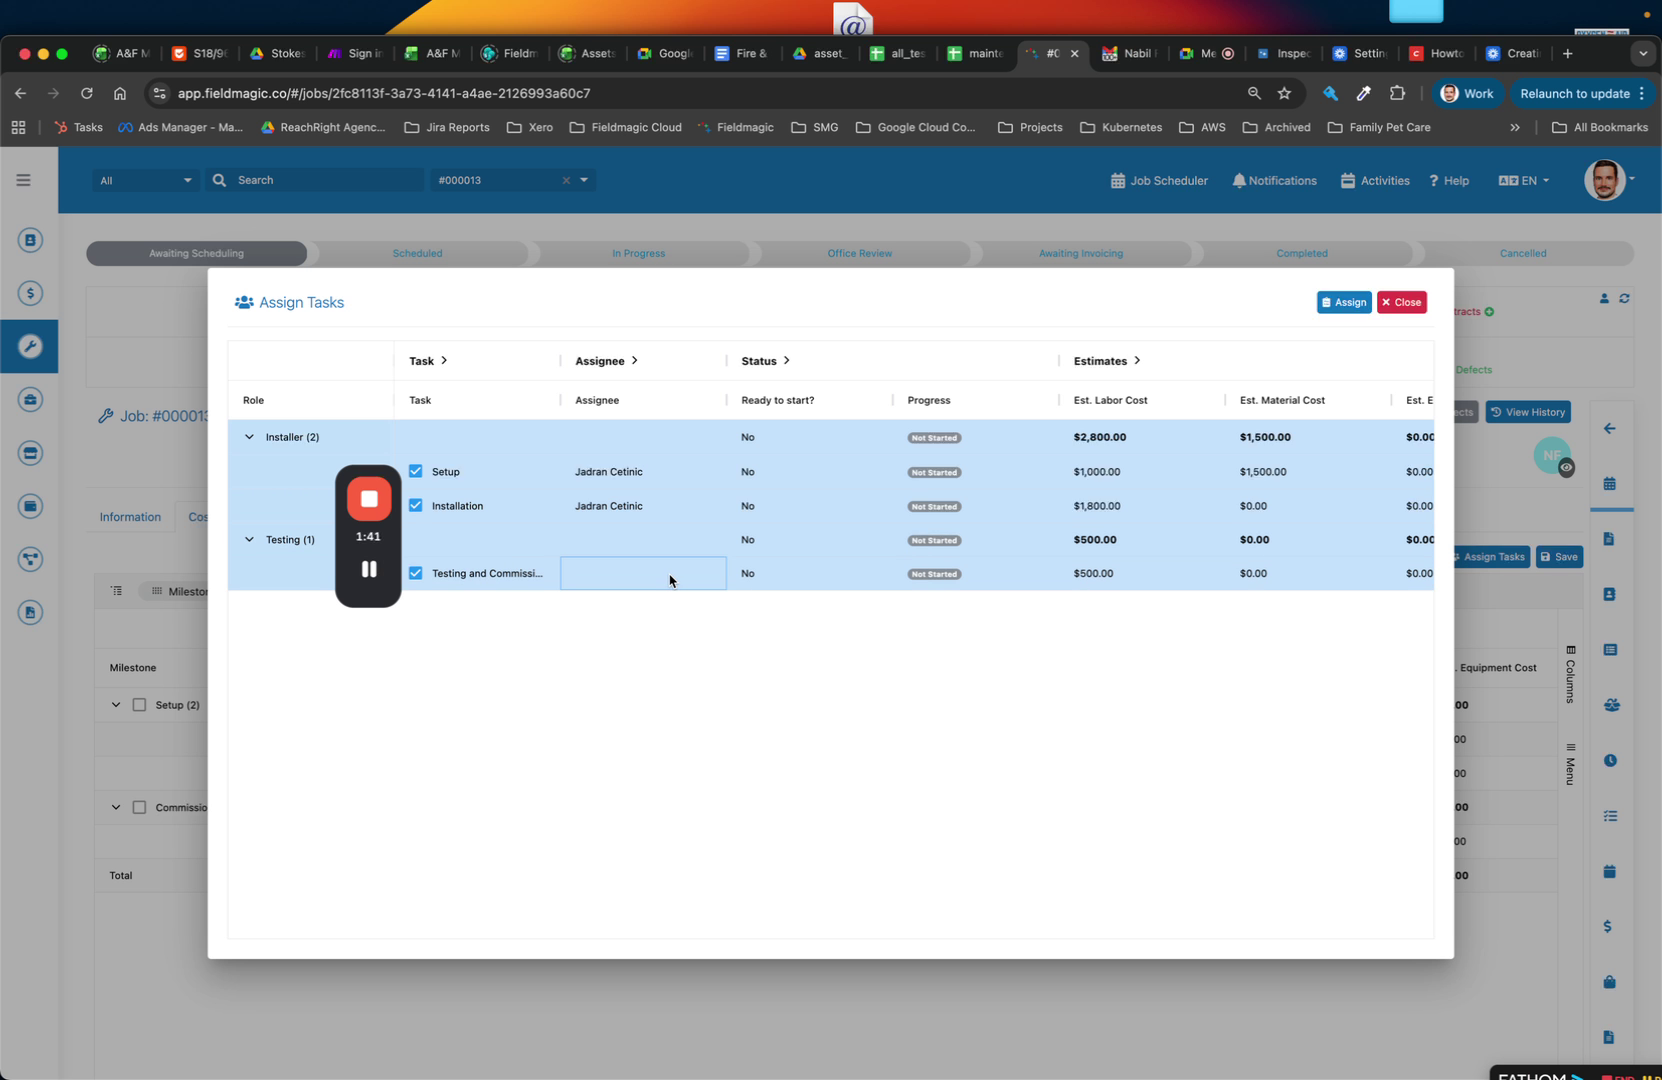 Step 10
For project templates with many tasks, assign work quickly by matching tasks to team members based on their assigned roles.