Job Management
Schedule an Appointment Using the Booking Page Portal
Go to Settings to begin configuring the booking page portal.
Step-by-step instructions
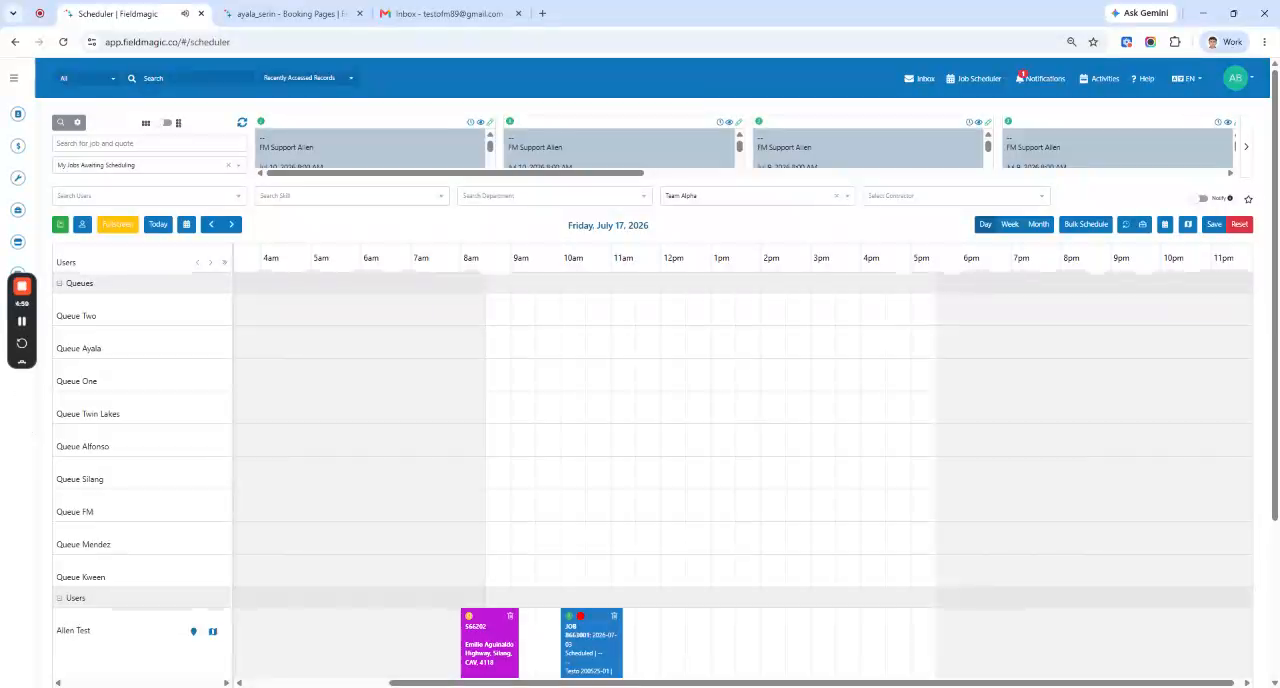 Step 1
Go to Settings to begin configuring the booking page portal.
 Step 2
Navigate to Configure Booking Pages to view existing booking pages and their links.
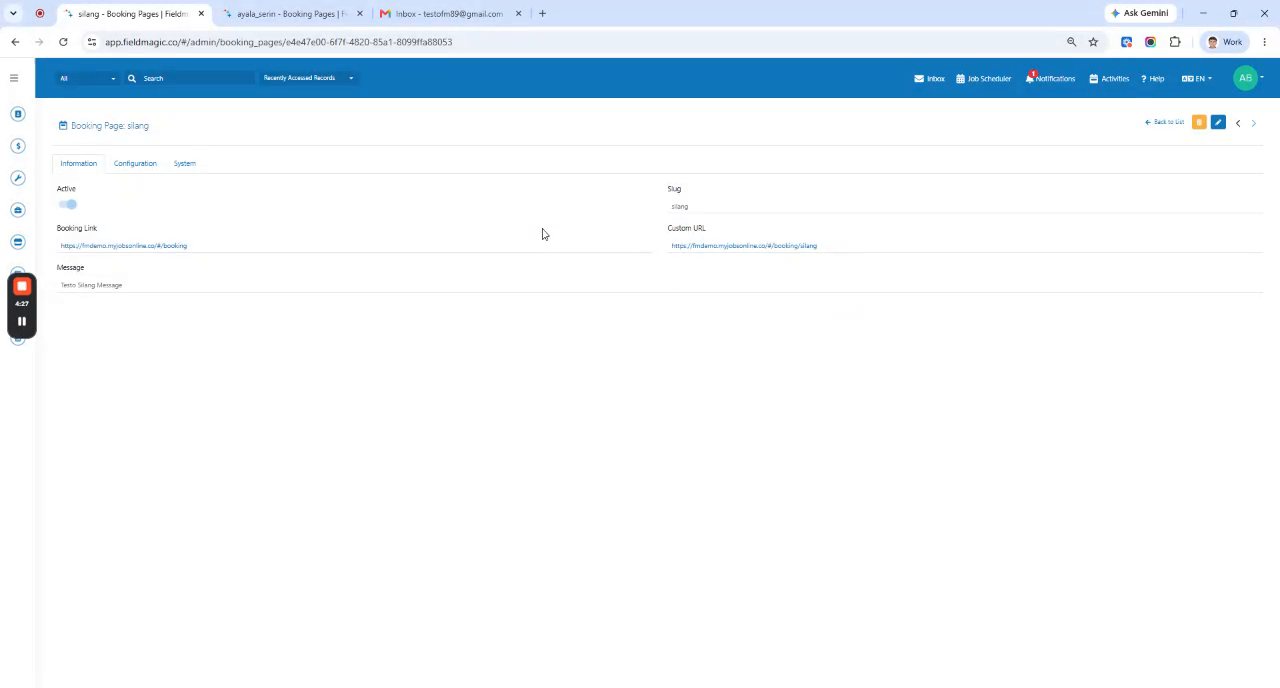 Step 3
Understand that the booking link is shared across pages and selects the best page based on the address entered.
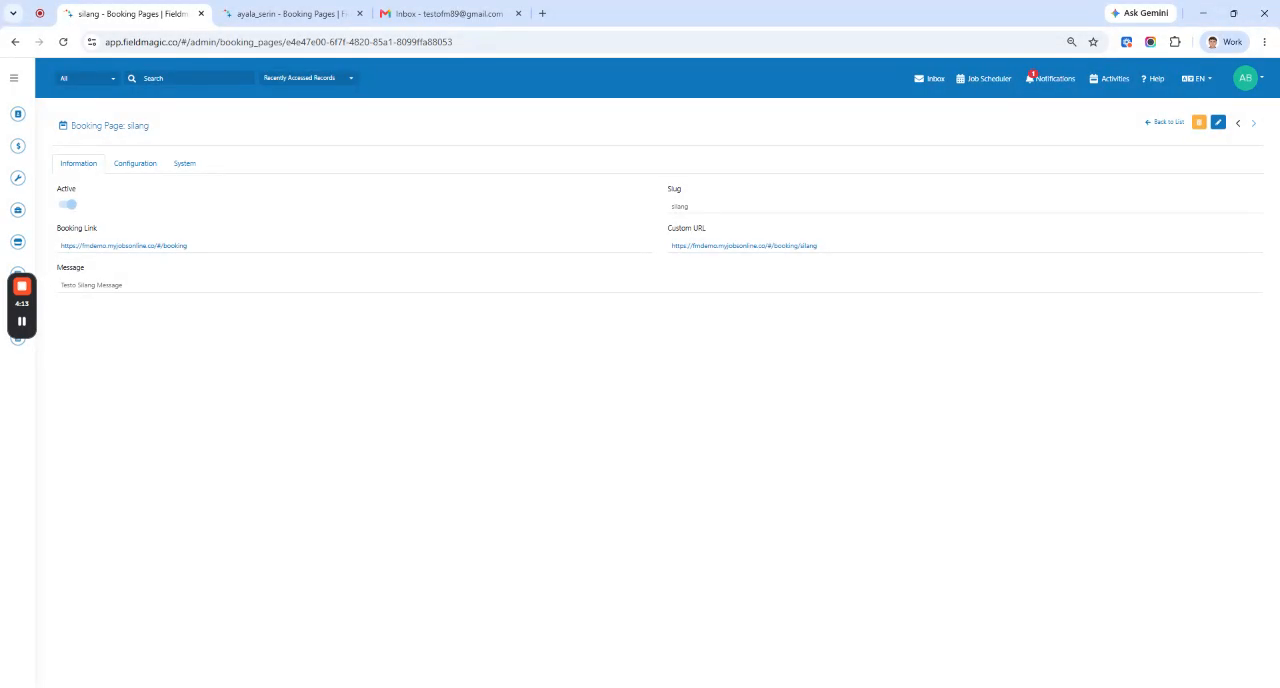 Step 4
Know that the custom URL is unique to each booking page and always books against that specific page.
 Step 5
Use the booking link to open the booking page and enter the required information including the service address.
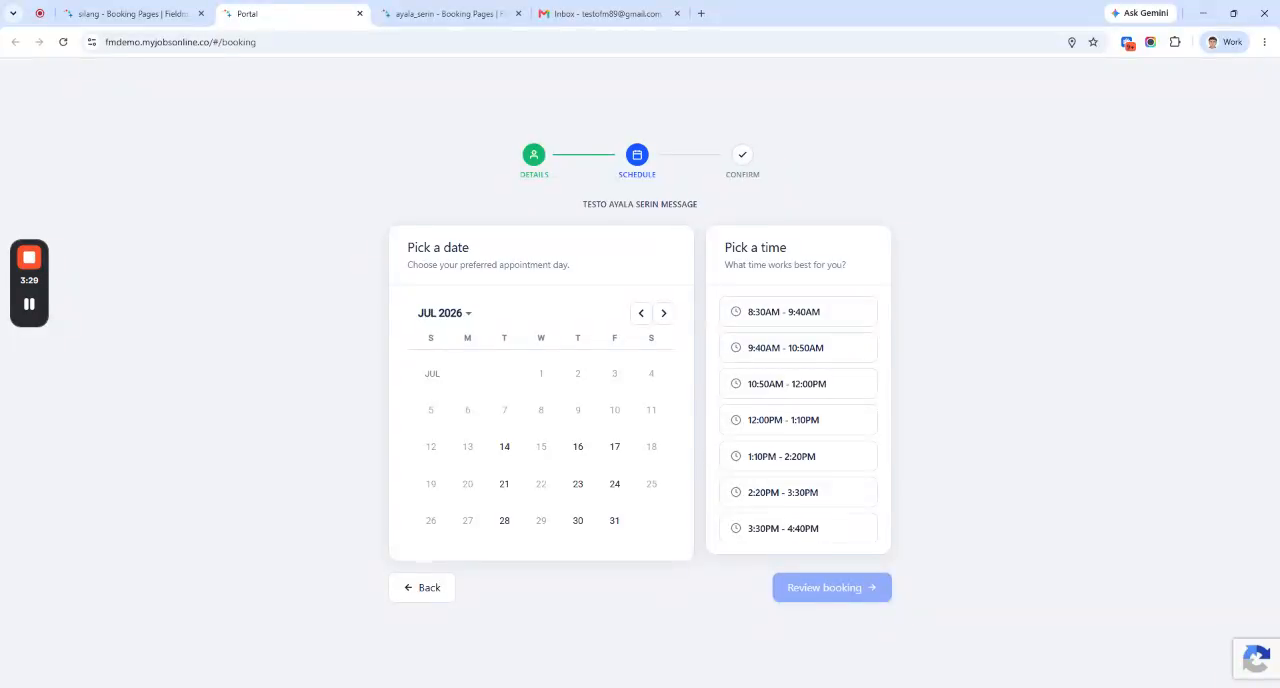 Step 6
Proceed to the next step to allow the system to check the entered address against active booking pages.
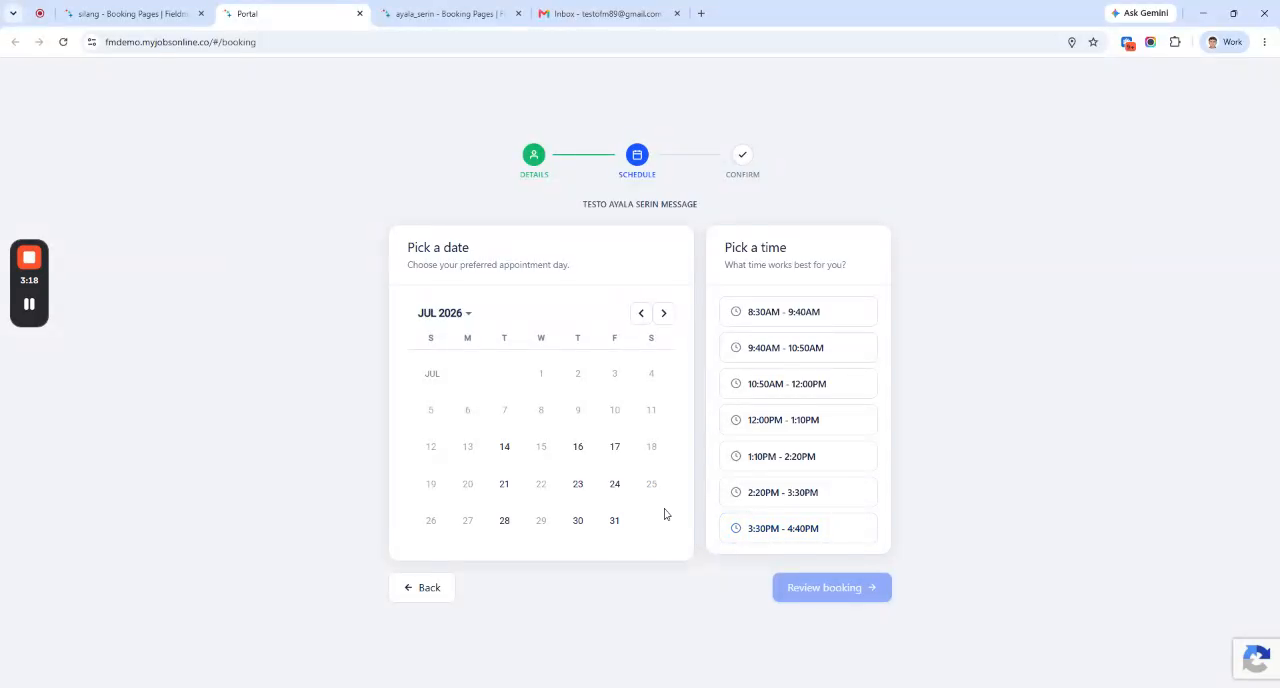 Step 7
Select an available appointment time based on the nearest booking page's configured availability.
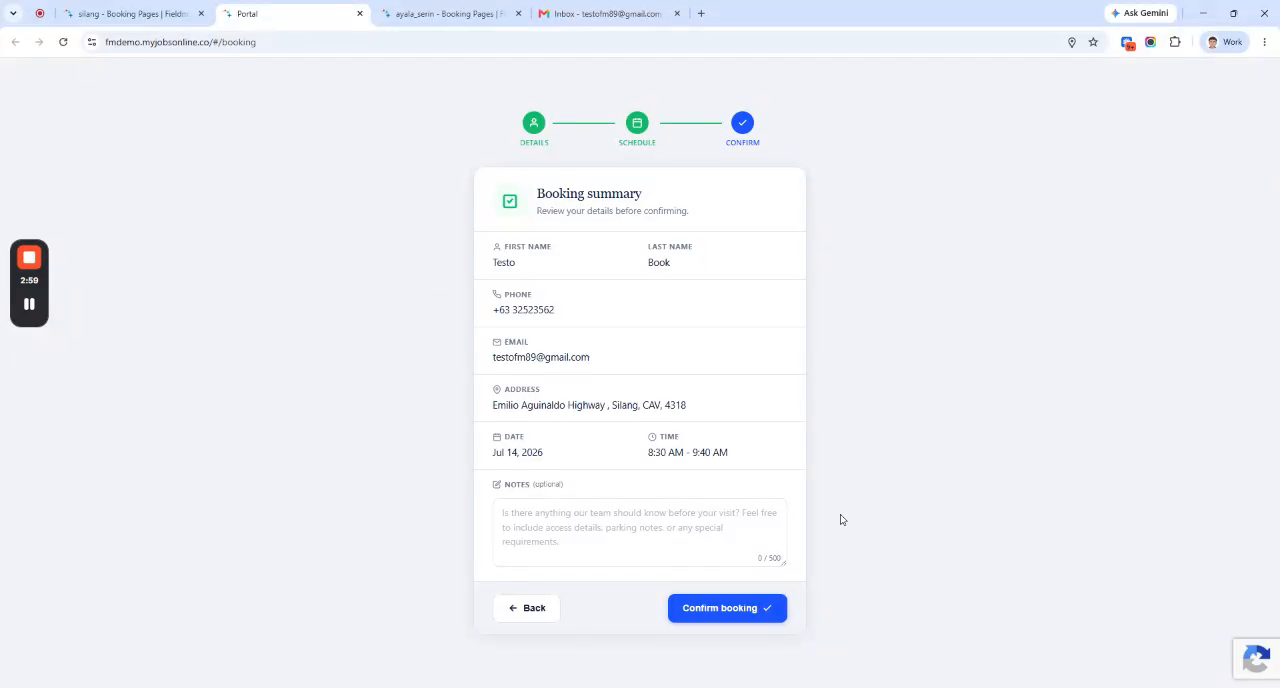 Step 8
Review the booking on the confirmation page and submit the appointment to receive a confirmation email.