Customers, Sites & Contacts
Setting Up Customer Portal Access with Roles and Site Linking
This demo shows how to set up customer portal access. First, add a contact with a first name. Add the last name and email.
Step-by-step instructions
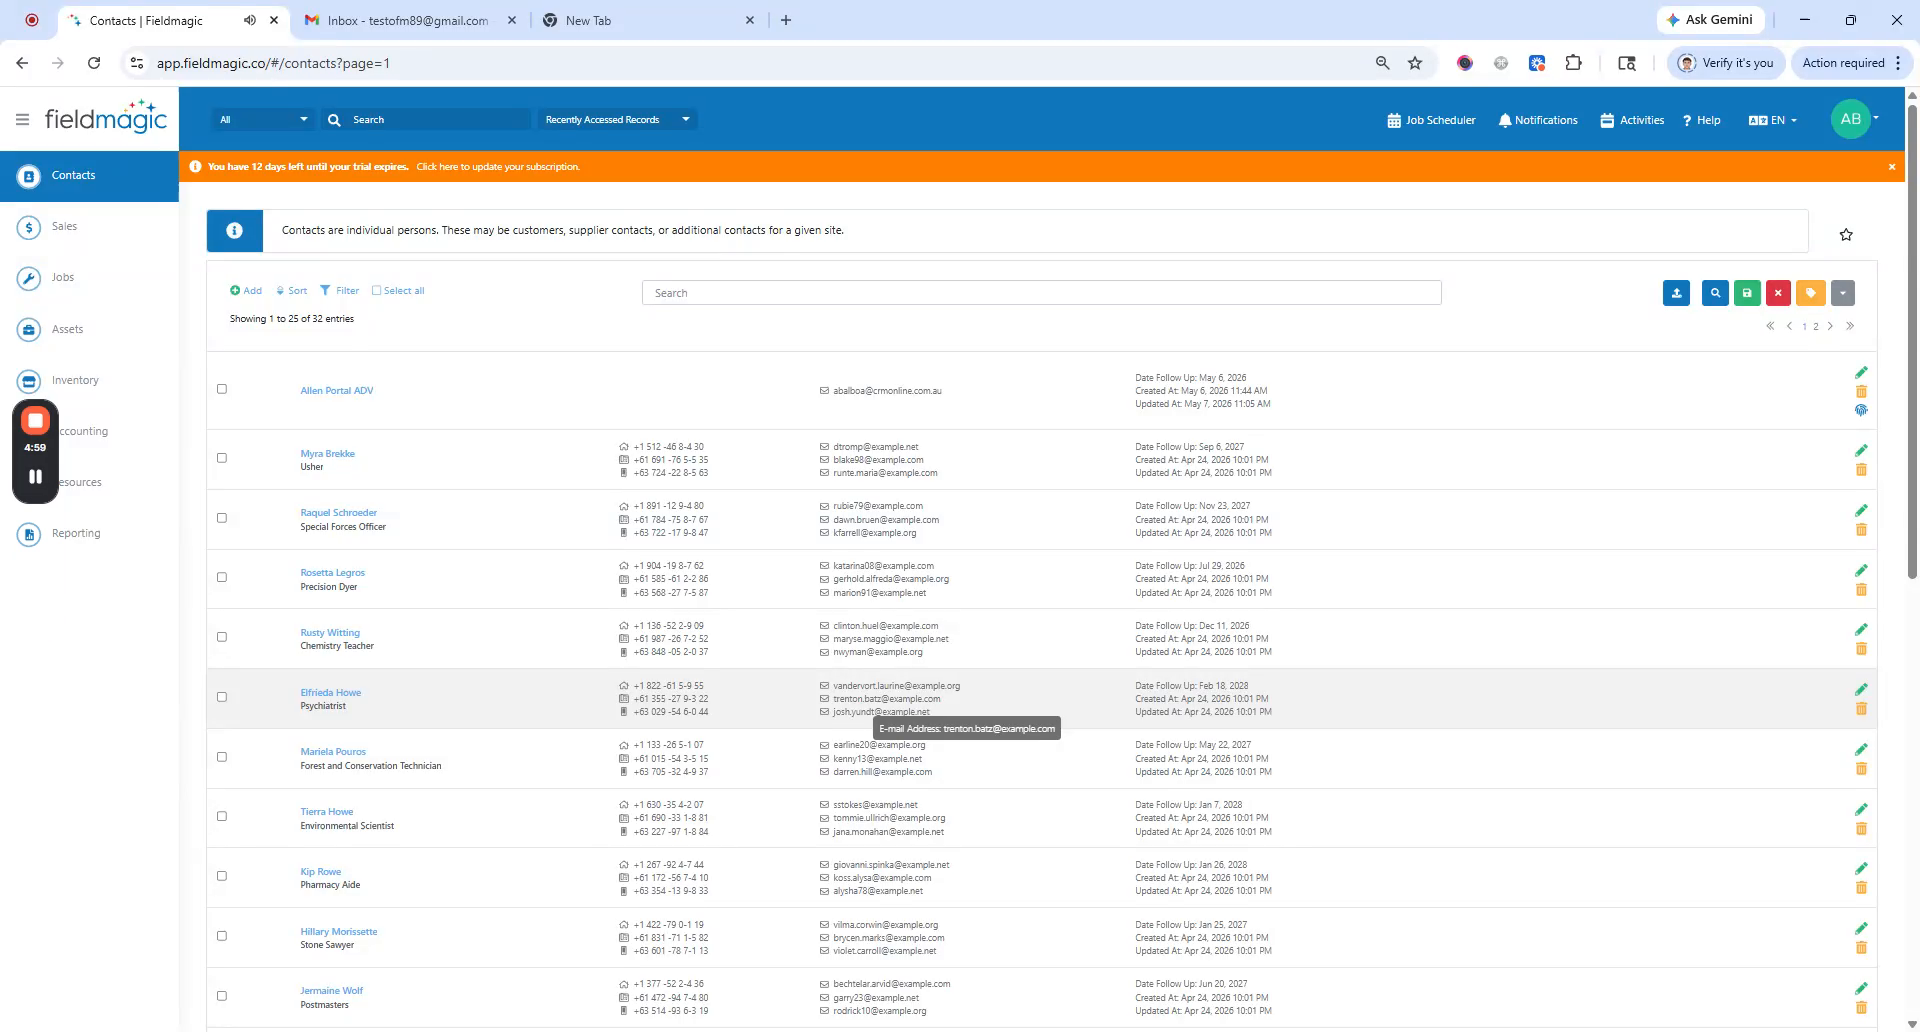 Step 1
This demo shows how to set up customer portal access. First, add a contact with a first name. Add the last name and email.
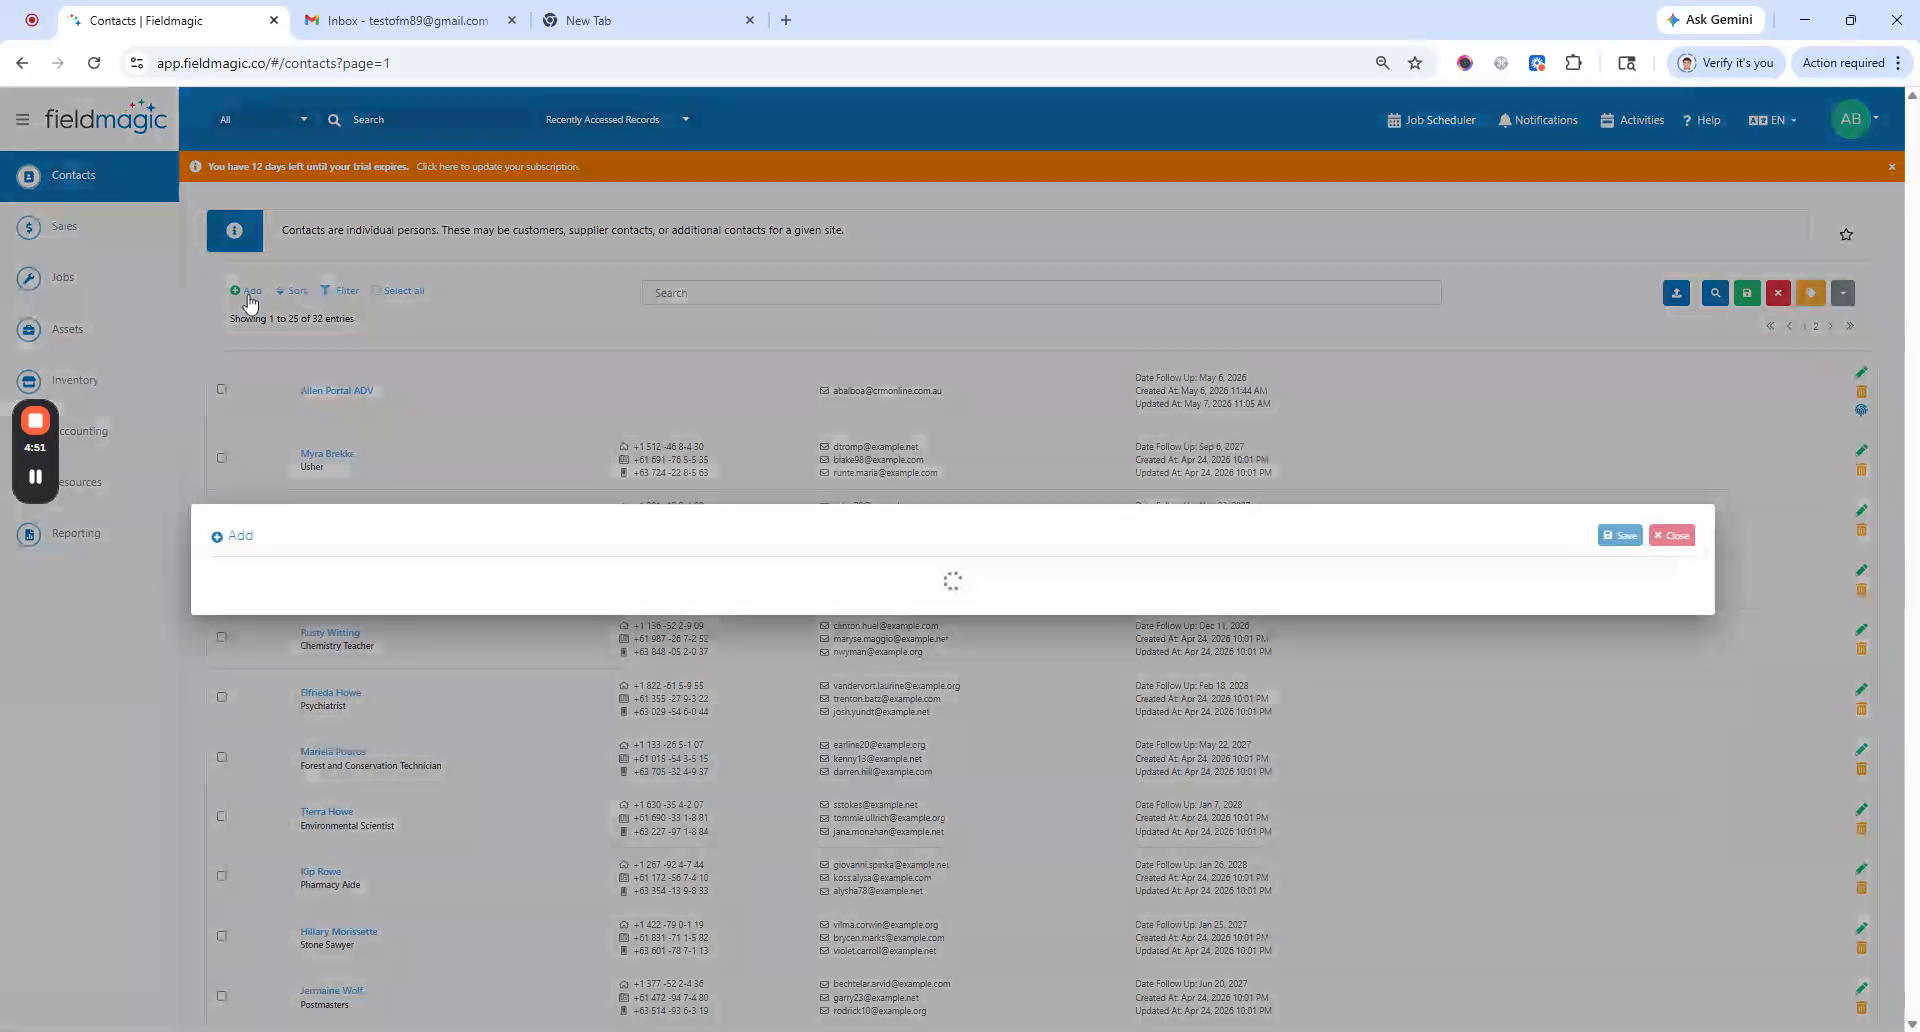 Step 2
Enable the Active Portal setting and save. A prompt asks whether to link the contact to a customer. Confirm the link.
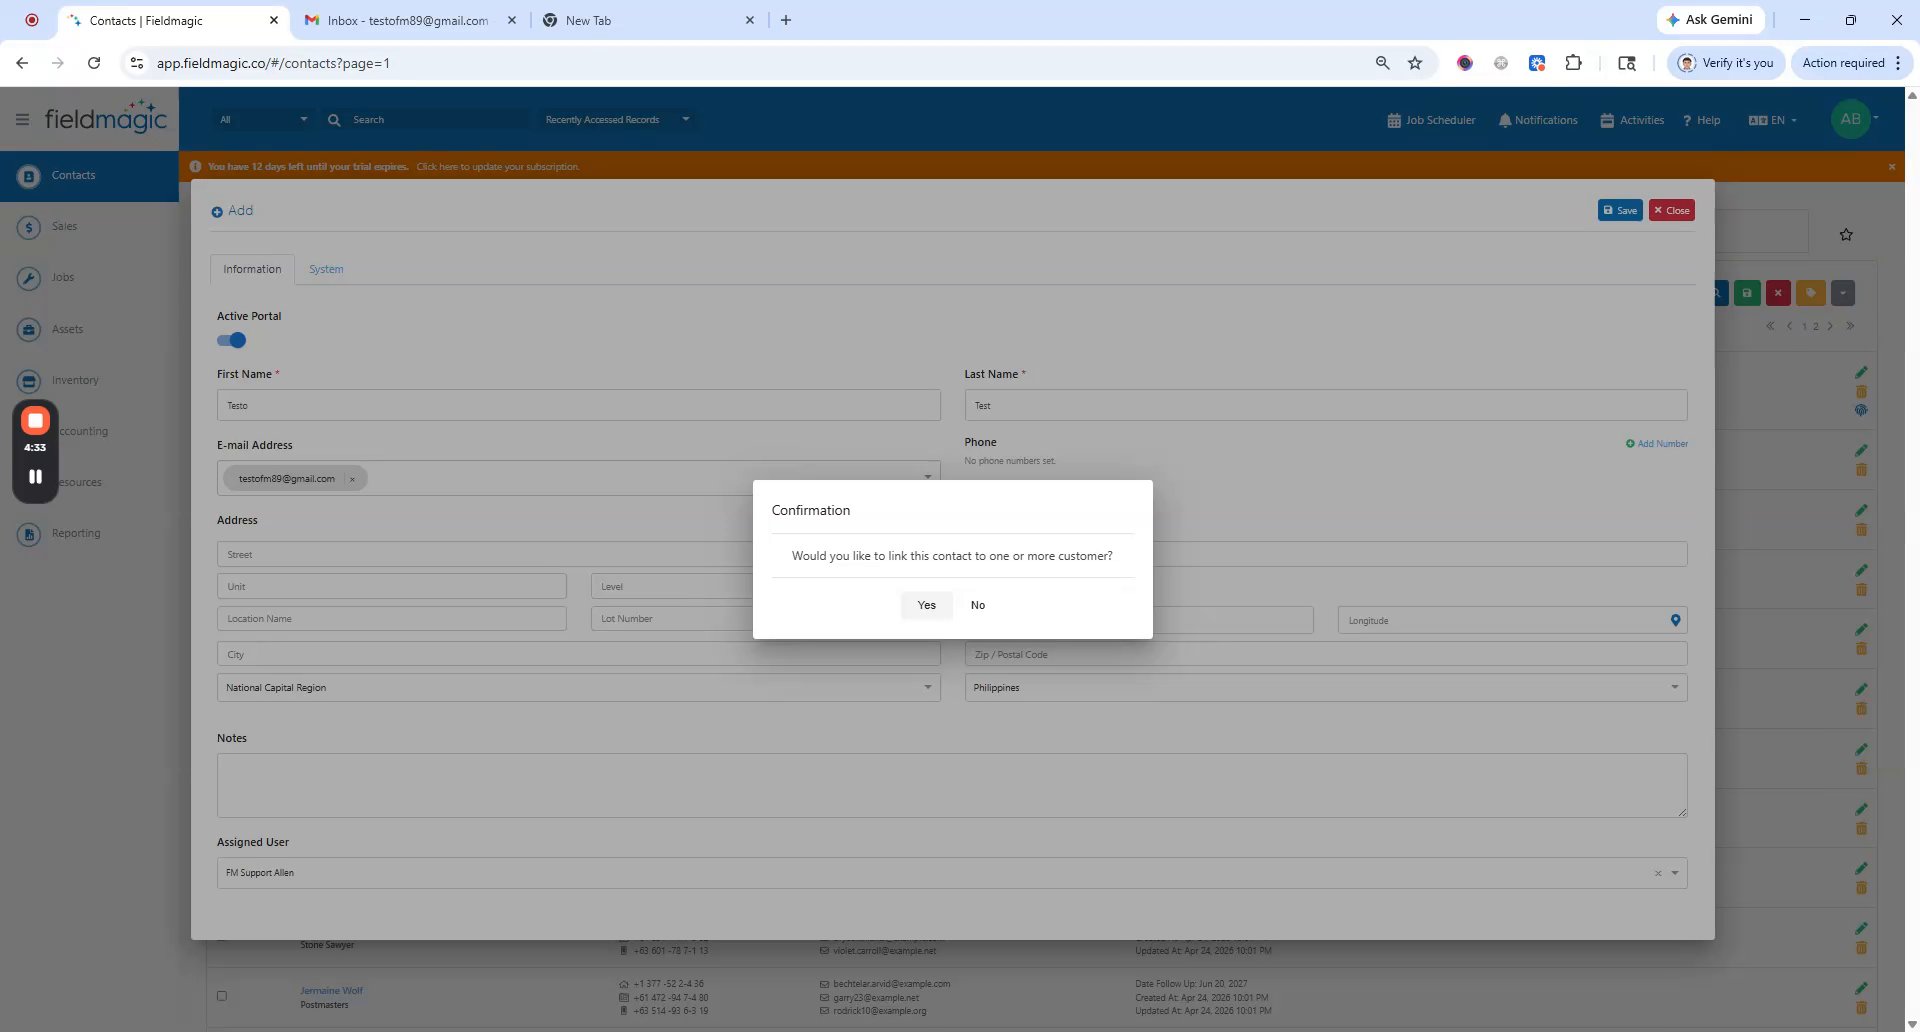 Step 3
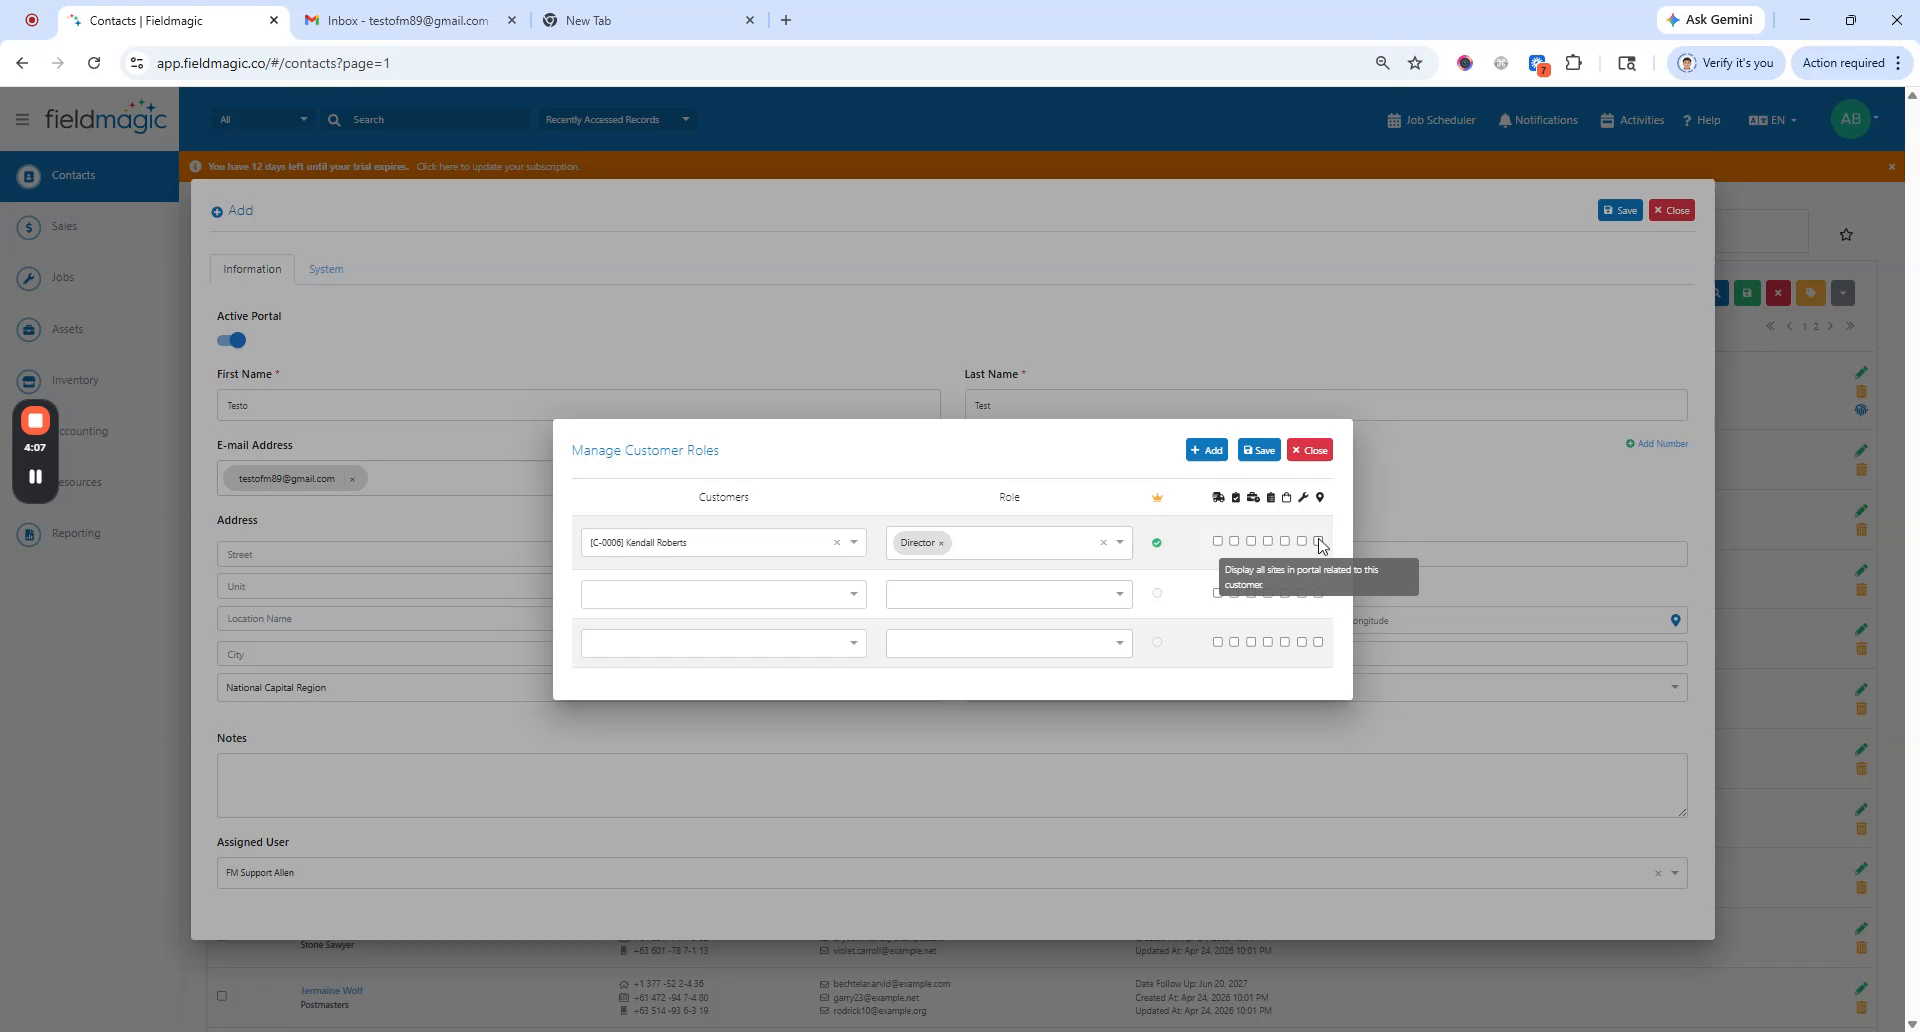
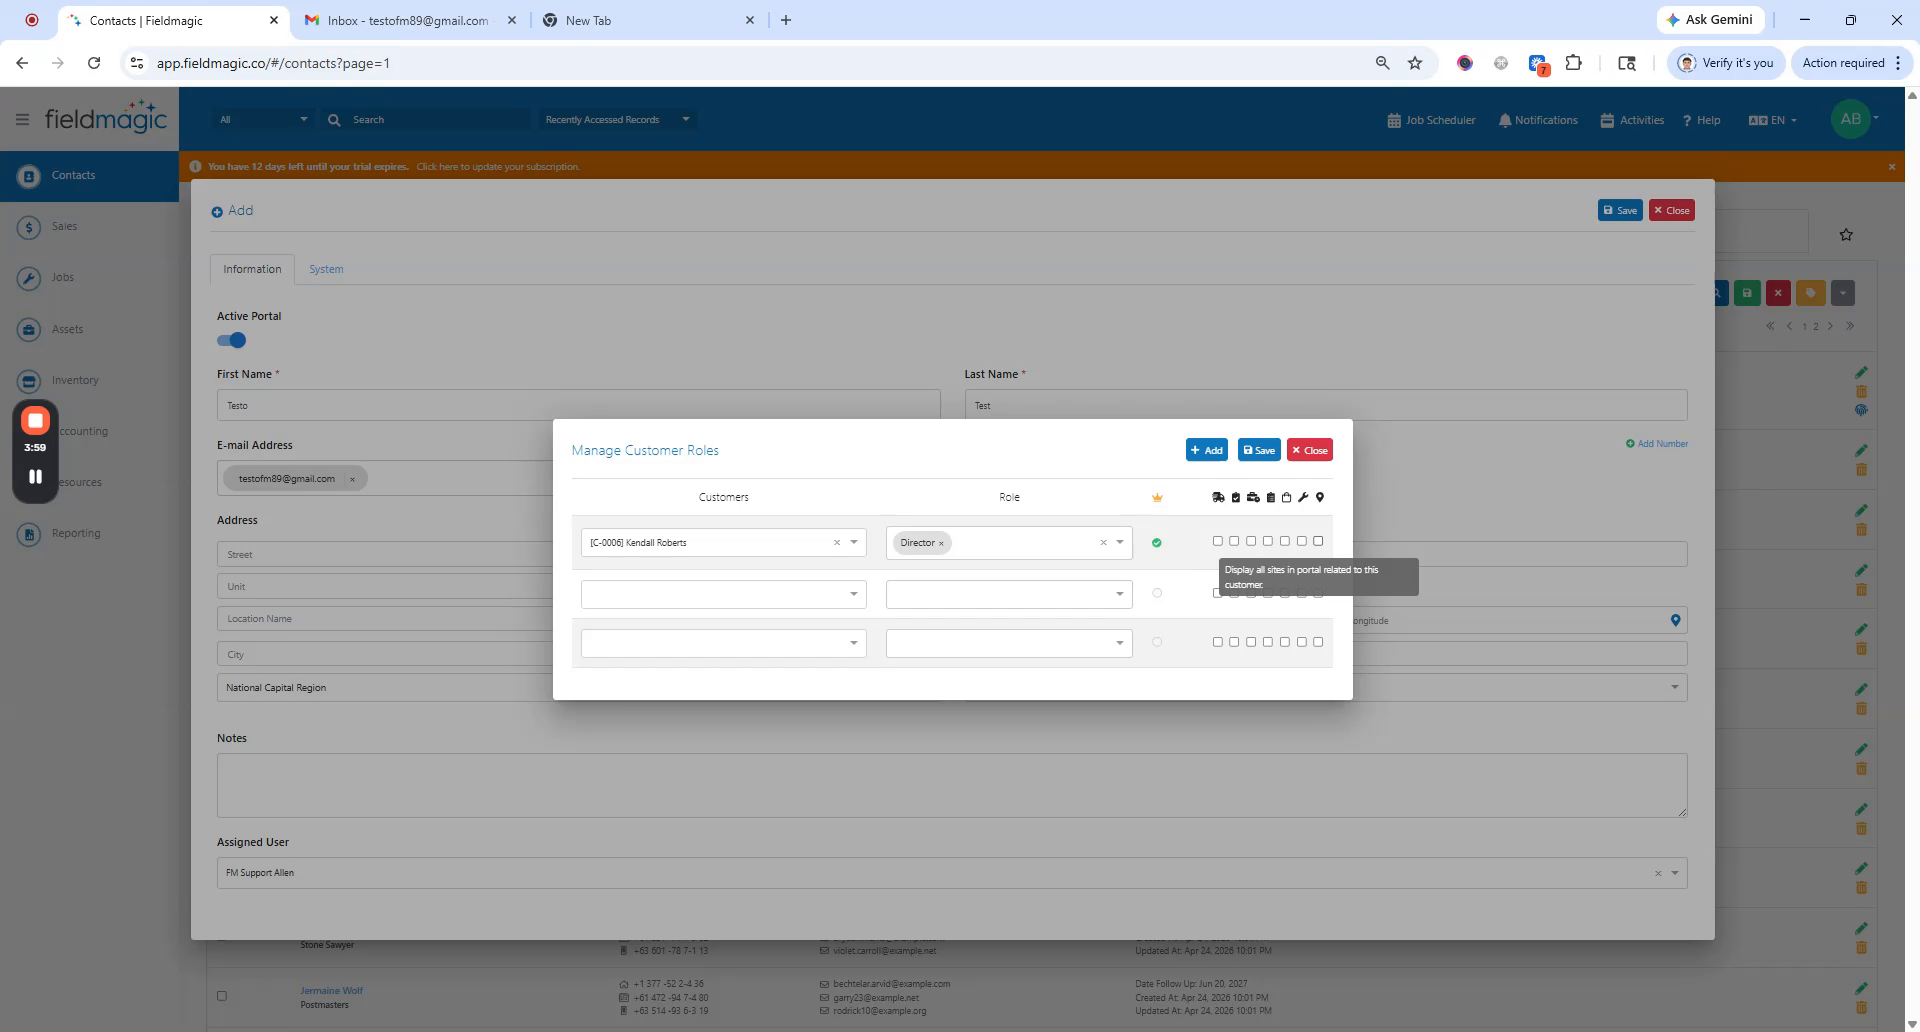
Assign the customer and their role. In the Customer Role dialog, optionally set notification flags. Enable the option to display all sites related to this customer.
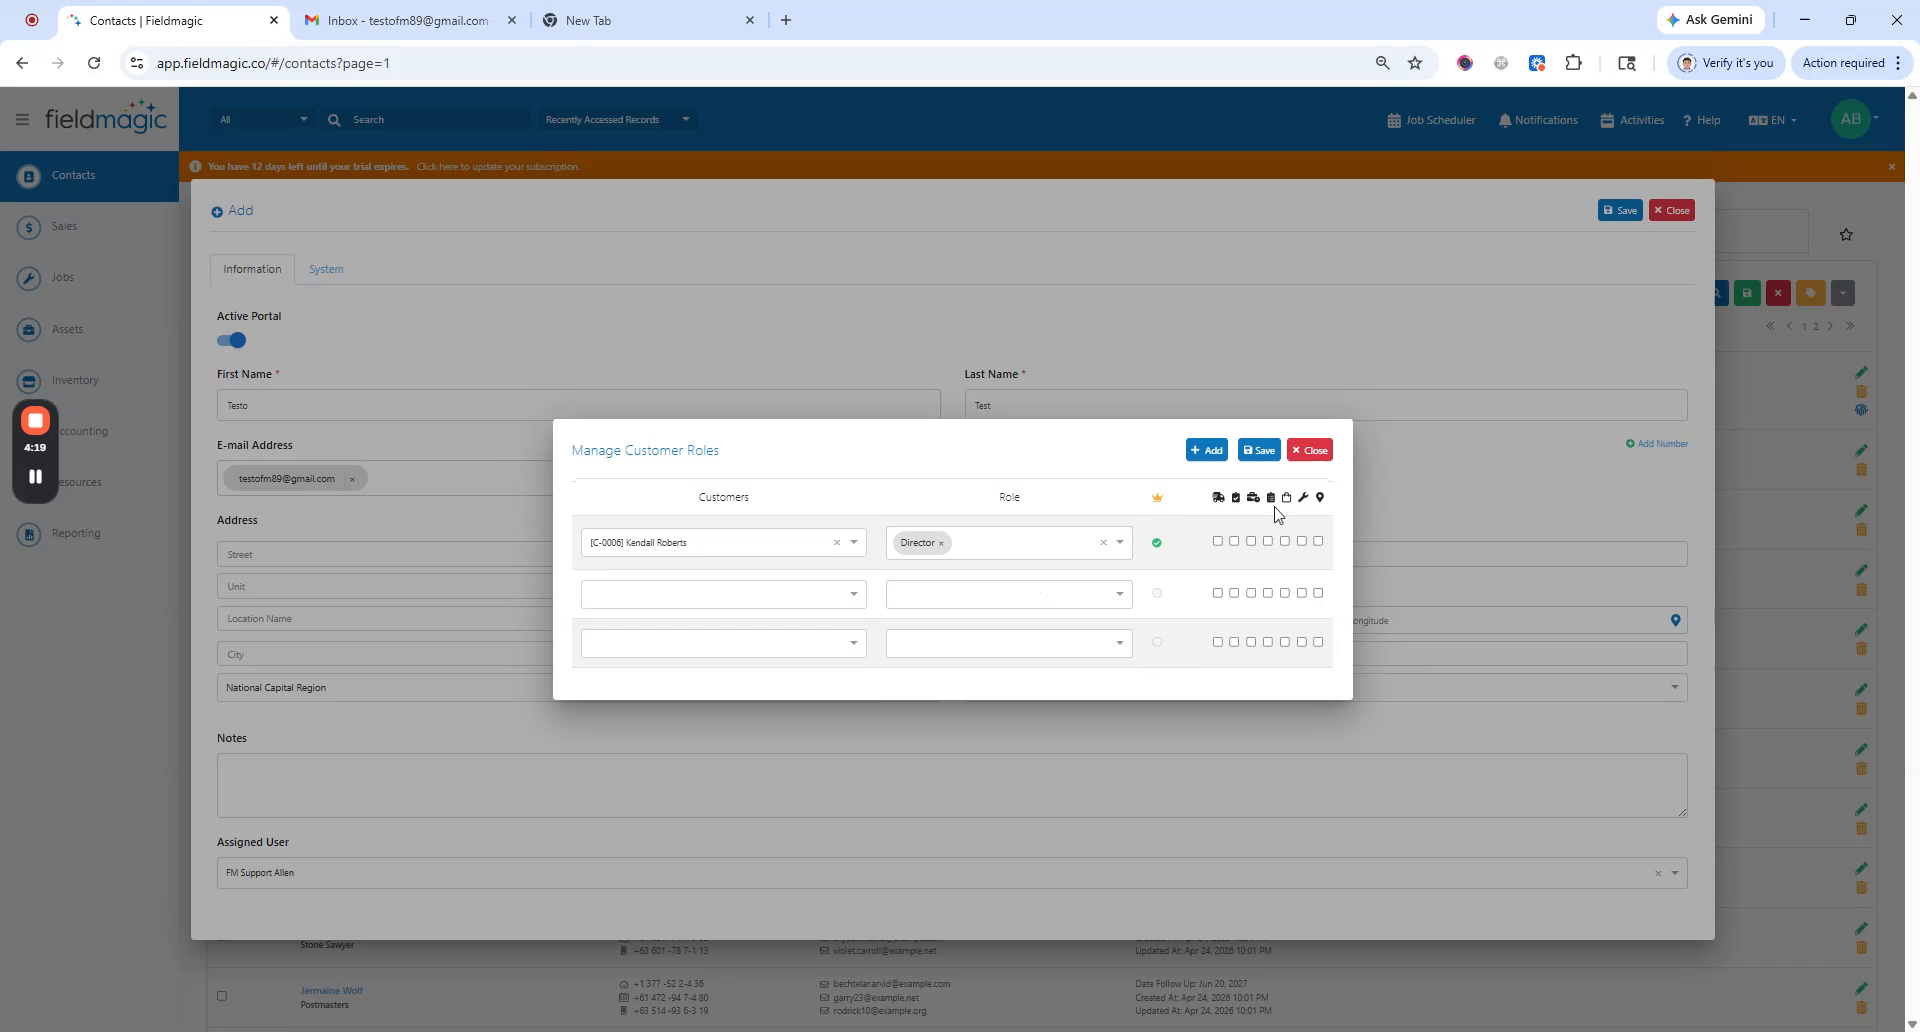 Step 4
This is optional but crucial for displaying all linked sites and records in the portal. Save the settings. After saving,
 Step 5
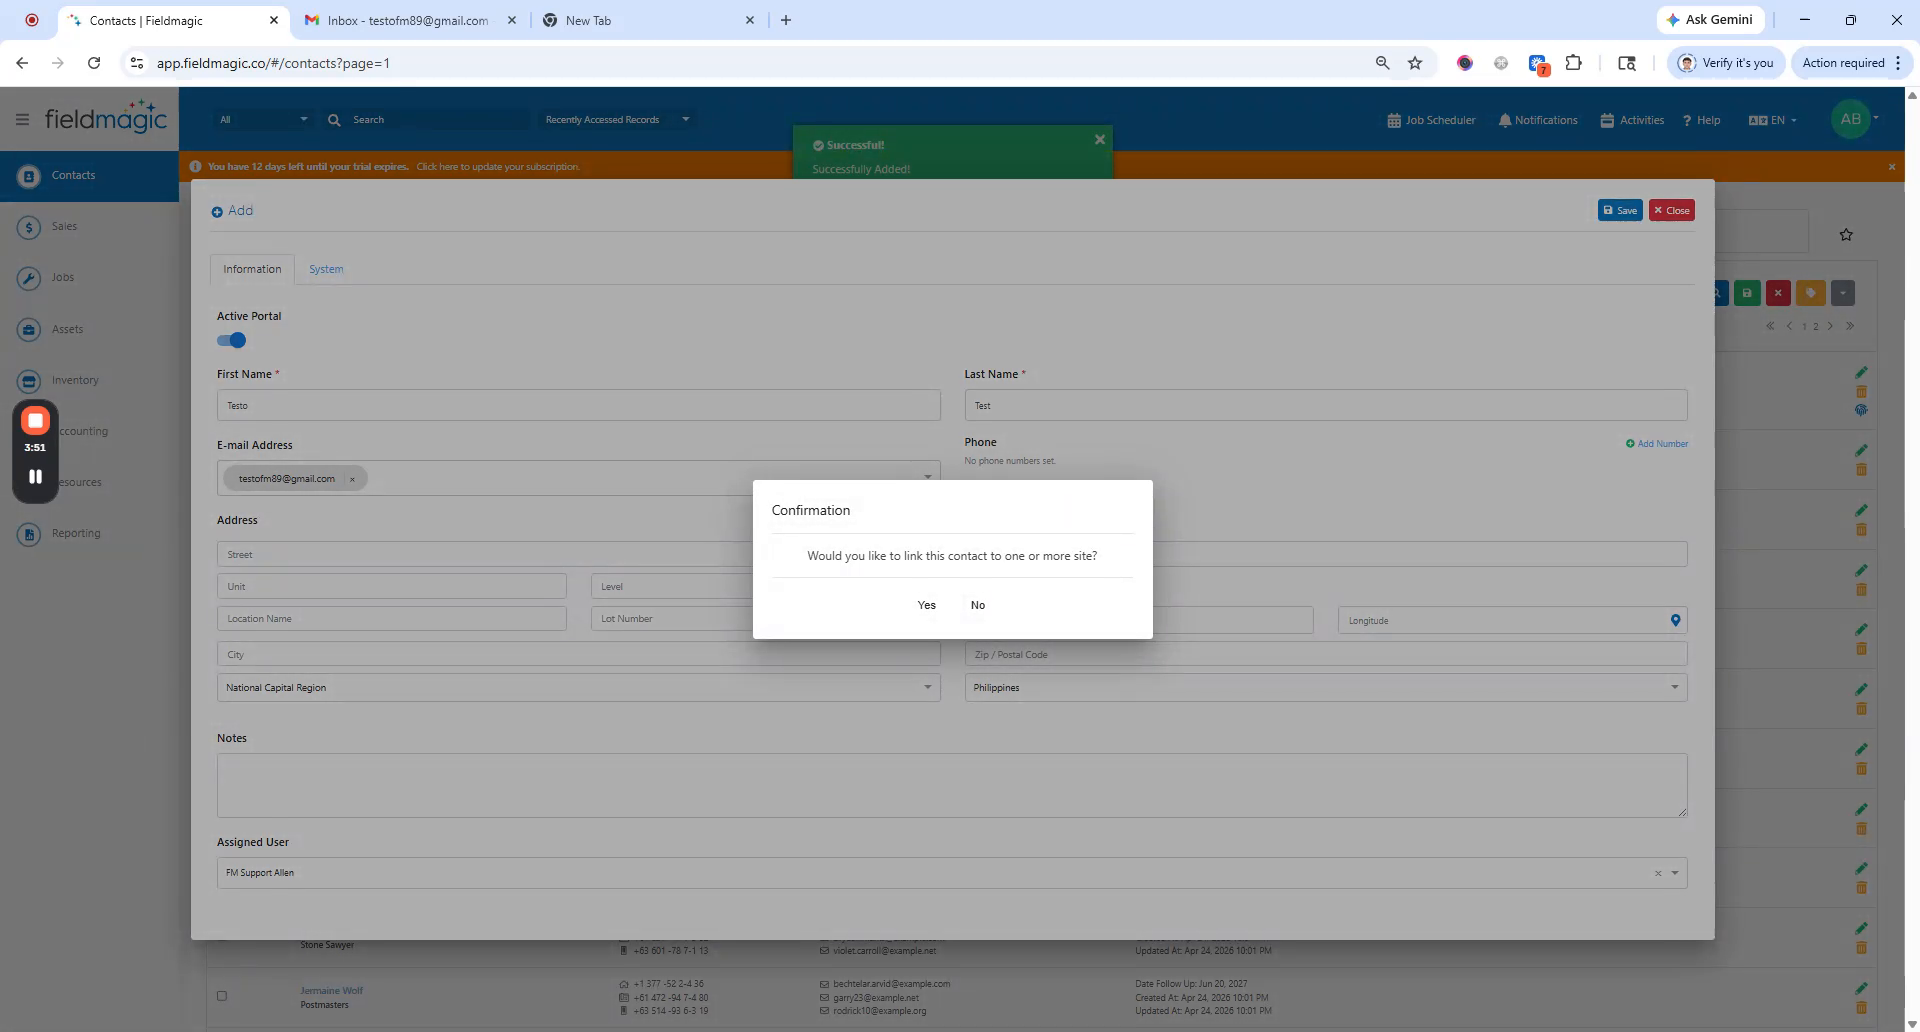
Another prompt lets you link the contact to one or more sites. Select a site and its role. Optionally set notifications by
 Step 6
enabling the notification flags. After saving, a credential email is sent with the portal link and password.
 Step 7
Use this to log in to the portal. Once you log in, you will see all linked sites and records in the portal.