Integration & API Management
Sync Customer Invoices and Payments to Xero
Learn how to sync customer invoices and payments to Xero or your accounting system in FieldMagic.
Step-by-step instructions
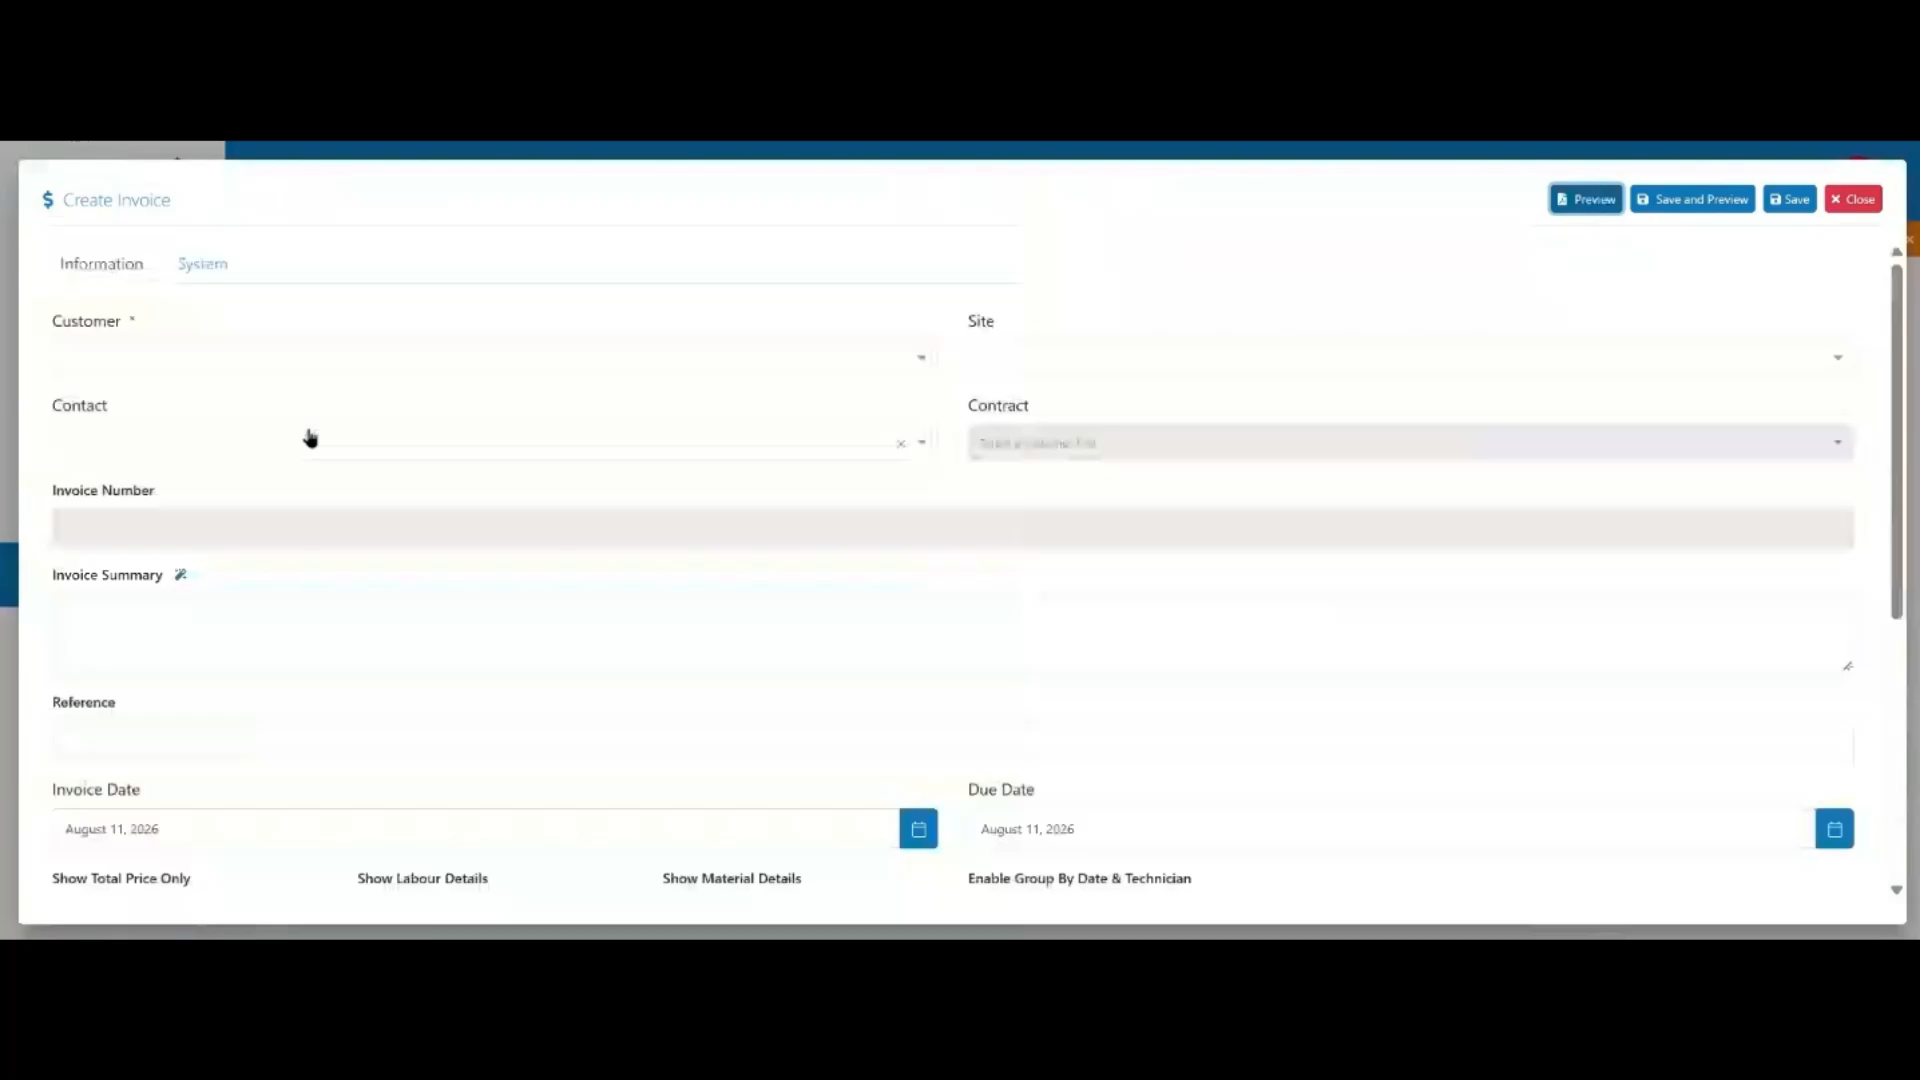 Step 1
Open the Accounting module and click +Add to create a new customer invoice.
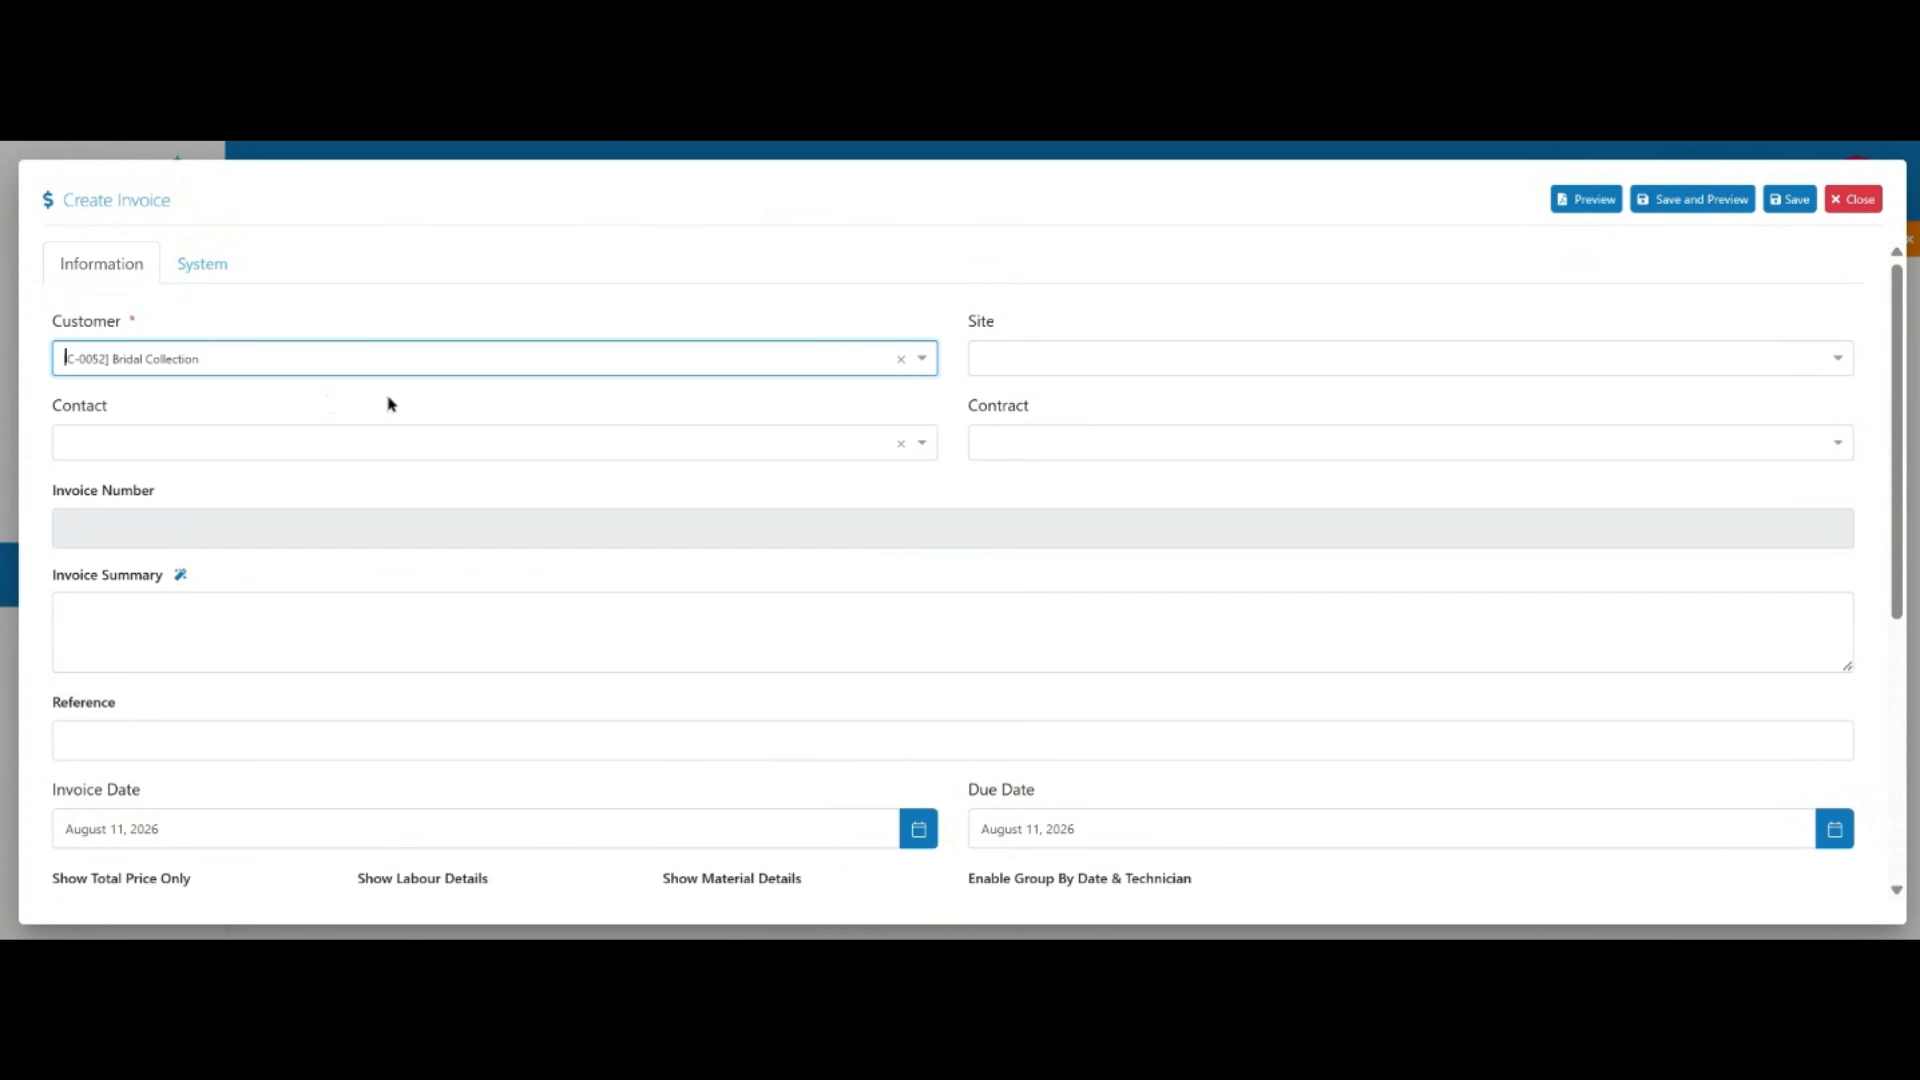 Step 2
Select the customer, which automatically populates the site.
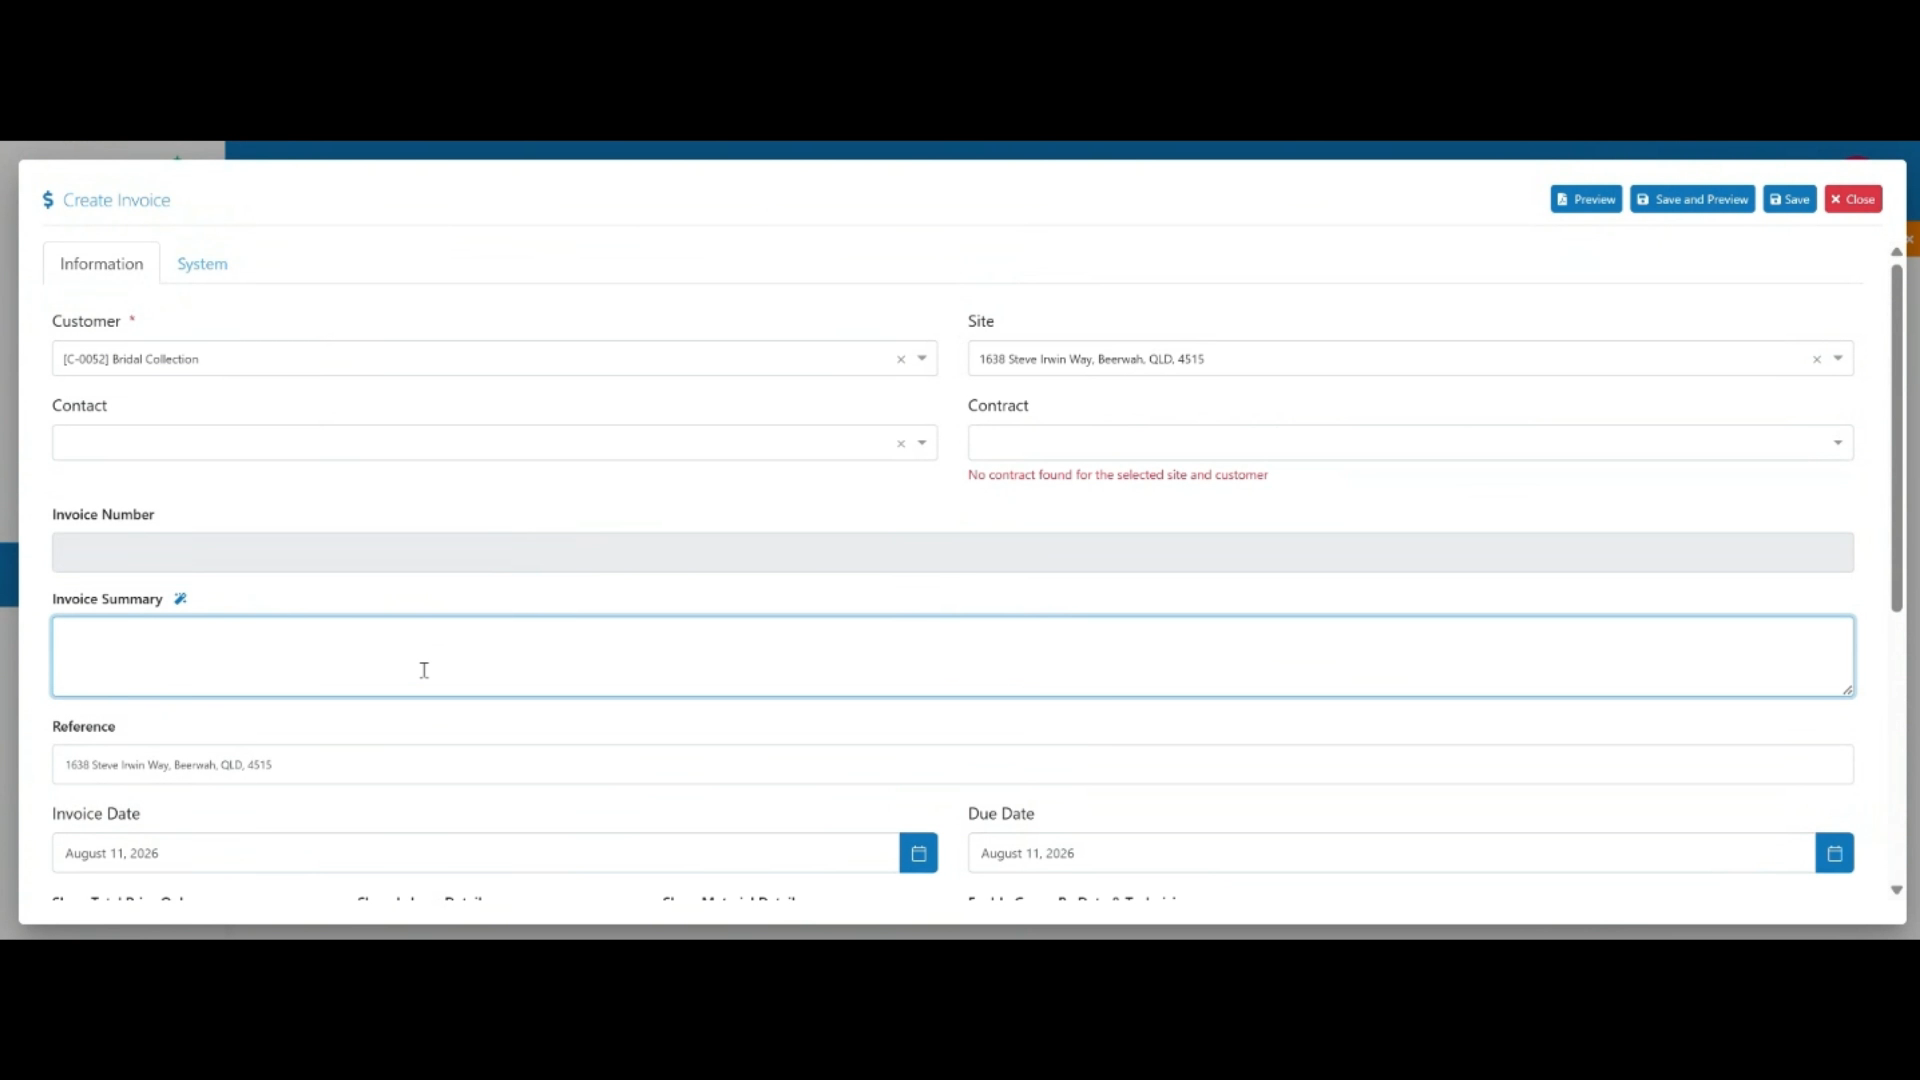 Step 3
Enter the invoice summary.
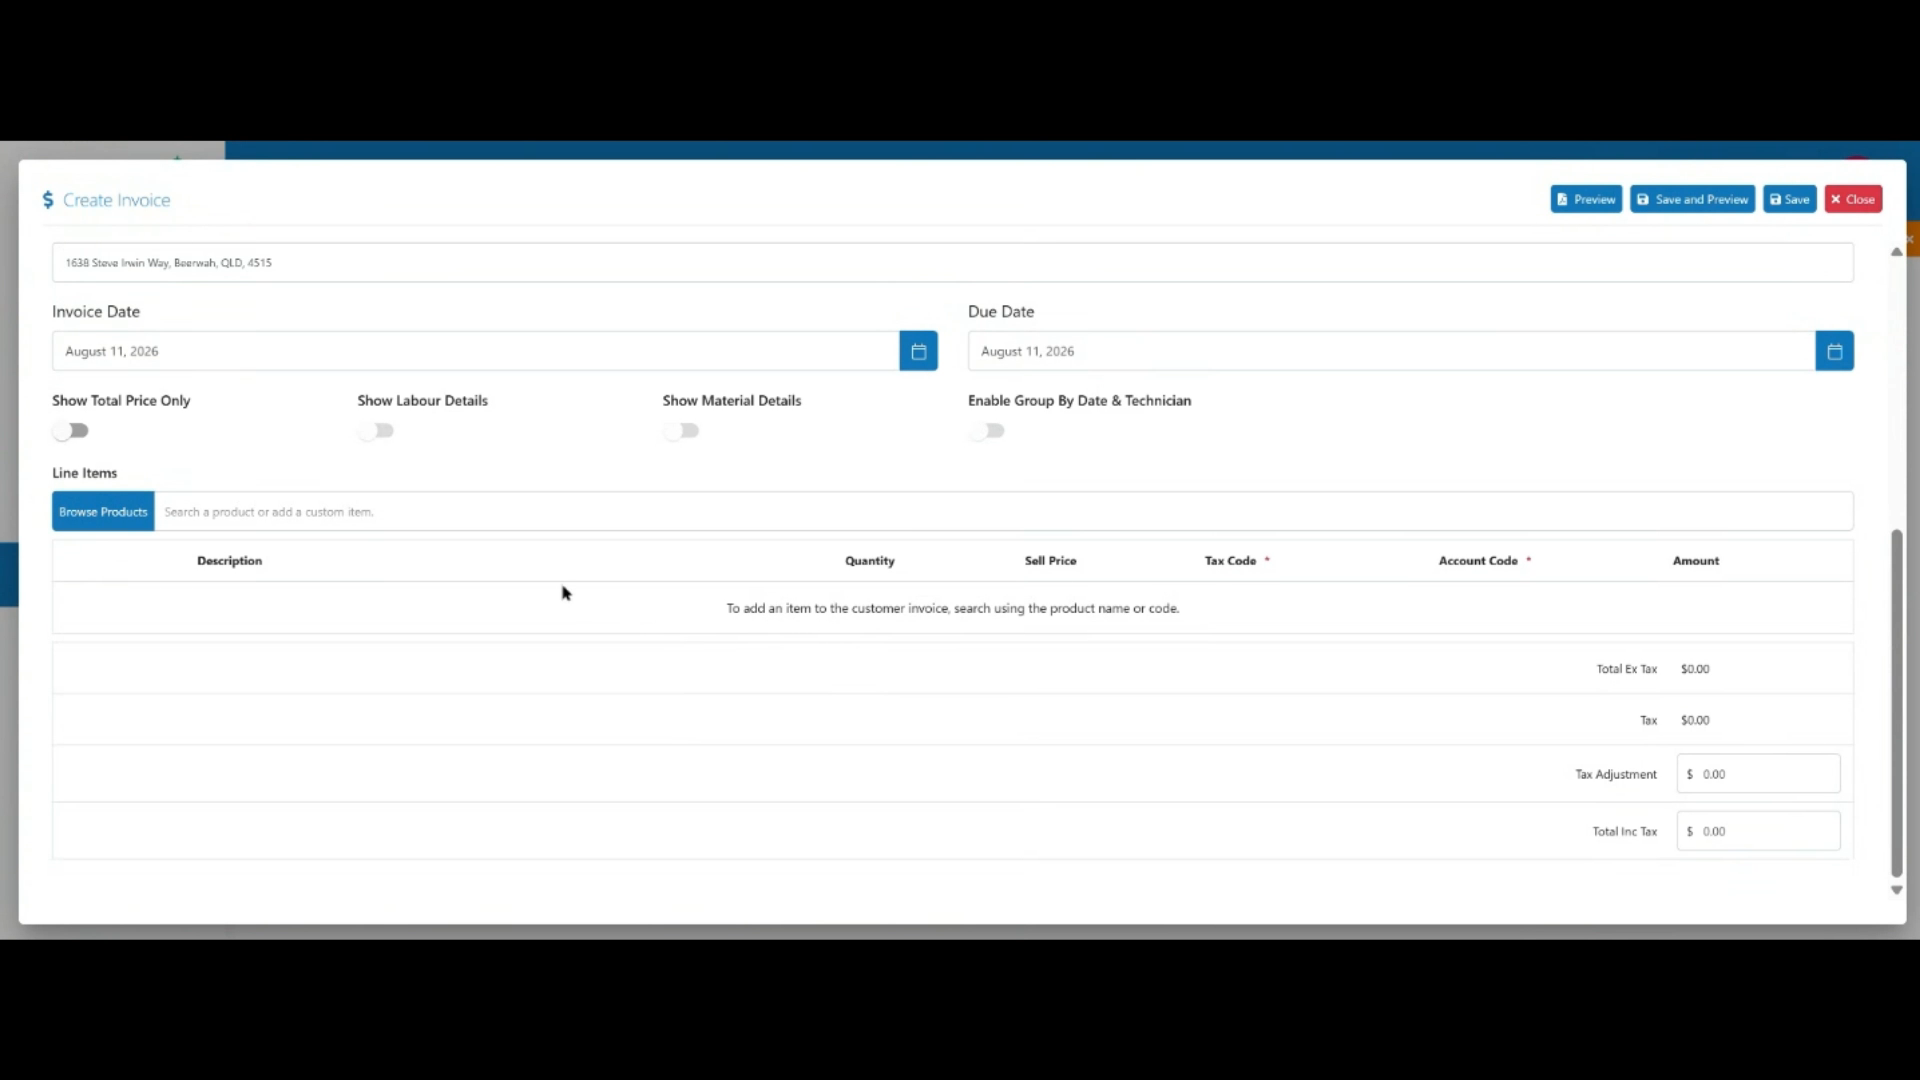 Step 4
Add your line items, including the products or services and their corresponding amounts.
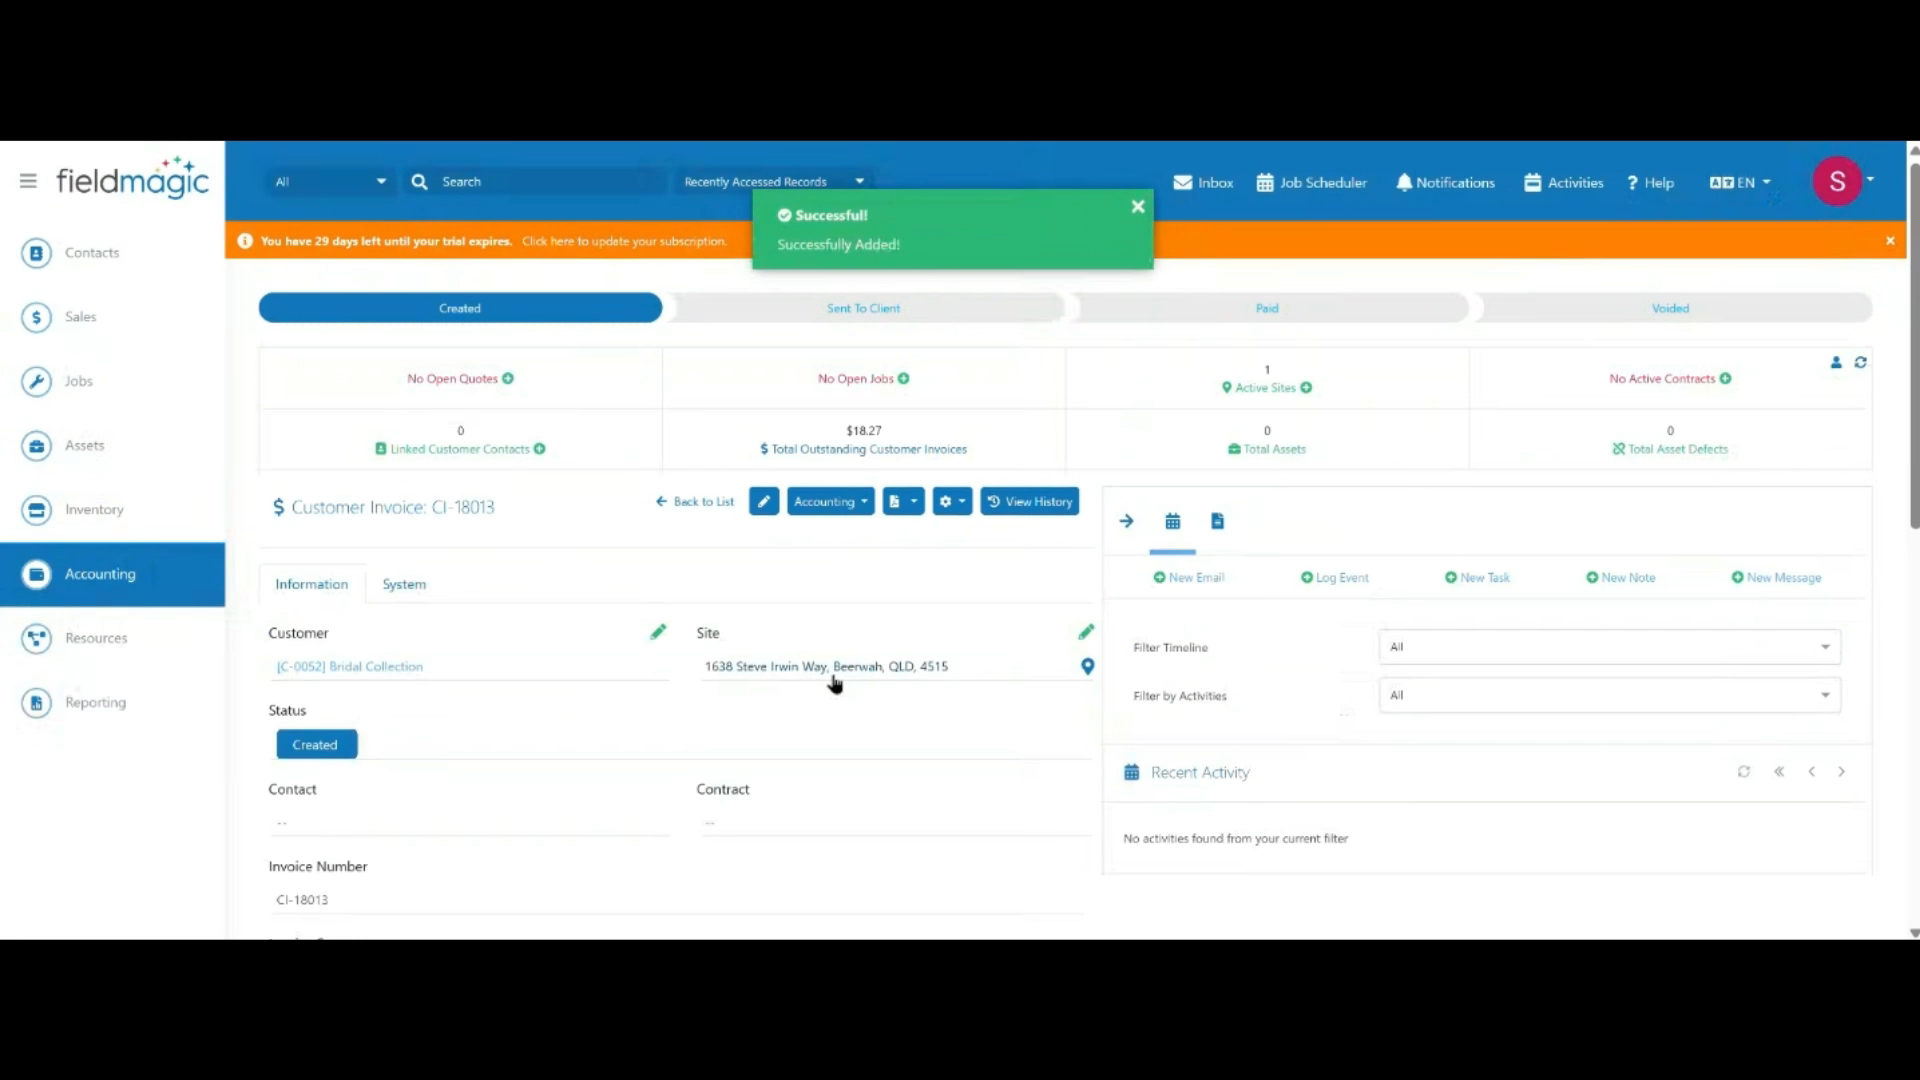 Step 5
Review the invoice details, then click Save.
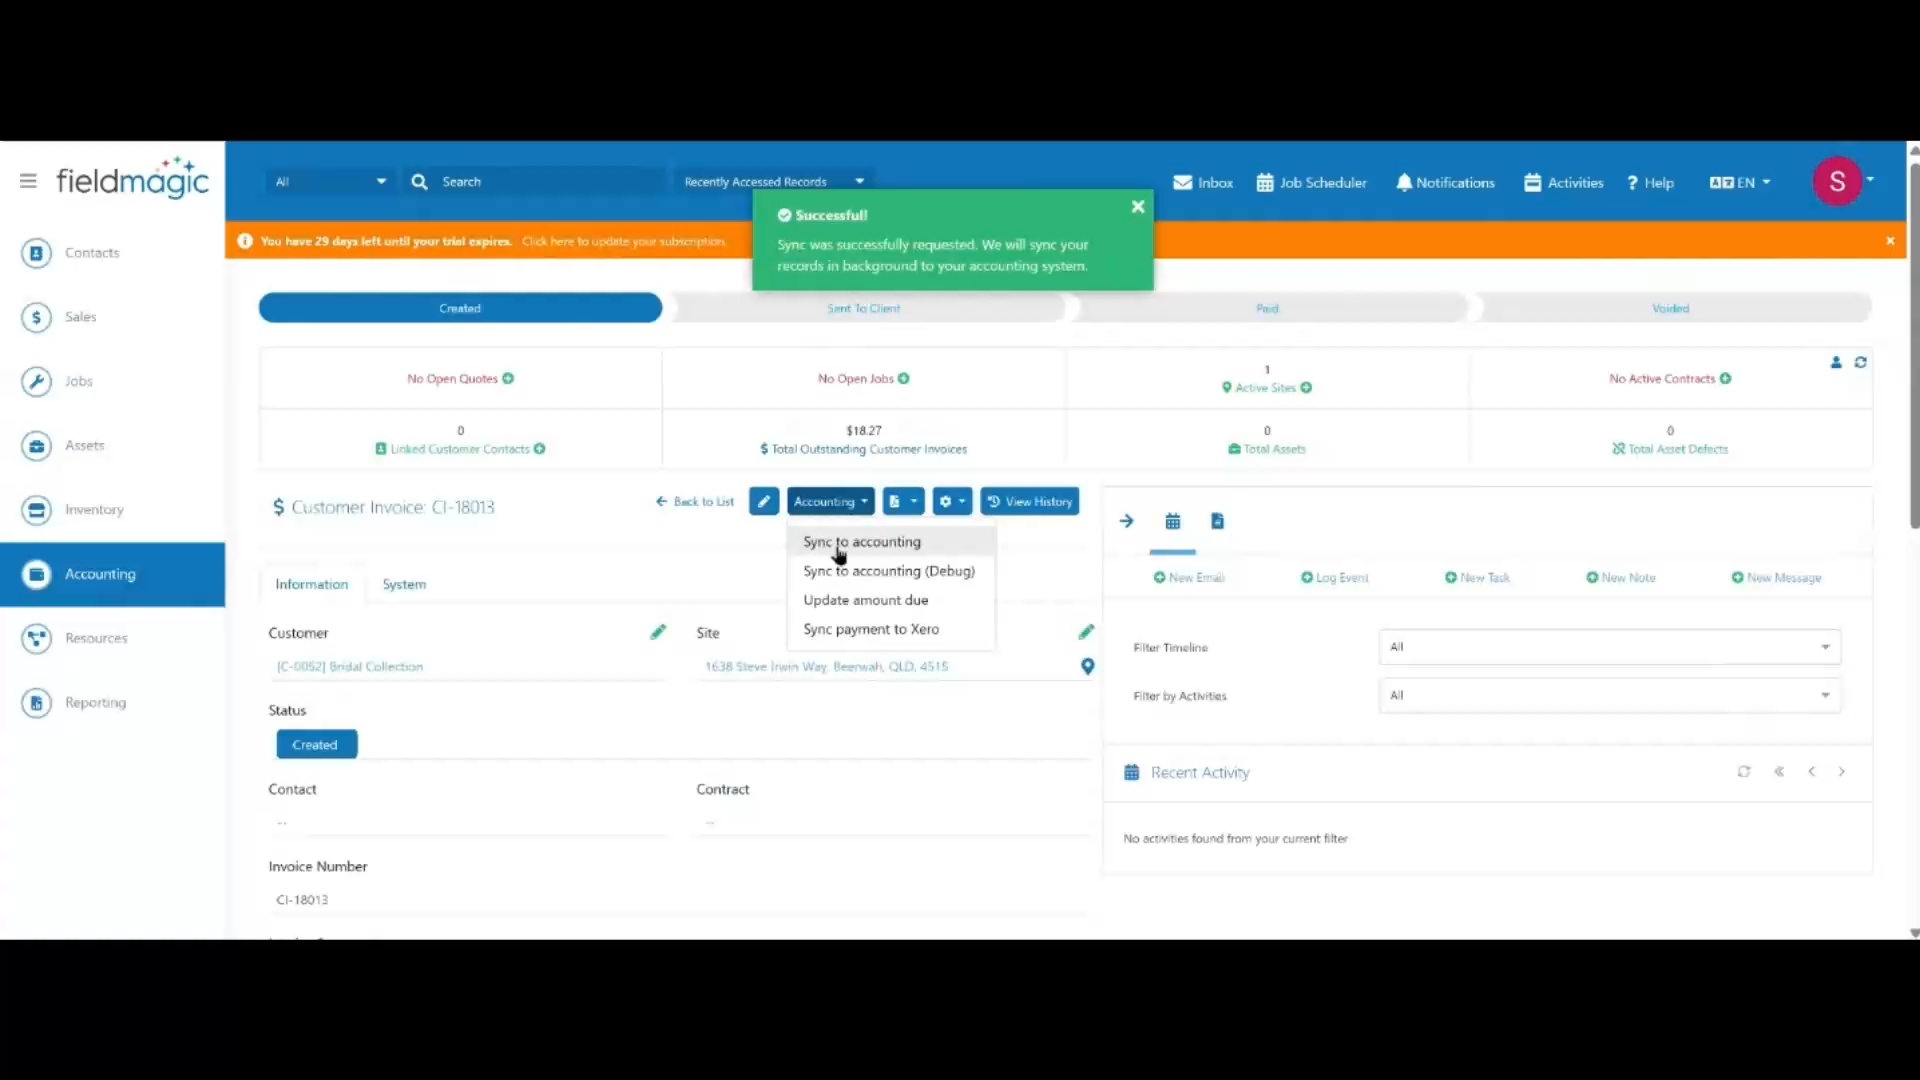 Step 6
On the saved invoice, click Accounting, then select Sync to Accounting to send the invoice to your accounting system.
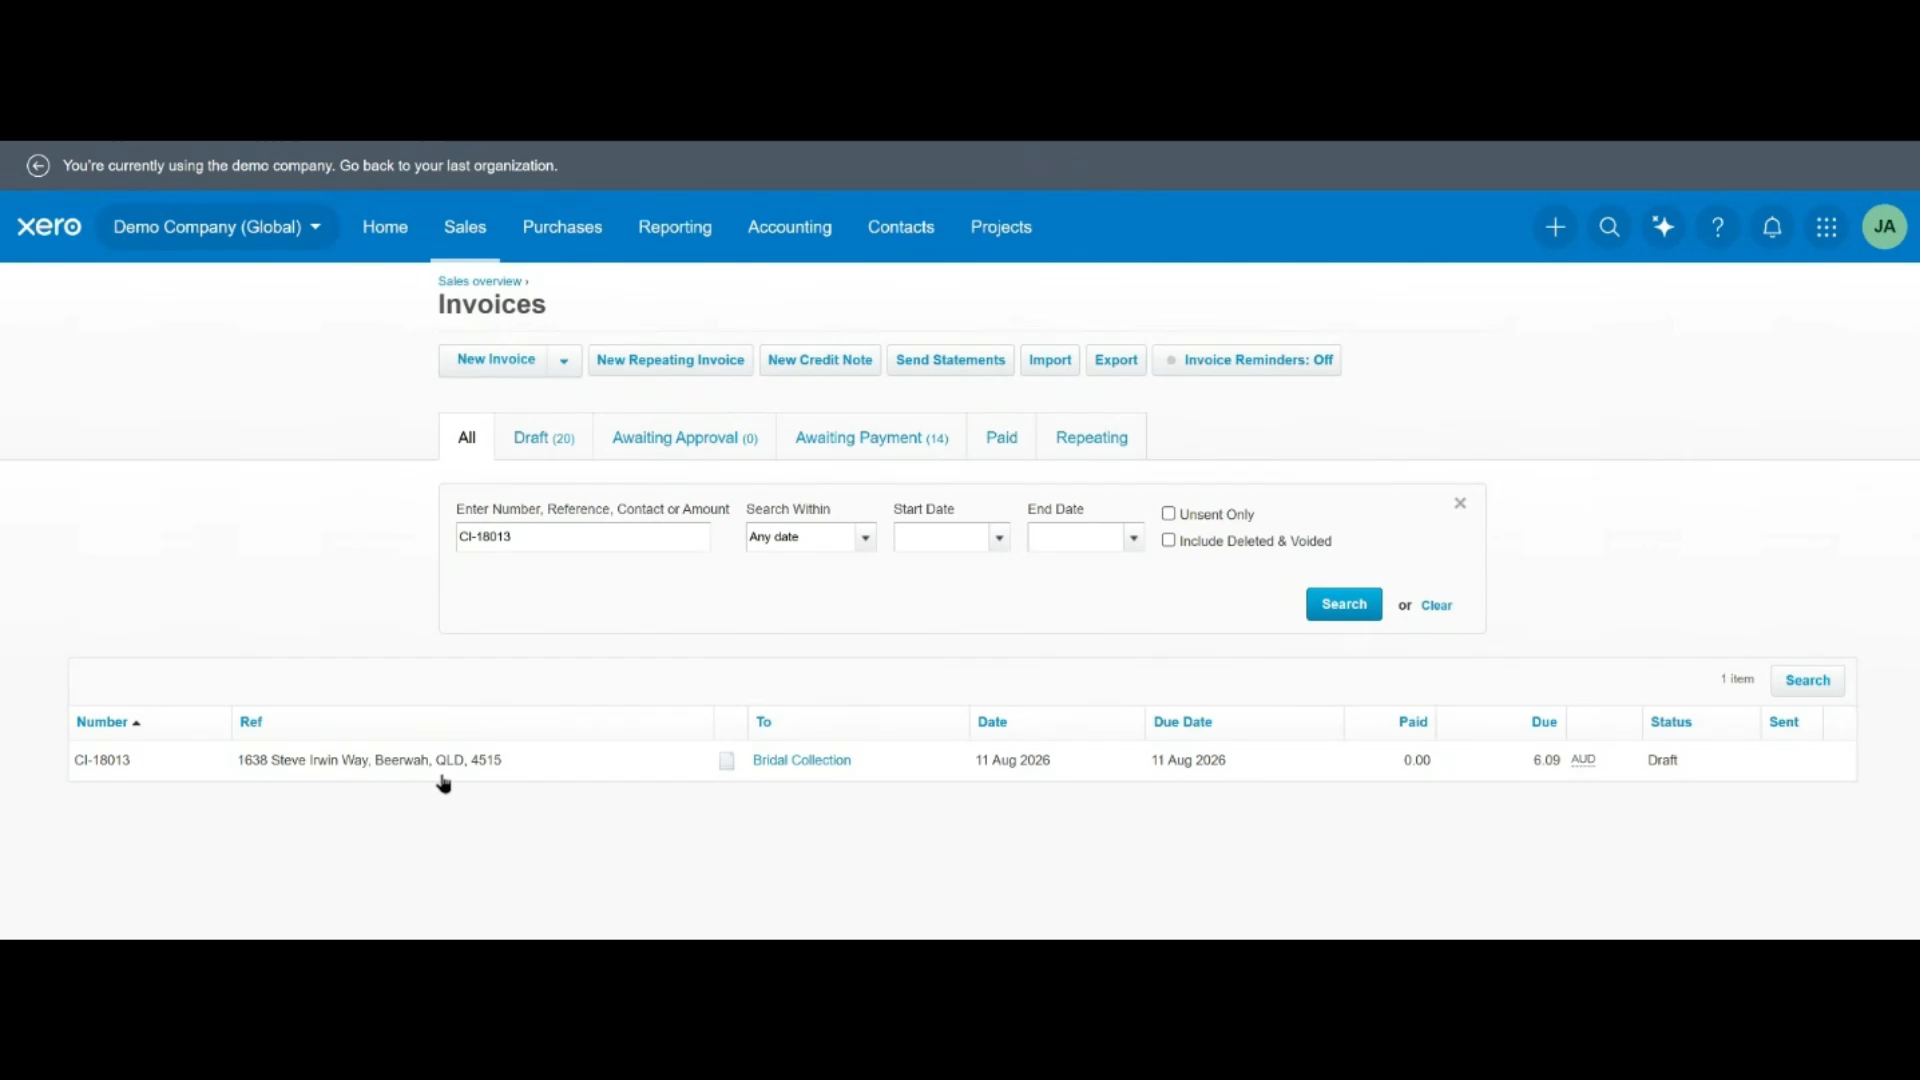 Step 7
To confirm the invoice synced successfully, search for it by invoice number or customer name directly in Xero.
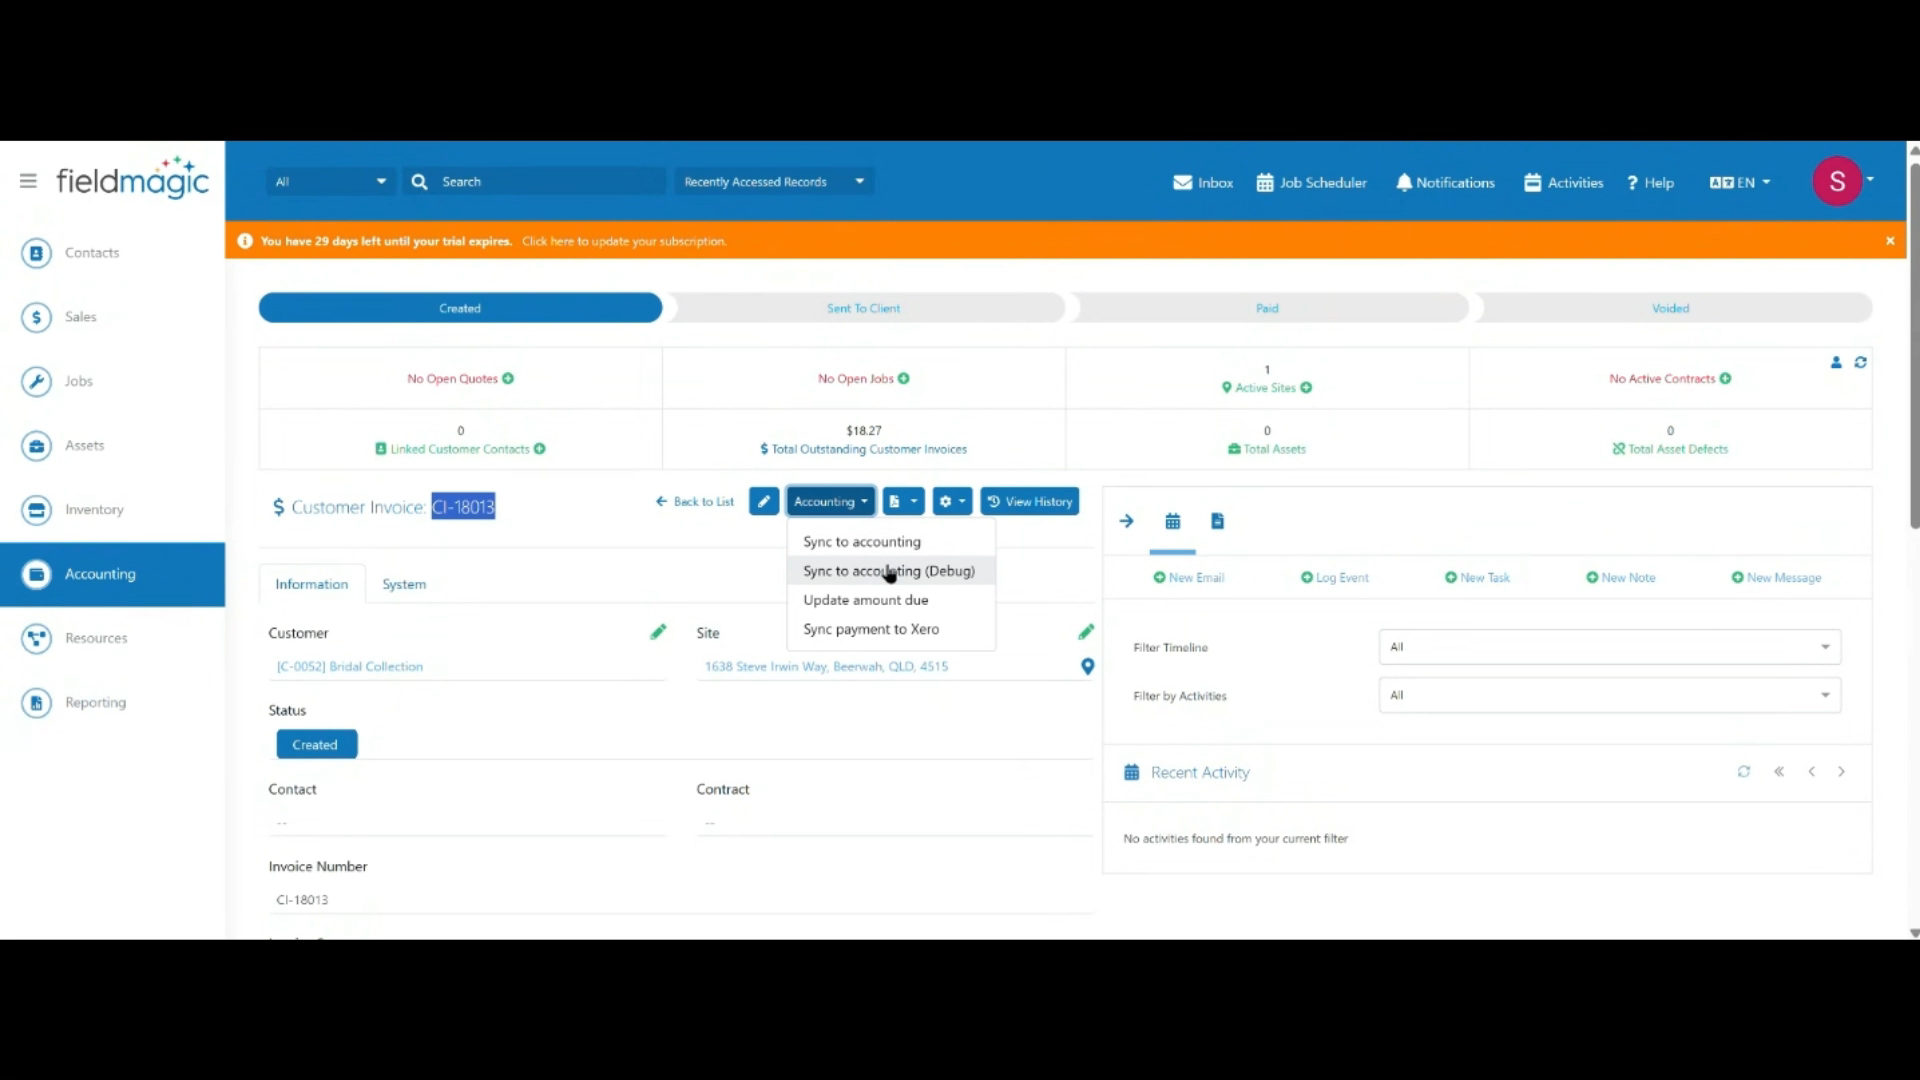 Step 8
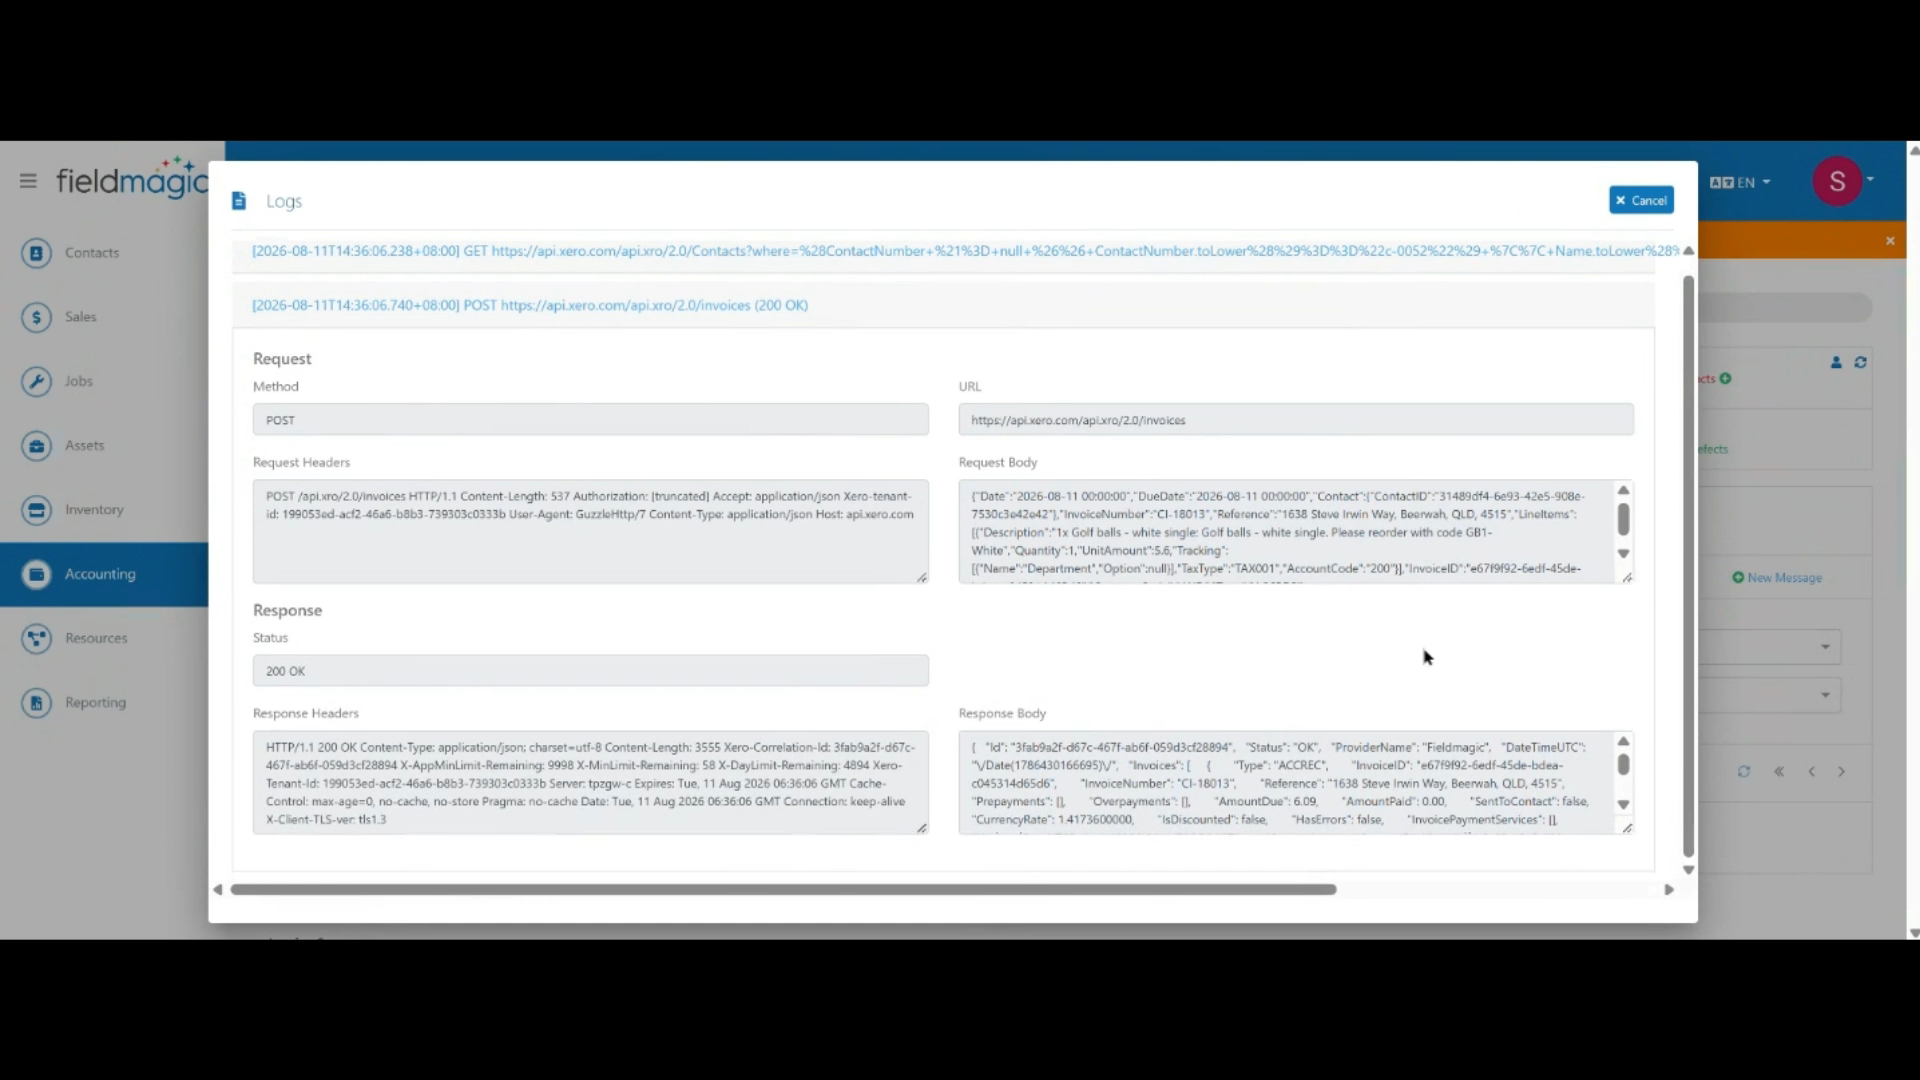
If an invoice fails to sync, click Accounting, then Sync to Accounting (Debug) to open the sync log.
 Step 9
Click a log entry to expand it, then review the request and response details to diagnose any sync issues.
 Step 10
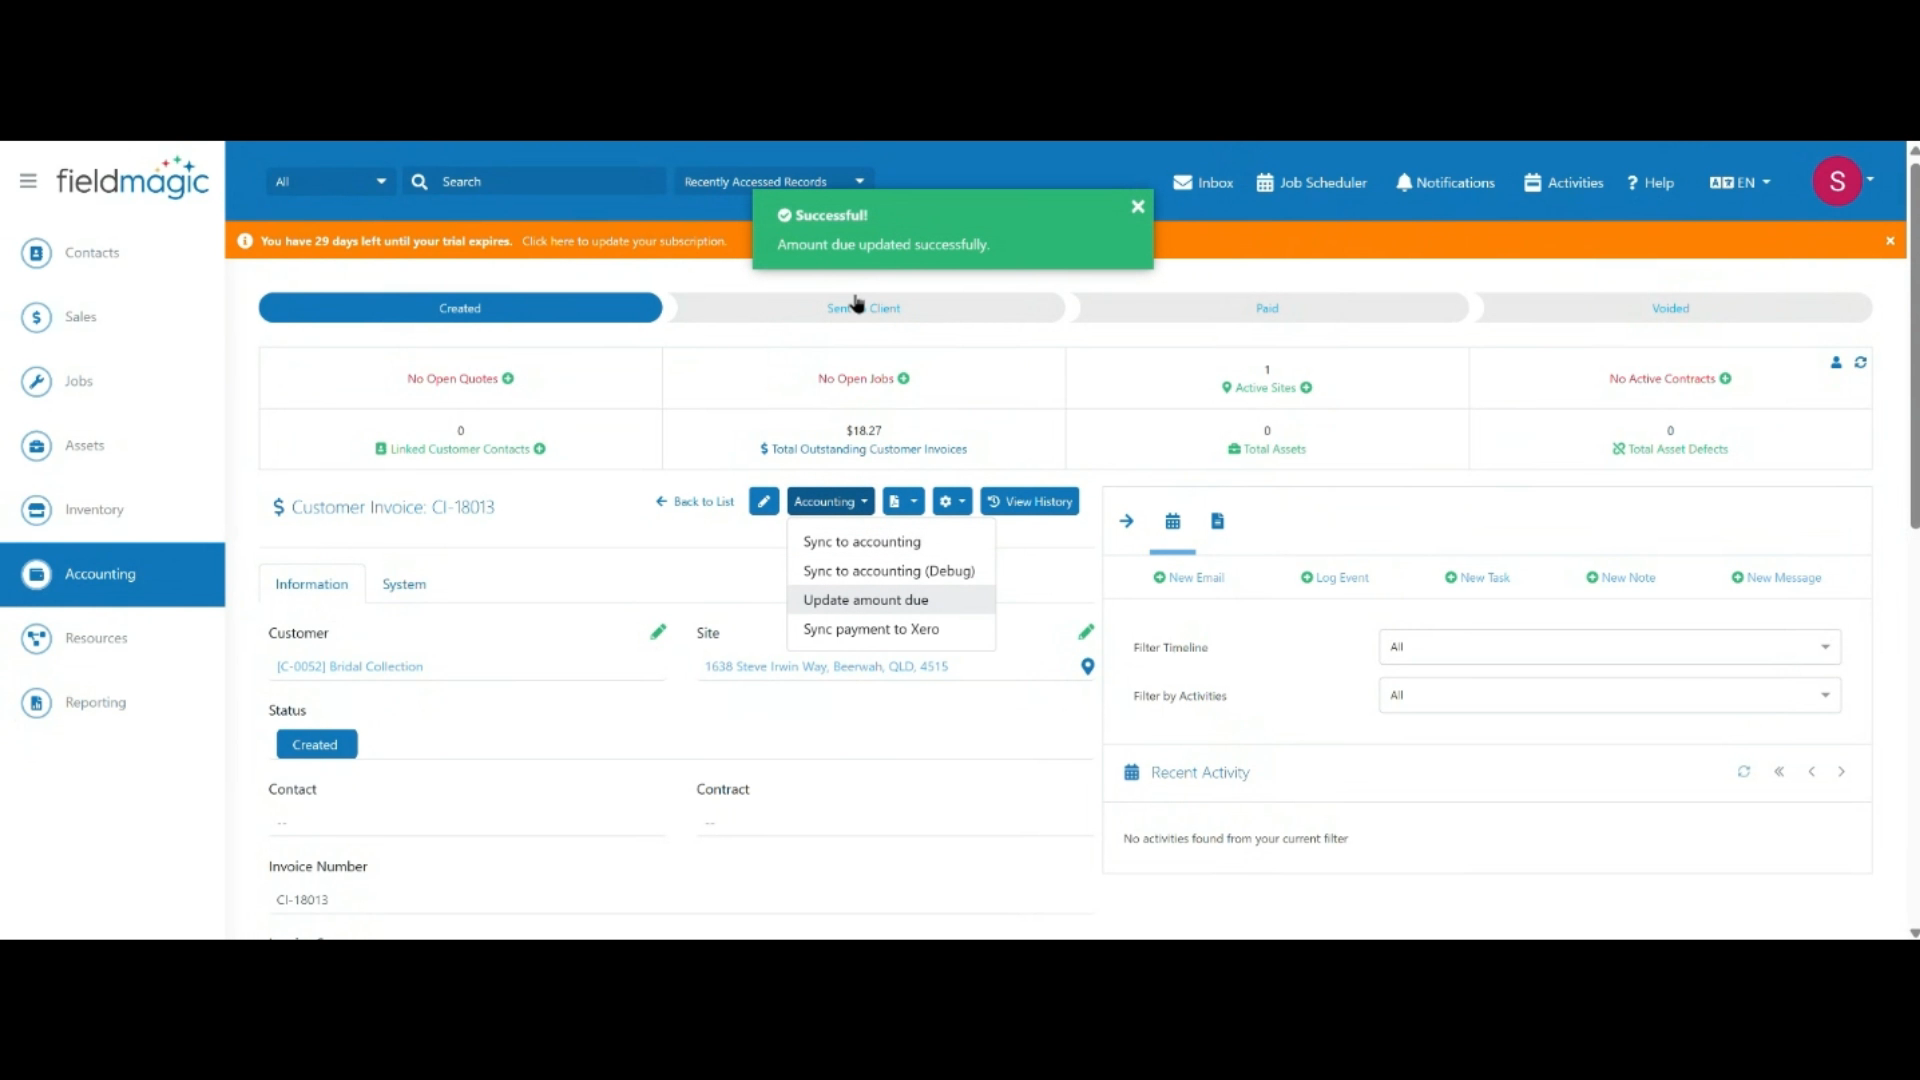
To pull through changes from your accounting system, click Accounting, then Update Amount Due.
 Step 11
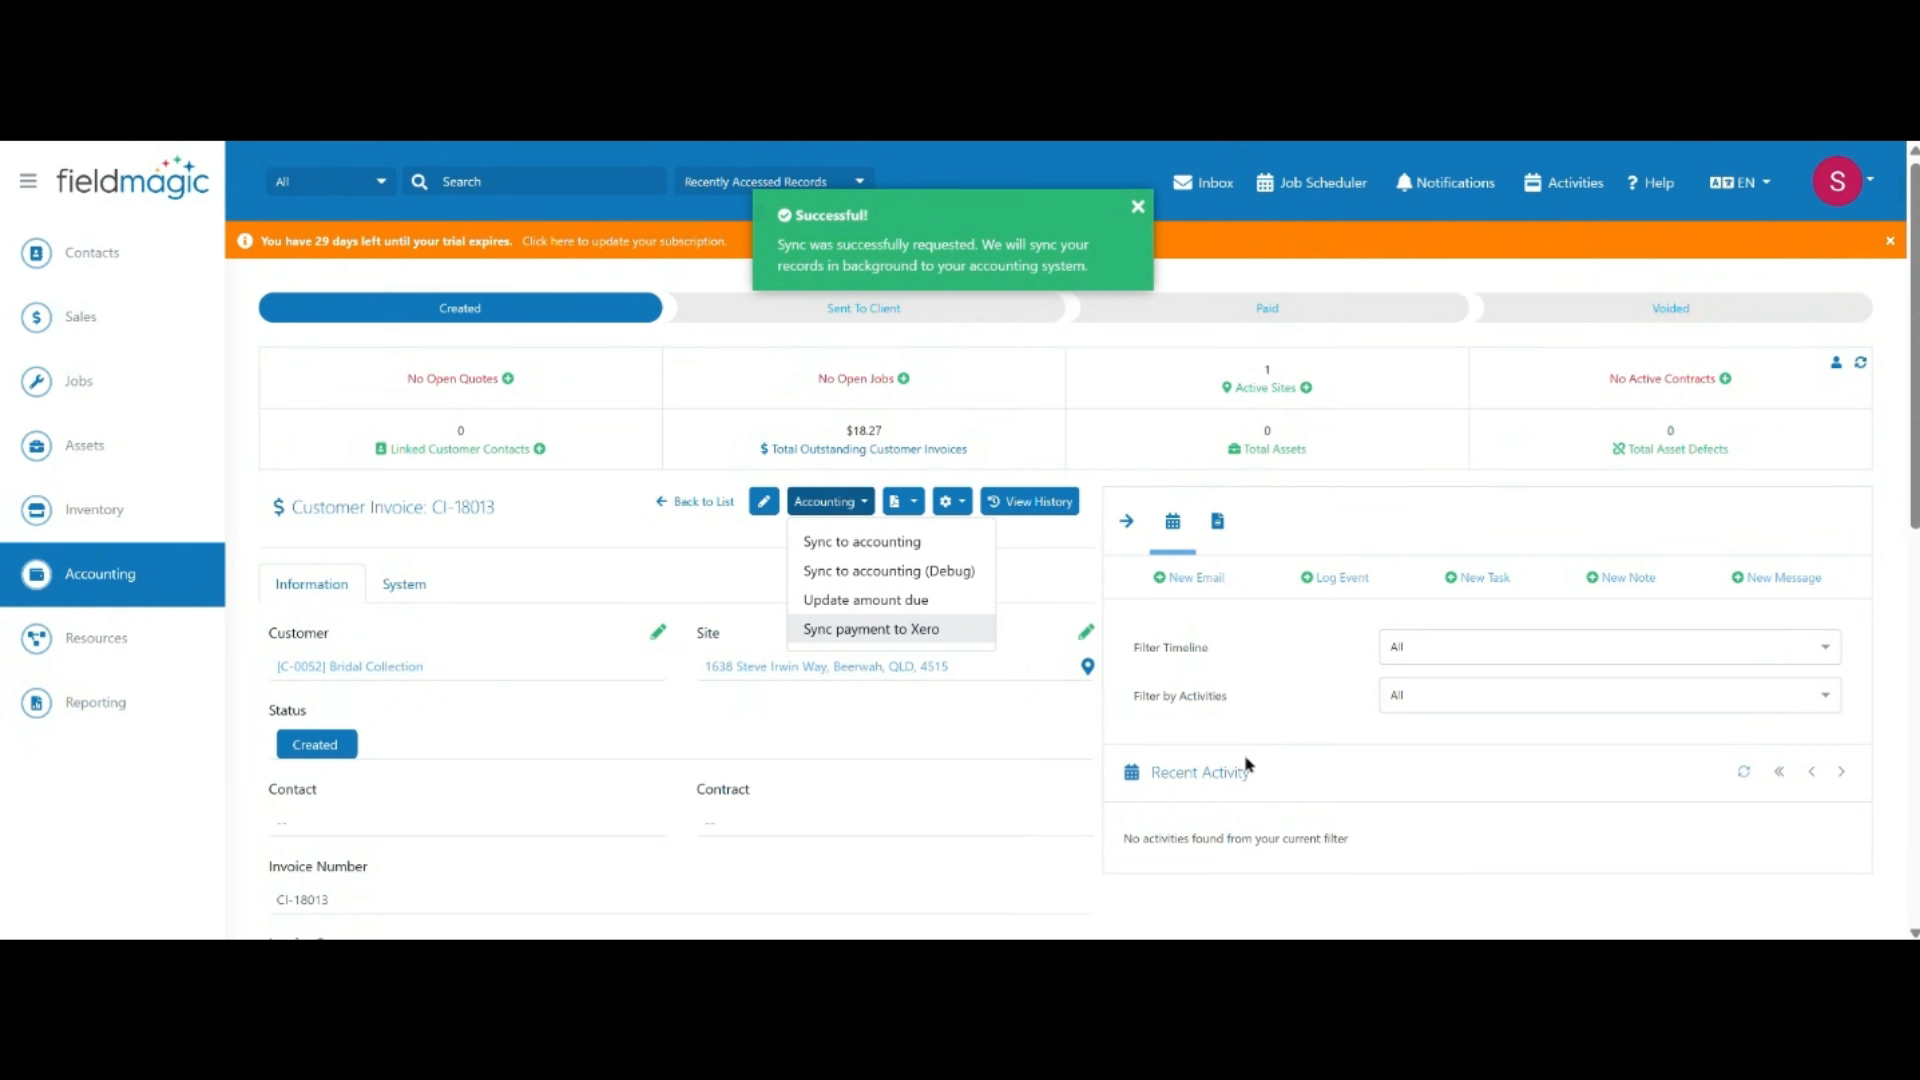
Once the customer invoice has been paid, click Accounting, then Sync Payment to Xero to sync the payment across.