Administration
User Management System Tutorial
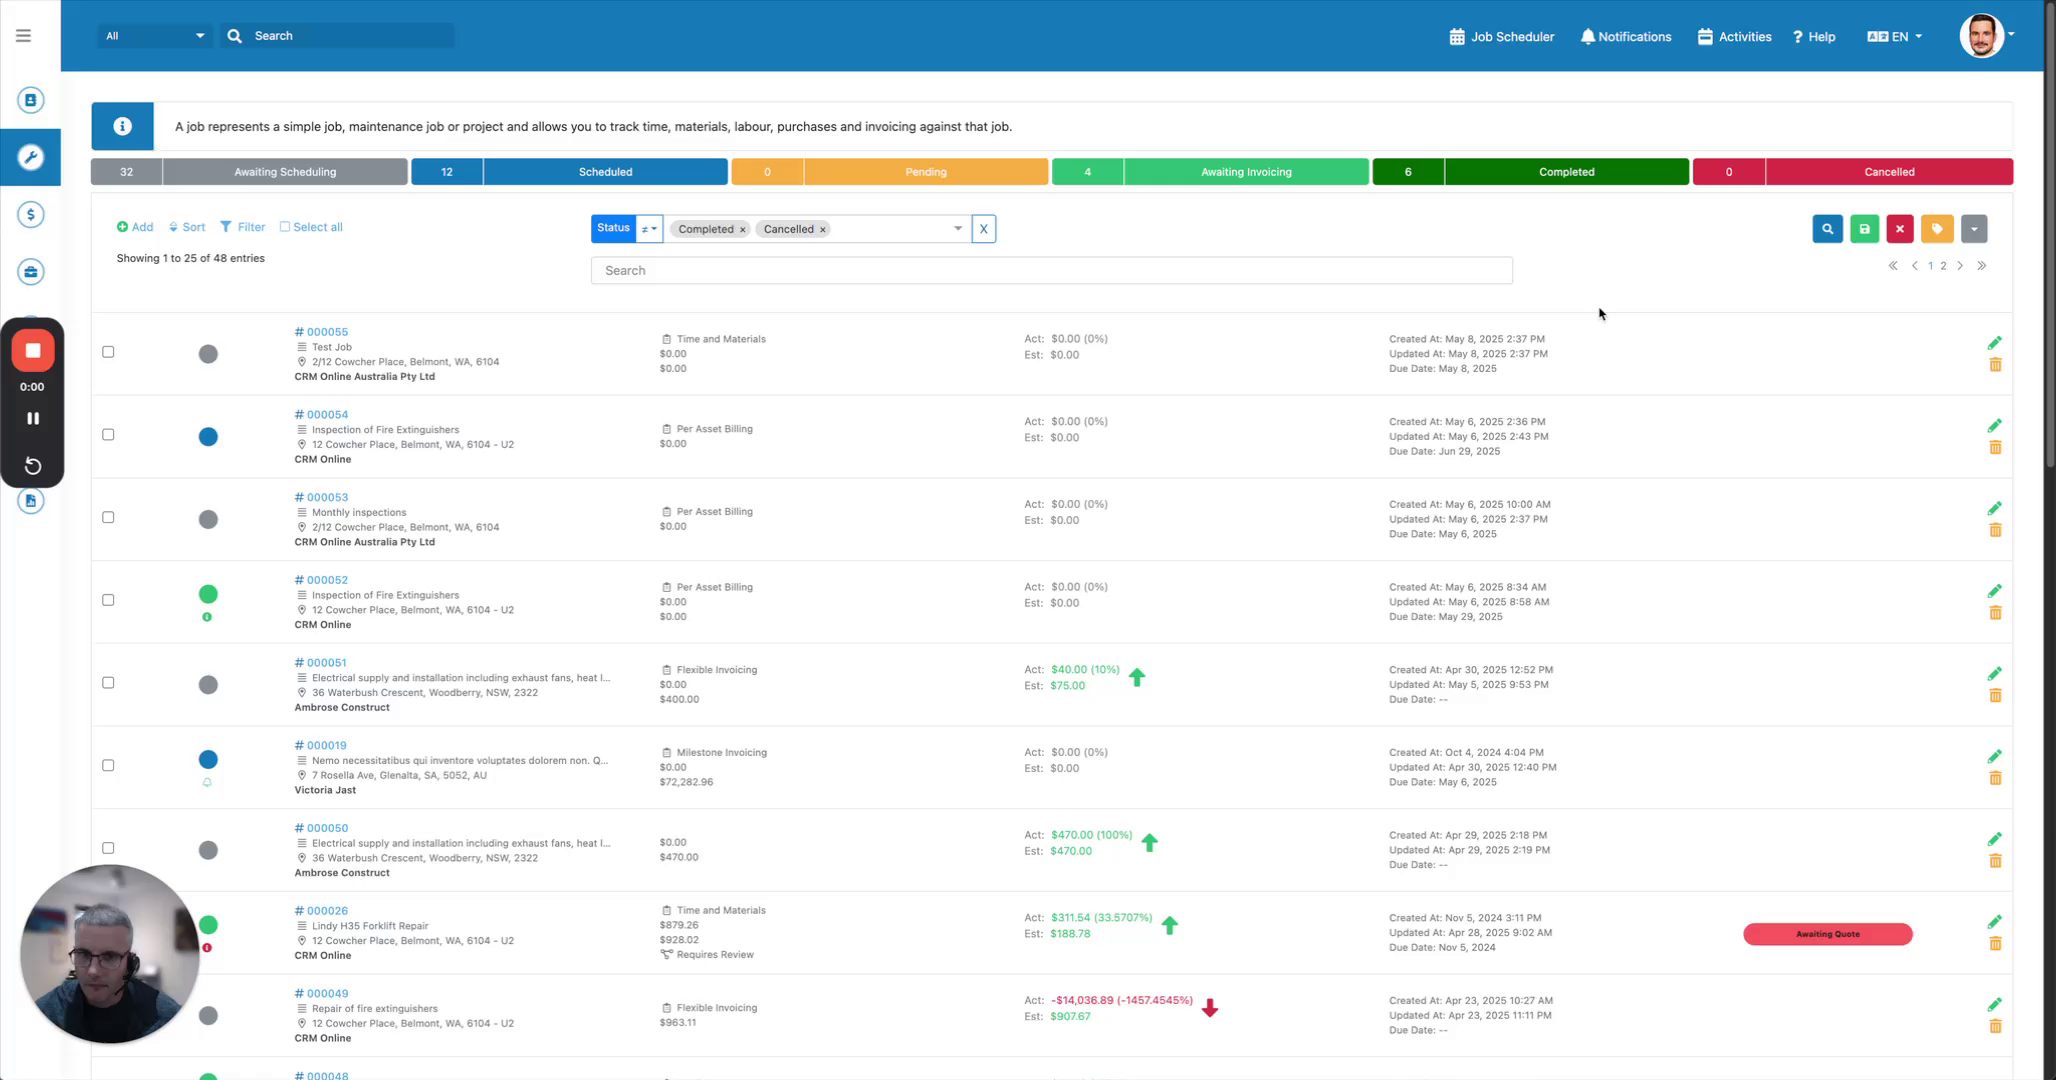
Log in as an admin. Navigate to Settings to access user management options.
Step-by-step instructions
 Step 1
Log in as an admin. Navigate to Settings to access user management options.
 Step 2
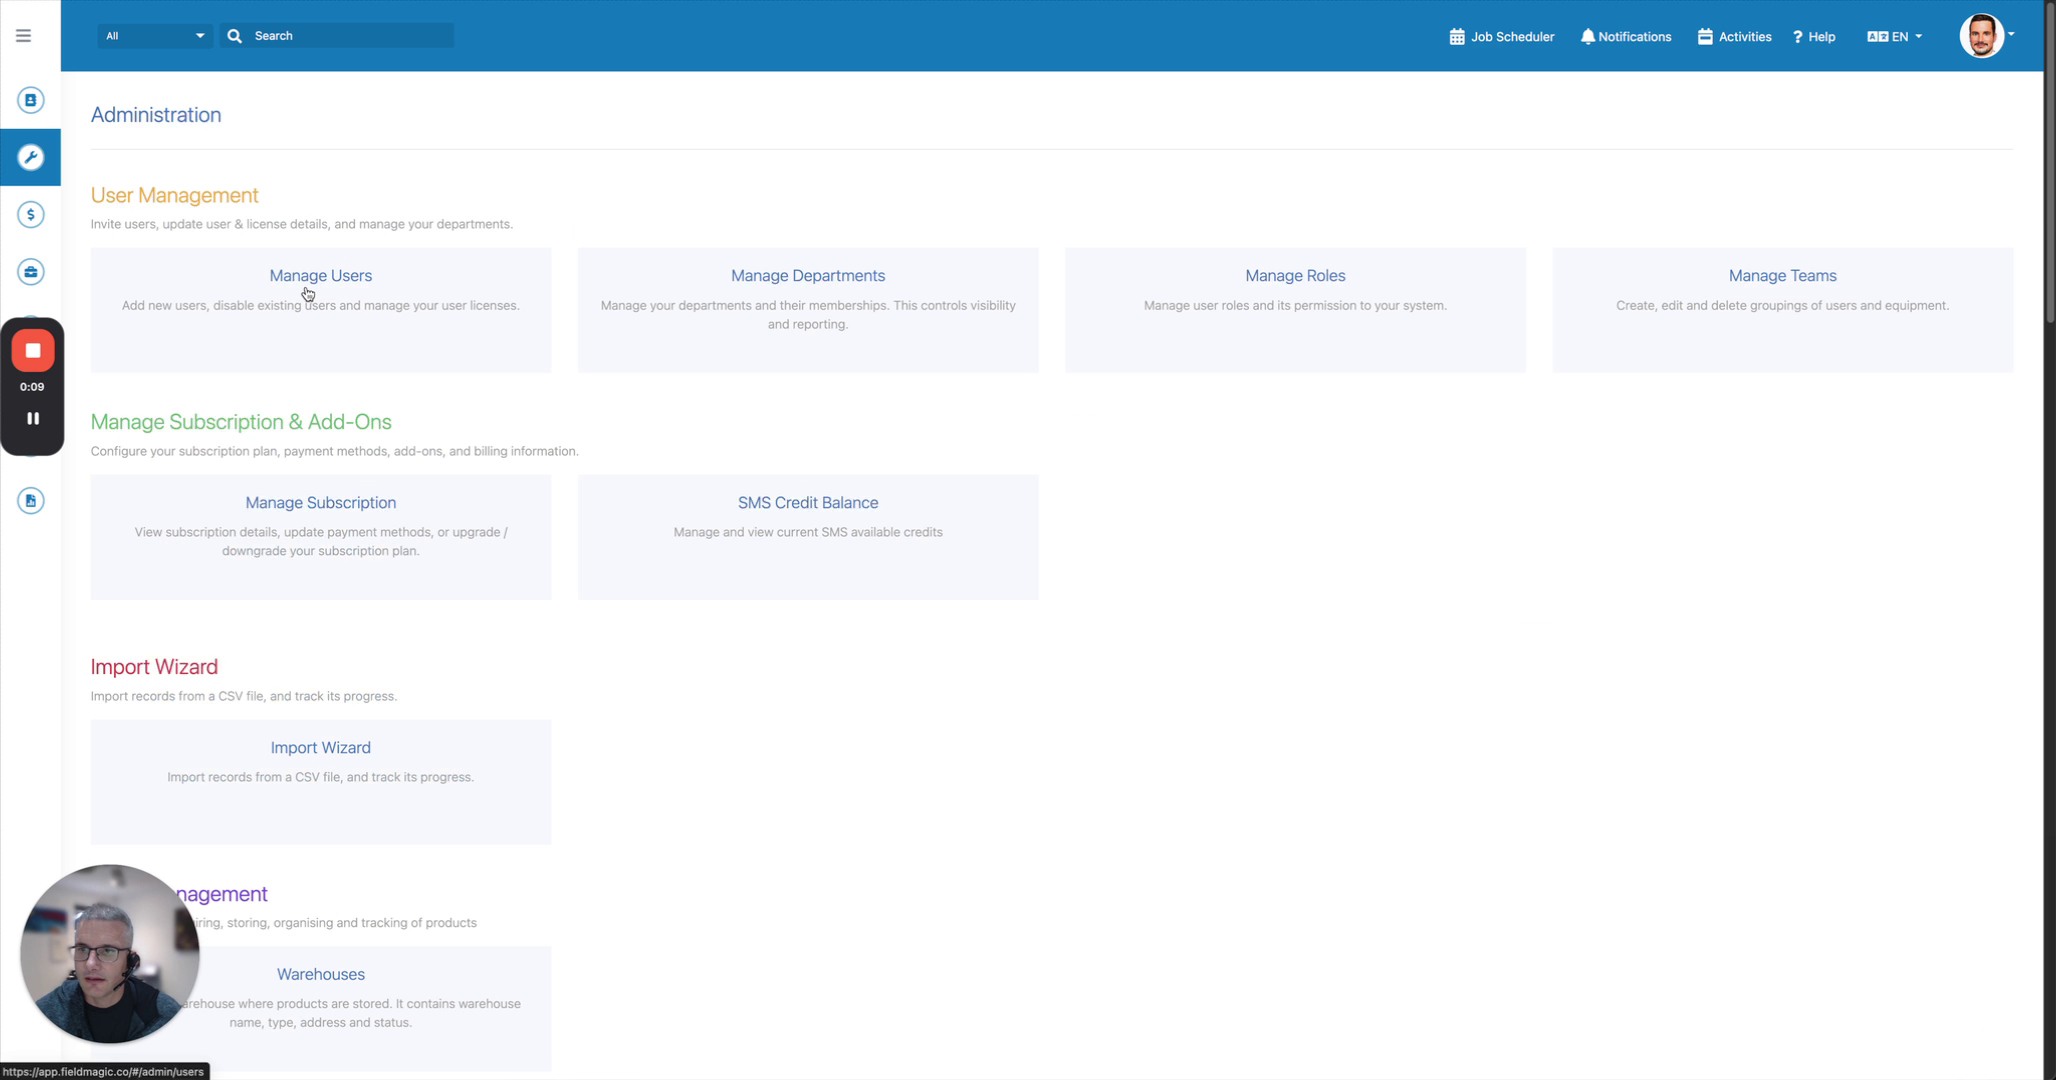
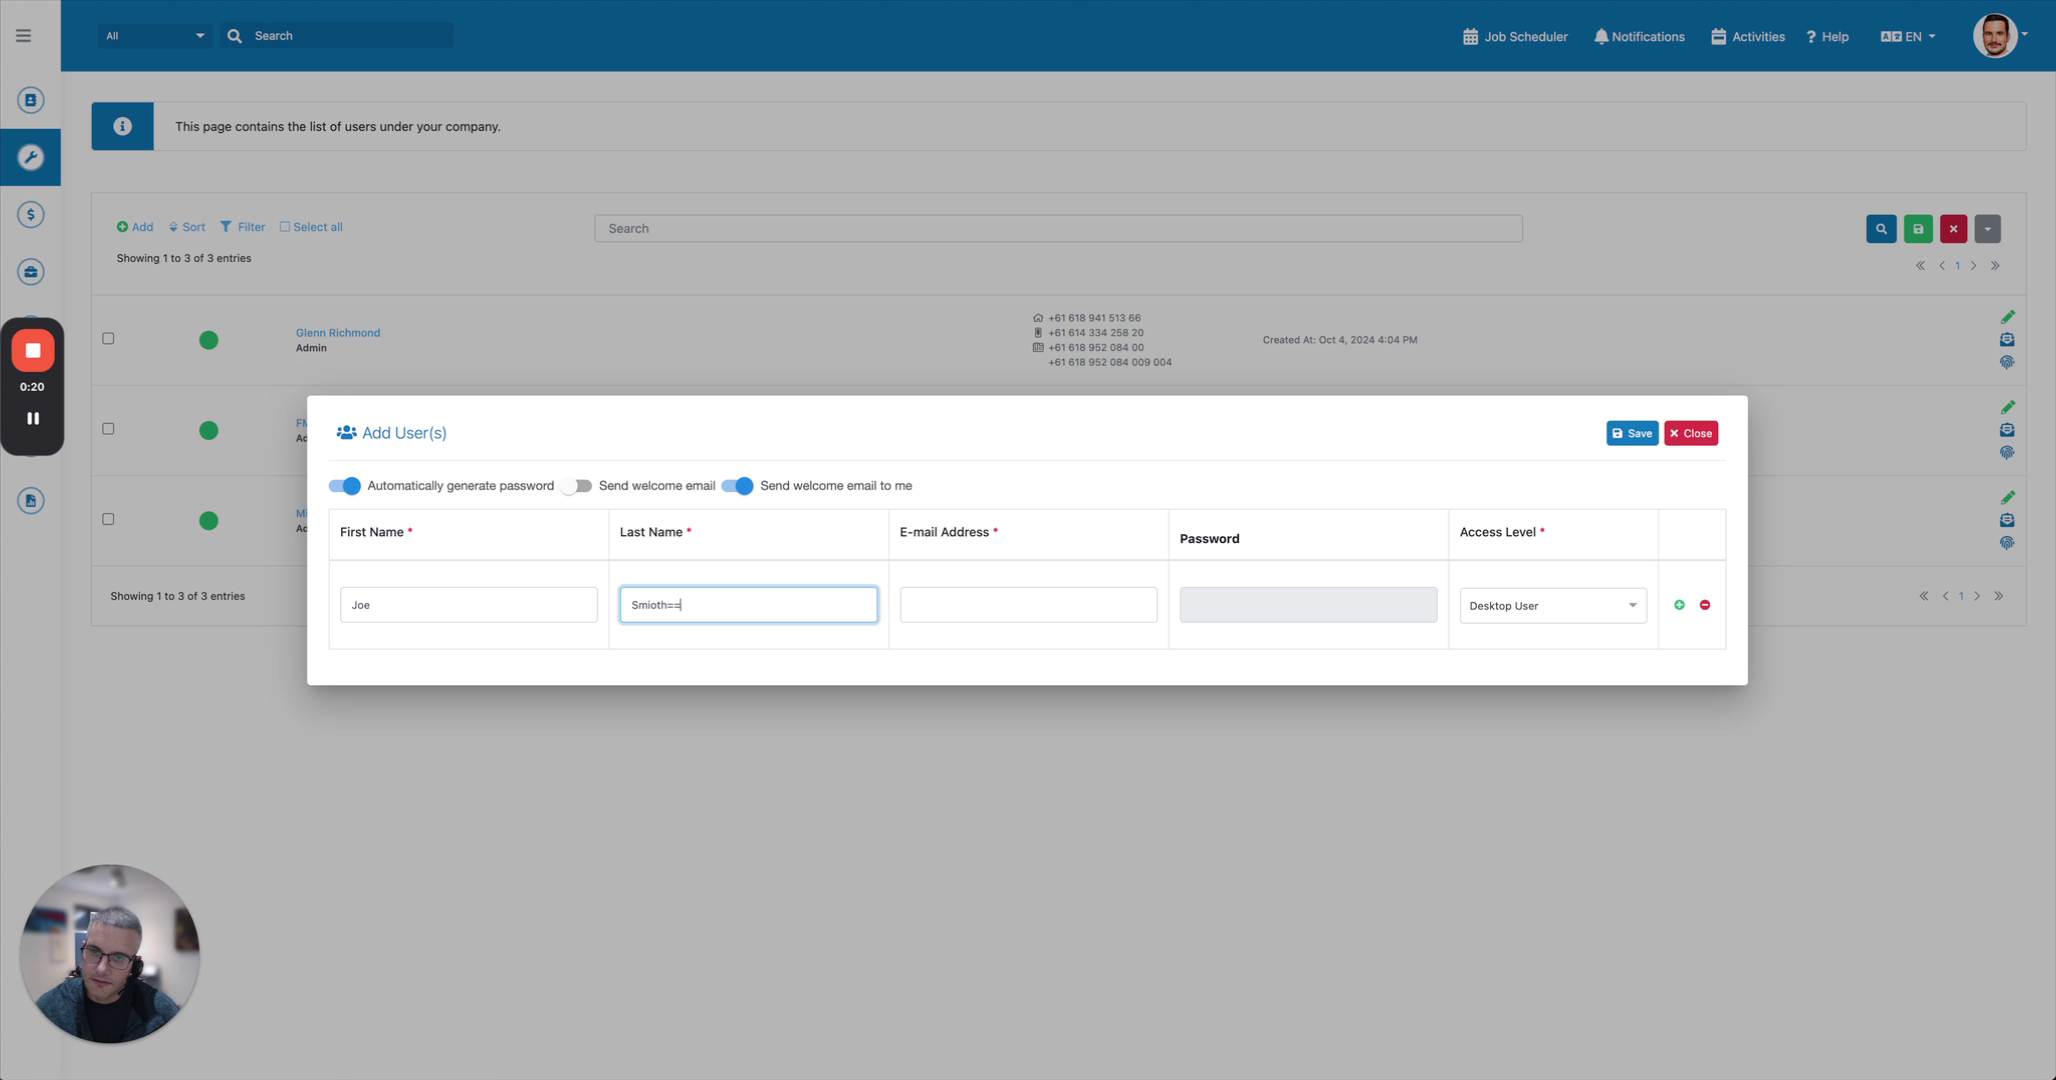
Go to Manage Users. Type the name of the user you want to add.
 Step 3
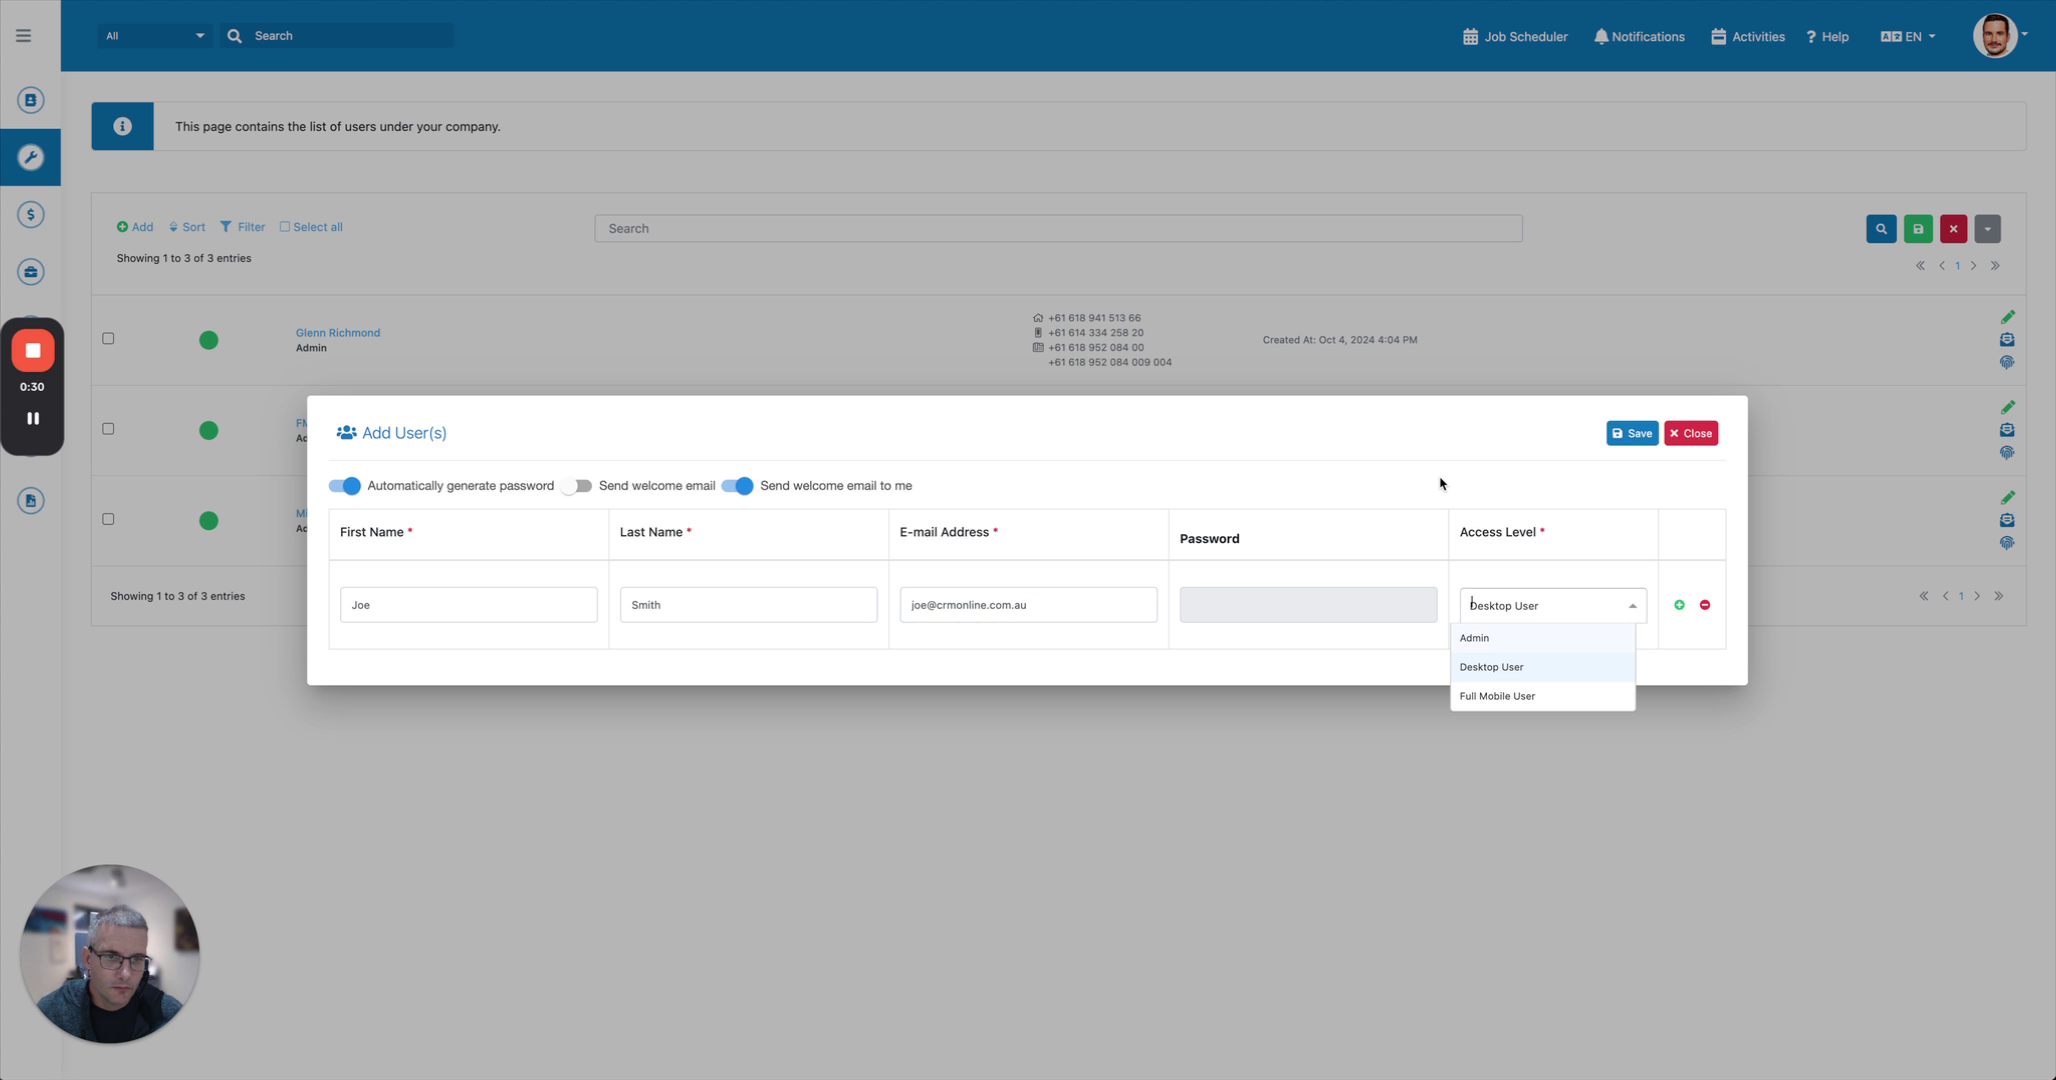
Select the user's access level: Admin or Full. The system will automatically generate a password.
 Step 4
Alternatively, manually set a password. Choose to send the welcome email to the user or to yourself.
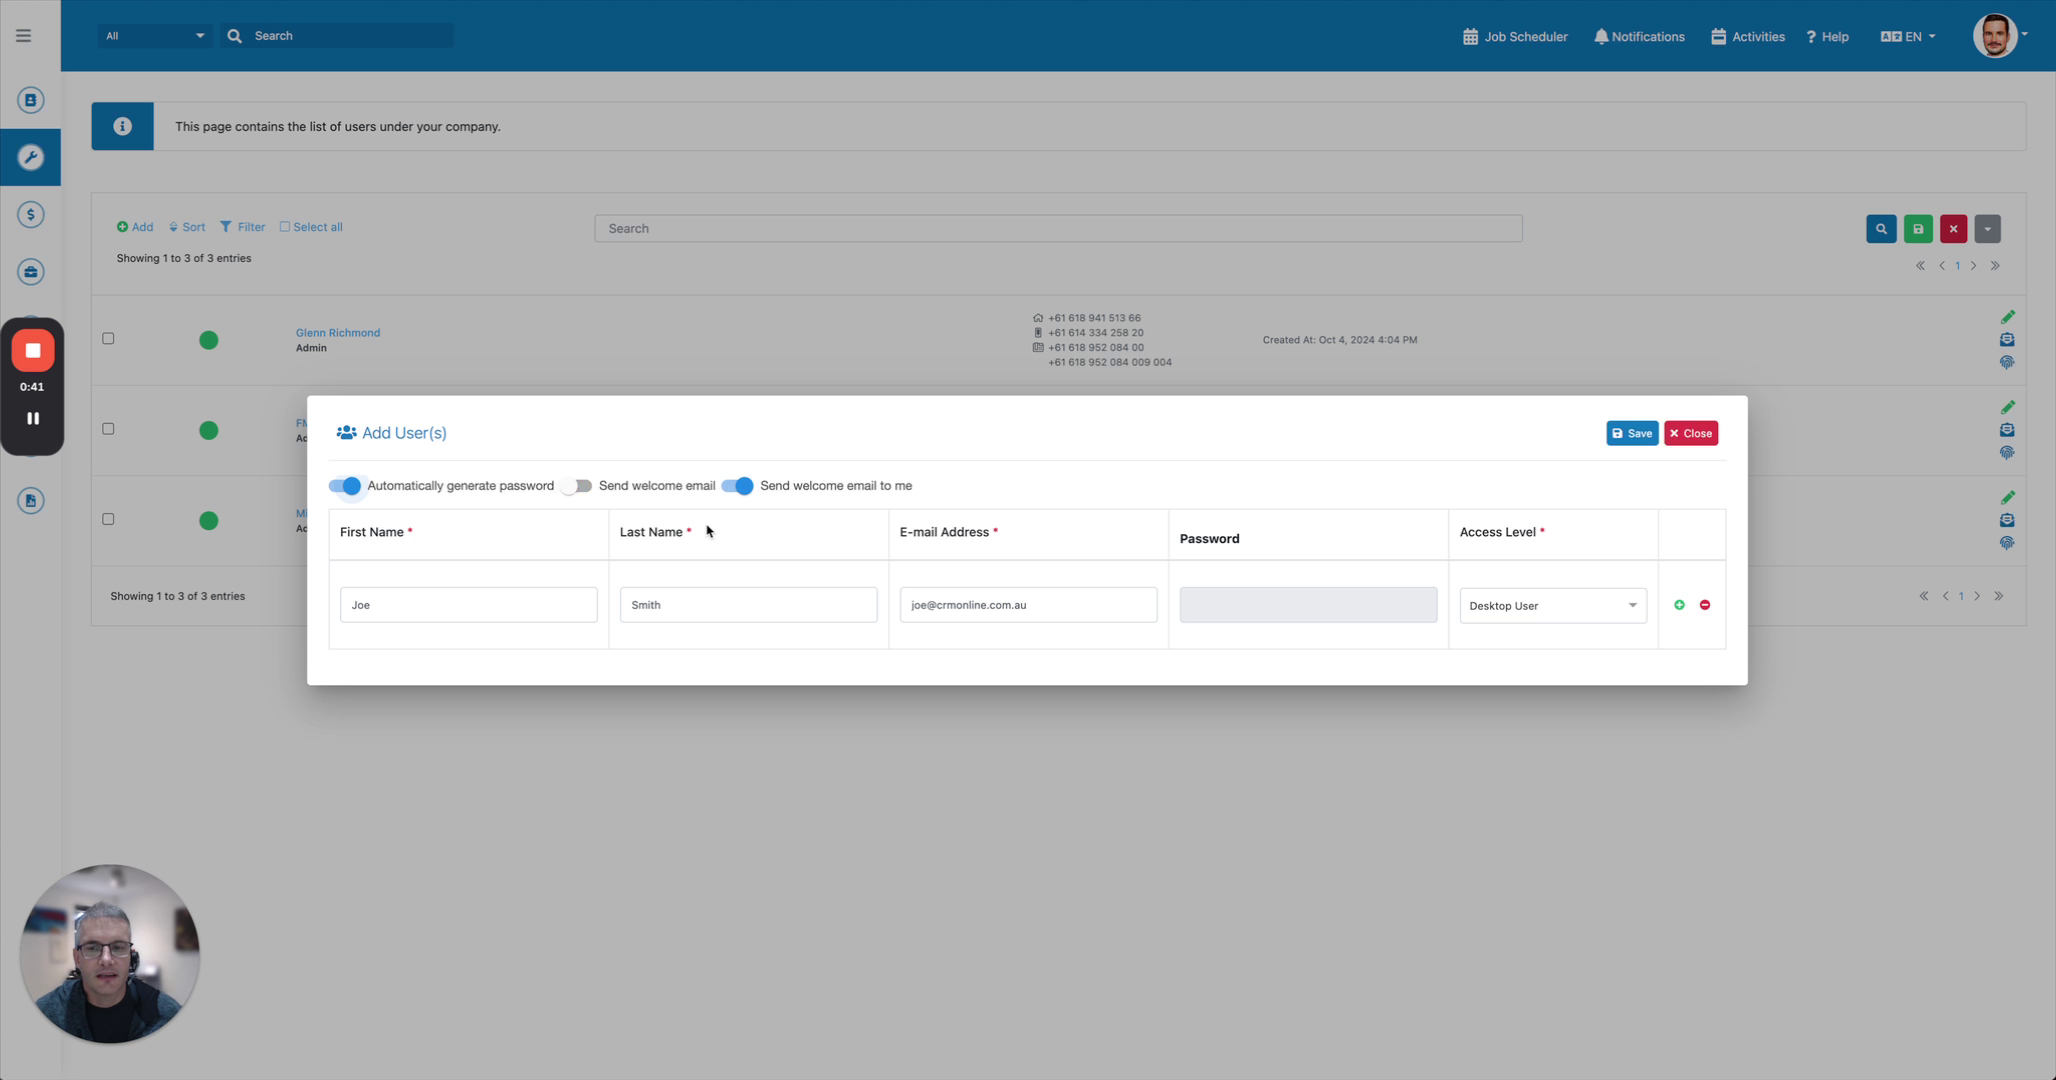 Step 5
Send the welcome email with access credentials to the user.
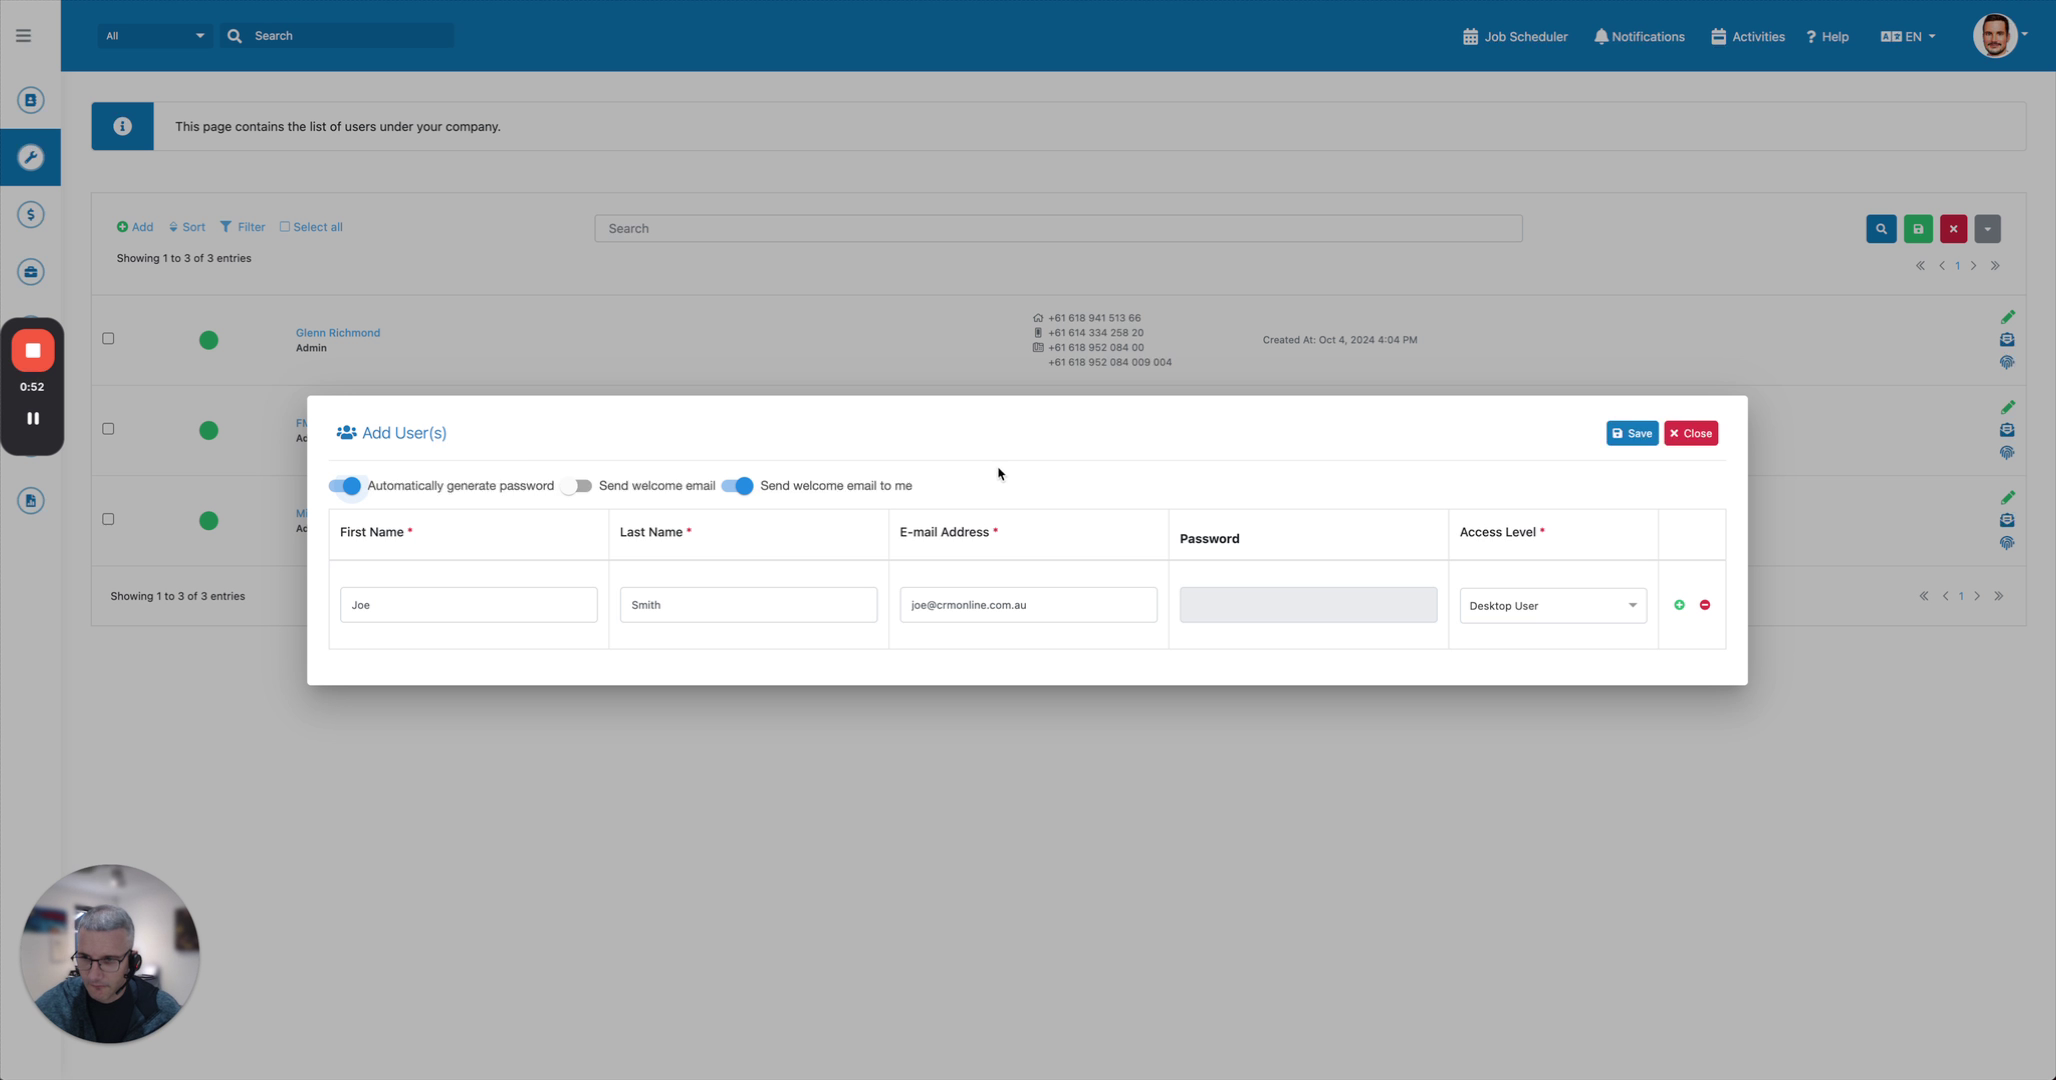 Step 6
Click Save. The system will send the credentials to the selected recipient.
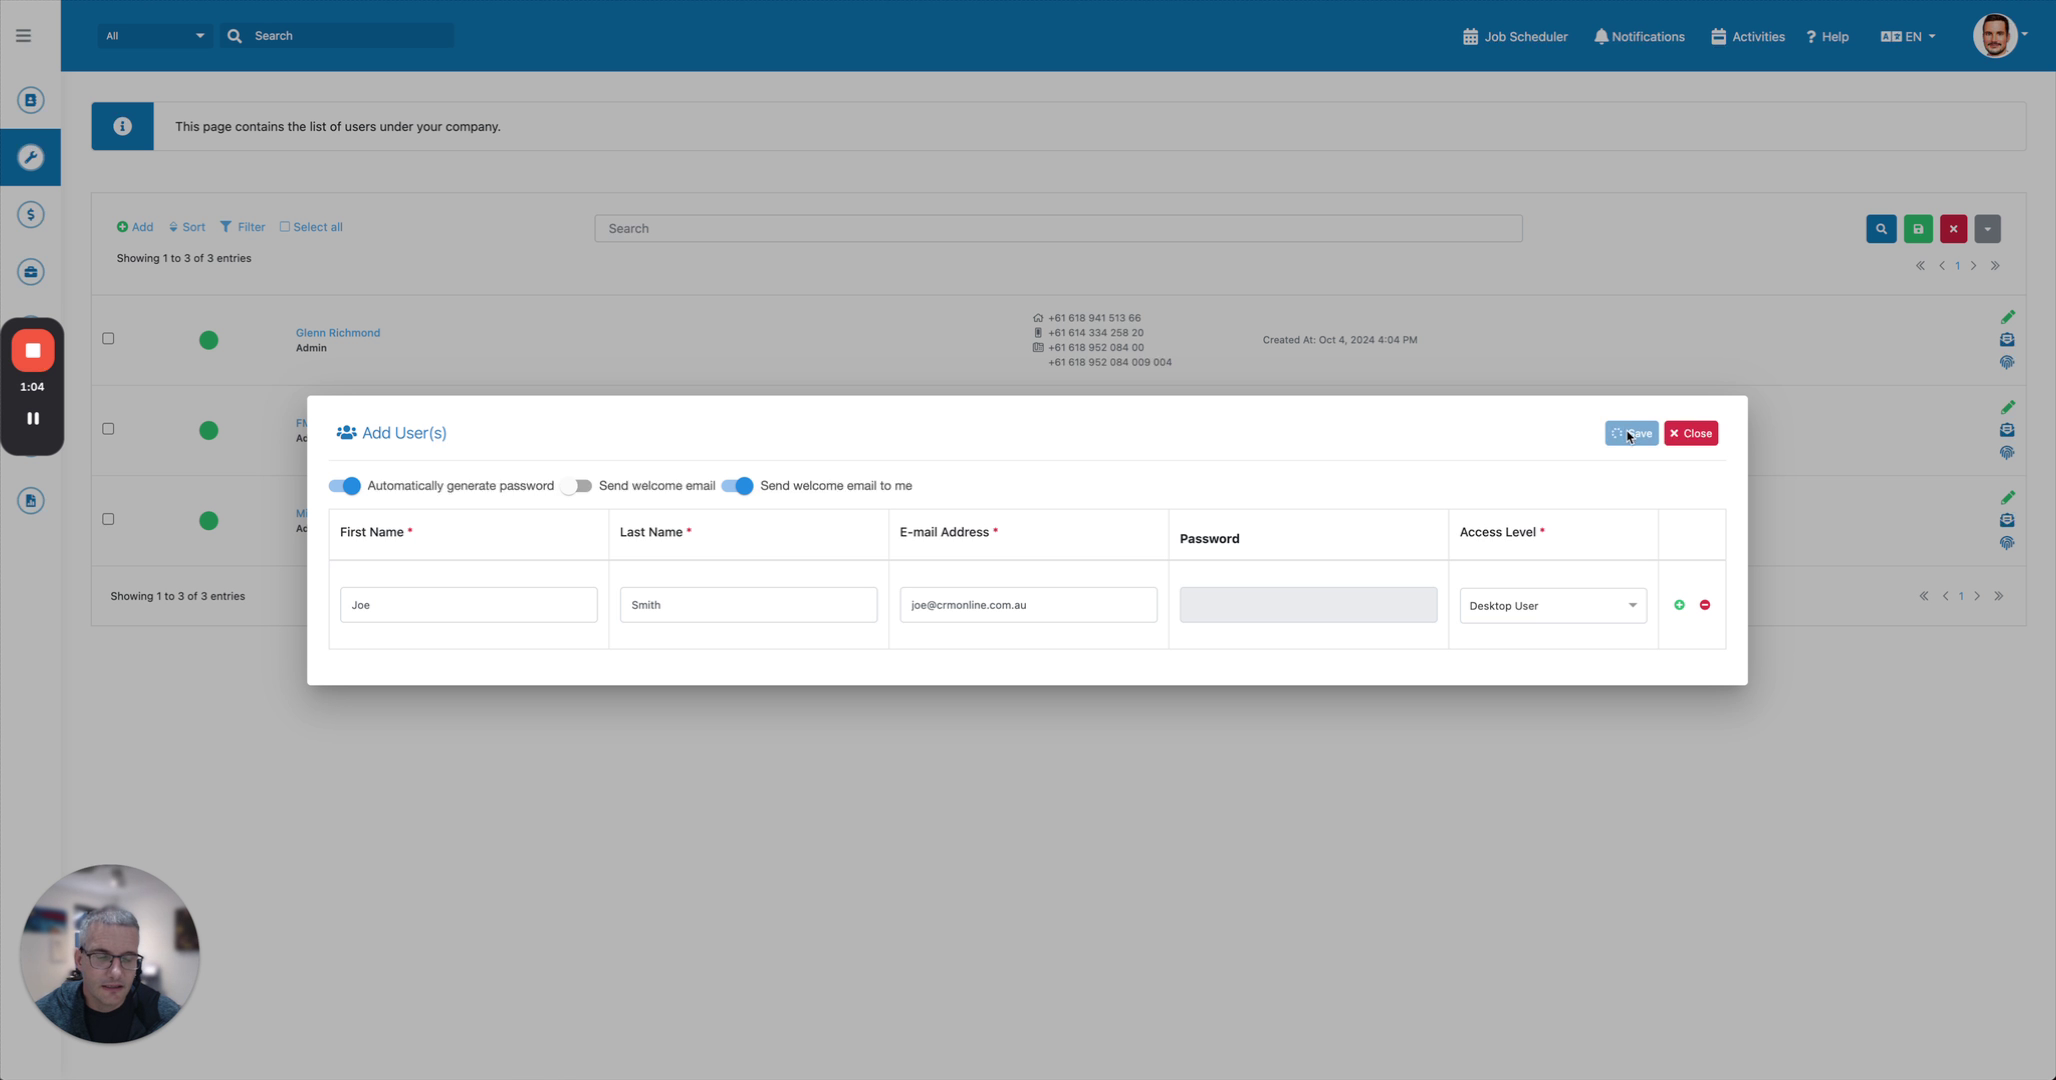 Step 7
The user is now set up. View the example email sent to the individual.
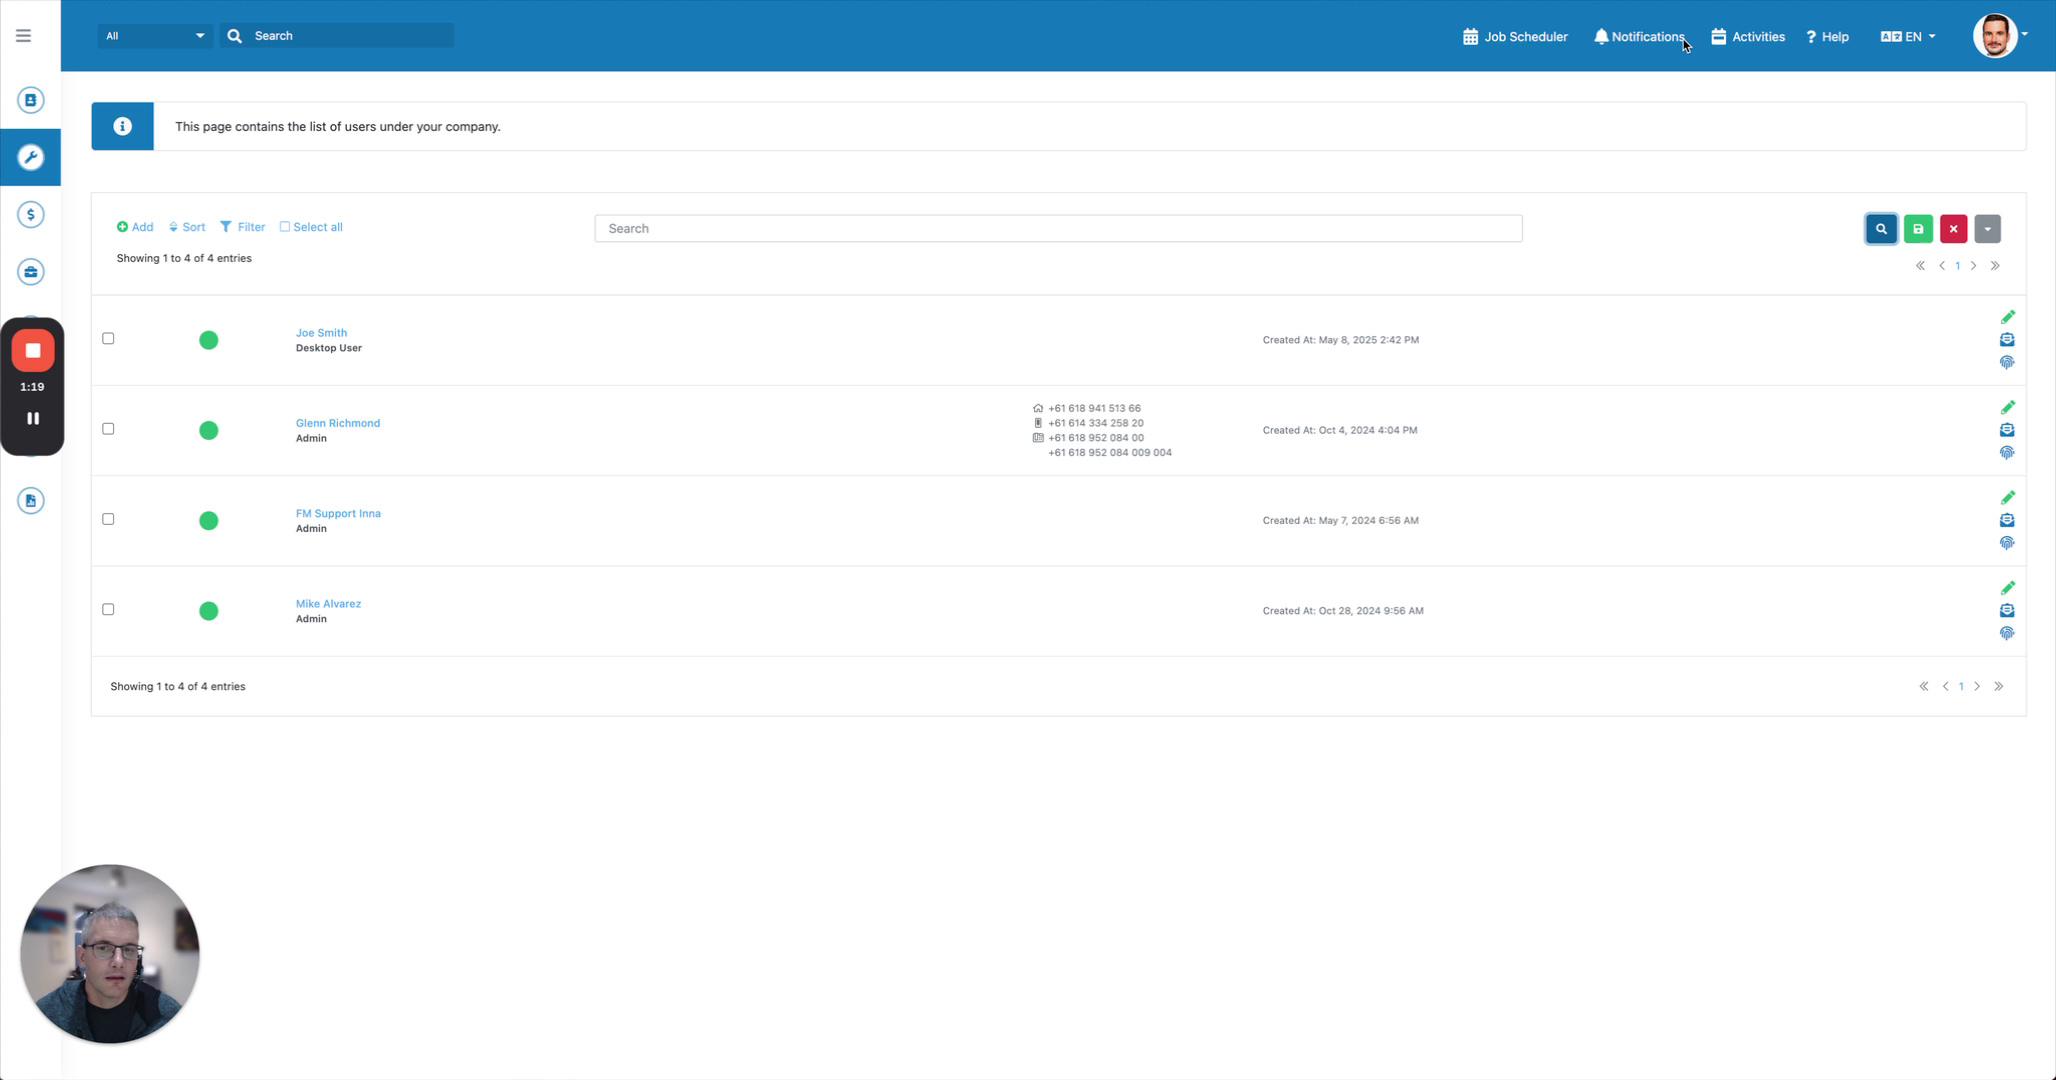 Step 8
To disable a user, you can reset their password or resend the welcome email from this screen.
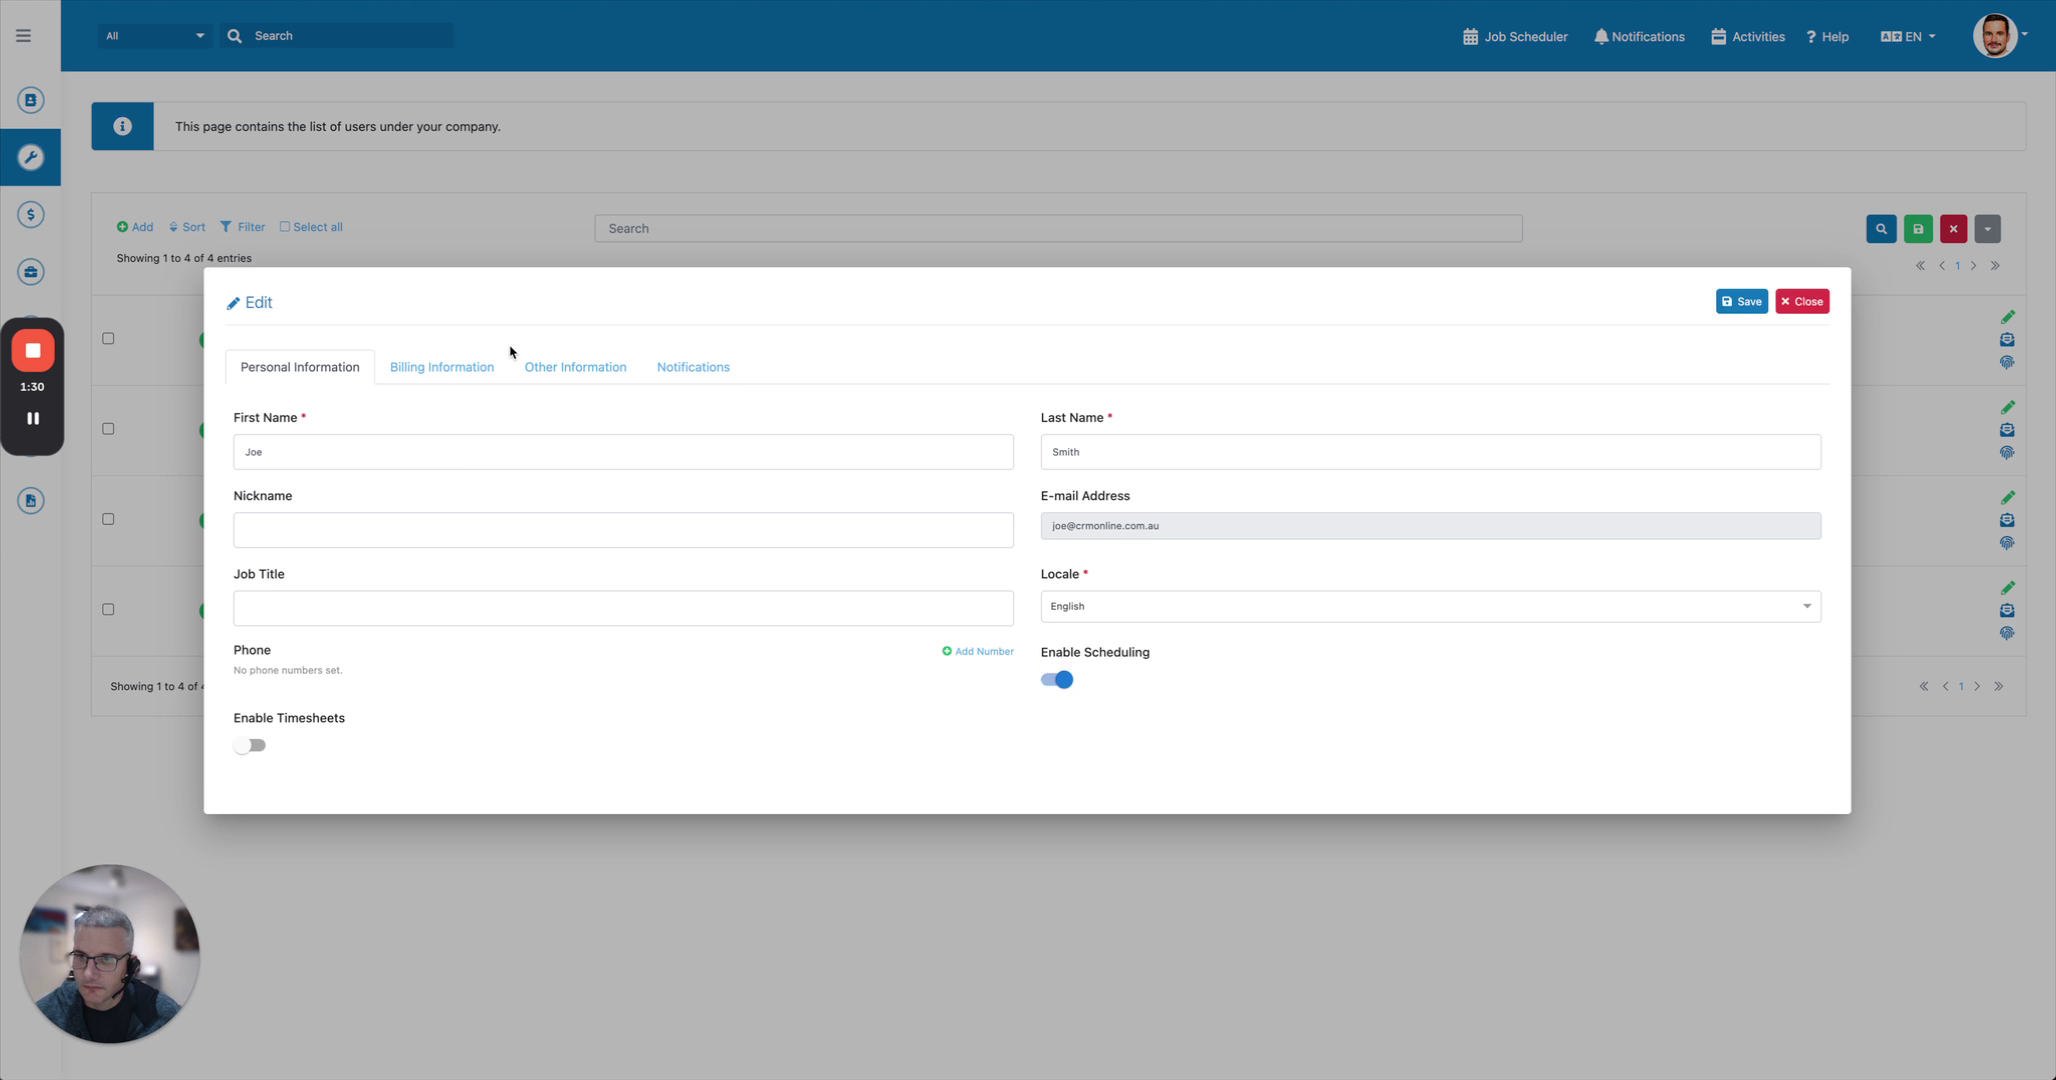 Step 9
To disable a user, mark them as inactive from the user profile.
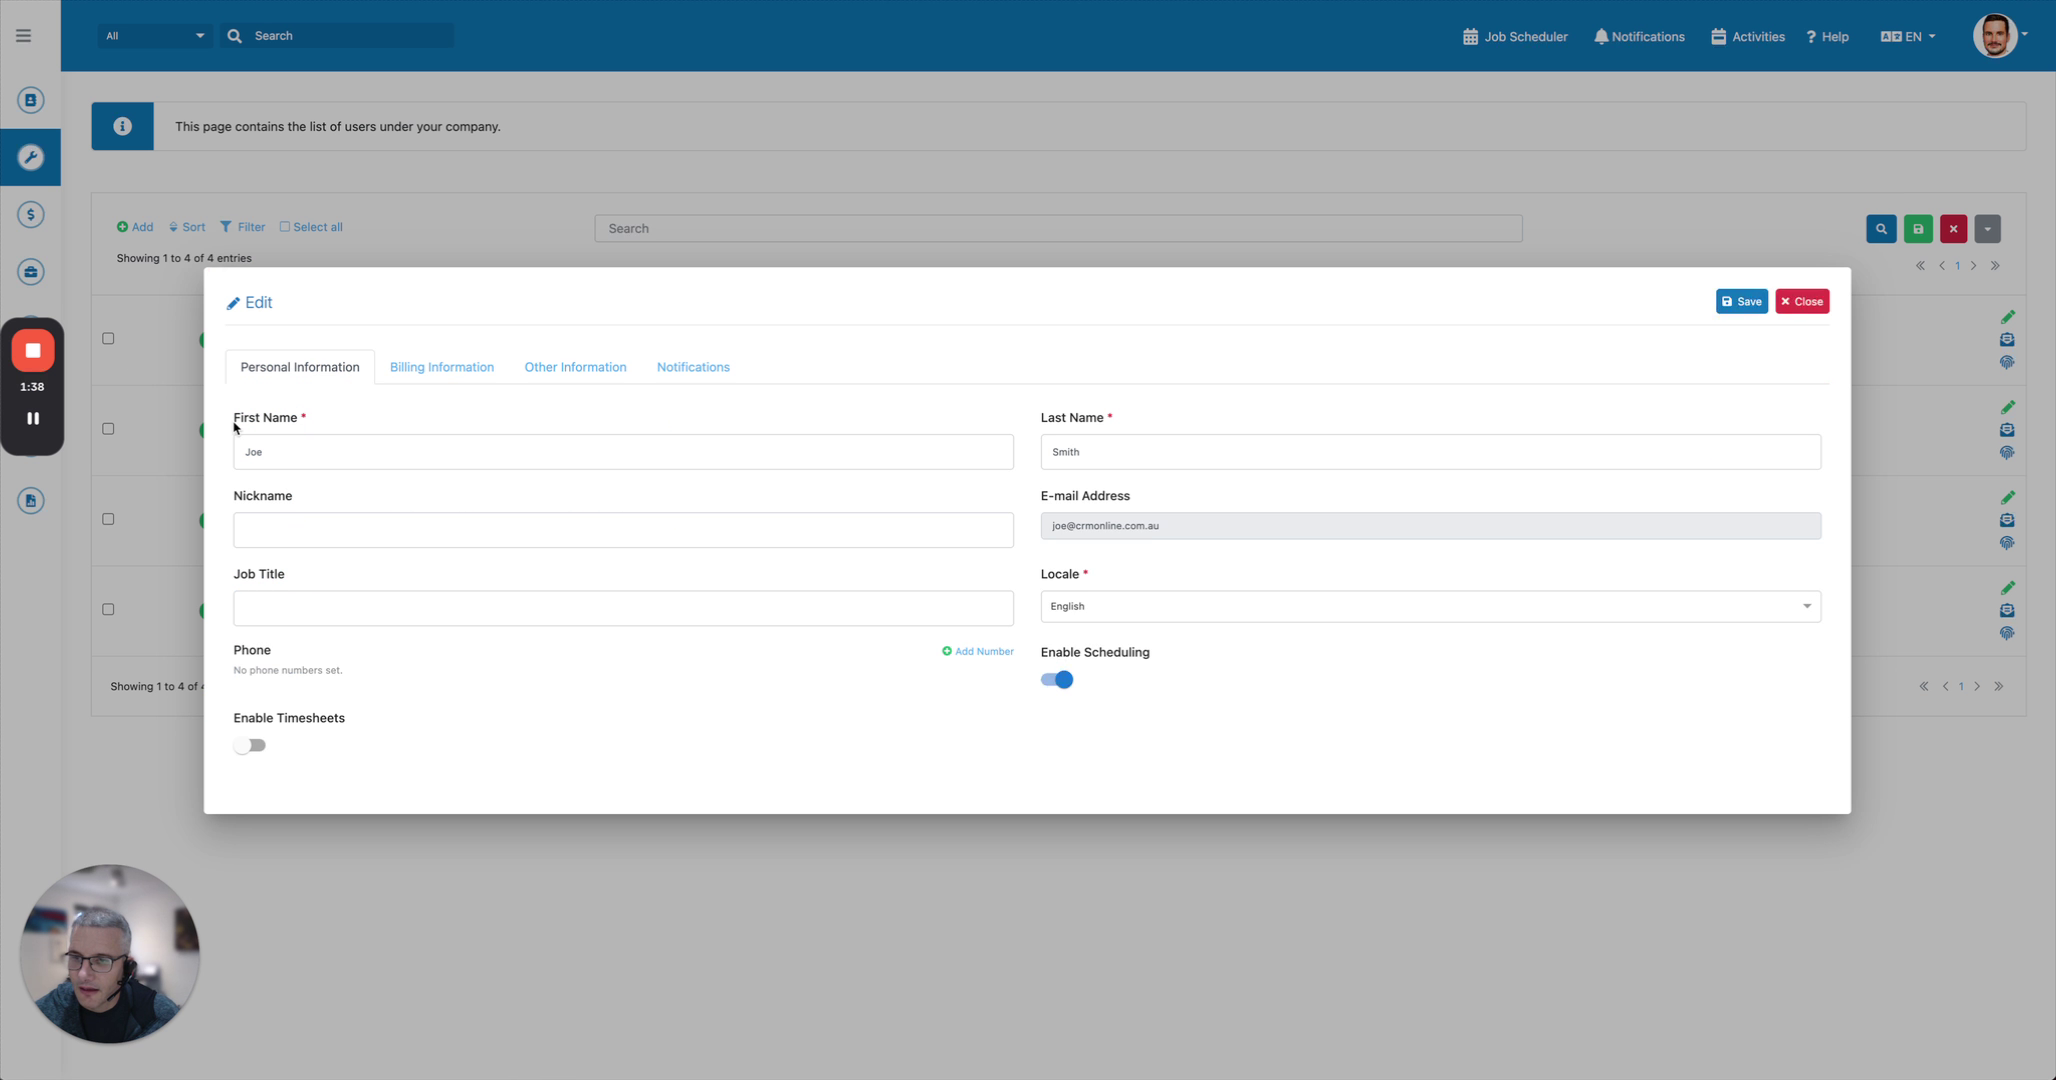 Step 10
Configure user visibility settings, including options to appear in the scheduler and time sheet approvals.
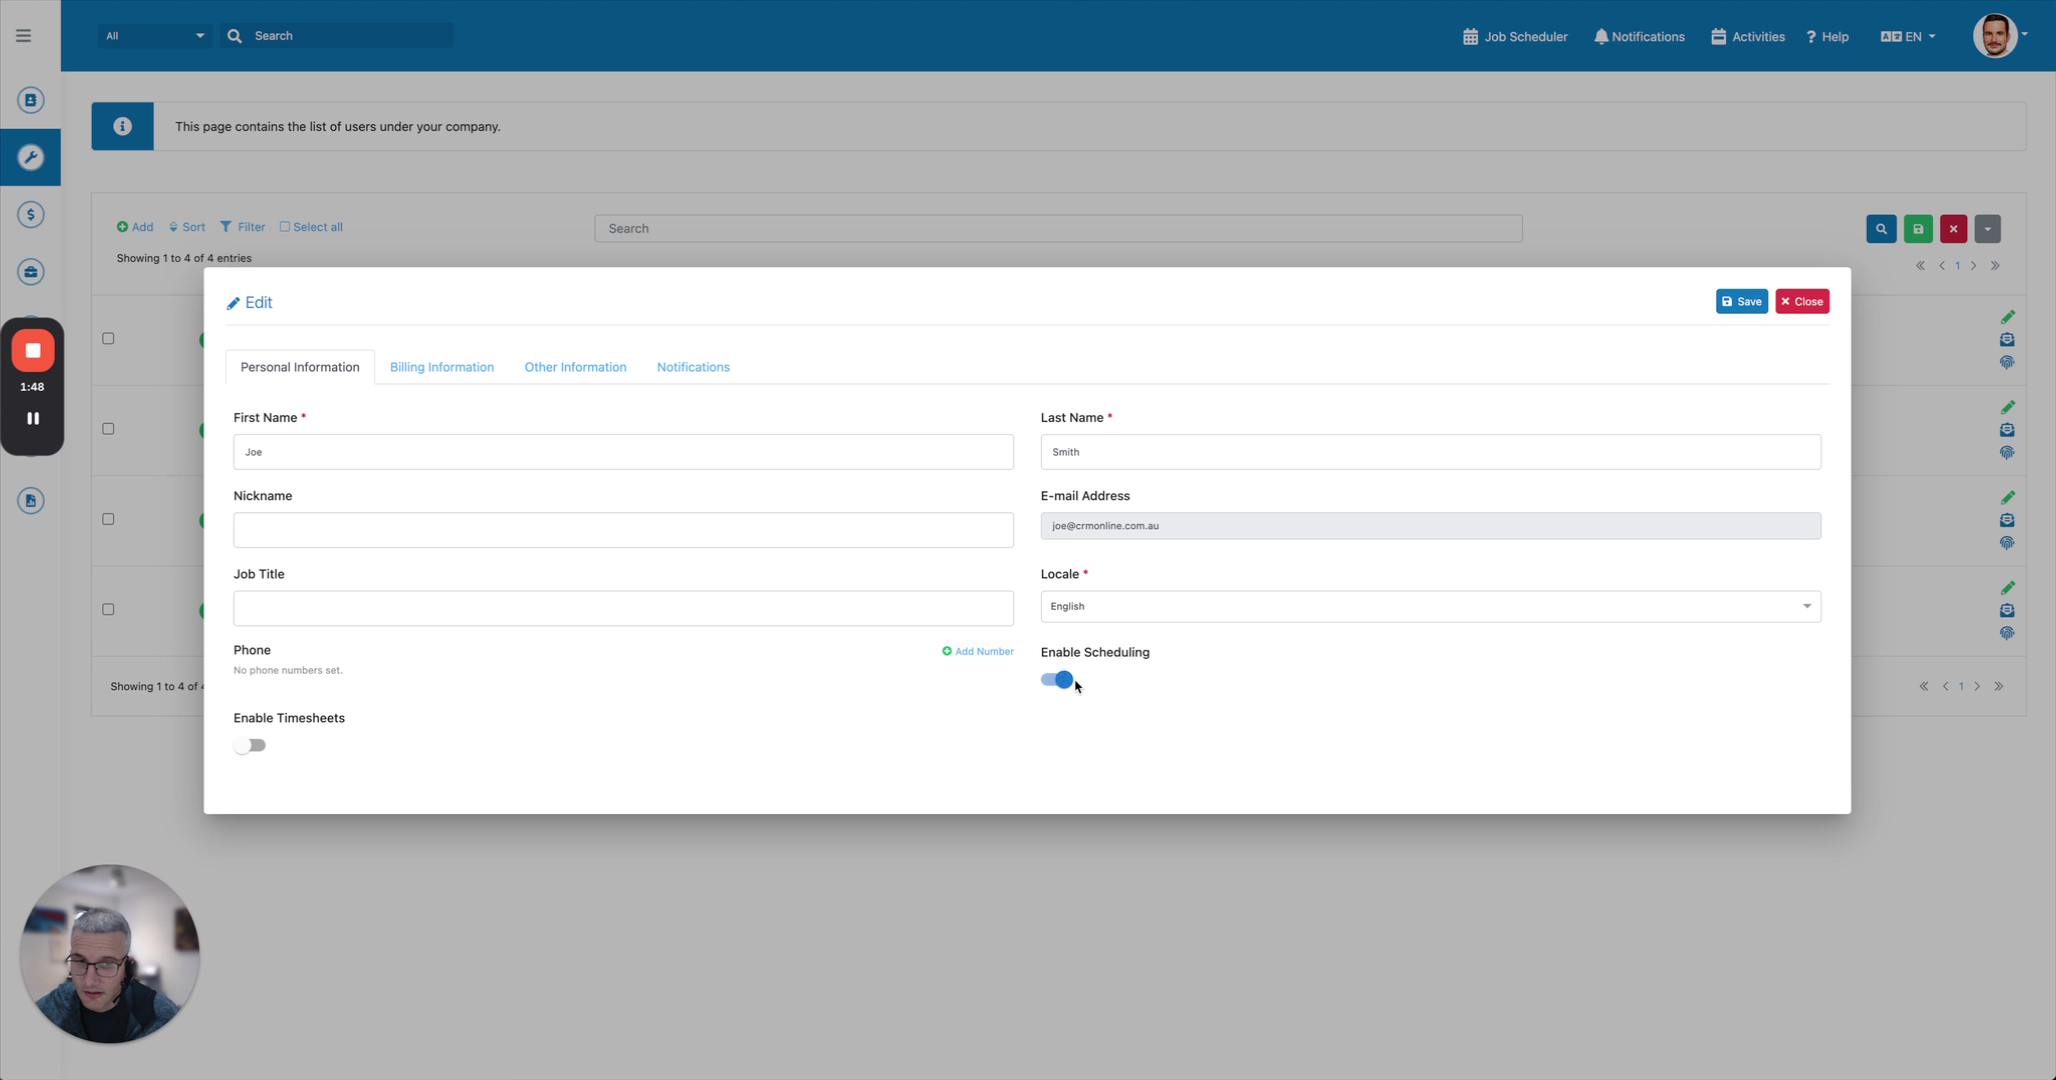 Step 11
Add the user's job title and set their default billing categories for time logged on mobile or desktop.
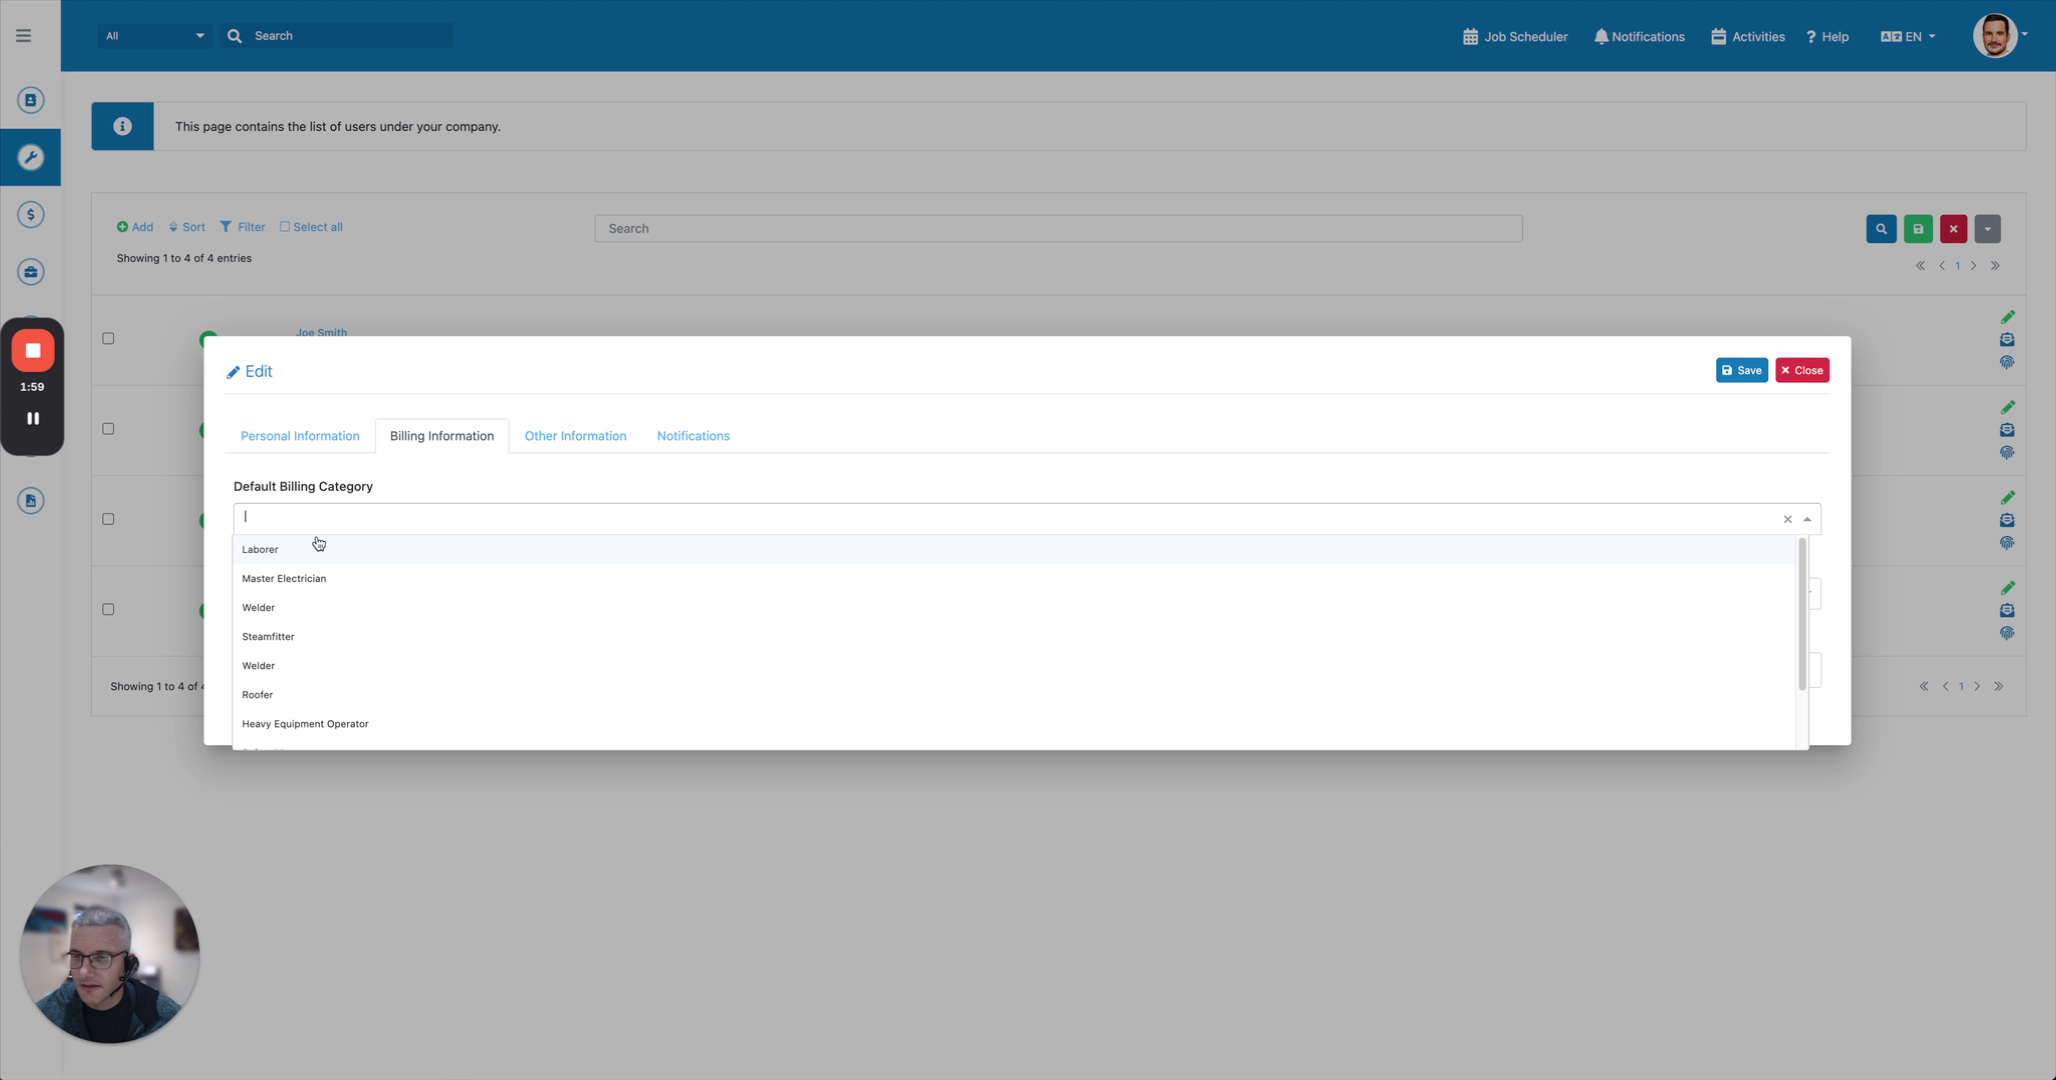 Step 12
Set the default billing category for both billing and travel, along with their hourly cost for budgeting and profitability forecasting. Assign a default warehouse if needed.