Group Email Management
Utilizing the Create and Link Record to Emails
Navigate to the Inbox to create and link records to emails that do not currently have linked records. Locate the Linked Record column to access the options for creating or linking records.
Step-by-step instructions
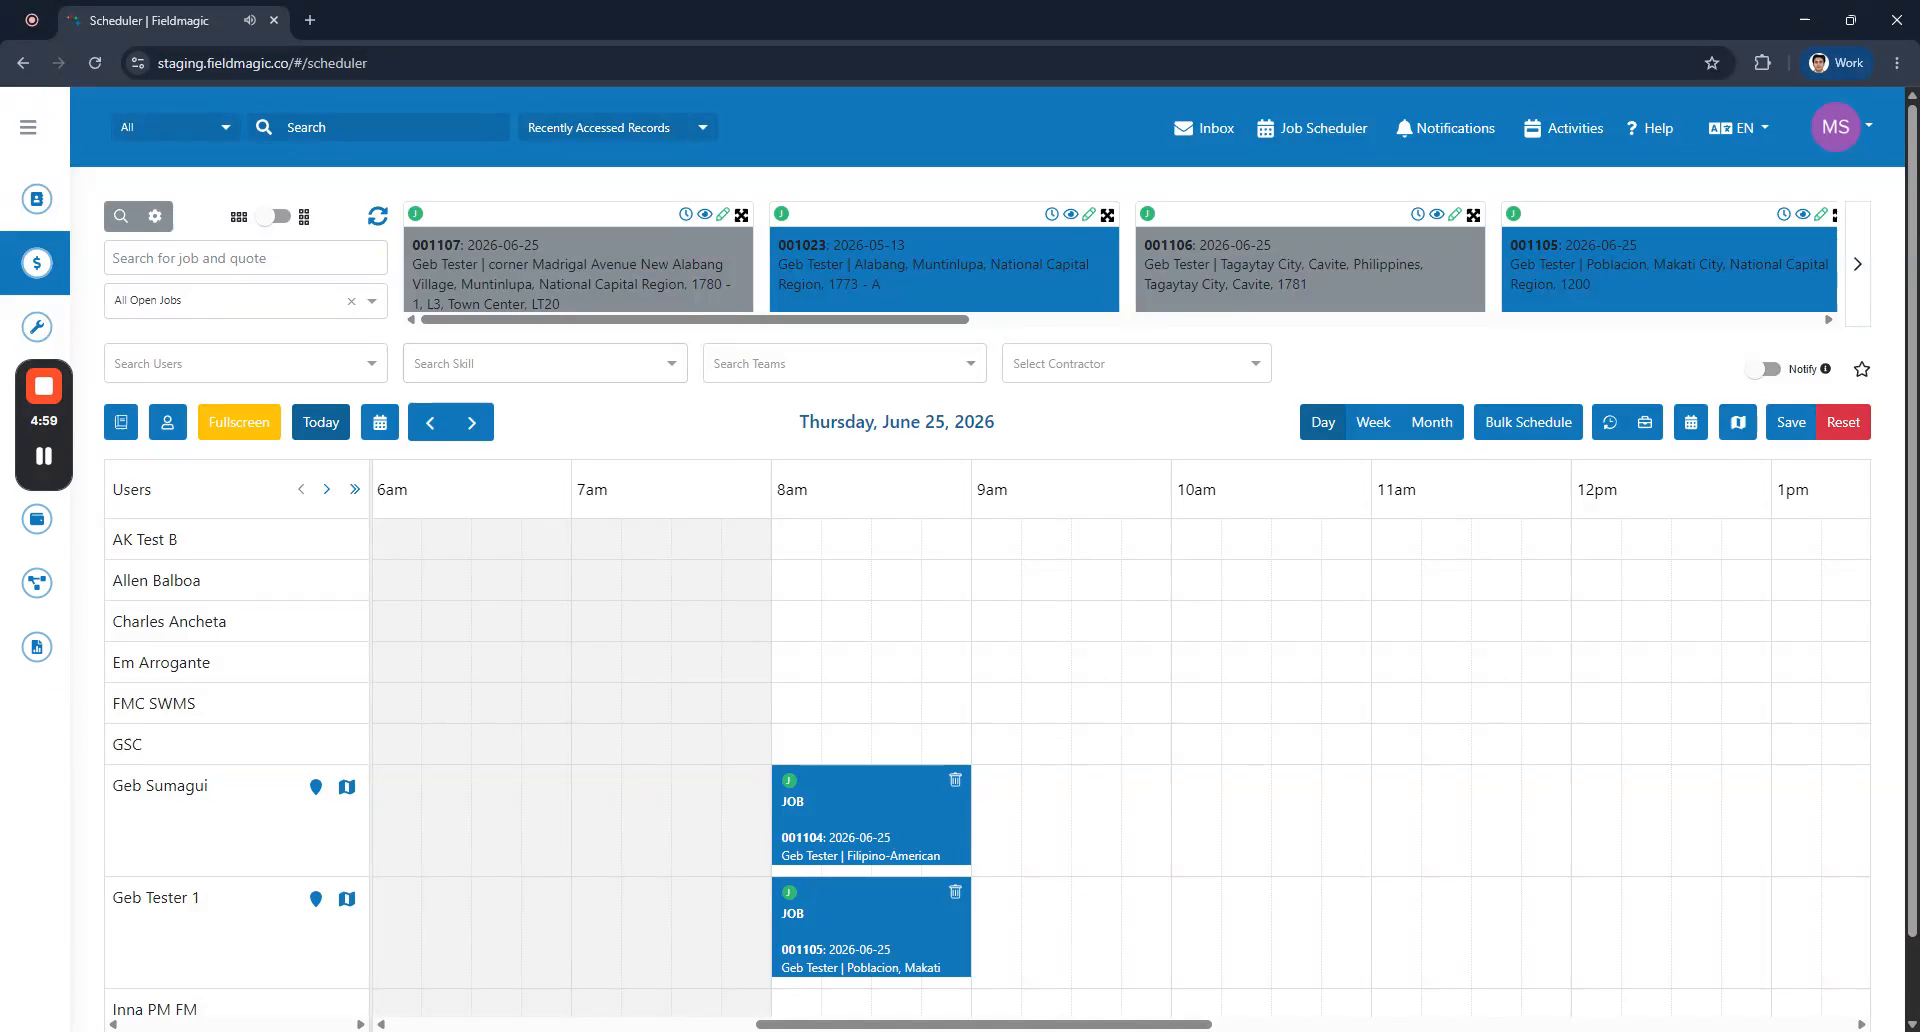 Step 1
Navigate to the Inbox to create and link records to emails that do not currently have linked records. Locate the Linked Record column to access the options for creating or linking records.
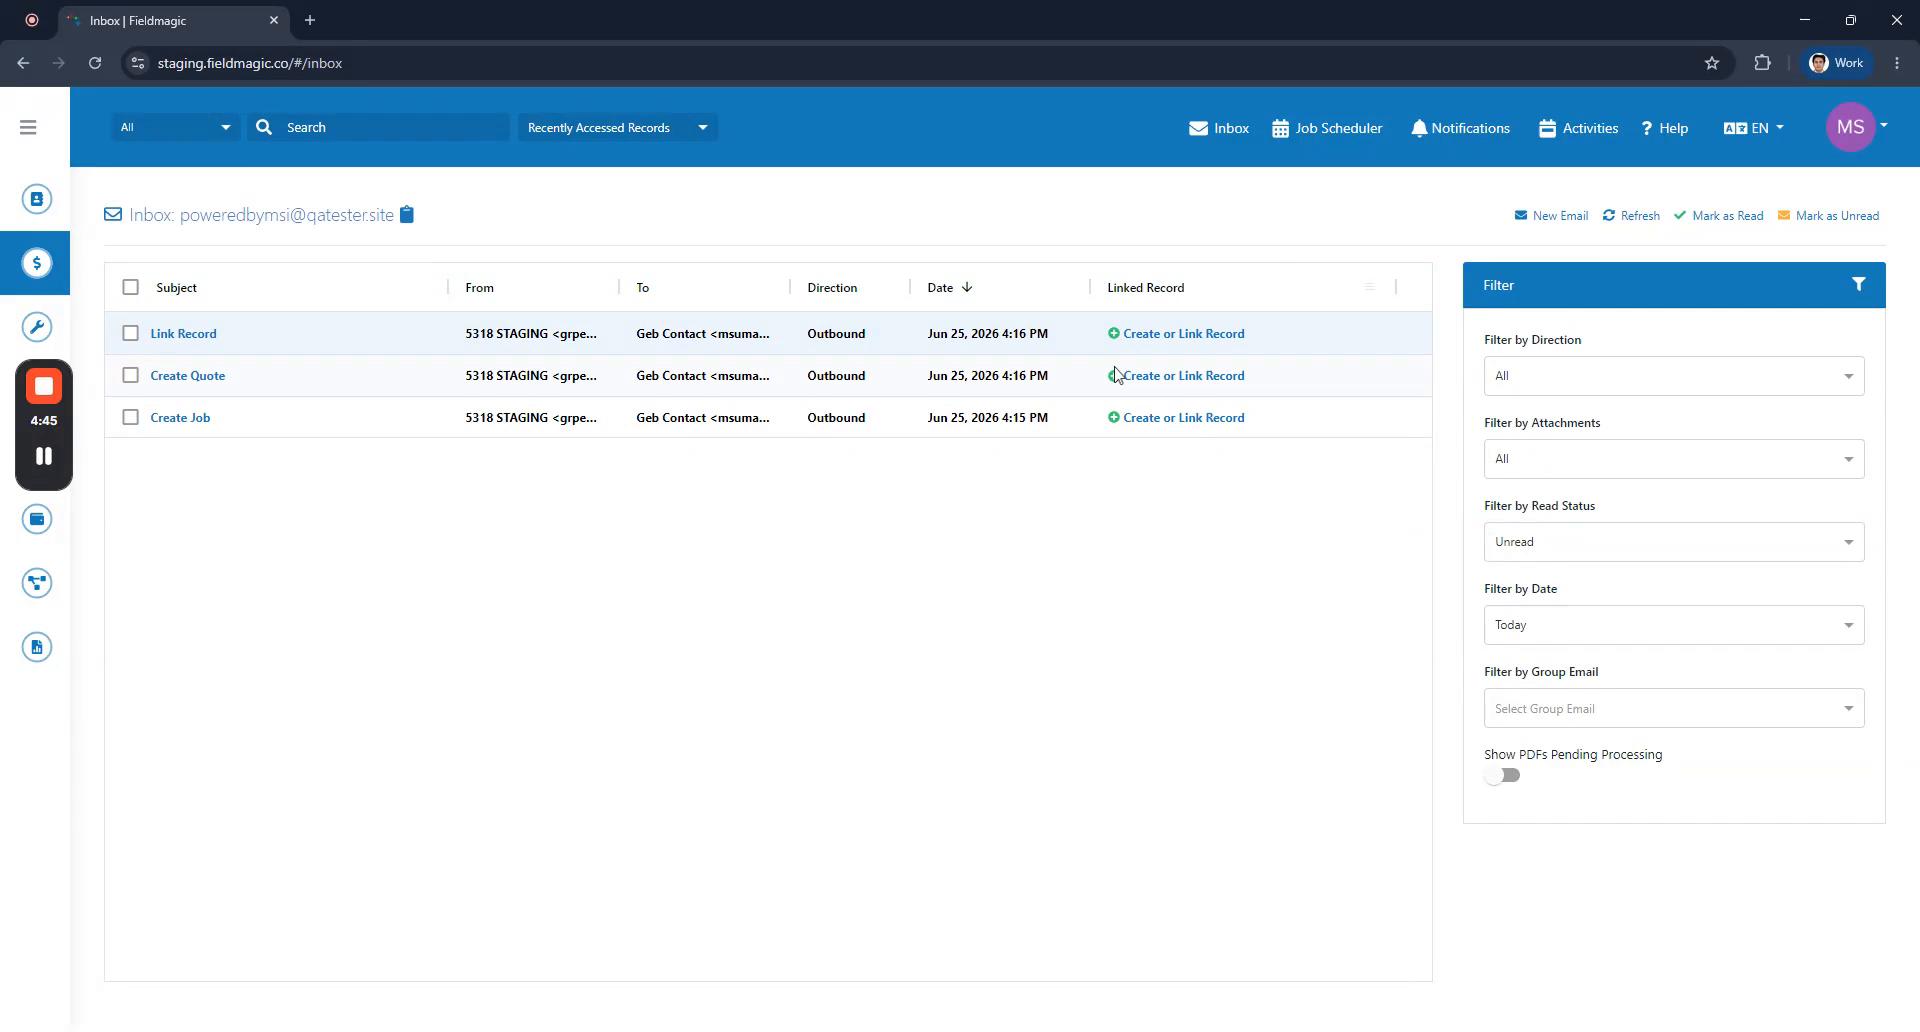 Step 2
Click the button in the Linked Record column to create a job, create a quote, or link an existing record. Select the option to create a job.
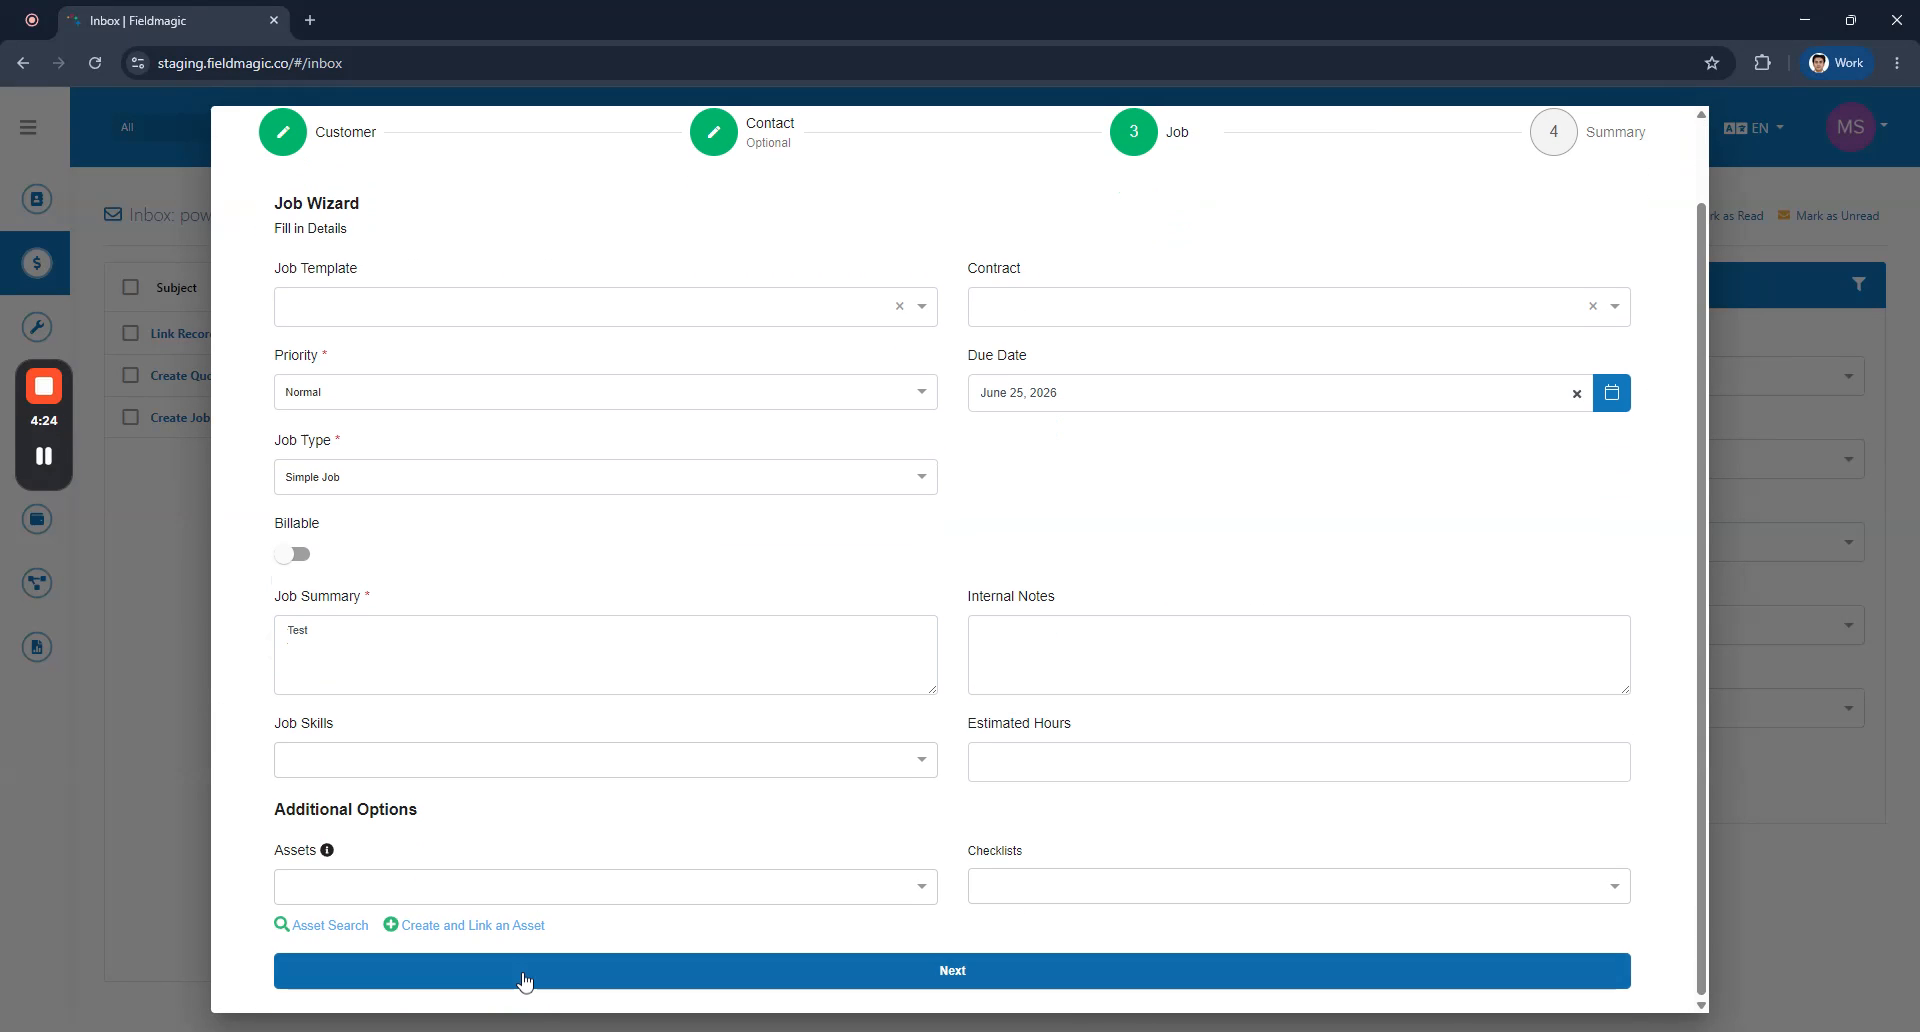 Step 3
Once the job is created, it is automatically linked to the specific email. Verify that the created job appears in the Linked Record column.
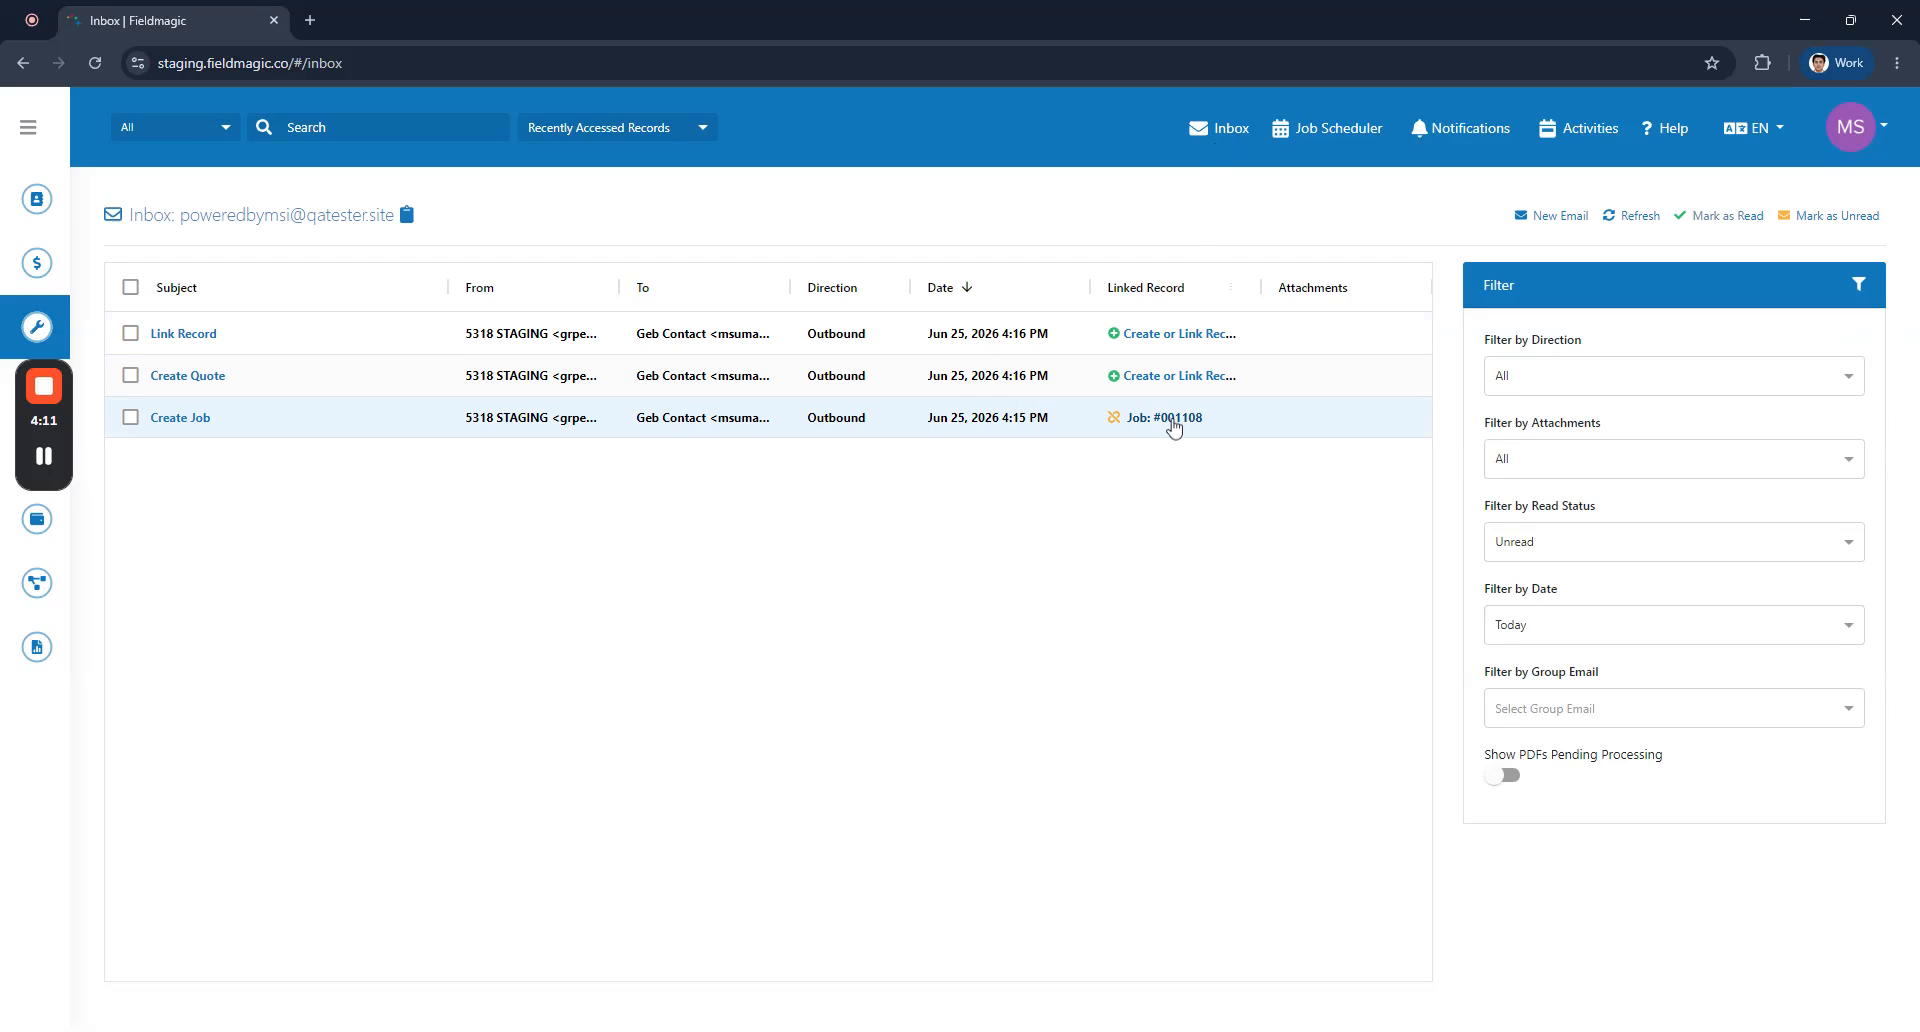 Step 4
Click the linked job to redirect to the job record. Use this same process to create and link a quote.
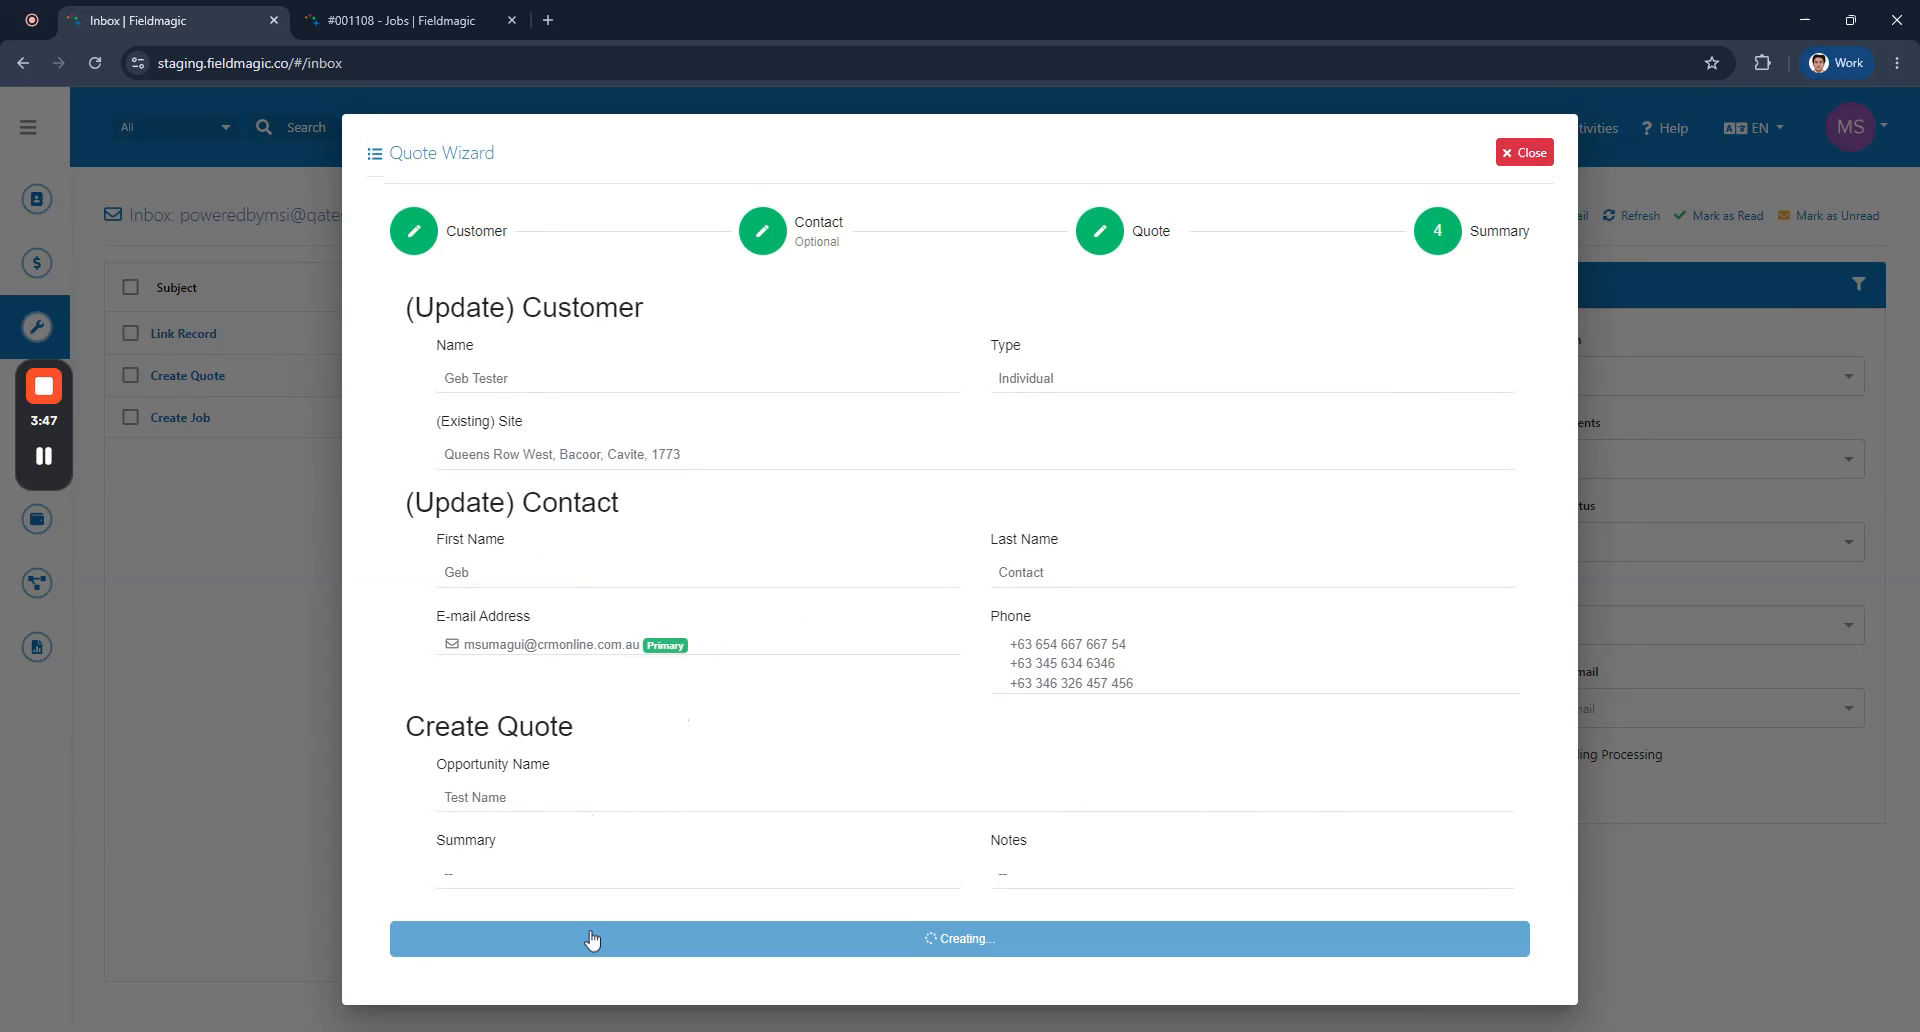 Step 5
Any newly created record is automatically linked to the specific email. Next, use the Linked Record column to link an existing record to the email.
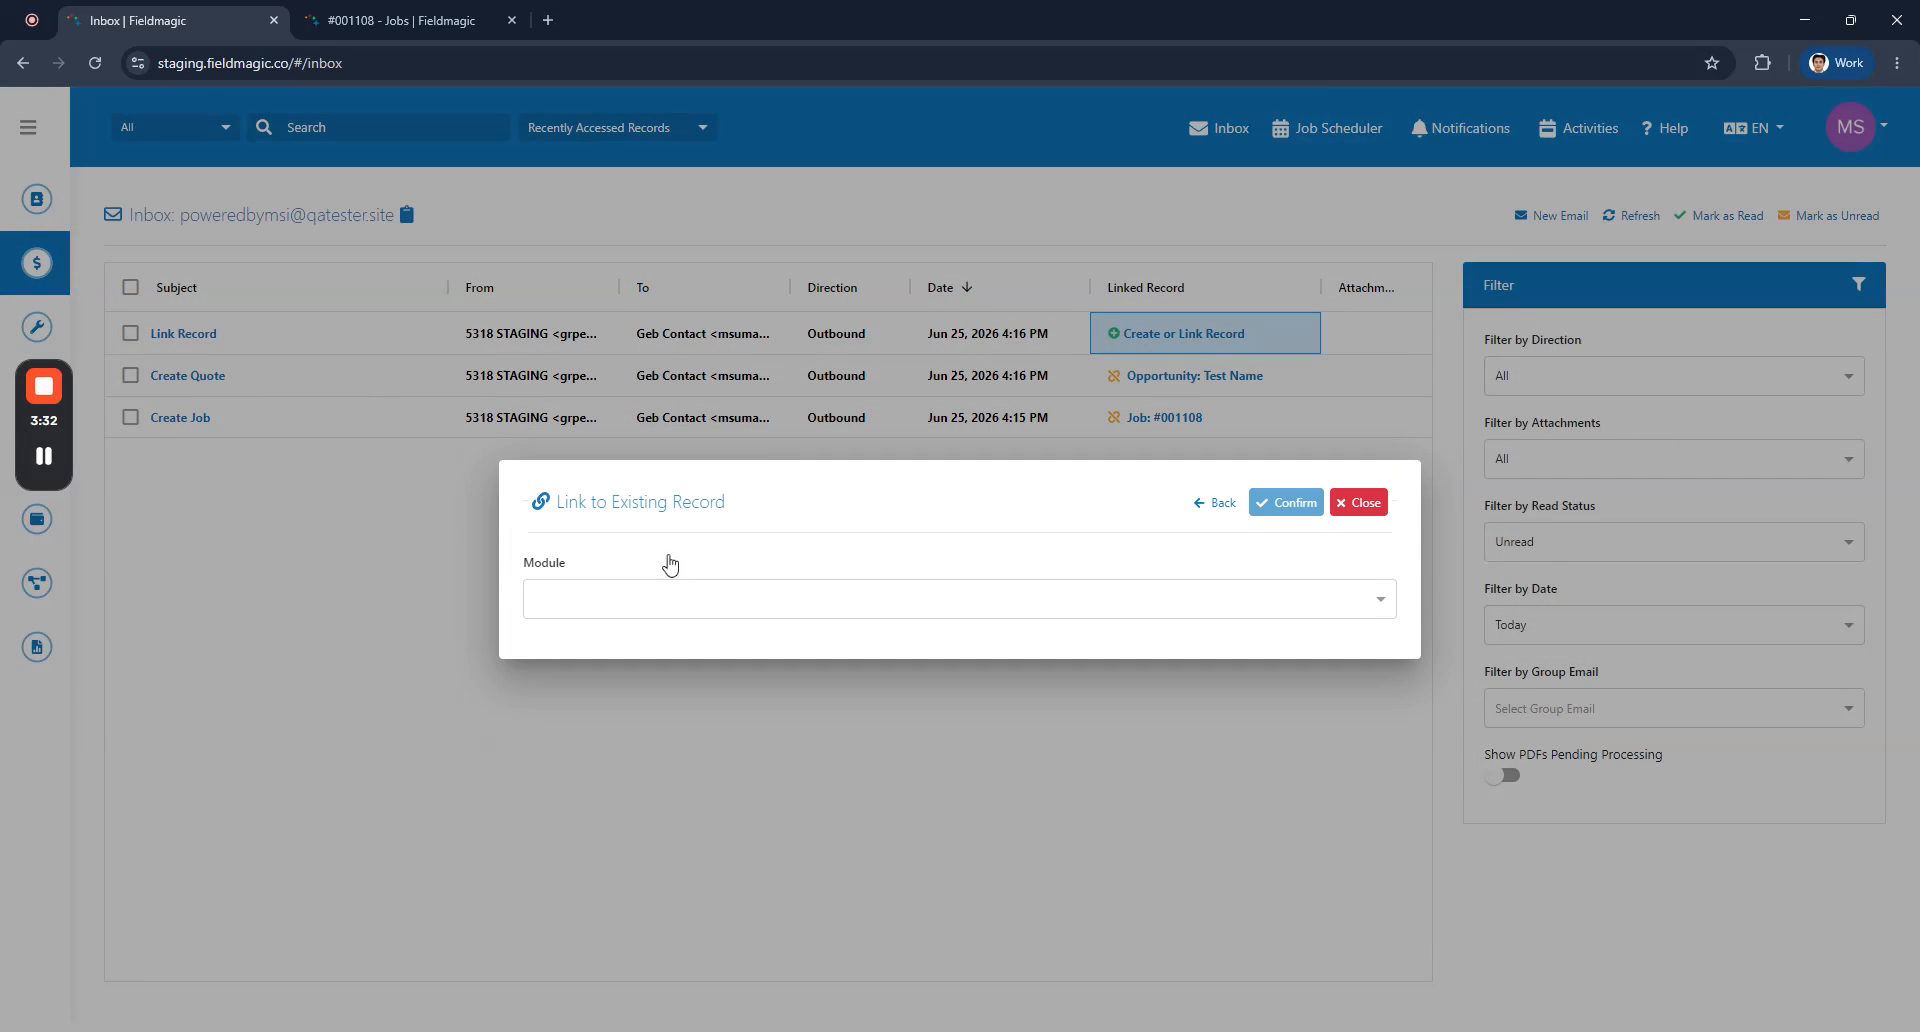 Step 6
Select the desired module, such as Asset, and then choose the specific record you want to link.
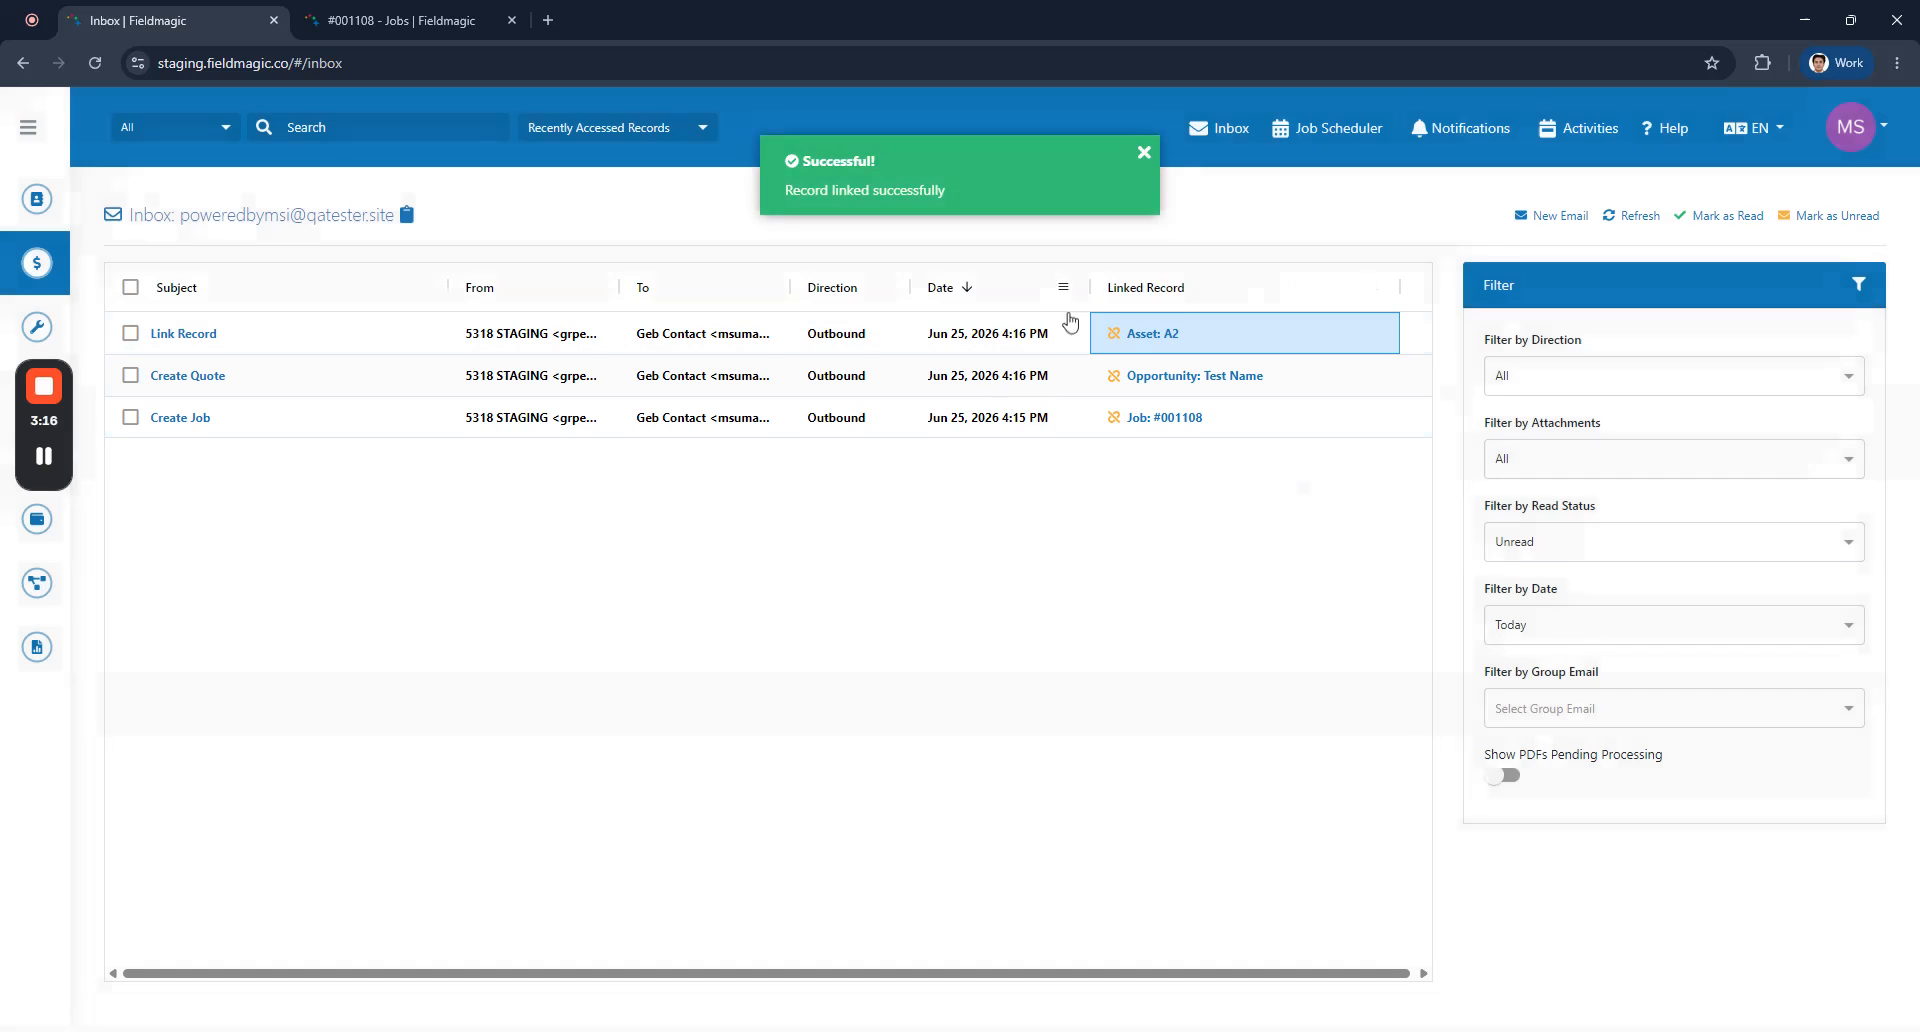 Step 7
The selected asset is now linked to the email. To remove this connection, click the Unlink button to unlink the record from the email.
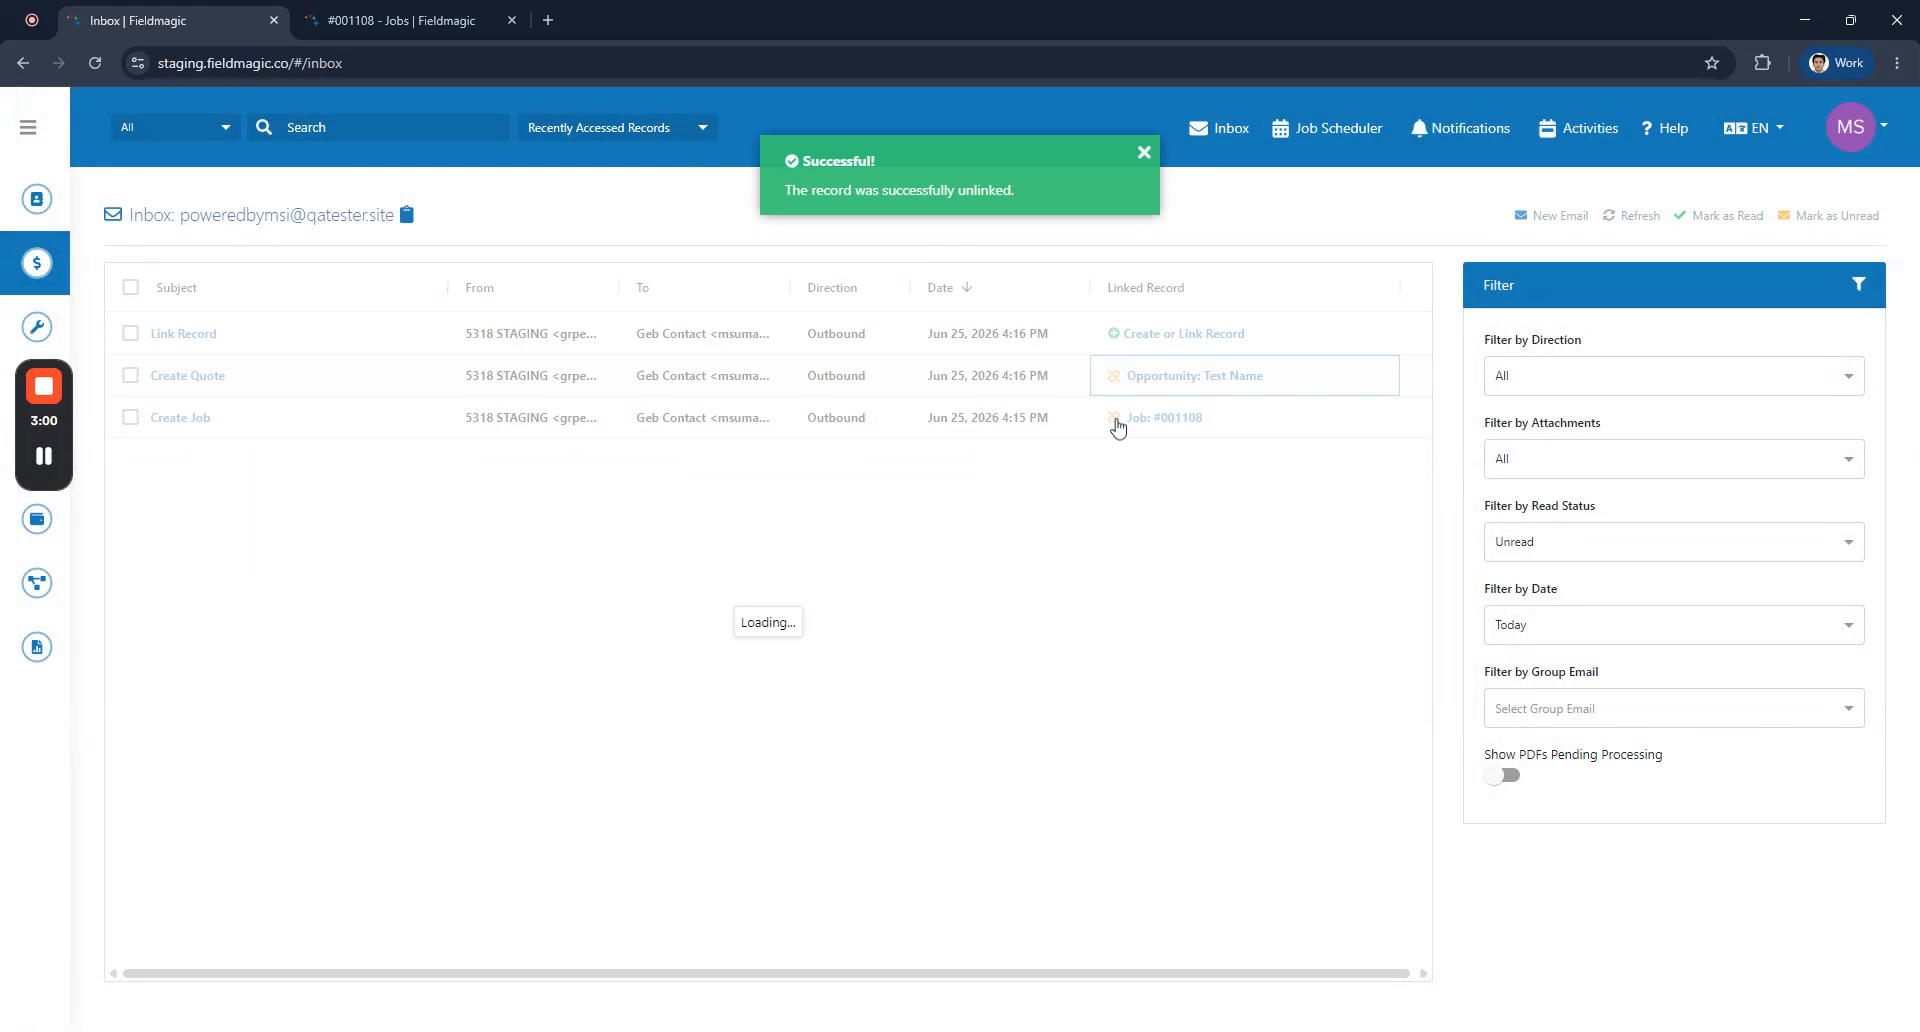 Step 8
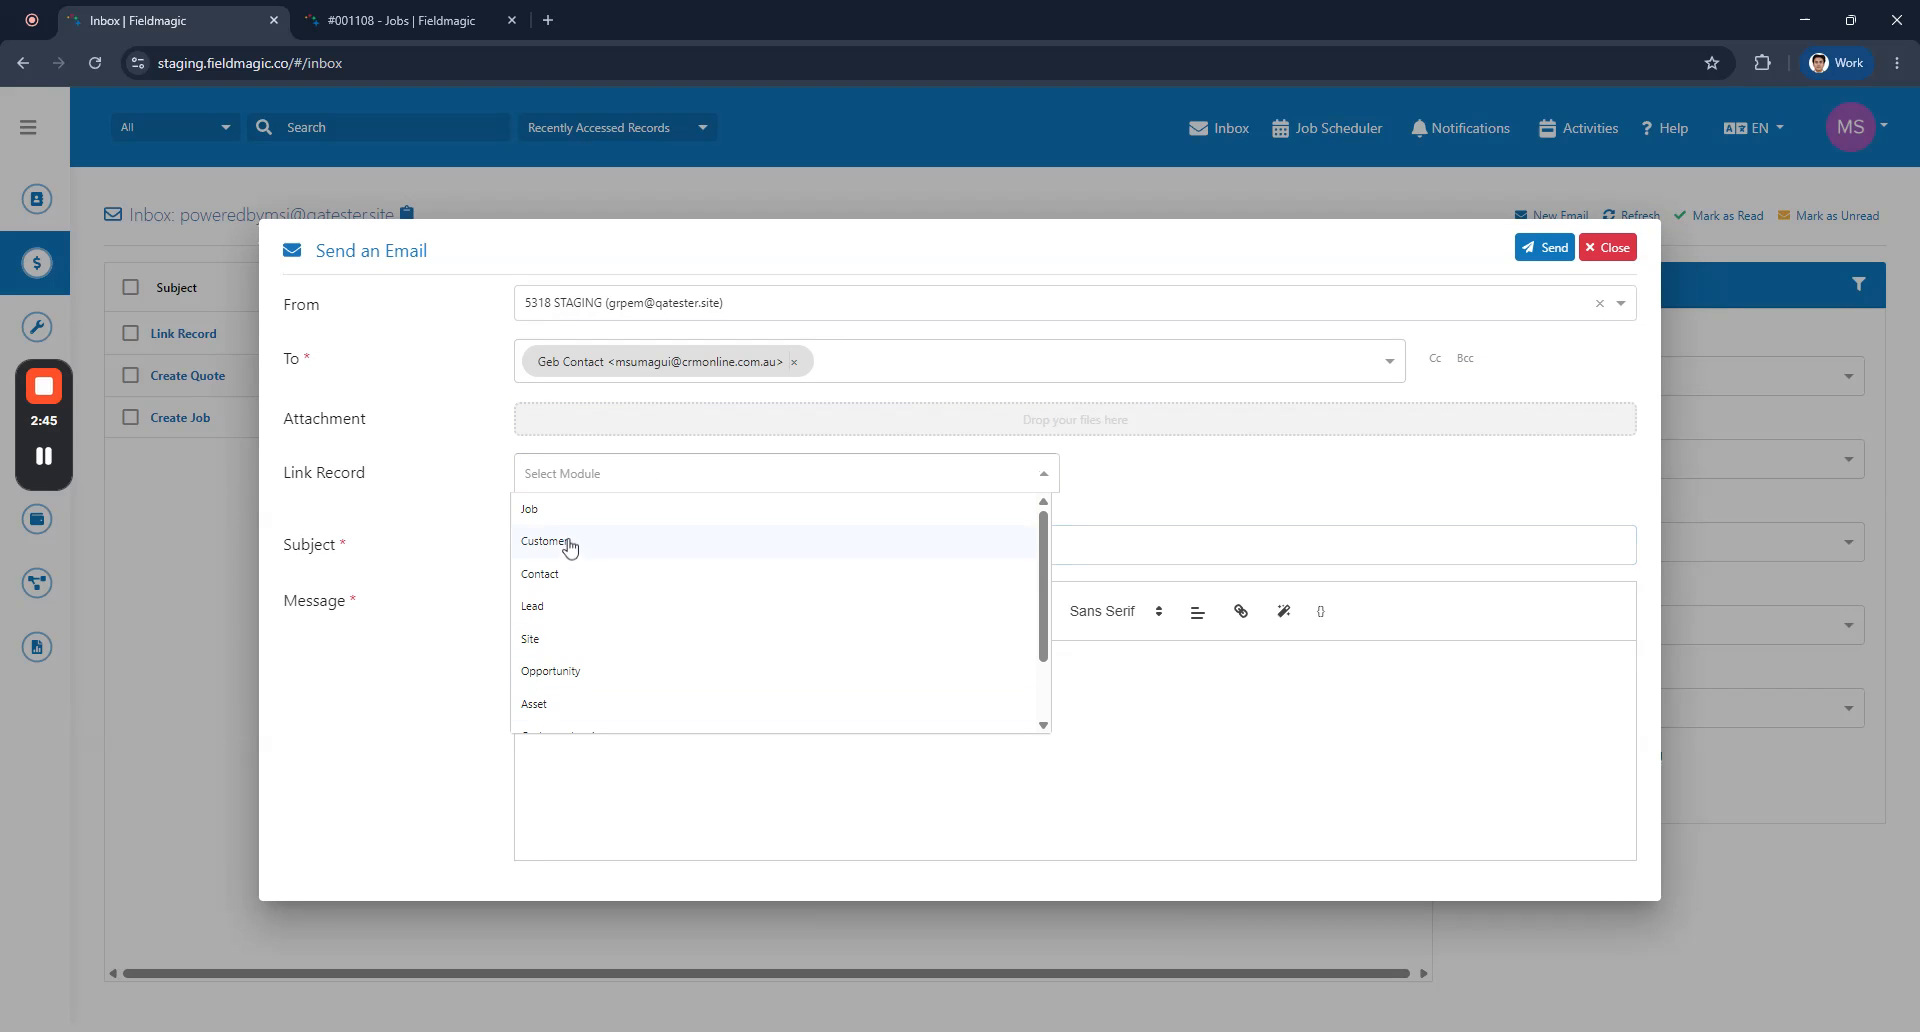
Click the New Email button to compose a new message. Link the desired records to this email before sending.
 Step 9
Select the module and the specific record to link to the email. Once the email is sent, it will appear in your Inbox with the linked record attached.
 Step 10
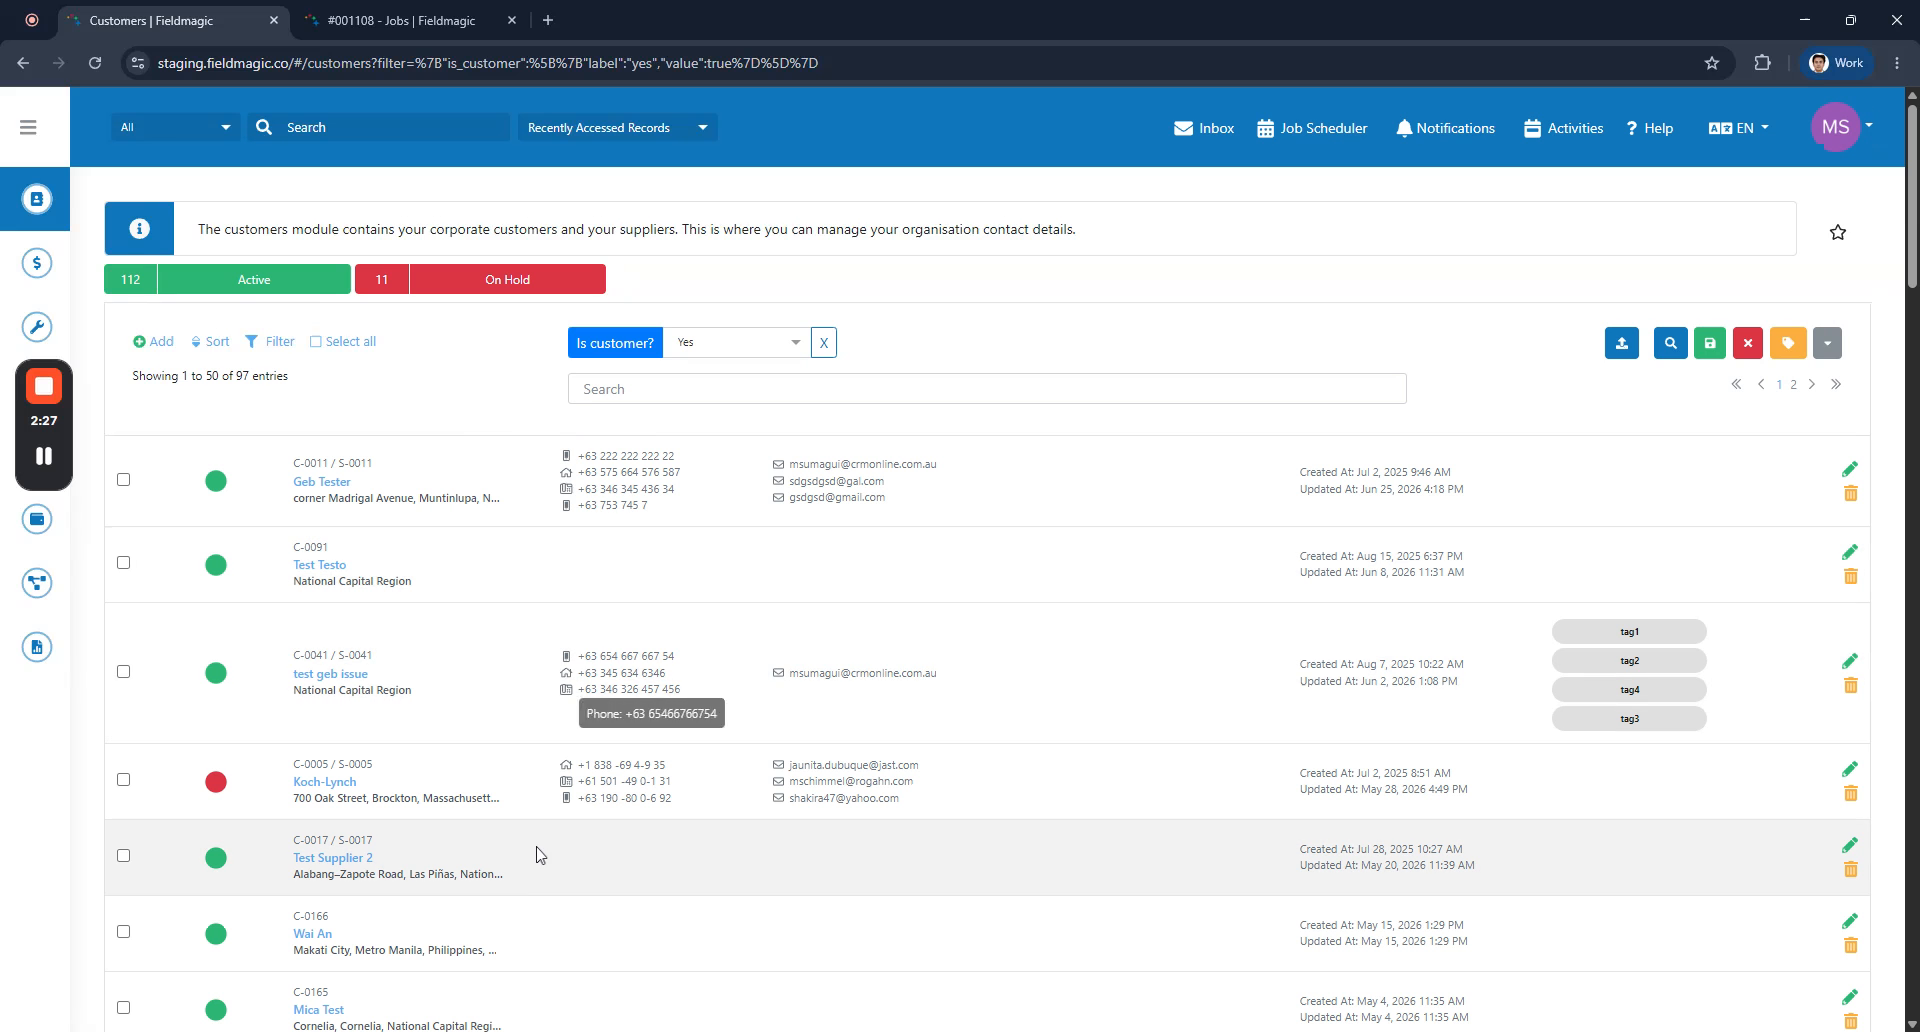
Alternatively, navigate to a specific customer record and click the Email widget to compose a message. Add a subject line and send the email, which will automatically link to the customer in your Inbox, completing the workflow.